2
Contents
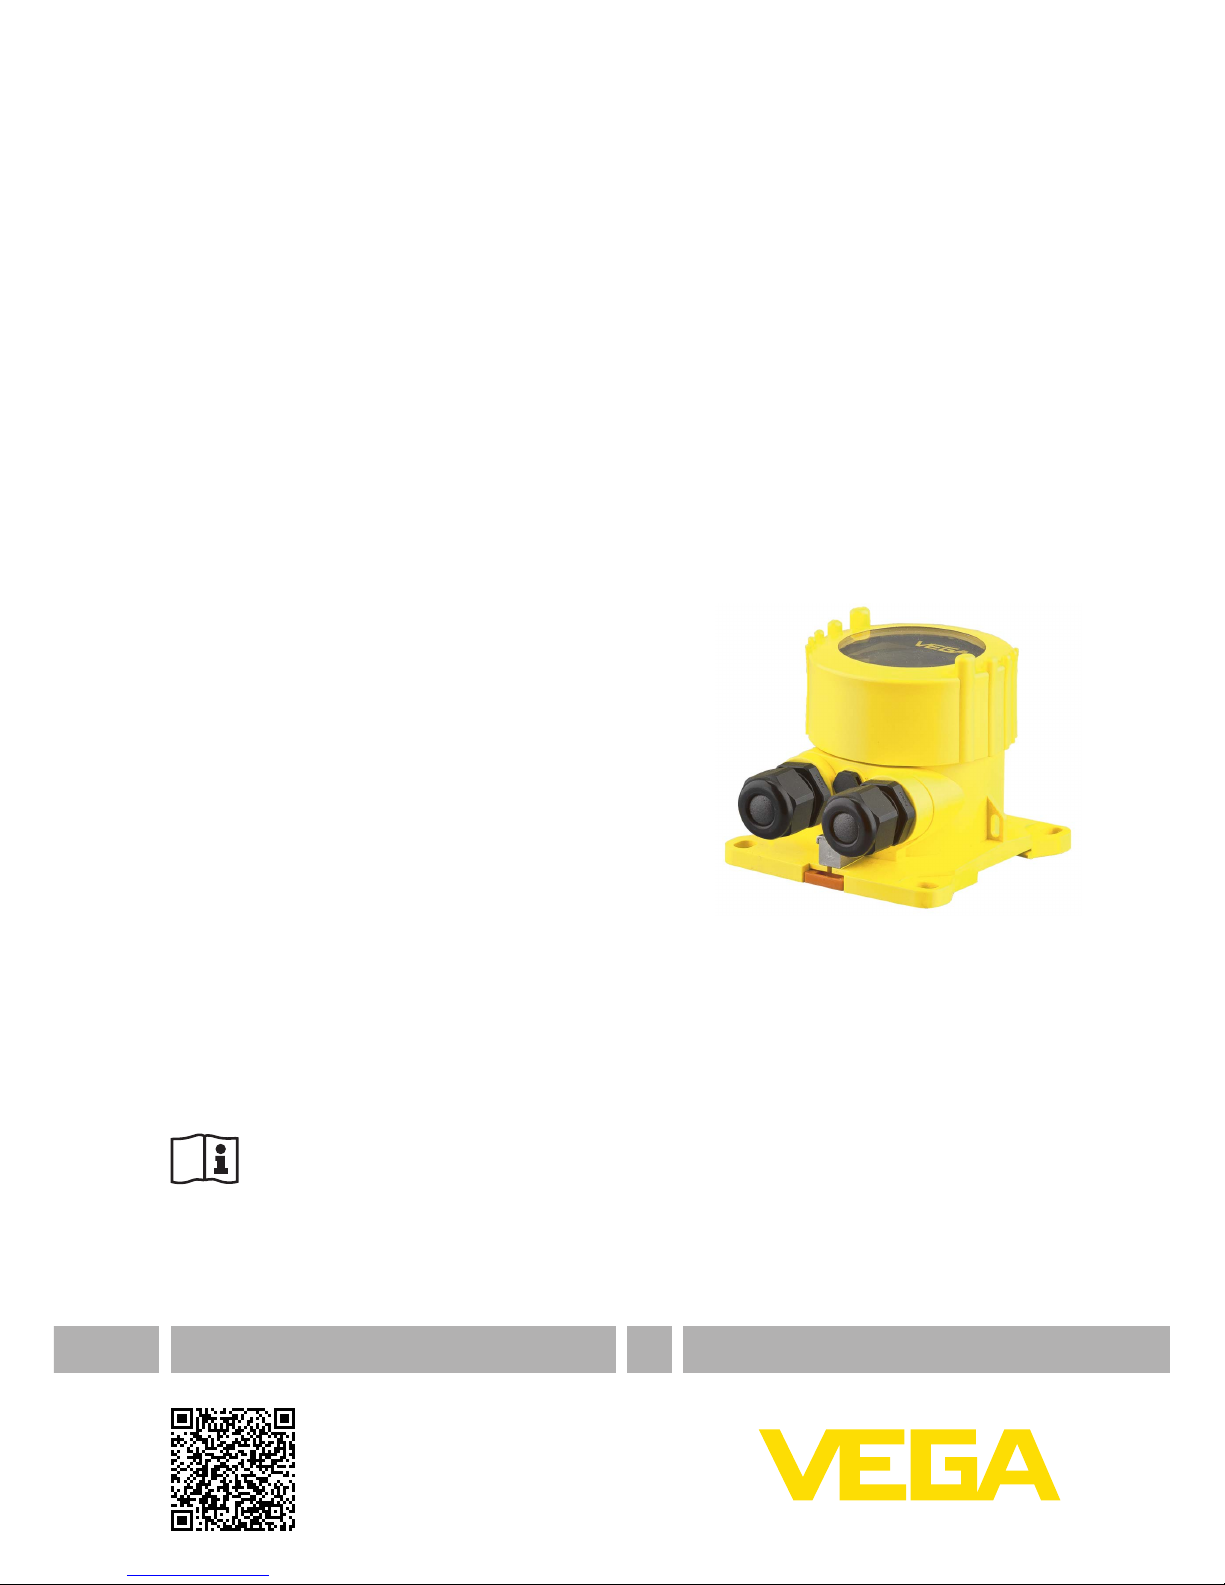
VEGADIS 82 • 4 … 20 mA/HART
45300-EN-140506
Contents
1 About this document
1.1 Function ........................................................................................................................... 4
1.2 Target group ..................................................................................................................... 4
1.3 Symbols used................................................................................................................... 4
2 For your safety
2.1 Authorised personnel ....................................................................................................... 5
2.2 Appropriate use................................................................................................................ 5
2.3 Warning about incorrect use............................................................................................. 5
2.4 General safety instructions............................................................................................... 5
2.5 CE conformity................................................................................................................... 5
2.6 NAMUR recommendations .............................................................................................. 6
2.7 Environmental instructions ............................................................................................... 6
3 Product description
3.1 Conguration.................................................................................................................... 7
3.2 Principle of operation........................................................................................................ 8
3.3 Packaging, transport and storage................................................................................... 10
3.4 Accessories and replacement parts ............................................................................... 10
4 Mounting
4.1 General instructions ....................................................................................................... 12
4.2 Mounting instructions ..................................................................................................... 12
5 Connecting to power supply
5.1 Preparing the connection ............................................................................................... 15
5.2 Connection technology and steps .................................................................................. 16
5.3 Wiring plan ..................................................................................................................... 17
5.4 Connection HART standard ........................................................................................... 17
5.5 Connection HART multidrop........................................................................................... 18
5.6 Connection signal conditioning instrument..................................................................... 18
5.7 Connection example ...................................................................................................... 20
5.8 Switch-on phase............................................................................................................. 20
6 Set up with the display and adjustment module
6.1 Short description ............................................................................................................ 21
6.2 Insert display and adjustment module............................................................................ 21
6.3 Adjustment system......................................................................................................... 22
6.4 Measured value indication - Selection national language............................................... 23
6.5 Start menu...................................................................................................................... 23
6.6 Parameter adjustment - VEGADIS 82............................................................................. 24
6.7 Parameter adjustment VEGAPULS WL 61 ..................................................................... 28
6.8 Parameter adjustment VEGAWELL 52 ........................................................................... 40
6.9 Parameter adjustment - Sensors from other manufacturers via Generic HART.............. 44
7 Setup instrument and sensor with PACTware
7.1 Connect the PC.............................................................................................................. 47
7.2 Parameter adjustment .................................................................................................... 48
7.3 Saving the parameter adjustment data........................................................................... 49
8 Diagnostics and service
8.1 Maintenance .................................................................................................................. 50