Velleman CAMCOLVC6 User manual
CAMCOLVC6
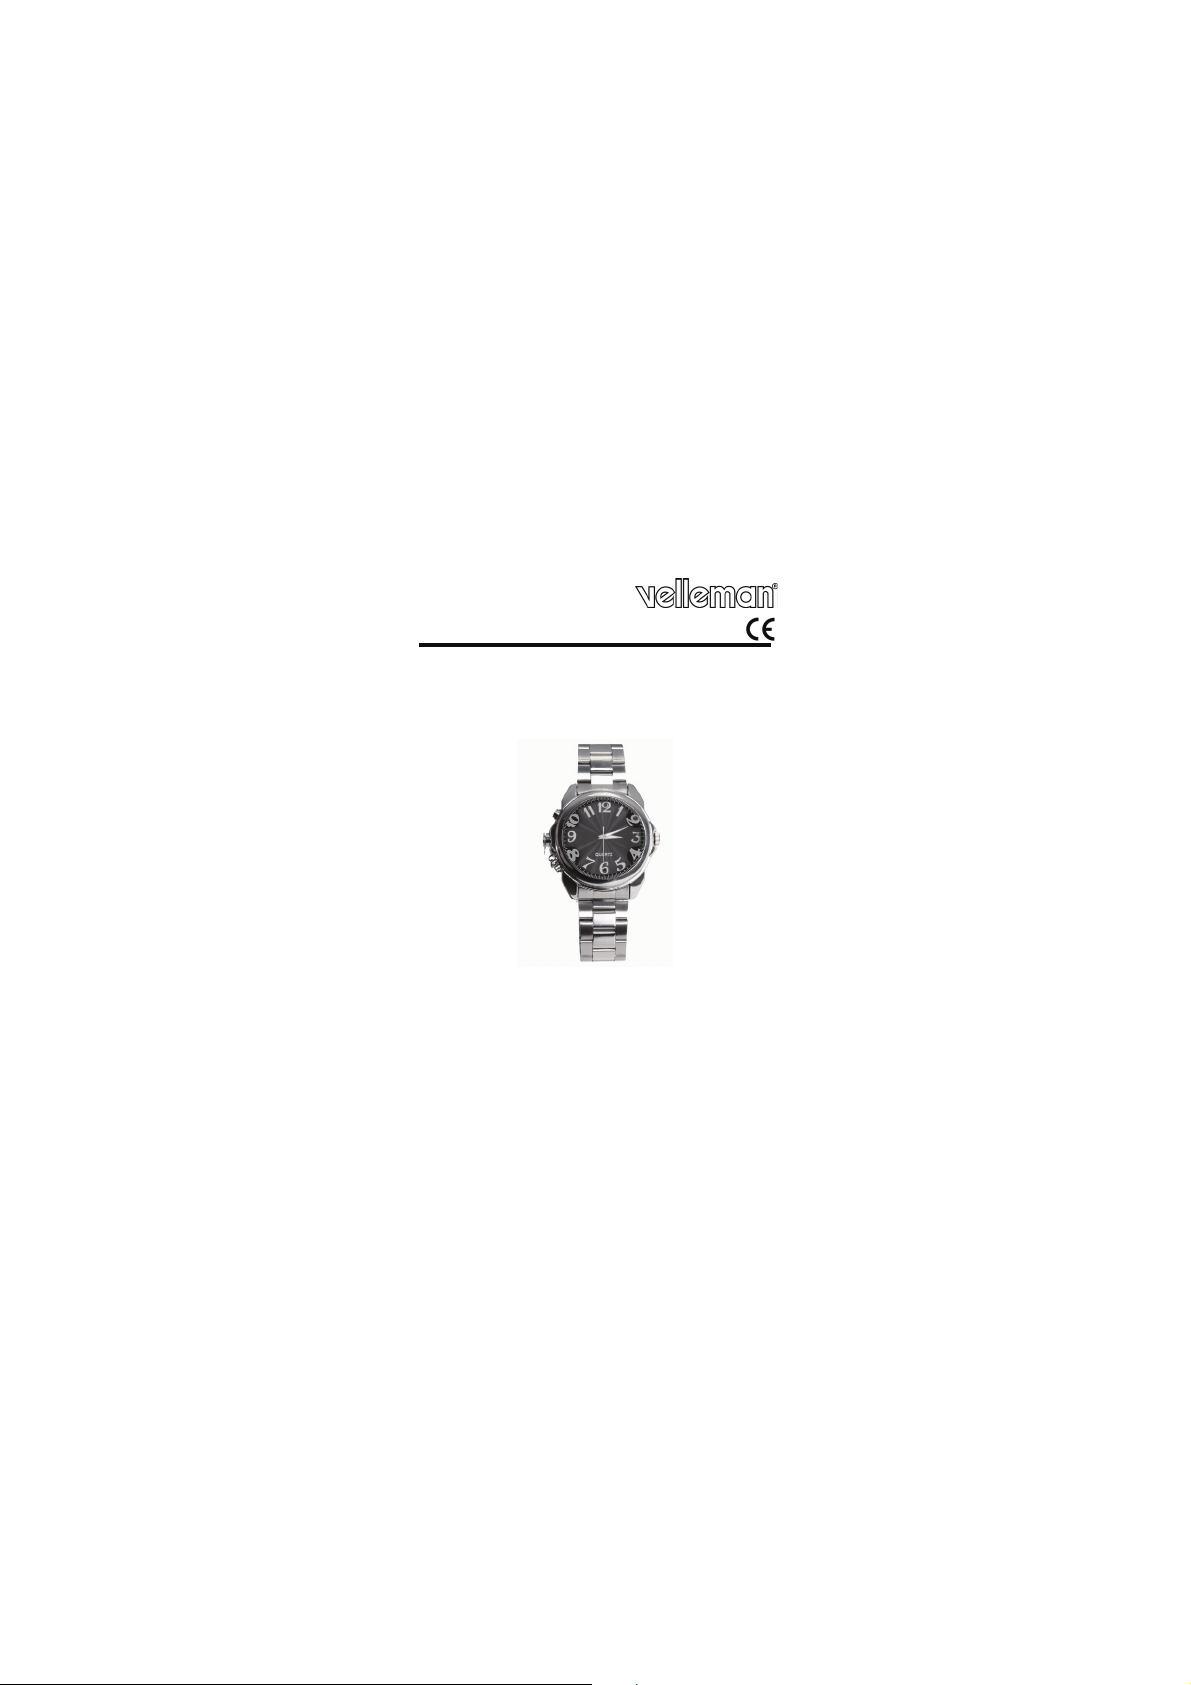
VIDEO CAPTURE CAMERA WATCH – 2GB
POLSHORLOGE MET VIDEOCAMERA – 2 GB
MONTRE-CAMÉRA ESPION – 2 Go
RELOJ CON CÁMARA DE VÍDEO – 2GB
ARMBANDUHR MIT VIDEOKAMERA – 2GB
USER MANUAL 4!
GEBRUIKERSHANDLEIDING 8!
NOTICE D’EMPLOI 12!
MANUAL DEL USUARIO 16!
BEDIENUNGSANLEITUNG 20!

CAMCOLVC6 Rev. 01
2 ©Velleman nv

CAMCOLVC6 Rev. 01
3 ©Velleman nv
CAMCOLVC6 Rev. 01
4 ©Velleman nv
USER MANUAL
1. Introduction
To all residents of the European Union
Important environmental information about this product
This symbol on the device or the package indicates that disposal of
the device after its lifecycle could harm the environment.
Do not dispose of the unit (or batteries) as unsorted
municipal waste; it should be taken to a specialized
company for recycling. This device should be returned to
your distributor or to a local recycling service. Respect the
local environmental rules.
If in doubt, contact your local waste disposal authorities.
Thank you for choosing Velleman! Please read the manual thoroughly
before bringing this device into service. If the device was damaged in
transit, don't install or use it and contact your dealer.
2. Safety Instructions
Keep the device away from children and unauthorised
users.
3. General Guidelines
Refer to the Velleman®Service and Quality Warranty on the
final pages of this manual.
!Protect this device from shocks and abuse. Avoid brute force
when operating the device.
!Protect the device against extreme heat and dust.
!Indoor use only. Keep this device away form rain, moisture,
splashing and dripping liquids.
!Familiarise yourself with the functions of the device before
actually using it.
!All modifications of the device are forbidden for safety reasons.
Damage caused by user modifications to the device is not
covered by the warranty.
!Only use the device for its intended purpose. Using the device
in an unauthorised way will void the warranty.
!Damage caused by disregard of certain guidelines in this
manual is not covered by the warranty and the dealer will not
accept responsibility for any ensuing defects or problems.
!DO NOT use this product to violate privacy laws or perform other
illegal activities.

CAMCOLVC6 Rev. 01
5 ©Velleman nv
4. Features
!for audio and video recording
!2GB integrated flash memory
!two pushers
!USB 2.0 plug and play device
!USB cable included
5. Overview
Refer to the illustration on pages 2 and 3 of this manual.
A camera lens F snapshot pusher
B crown G microphone
C status LED H clasp protection
D camera ON/OFF pusher I clasp
E USB connection port J clasp lock (2x)
6. Setting/operation
Refer to the illustration on pages 2 and 3 of this manual.
Battery charging
!Make sure the battery is charged before use. To do this, open the
cover of the USB port [E] and plug the jack of the included USB
cable in.
!Plug the USB connector into the included mains adaptor and plug
the mains adaptor into a suitable mains outlet.
Note: the camera/watch can also be charged by connecting the USB
connector to a powered USB port of a computer.
!The status LED [C] turns green.
Using the wristband
!To open the wristband, first lift the clasp protection [H].
!Push both clasp locks [J] simultaneously and pull the clasp [I]
upward.
!To close, firmly press the clasp [I] until it snaps into place and
close the clasp protection [H].
Setting the date
!Simply pull the crown [B] away from the housing (±1mm) and
rotate until the hands show the correct time.
!Push the crown [B] back towards the housing to avoid accidental
adjustments.
Using the camera
!The camera lens is hidden inside the number 2[A].

CAMCOLVC6 Rev. 01
6 ©Velleman nv
!Switch the camera on by pressing the camera ON/OFF pusher
[D] for ±2s. The status LED [C] will light up blue.
!Press the ON/OFF pusher [D] shortly to start recording. The blue
status LED [C] flashes and than switches off.
!Press and hold the ON/OFF pusher [D] for ±2s to stop recording
and deactivate the camera. The status LED [C] flashes red and
than switches off.
!To take a snap shot, activate the camera by pressing the ON/OFF
pusher [D] for ±2s. The status LED [C] will light up blue.
!Press the snapshot pusher [F]. The status LED [C] will briefly
turn red and than returns to blue.
Connecting to USB port
!Remove the cover of the USB port [E] and plug the jack of the
included USB cable into the port. Plug the other end into a suitable
powered USB port. The status LED [C] turns green.
!The watch now acts as a removable storage medium. Browse it and
open the AVI-files with a suitable player.
!Press the reset pusher [F] before disconnecting the USB port from
the PC.
!Always place the USB cover back after using the USB port.
Adjusting the wristband
Refer to the illustration on page 3 of this manual.
!First determine the appropriate size of the wristband. Count how
many links should be removed.
![1] Use a small screwdriver to push the protrusion on the link next
to the clasp down and away from the wristband (see arrow on
image).
![2] Pull out the pin completely.
![3] Slide the link over the connection plate.
!Count the number of links to be removed and repeat the above
procedure [1-3].
Note: it is better to remove e.g. 2 links on either side of the clasp than
4 links on one side and none on the other.
!Hook the last link back over the connection plate.
!Re-insert the pin. Make sure it does not stick out of the wristband.
!Small changes in wristband size can be achieved by moving the
clasp itself. Use a small object (e.g. an unfolded paperclip) to gently
press on the flanged spring bar. Re-insert the spring bar on one side
into the desired location, press the flange on the other side of the
bar down and move the wristband until the spring bar snaps into
CAMCOLVC6 Rev. 01
7 ©Velleman nv
place. Make sure the spring bar is in the same position on both
ends.
!To remove/replace the entire wristband, use a small screwdriver to
push down the flanges of the spring bars that are mounted between
the lugs at both sides of the watch.
7. Batteries
!This camera/watch contains an internal rechargeable battery.
When the device is end-of-life, this battery has to be removed.
!To do this, open the back cover.
!Cut off the battery leads and dispose of the battery in accordance
with local regulations.
WARNING: Never dispose of batteries in fire, as they
could explode. Keep batteries away from children.
8. Technical Specification
pick-up element colour CMOS sensor
video resolution 352 x 288 (CIF)
lens angle 78°
storage capacity 2GB built-in flash memory
recording format AVI
frame rate (fps) 14
video recording mode continuous until memory full or manually off
recording capacity < 20MB/min
power supply built-in Lithium-ion battery
(recharged via USB)
dimensions Ø 43 x 15mm
weight 125g
Use this device with original accessories only. Velleman nv
cannot be held responsible in the event of damage or injury
resulted from (incorrect) use of this device. For more info
concerning this product, please visit our website
www.velleman.eu. The information in this manual is subject
to change without prior notice.
© COPYRIGHT NOTICE
The copyright to this manual is owned by Velleman nv. All
worldwide rights reserved. This manual is copyrighted. No part of
this manual may be copied, reproduced, translated or reduced to any
electronic medium or otherwise without the prior written consent of
the copyright holder.

CAMCOLVC6 Rev. 01
8 ©Velleman nv
GEBRUIKERSHANDLEIDING
1. Inleiding
Aan alle ingezetenen van de Europese Unie
Belangrijke milieu-informatie betreffende dit product
Dit symbool op het toestel of de verpakking geeft aan dat,
als het na zijn levenscyclus wordt weggeworpen, dit
toestel schade kan toebrengen aan het milieu. Gooi dit
toestel (en eventuele batterijen) niet bij het gewone
huishoudelijke afval; het moet bij een gespecialiseerd
bedrijf terechtkomen voor recyclage. U moet dit toestel naar uw
verdeler of naar een lokaal recyclagepunt brengen. Respecteer de
plaatselijke milieuwetgeving.
Hebt u vragen, contacteer dan de plaatselijke autoriteiten
betreffende de verwijdering.
Dank u voor uw aankoop! Lees deze handleiding grondig voor u het
toestel in gebruik neemt. Werd het toestel beschadigd tijdens het
transport, installeer het dan niet en raadpleeg uw dealer.
2. Veiligheidsinstructies
Houd buiten het bereik van kinderen en onbevoegden.
3. Algemene richtlijnen
Raadpleeg de Velleman®service- en kwaliteitsgarantie
achteraan de handleiding.
!Bescherm tegen schokken. Vermijd brute kracht tijdens de
bediening.
!Bescherm tegen extreme temperaturen en stof.
!Gebruik enkel binnenshuis.Bescherm tegen regen, vochtigheid
en opspattende vloeistoffen.
!Leer eerst de functies van het toestel kennen voor u het gaat
gebruiken.
!Om veiligheidsredenen mag u geen wijzigingen aanbrengen.
Schade door wijzigingen die de gebruiker heeft aangebracht valt
niet onder de garantie.
!Gebruik het toestel enkel waarvoor het gemaakt is. Bij
onoordeelkundig gebruik vervalt de garantie.
!De garantie geldt niet voor schade door het negeren van
bepaalde richtlijnen in deze handleiding en uw dealer zal de

CAMCOLVC6 Rev. 01
9 ©Velleman nv
verantwoordelijkheid afwijzen voor defecten of problemen die
hier rechtstreeks verband mee houden.
!Installeer en gebruik deze camera niet voor illegale praktijken en
respecteer ieders privacy.
4. Eigenschappen
!video-opname met audio
!ingebouwd flashgeheugen van 2 GB
!twee bedieningsknoppen
!USB 2.0 plug-and-play
!geleverd met USB-kabel
5. Overzicht
Raadpleeg de figuren op pagina 2 en 3 van deze handleiding.
A cameralens F fotoknop
B kroon G microfoon
C statusled H vouwsluiting – dekplaatje
D camera aan-uit I vouwsluiting
E aansluiting USB-kabel J ontgrendellipjes (2x)
6. Gebruik
Raadpleeg de figuren op pagina 2 en 3 van deze handleiding.
De batterij opladen
!Bevrijd de aansluiting voor de USB-kabel [E] en steek de stekker
van de kabel in de aansluiting.
!Steek de USB-stekker in de meegeleverde voedingsadapter. Koppel
deze vervolgens aan het lichtnet.
Opmerking: U kunt de batterij ook via de pc opladen.
!De statusled [C] licht groen op.
De band met vouwsluiting
!Klap het dekplaatje [H] open.
!Druk beide ontgrendellipjes gelijktijdig [J] in en open de
vouwsluiting [I].
!Sluit de vouwsluiting [I] en klap het dekplaatje [H] over de
vouwsluiting.
De tijd instellen
!Trek de kroon [B] ongeveer 1 mm uit de kast en draai tot de
wijzers de gewenste tijd aangeven.
!Druk de kroon [B] opnieuw in de kast.

CAMCOLVC6 Rev. 01
10 ©Velleman nv
De camera gebruiken
!De lens van de camera staat in het cijfer 2[A].
!Houd de aan-uitknop [D] gedurende ± 2 seconden ingedrukt om
de camera te activeren. De statusled [C] licht blauw op.
!Druk kort op de aan-uitknop [D] om de opname te starten. De
blauwe statusled [C] knippert eventjes en dooft daarna uit.
!Houd de aan-uitknop [D] gedurende ± 2 seconden ingedrukt om
de opname te beëindigen en de camera uit te schakelen. De
statusled [C] knippert eventjes rood en dooft daarna uit.
!Om een foto te nemen, activeer de camera door de aan-uitknop
[D] gedurende ± 2 seconden ingedrukt te houden. De statusled
[C] licht blauw op.
!Druk op de fotoknop [F]. De statusled [C] licht eventjes rood op,
waarna hij opnieuw blauw wordt.
Het horloge aan de USB-poort aansluiten
!Verwijder het beschermkapje van de aansluiting [E] en steek de
stekker van de USB-kabel in de aansluiting. Steek de USB-stekker
in een USB-poort. De statusled [C] licht groen op.
!U kunt het horloge nu gebruiken als opslagmedium. Open het
gewenste AVI-bestand met een geschikte speler op uw pc.
!Druk de resetknop [F] in voor u het horloge van de pc ontkoppelt.
!Plaats na gebruik het beschermkapje op de aansluiting.
De band bijregelen
Raadpleeg de figuren op pagina 3 van deze handleiding.
![1] Druk met een kleine schroevendraaier op het nageltje aan de
binnenkant van de schakel (zie pijl).
![2] Verwijder de pin.
![3] Schuif de schakel uit het tussenplaatje.
!Verwijder zo het gewenste aantal schakels. Werk symmetrisch en
verwijder, indien mogelijk, evenveel schakels aan beide
bandhelften.
!Bevestig de laatste schakel aan het tussenplaatje.
!Duw de pin volledig in de schakel.
!De lengte van de band kan ook vanaf de vouwsluiting gewijzigd
worden. Druk met een puntig voorwerp de doorn in, verplaats de
band en plaats de doorn in de gewenst gaatjes.
!Om de volledige band van het horloge te verwijderen, drukt u met
een speciaal gereedschap de doorn tussen de hoornen naar binnen
toe. Dit speciaal gereedschap is verkrijgbaar in iedere horlogezaak.

CAMCOLVC6 Rev. 01
11 ©Velleman nv
7. De batterij
!Dit horloge bevat een herlaadbare batterij. Verwijder deze
batterij aan het einde van de levenscyclus van het horloge.
!Open de kast en knip de kabeltjes door.
WAARSCHUWING: Houd de batterij buiten het bereik
van kinderen.
8. Technische specificaties
pick-up element kleuren CMOS-sensor
videoresolutie 352 x 288 (CIF)
lenshoek 78°
opslagcapaciteit 2 GB ingebouwd flashgeheugen
opnameformaat AVI
framesnelheid (fps) 14
opnamemodus video continu tot vol geheugen of handmatige
uitschakeling
opnamecapaciteit < 20 MB/min.
voeding ingebouwde lithium-ionbatterij (laden via USB)
afmetingen Ø 43 x 15 mm
gewicht 125 g
Gebruik dit toestel enkel met originele accessoires. Velleman
nv is niet aansprakelijk voor schade of kwetsuren bij
(verkeerd) gebruik van dit toestel. Voor meer informatie over
dit product, zie www.velleman.eu. De informatie in deze
handleiding kan te allen tijde worden gewijzigd zonder
voorafgaande kennisgeving.
© AUTEURSRECHT
Velleman nv heeft het auteursrecht voor deze handleiding.
Alle wereldwijde rechten voorbehouden. Het is niet toegestaan om
deze handleiding of gedeelten ervan over te nemen, te kopiëren, te
vertalen, te bewerken en op te slaan op een elektronisch medium
zonder voorafgaande schriftelijke toestemming van de
rechthebbende.

CAMCOLVC6 Rev. 01
12 ©Velleman nv
NOTICE D’EMPLOI
1. Introduction
Aux résidents de l'Union européenne
Des informations environnementales importantes
Ce symbole sur l'appareil ou l'emballage indique que l’élimination
d’un appareil en fin de vie peut polluer l'environnement.
Ne pas jeter un appareil électrique ou électronique (et des
piles éventuelles) parmi les déchets municipaux non
sujets au tri sélectif ; une déchèterie traitera l’appareil en
question. Renvoyer les équipements usagés à votre
fournisseur ou à un service de recyclage local. Il convient de
respecter la réglementation locale relative à la protection de
l’environnement.
En cas de questions, contacter les autorités locales pour
élimination.
Nous vous remercions de votre achat ! Lire la présente notice
attentivement avant la mise en service de l’appareil. Si l’appareil a
été endommagé pendant le transport, ne pas l’installer et consulter
votre revendeur.
2. Consignes de sécurité
Garder hors de la portée des enfants et des personnes
non autorisées.
3. Directives générales
Se reporter à la garantie de service et de qualité Velleman®
en fin de notice.
!Protéger contre les chocs et le traiter avec circonspection
pendant l’opération.
!Tenir à l’écart de la poussière et des températures extrêmes.
!Utiliser cet appareil uniquement à l'intérieur. Protéger de la
pluie, de l’humidité et des projections d’eau.
!Se familiariser avec le fonctionnement avant l’emploi.
!Toute modification est interdite pour des raisons de sécurité. Les
dommages occasionnés par des modifications par le client ne
tombent pas sous la garantie.
!N’utiliser qu’à sa fonction prévue. Un usage impropre annule
d'office la garantie.

CAMCOLVC6 Rev. 01
13 ©Velleman nv
!La garantie ne s’applique pas aux dommages survenus en
négligeant certaines directives de cette notice et votre
revendeur déclinera toute responsabilité pour les problèmes et
les défauts qui en résultent.
!Installer et utiliser la caméra en respectant la législation et la vie
privée des tiers.
4. Caractéristiques
!enregistrement vidéo avec audio
!mémoire flash intégrée de 2 Go
!deux poussoirs
!USB 2.0 plug-and-play
!livré avec câble USB
5. Description
Se référer aux illustrations en pages 2 et 3.
A objectif de la caméra F poussoir déclencheur
B couronne G microphone
C DEL d’état H boucle déployante – sécurité
D poussoir marche/arrêt I boucle déployante – fermoir
E port pour câble USB J verrouillage (2x)
6. Emploi
Se référer aux illustrations en pages 2 et 3.
Charge de la pile interne
!Retirer la coiffe du port [E] et insérer la fiche du câble USB.
!Connecter la fiche USB au bloc secteur et connecter celui-ci au
réseau électrique.
Remarque : La pile peut également être rechargée en connectant la
montre à votre ordinateur.
!La DEL d’état [C] s’allume en vert.
Ouverture du bracelet
!Soulever la plaquette de sécurité [H], enfoncer les deux
languettes de verrouillage [J] et déployer le fermoir [I].
!Refermer la boucle en repliant le fermoir [I]. Refermer la
plaquette de sécurité [H].
Réglage de l’heure
!Tirer la couronne [B] environ 1 mm hors du boîtier. Tourner la
couronne jusqu’à ce que les aiguilles affichent l’heure souhaitée.
!Pousser la couronne [B] dans le boîtier.

CAMCOLVC6 Rev. 01
14 ©Velleman nv
Utilisation de la caméra
!L’objectif de la caméra est dissimulé dans le chiffre 2[A].
!Maintenir enfoncé le poussoir marche/arrêt [D] pendant ± 2
secondes pour activer la caméra. La DEL d’état [C] s’allume en
bleu.
!Enfoncer brièvement le poussoir marche/arrêt [D] pour démarrer
l’enregistrement. La DEL d’état bleue [C] clignote et s’éteint.
!Maintenir enfoncé le poussoir marche/arrêt [D] pendant ± 2
secondes pour arrêter l’enregistrement et pour éteindre la
caméra. La DEL d’état [C] clignote en rouge et s’éteint.
!Prise de photo : Activer la caméra en maintenant enfoncé le
poussoir marche/arrêt [D] pendant ± 2 secondes. La DEL d’état
[C] s’allume en bleu. Enfoncer le poussoir déclencheur [F] pour
prendre la photo. La DEL d’état [C] s’allume brièvement en rouge
et ensuite en bleu.
Connexion à un port USB
!Retirer la coiffe du port [E] et insérer la fiche du câble USB dans le
port. Insérer la fiche USB dans un port USB. La DEL d’état [C]
s’allume en vert.
!La montre peut être utilisée comme support de stockage. Ouvrir un
fichier AVI utilisant un lecteur dédié.
!Enfoncer le poussoir de réinitialisation [F] avant de déconnecter la
montre de l’ordinateur.
!Replacer la coiffe sur la connexion.
Réglage du bracelet
Se référer aux illustrations en page 3.
![1] Enfoncer le clou à l’intérieur de la maille (voir flèche).
![2] Retirer la broche.
![3] Désolidariser les mailles.
!Retirer les mailles souhaitées tout en travaillant de manière
symétrique : retirer un nombre égal de mailles des deux moitiés du
bracelet.
!Fixer la dernière maille à la plaquette de connexion.
!Réinsérer la broche entièrement dans la maille.
!La longueur du bracelet peut également être réglée depuis la
boucle. Enfoncer la barrette-ressort utilisant un objet pointu, ajuster
la longueur et insérer la barrette dans les trous souhaités.
!Pour remplacer le bracelet entier, enfoncer la barrette-ressort entre
les cornes en utilisant une fourche. Cet outil est disponible chez tous
les horlogers.
CAMCOLVC6 Rev. 01
15 ©Velleman nv
7. La pile interne
!Cette montre contient une pile rechargeable. Retirer cette pile en
fin de vie de la montre.
!Ouvrir le boîtier et sectionner les câbles.
AVERTISSEMENT : Garder la pile hors de la portée
des enfants.
8. Spécifications techniques
capteur CMOS couleur
résolution vidéo 352 x 288 (CIF)
angle de l’objectif 78°
capacité de stockage mémoire flash 2 Go intégrée
format d’enregistrement AVI
vitesse de l’image (fps) 14
mode d'enregistrement
vidéo
continu jusqu'à capacité maximale de la
mémoire ou désactivation manuelle
capacité d’enregistrement < 20 Mo/min
alimentation pile lithium-ion rechargeable via USB
dimensions Ø 43 x 15 mm
poids 125 g
N’employer cet appareil qu’avec des accessoires d’origine. SA
Velleman ne sera aucunement responsable de dommages ou
lésions survenus à un usage (incorrect) de cet appareil. Pour
plus d’information concernant cet article, visitez notre site
web www.velleman.eu. Toutes les informations présentées
dans cette notice peuvent être modifiées sans notification
préalable.
© DROITS D’AUTEUR
SA Velleman est l’ayant droit des droits d’auteur pour cette
notice.
Tous droits mondiaux réservés. Toute reproduction, traduction, copie
ou diffusion, intégrale ou partielle, du contenu de cette notice par
quelque procédé ou sur tout support électronique que se soit est
interdite sans l’accord préalable écrit de l’ayant droit.

CAMCOLVC6 Rev. 01
16 ©Velleman nv
MANUAL DEL USUARIO
1. Introducción
A los ciudadanos de la Unión Europea
Importantes informaciones sobre el medio ambiente
concerniente a este producto
Este símbolo en este aparato o el embalaje indica que, si
tira las muestras inservibles, podrían dañar el medio
ambiente. No tire este aparato (ni las pilas, si las
hubiera) en la basura doméstica; debe ir a una empresa
especializada en reciclaje. Devuelva este aparato a su
distribuidor o a la unidad de reciclaje local. Respete las
leyes locales en relación con el medio ambiente.
Si tiene dudas, contacte con las autoridades locales para
residuos.
¡Gracias por haber comprado el CAMCOLVC6! Lea atentamente las
instrucciones del manual antes de usarlo. Si el aparato ha sufrido
algún daño en el transporte no lo instale y póngase en contacto con
su distribuidor.
2. Instrucciones de seguridad
Mantenga el aparato lejos del alcance de personas no
capacitadas y niños.
3. Normas generales
Véase la Garantía de servicio y calidad Velleman®al final de este
manual del usuario.
!No agite el aparato. Evite usar excesiva fuerza durante el manejo
y la instalación.
!No exponga este aparato a polvo y temperaturas extremas.
!Utilice este aparato sólo en interiores. No exponga este equipo
a lluvia, humedad, ni a ningún tipo de salpicadura o goteo.
!Familiarícese con el funcionamiento del aparato antes de
utilizarlo.
!Por razones de seguridad, las modificaciones no autorizadas del
aparato están prohibidas.
!Utilice sólo el aparato para las aplicaciones descritas en este
manual. Su uso incorrecto anula la garantía completamente.
!Los daños causados por descuido de las instrucciones de
seguridad de este manual invalidarán su garantía y su

CAMCOLVC6 Rev. 01
17 ©Velleman nv
distribuidor no será responsable de ningún daño u otros
problemas resultantes.
!Instale y utilice la cámara al respectar la legislación y la vida
privada de terceros.
4. Características
!grabación en vídeo con audio
!memoria flash incorporada de 2GB
!dos interruptores
!USB 2.0 plug-and-play
!se entrega con cable USB
5. Descripción
Véase las figuras en la página Error! Bookmark not defined. y 3
de este manual del usuario.
A óptica de la cámara F pulsador disparador
B corona G micrófono
C LED de estado H cierre – placa de recubrimiento
D interruptor ON/OFF I cierre
E puerto para cable USB J lengüeta de cierre (2x)
6. Uso
Véase las figuras en la página 2 y 3 de este manual del usuario.
Cargar la pila interna
!Saque la capa del puerto [E] e introduzca el conector del cable
USB en el puerto.
!Conecte el conector USB al adaptador de red y conéctelo a la red
eléctrica.
Nota: También es posible cargar la pila al conectar el reloj al ordenador
!El LED de estado [C] se ilumina (verde).
Abrir el cierre
!Levante la placa de recubrimiento [H], pulse las dos lengüetas
del cierre [J] y abre el cierre [I].
!Vuelva a cerrar el cierre [I]. Vuelva a cerrar la placa de
recubrimiento [H].
Ajustar la hora
!Saque la corona [B] aproximadamente 1 mm fuera de la caja.
Gire la corona hasta que las agujas visualicen la hora deseada.
!Vuelva a introducir la corona [B] en la caja.

CAMCOLVC6 Rev. 01
18 ©Velleman nv
Utilizar la cámara
!La óptica de la cámara se encuentra en la cifra 2[A].
!Mantenga pulsado el interruptor ON/OFF [D] ± 2 segundos para
activar la cámara. El LED de estado [C] se ilumina (azul).
!Pulse brevemente el interruptor ON/OFF [D] para activar la
grabación. El LED de estado (azul) [C] parpadea y se apaga.
!Mantenga pulsado el interruptor ON/OFF [D] ± 2 segundos para
desactivar la grabación y para desactivar la cámara. El LED de
estado [C] parpadea (rojo) y se apaga.
!Sacar una foto: Active la cámara al mantener pulsado el
interruptor ON/OFF [D] ± 2 segundos. El LED de estado [C] se
ilumina (azul). Pulse el pulsador disparador [F] para sacar la
foto. El LED de estado [C] se ilumina brevemente (rojo) y luego
se vuelve azul.
Conexión a un puerto USB
!Saque la capa del puerto [E] e introduzca el conector del cable
USB en el puerto. Conecte el conector USB al puerto USB. El LED
de estado [C] se ilumina (verde).
!Es posible utilizar el reloj como dispositivo de almacenamiento.
Abra un fichero AVI al utilizar un lector adecuado.
!Pulse el pulsador de reinicialización [F] antes de desconectar el
reloj del ordenador.
!Vuelva a poner la capa en la conexión.
Ajustar el brazalete
Véase las figuras en la página 3.
![1] Pulse el clavo del interior del eslabón (véase la flecha).
![2] Saque el pin.
![3] Saque los eslabones.
!Saque los eslabones deseados al trabajar de manera simétrica:
saque de cada lado un número igual de eslabones.
!Fije el último eslabón a la placa de conexión.
!Vuelva a introducir el pin completamente en el eslabón.
!También es posible ajustar la longitud de la brazaleta desde el
cierre. Pulse la pequeña espina-resorte al utilizar un objeto
puntiagudo, ajuste la longitud e introduzca la espina en los agujeros
deseados.
!Para reemplazar le brazaleta completa, pulse la espina-resorte entre
los cuernos al utilizar una herramienta especial. Esta herramienta
está disponible en todos los relojeros.

CAMCOLVC6 Rev. 01
19 ©Velleman nv
7. La pila interna
!Este reloj funciona con una batería recargable. Saque esta
batería antes de devolver el aparato a su distribuidor o a la
unidad de reciclaje local.
!Abra la caja y corte los cables.
¡OJO!: Mantenga las pilas lejos del alcance de
niños.
8. Especificaciones
elemento de imagen CMOS color
resolución vídeo 352 x 288 (CIF)
ángulo de la óptica 78°
capacidad de memoria memoria flash 2GB incorporada
formato de grabación AVI
velocidad de la imagen (fps) 14
modo de grabación vídeo de manera continua hasta capacidad máx.
de la memoria o activación manual
capacidad de grabación < 20 MB/min.
alimentación pila de litio-ion recargable por USB
dimensiones Ø 43 x 15 mm
peso 125 g
Utilice este aparato sólo con los accesorios originales.
Velleman NV no será responsable de daños ni lesiones
causados por un uso (indebido) de este aparato. Para más
información sobre este producto, visite nuestra página web
www.velleman.eu. Se pueden modificar las especificaciones y
el contenido de este manual sin previo aviso.
© DERECHOS DE AUTOR
Velleman NV dispone de los derechos de autor para este
manual del usuario.
Todos los derechos mundiales reservados. Está estrictamente
prohibido reproducir, traducir, copiar, editar y guardar este manual
del usuario o partes de ello sin previo permiso escrito del derecho
habiente.

CAMCOLVC6 Rev. 01
20 ©Velleman nv
BEDIENUNGSANLEITUNG
1. Einführung
An alle Einwohner der Europäischen Union
Wichtige Umweltinformationen über dieses Produkt
Dieses Symbol auf dem Produkt oder der Verpackung zeigt
an, dass die Entsorgung dieses Produktes nach seinem
Lebenszyklus der Umwelt Schaden zufügen kann.
Entsorgen Sie die Einheit (oder verwendeten Batterien)
nicht als unsortiertes Hausmüll; die Einheit oder
verwendeten Batterien müssen von einer spezialisierten Firma
zwecks Recycling entsorgt werden. Diese Einheit muss an den
Händler oder ein örtliches Recycling-Unternehmen retourniert
werden. Respektieren Sie die örtlichen Umweltvorschriften.
Falls Zweifel bestehen, wenden Sie sich für
Entsorgungsrichtlinien an Ihre örtliche Behörde.
Wir bedanken uns für den Kauf der CAMCOLVC6! Lesen Sie diese
Bedienungsanleitung vor Inbetriebnahme sorgfältig durch. Überprüfen
Sie, ob Transportschäden vorliegen. Sollte dies der Fall sein, verwenden
Sie das Gerät nicht und wenden Sie sich an Ihren Händler.
2. Sicherheitshinweise
Halten Sie Kinder und Unbefugte vom Gerät fern.
3. Allgemeine Richtlinien
Siehe Velleman® Service- und Qualitätsgarantie am Ende dieser
Bedienungsanleitung.
!Vermeiden Sie Erschütterungen. Vermeiden Sie rohe Gewalt
während der Installation und Bedienung des Gerätes.
!Schützen Sie das Gerät vor extremen Temperaturen und Staub.
!Nehmen Sie das Gerät erst in Betrieb, nachdem Sie sich mit
seinen Funktionen vertraut gemacht haben.
!Nur für die Anwendung im Innenbereich. Schützen Sie das Gerät
vor Regen und Feuchte. Setzen Sie das Gerät keiner Flüssigkeit
wie z.B. Tropf- oder Spritzwasser, aus.
!Nehmen Sie das Gerät erst in Betrieb, nachdem Sie sich mit
seinen Funktionen vertraut gemacht haben.
!Eigenmächtige Veränderungen sind aus Sicherheitsgründen
verboten.
Other manuals for CAMCOLVC6
1
Table of contents
Languages:
Other Velleman Watch manuals


Popular Watch manuals by other brands


Seiko
Seiko Conceptual SUR533P instruction manual

Auriol
Auriol HG02853A Operation and safety notes

iwc
iwc INGENIEUR PERPETUAL CALENDAR DIGITAL... operating instructions

Timex
Timex 766-095000 user manual

The Abingdon Co
The Abingdon Co Elise Product information and manual
 Instruction manuals")
Orient
Orient TT(KFB) Instruction manuals