manuals.online logo
Brands
  1. Home
  2. •
  3. Brands
  4. •
  5. Venjakob
  6. •
  7. Indoor Furnishing
  8. •
  9. Venjakob 2364 User manual

Venjakob 2364 User manual

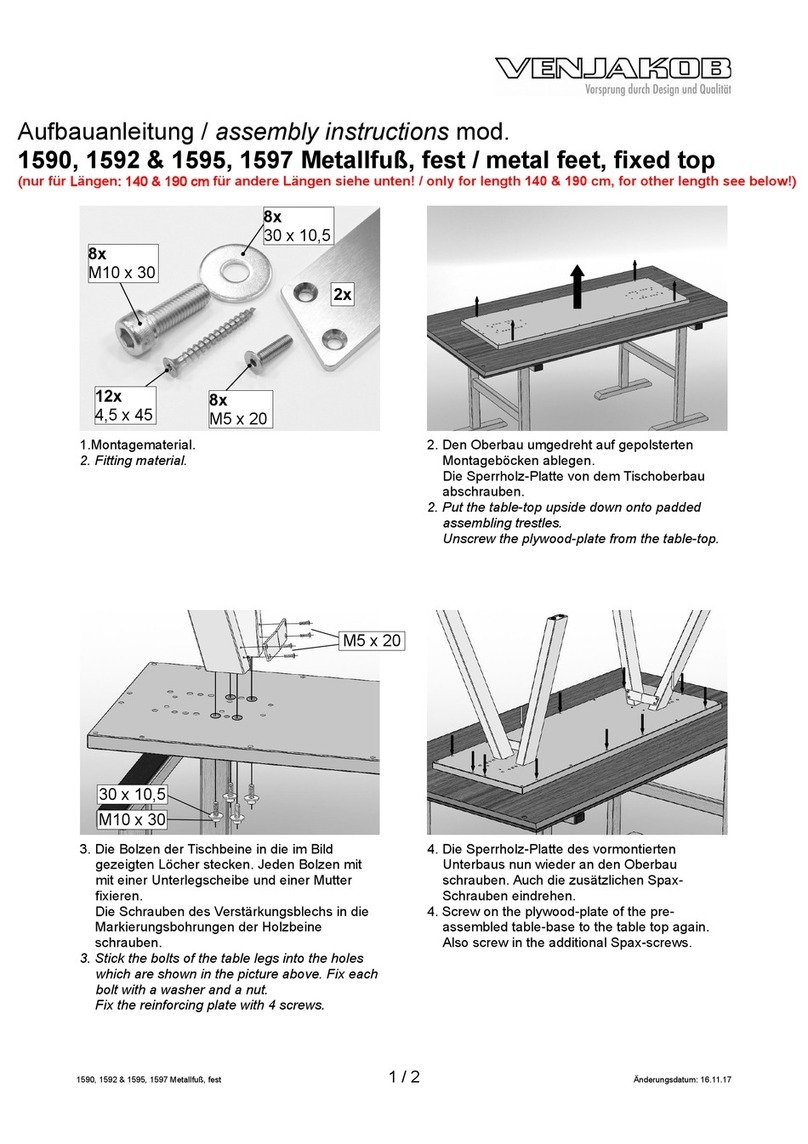
Aufbauanleitung / assembly instructions mod.
2364, 2373 - 2375 (90 cm Breite) Keramik-, Glas-Platte ohne
Frontaus ug / 2364-, 2373-2375 (90 cm width) without front extension
für 2365-2366, 2376-2377 (100 cm Breite) siehe weiter unten /
for 2365-2366, 2376-2377 (100 cm width) see farther below
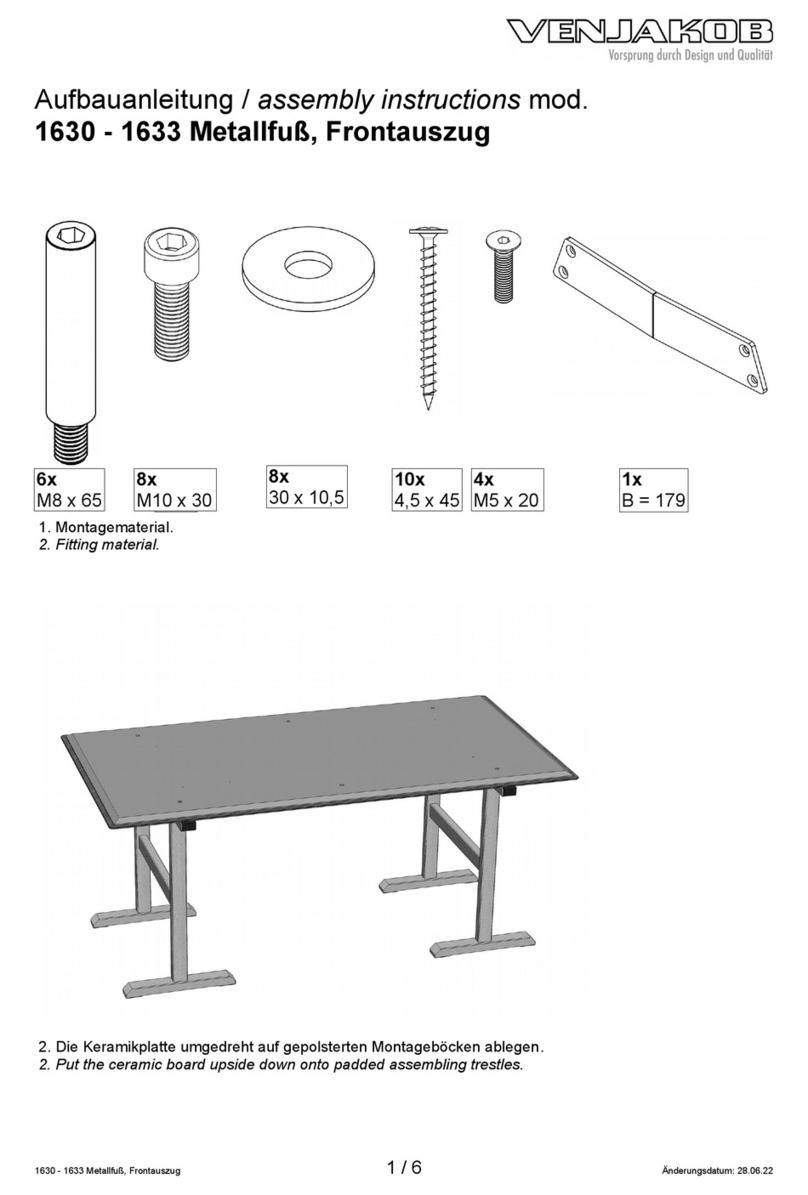
1.Montagematerial.
1. Fitting material.
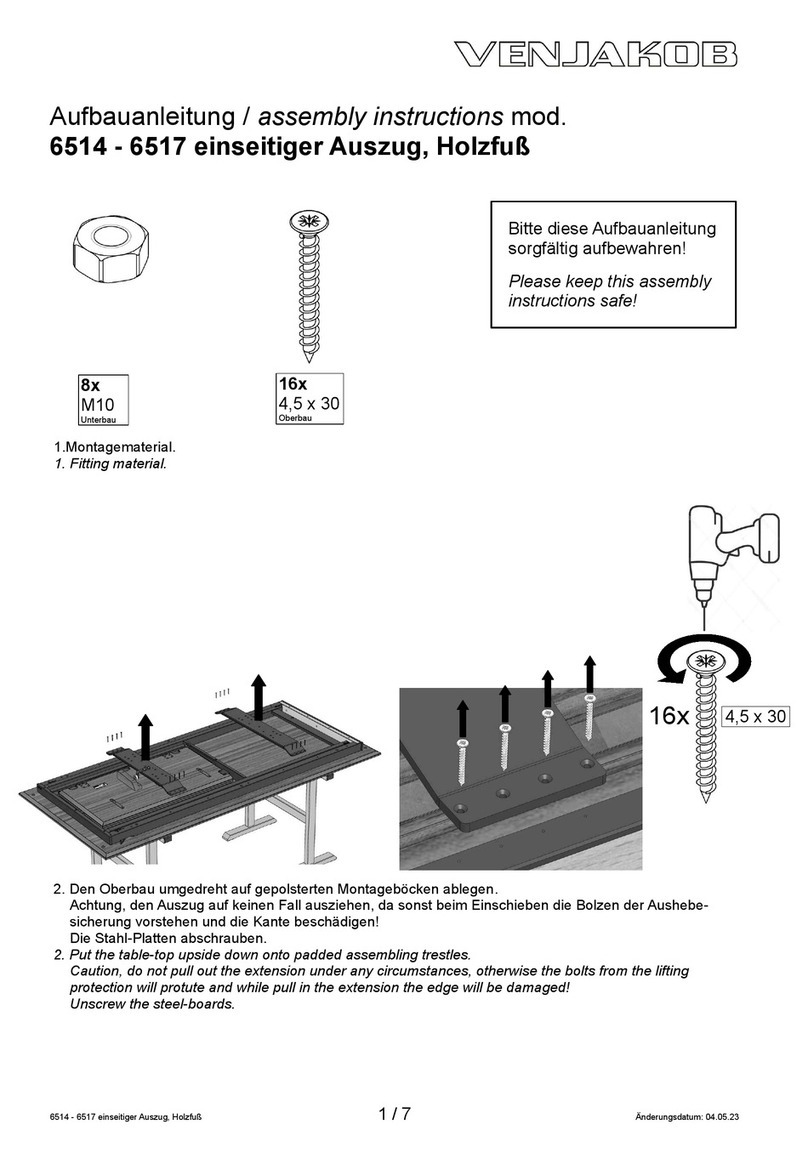
2. Den Oberbau umgedreht auf gepolsterten
Montageböcken ablegen.
2. Put the table top upside down onto padded
assembling trestles.
3. Die Zierblenden abschrauben.
3. Unscrew the decorative covers.
. Die Traversen abschrauben.
4. Unscrew the traverses.
236 , 2373 - 2377 (90 cm Breite) Keramik-, Glas-Platte ohne Frontauszug 1 / 5 Änderungsdatum: 22.11.17
4x
30 x 10,5
4x
M10
4x
6x
M8 x 55
6x
1 x 3
4x
M10 x 575
1x
SW17
1x
SW6 8x
M8 x 25
5. Die Traversen so mit den Fuß-Befestigungs-
elementen verbinden, dass sich der große
Lochabstand auf der Seite des Fuß-
Anschlusses (s.a. Bild!) befindet.
Die Befestigungselemente beim Anschrauben
nach oben drücken.
5. The holes which have the higher distance to
the side of the taverse must be on top!
Fix the table-leg connections with two screws
each and use the provided hex-wrench. Push
up the table-leg connections while fixing them.
6. Beim Anschrauben wieder die jeweils inneren
Gewinde der Längs-Zargen nutzen.
6. Screw on the traverse again and use the inner
threadholes of the frame.
7. Die Zierblenden wieder anschrauben.
7. Screw on the decorative covers again.
8. In jedes Fuß-Befestigungselement eine
Gewindestange schrauben.
8. Screw a threaded bolt into each table-leg
connection.
236 , 2373 - 2377 (90 cm Breite) Keramik-, Glas-Platte ohne Frontauszug 2 / 5 Änderungsdatum: 22.11.17
M10 x 575
SW6
M8 x 25
Großer Abstand
higher distance
!
9. Die Tischbeine aufstecken und mit den
Scheiben und den Muttern fixieren. Zum
Schrauben der Mutter die mitgelieferte
Stecknuss nutzen.
9. Attach the table-legs. First put a washer onto
each threaded bolt and then screw on a nut
onto each threaded bolt. Use the provided
socket to tighten the nuts.
10. Je einen schwarzen Fuß-Stopfen in das Rohr
stecken.
10. Put a black plug connection into each table-
leg.
11. Den Tisch wenden ohne die Füße zu belasten
und dann gleichzeitig alle Tischbeine auf
dem Boden absetzen.
11. Turn the table right-side-up without using the
legs. Then put the table down on all 4 legs at
once.
12. Die Platte auspacken und mittig auf dem
Gestell auflegen.
12. Unpack the board and put it onto the middle
of the frame.
236 , 2373 - 2377 (90 cm Breite) Keramik-, Glas-Platte ohne Frontauszug 3 / 5 Änderungsdatum: 22.11.17
M10
30 x 10,5
SW17
13. Die Platte mit den 6 Hülsen und 6 Schrauben
unächst lose anschrauben ...
13. Fix the board with 6 sleeves and 6 screws in
a loose way ...
1 . … die Platte gleichmäßig zu den Fuß-
Befestigungselementen ausrichten und erst
dann ...
1 . … adjust the board to the middle and
finally ...
15. … mit dem mitgelieferten Inbusschlüssel alle
6 Schrauben festziehen.
15. … tighten the 6 screws by using the provided
hex-wrench.
16. Prüfen, ob die Hauptplatte gegenüber den Be-
festigungselementen etwa 3 mm höher ist.
Die Befestigungselemente können nach dem
Lösen der Schrauben (s.a. P. 5) vertikal etwas
verschoben werden. Anschließend die
Schrauben wieder festziehen.
16. Check if the table top is aprox 3 mm higher
than the table-leg connections. If needed
loose the screws (q.v. p. 5) adjust the table-
leg connections and finally tighten the screws
again.
236 , 2373 - 2377 (90 cm Breite) Keramik-, Glas-Platte ohne Frontauszug / 5 Änderungsdatum: 22.11.17
1 x 3
M8 x 55 SW6
SW6
~ 3 mm
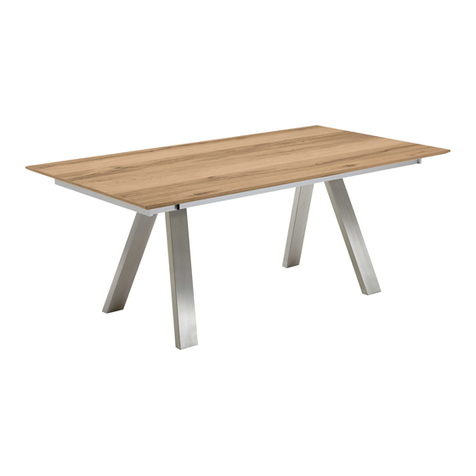
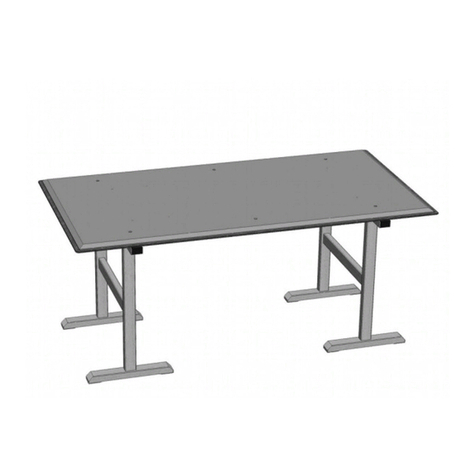
17. Fertiger Tisch.
17. Finished table.
236 , 2373 - 2377 (90 cm Breite) Keramik-, Glas-Platte ohne Frontauszug 5 / 5 Änderungsdatum: 22.11.17
Aufbauanleitung / assembly instructions mod.
2365 - 2366, 2376 - 2377 (100 cm Breite) Keramik-, Glas-Platte
ohne Frontaus ug / glass+ceramic top (100 cm width) without extension
für 2364-, 2373-2375 (90 cm Breite) siehe weiter oben /
for 2364-, 2373-2375 (90 cm width) see farther above!
1.Montagematerial.
1. Fitting material.
2. Den Oberbau umgedreht auf gepolsterten
Montageböcken ablegen.
2. Put the table-top upside down onto padded
assembling trestles.
3. Die Fu -Befestigungselemente mit je zwei
Schrauben und dem mitgelieferten Inbus-
schüssel befestigen.
Die Befestigungselemente beim Anschrauben
nach oben drücken.
3. Fix the table-leg connections with two screws
each and use the provided hex-wrench.
Push up the table-leg connections while fixing
them.
4. In jedes Fu -Befestigungselement eine
Gewindestange schrauben.
4. crew a threaded bolt into each table-leg
connection.
2365 - 2366, 2376 - 2377 (100 cm Breite) Keramik-, Glas-Platte ohne Frontauszug 1 / 4 Änderungsdatum: 21.11.17
4x
30 x 10,5
4x
M10
8x
M8 x 25
4x
6x
M8 x 55
6x
14 x 43
4x
M10 x 575
1x
SW17
1x
SW6
SW6
M8 x 25
M10 x 575
5. Die Tischbeine aufstecken und mit den
Scheiben und den Muttern fixieren. Zum
Schrauben der Mutter die mitgelieferte
Stecknuss nutzen.
5. Attach the table-legs. First put a washer onto
each threaded bolt and then screw on a nut
onto each threaded bolt. Use the socket to
tighten the nuts.
6. Je einen schwarzen Fu -Stopfen in das Rohr
stecken.
6. Put a black plug connection into each table-
leg.
7. Den Tisch wenden ohne die Fü e zu belasten
und dann gleichzeitig alle 4 Tischbeine auf
dem Boden absetzen.
7. Turn the table right-side-up without using the
legs. Then put the table down on all 4 feet at
once.
8. Die Platte auspacken und mittig auf dem
Gestell auflegen.
8. Unpack the board and put it onto the middle of
the frame.
2365 - 2366, 2376 - 2377 (100 cm Breite) Keramik-, Glas-Platte ohne Frontauszug 2 / 4 Änderungsdatum: 21.11.17
M10
30 x 10,5
SW17
9. Die Platte mit den 6 Hülsen und 6 Schrauben
unächst lose anschrauben ...
9. Fix the board with 6 sleeves and 6 screws in a
loose way ...
10. … die Platte gleichmä ig zu den Fu -
Befestigungselementen ausrichten und erst
dann ...
10. … adjust the board to the middle and
finally ...
11. … mit dem mitgelieferten Inbusschlüssel alle
6 Schrauben festziehen.
11. … tighten the 6 screws by using the provided
hex-wrench.
12. Prüfen, ob die Hauptplatte gegenüber den Be-
festigungselementen etwa 3 mm höher ist.
Die Befestigungselemente können nach dem
Lösen der Schrauben (s.a. P. 3) vertikal etwas
verschoben werden. Anschlie end die
Schrauben wieder festziehen.
12. Check, if the table top is aprox 3 mm higher
than the table-leg connections. If needed,
loose the screws (q.v. p. 3), adjust the table-
leg connections and finally tighten the screws
again.
2365 - 2366, 2376 - 2377 (100 cm Breite) Keramik-, Glas-Platte ohne Frontauszug 3 / 4 Änderungsdatum: 21.11.17
14 x 43
M8 x 55 SW6
SW6
~ 3 mm
13. Fertiger Tisch.
13. Finished table.
2365 - 2366, 2376 - 2377 (100 cm Breite) Keramik-, Glas-Platte ohne Frontauszug 4 / 4 Änderungsdatum: 21.11.17

Other manuals for 2364

3

This manual suits for next models

6

Other Venjakob Indoor Furnishing manuals

Venjakob 2364 User manual

Venjakob

Venjakob 2364 User manual

Venjakob NEXT LEVEL 3000 User manual

Venjakob

Venjakob NEXT LEVEL 3000 User manual

Venjakob 4400 User manual

Venjakob

Venjakob 4400 User manual

Venjakob 3885 User manual

Venjakob

Venjakob 3885 User manual

Venjakob 1580 User manual

Venjakob

Venjakob 1580 User manual

Venjakob Q647 User manual

Venjakob

Venjakob Q647 User manual

Venjakob 1630 User manual

Venjakob

Venjakob 1630 User manual

Venjakob 4118 User manual

Venjakob

Venjakob 4118 User manual
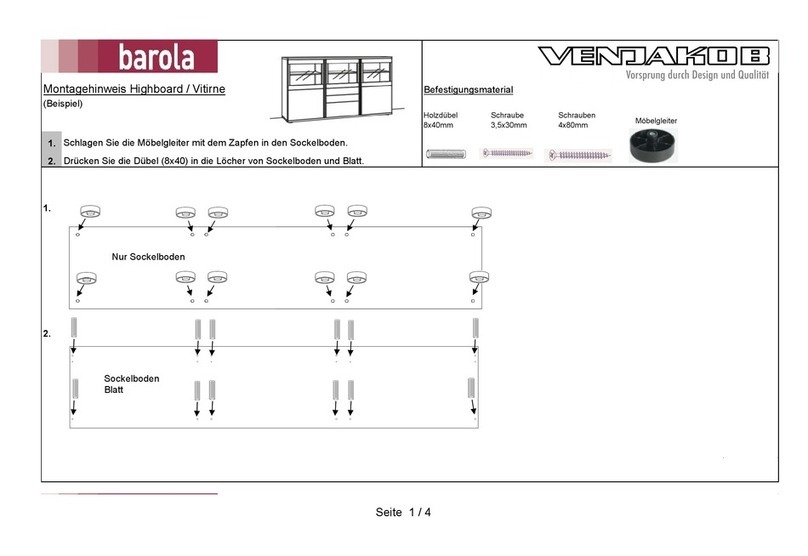
Venjakob 6645 User manual

Venjakob

Venjakob 6645 User manual

Venjakob 6555 User manual

Venjakob

Venjakob 6555 User manual
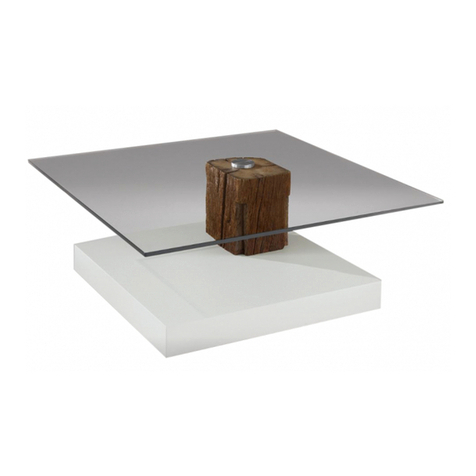
Venjakob 1421 User manual

Venjakob

Venjakob 1421 User manual

Venjakob CHIC 6725 User manual

Venjakob

Venjakob CHIC 6725 User manual

Venjakob Sentino 1888 User manual

Venjakob

Venjakob Sentino 1888 User manual

Venjakob 2086 User manual

Venjakob

Venjakob 2086 User manual

Venjakob 6342 User manual

Venjakob

Venjakob 6342 User manual

Venjakob Sentino User manual

Venjakob

Venjakob Sentino User manual

Venjakob 2390 User manual

Venjakob

Venjakob 2390 User manual

Venjakob 2822 User manual

Venjakob

Venjakob 2822 User manual

Venjakob 6645 User manual

Venjakob

Venjakob 6645 User manual

Venjakob 6133 User manual

Venjakob

Venjakob 6133 User manual

Venjakob 3772 User manual

Venjakob

Venjakob 3772 User manual

Venjakob 4275 User manual

Venjakob

Venjakob 4275 User manual

Venjakob 4331 User manual

Venjakob

Venjakob 4331 User manual

Venjakob 3023 User manual

Venjakob

Venjakob 3023 User manual

Popular Indoor Furnishing manuals by other brands

Homelegance SH2212-4 Assembly instruction

Homelegance

Homelegance SH2212-4 Assembly instruction

Crosley Furniture CO7166 manual

Crosley Furniture

Crosley Furniture CO7166 manual

Target new bedford TGNWBD2DBK Assembly instructions

Target

Target new bedford TGNWBD2DBK Assembly instructions

sweeek. CHICAGO XTSAF245R8 manual

sweeek.

sweeek. CHICAGO XTSAF245R8 manual

Next PARIS STORAGE BED SUPERKING Assembly instructions

Next

Next PARIS STORAGE BED SUPERKING Assembly instructions

Seconique SANTANA SEC/SH/11/23/DC1 Assembly instructions

Seconique

Seconique SANTANA SEC/SH/11/23/DC1 Assembly instructions

Teknik 5418269 Instruction booklet

Teknik

Teknik 5418269 Instruction booklet

Polini kids Simple 3000 Assembly instructions

Polini kids

Polini kids Simple 3000 Assembly instructions

HiB austin 9101900 Fixing instructions

HiB

HiB austin 9101900 Fixing instructions

Forte NMSB01 Assembling Instruction

Forte

Forte NMSB01 Assembling Instruction

Next MALVERN 128867 Assembly instructions

Next

Next MALVERN 128867 Assembly instructions

ROOMS TO GO KIDS FROZEN TWIN BED Assembly instructions

ROOMS TO GO

ROOMS TO GO KIDS FROZEN TWIN BED Assembly instructions

Royalcraft AMALFI IVORY Assembly instructions

Royalcraft

Royalcraft AMALFI IVORY Assembly instructions

CB2 Carmen Assembly instructions

CB2

CB2 Carmen Assembly instructions

Living & Co Tahoe Tall Boy 4 Drawer instruction manual

Living & Co

Living & Co Tahoe Tall Boy 4 Drawer instruction manual

Lifa Living LONDON HET.LL.0152.030 Series manual

Lifa Living

Lifa Living LONDON HET.LL.0152.030 Series manual

PW DESIGNER Series Assembly instructions

PW

PW DESIGNER Series Assembly instructions

Bestar 40183 Assembly instructions

Bestar

Bestar 40183 Assembly instructions

manuals.online logo
manuals.online logoBrands
  • About & Mission
  • Contact us
  • Privacy Policy
  • Terms and Conditions

Copyright 2025 Manuals.Online. All Rights Reserved.