manuals.online logo
Brands
  1. Home
  2. •
  3. Brands
  4. •
  5. Venjakob
  6. •
  7. Indoor Furnishing
  8. •
  9. Venjakob 2683 User manual

Venjakob 2683 User manual

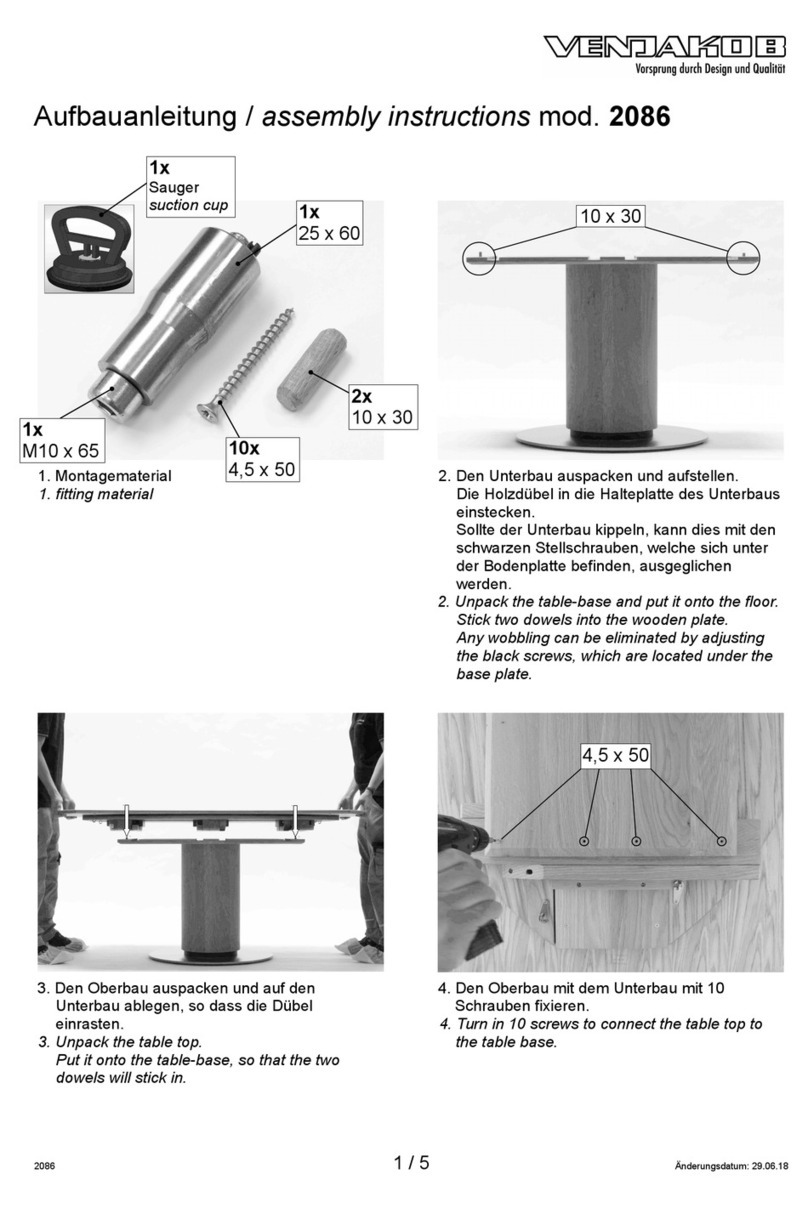
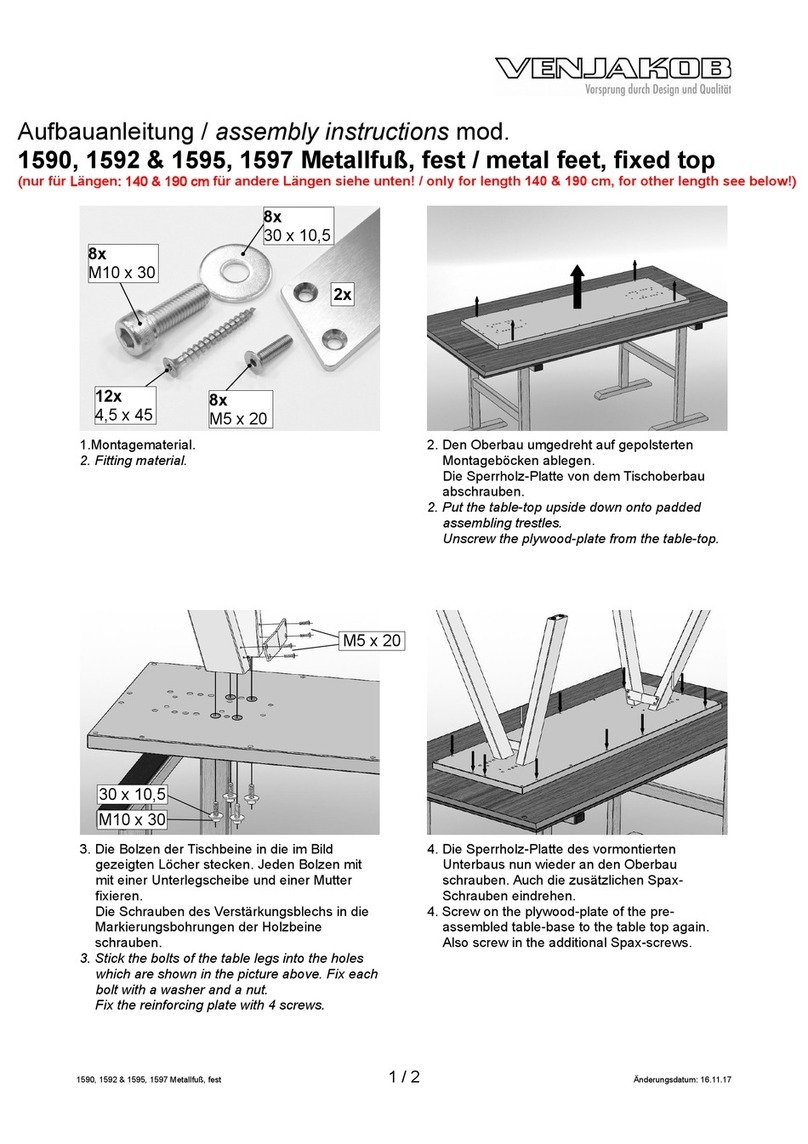
Aufbauanleitung / assembly instructions mod.
2683, 2684 mit Drehteller
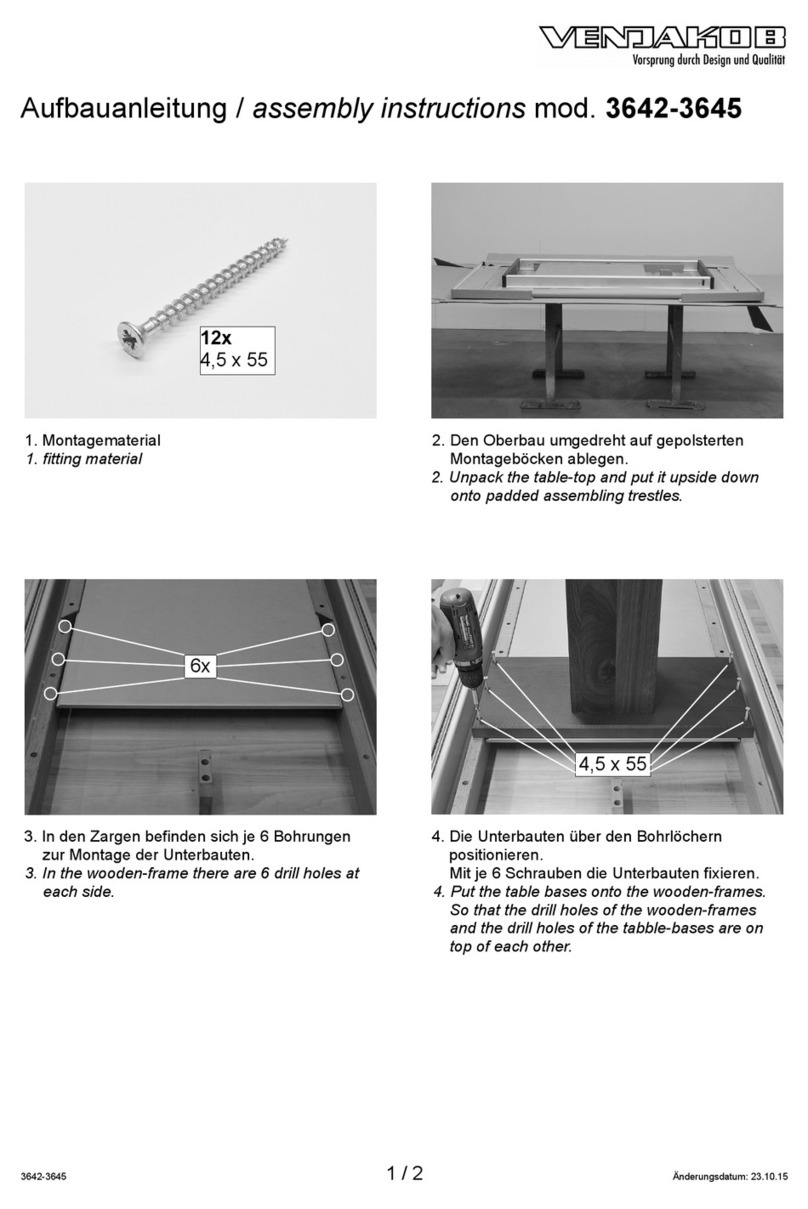
1.Montagematerial.
1. Fitting material.
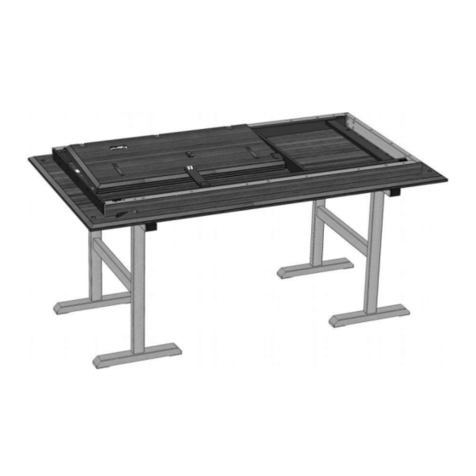
2. Den Oberbau umgedreht auf gepolsterten
Montageböcken ablegen.
2. Put the table-top upside down onto padded
assembling trestles.
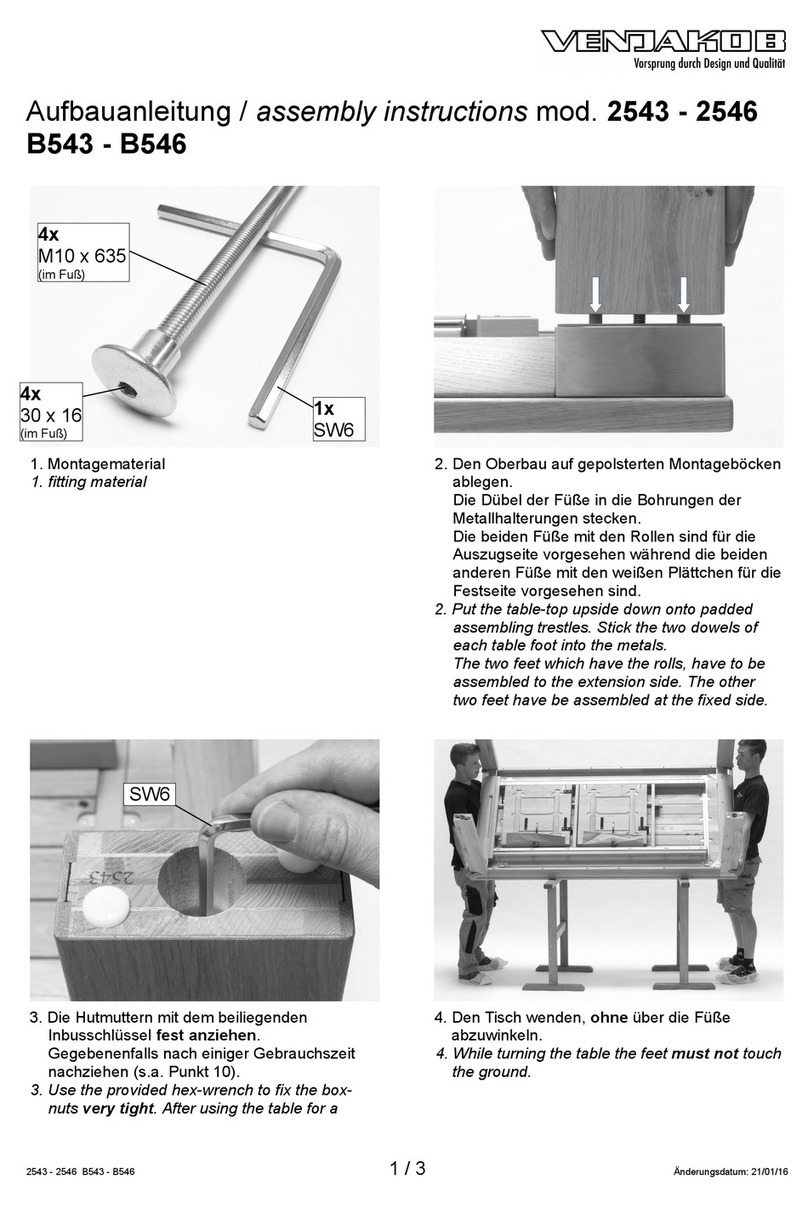
3. Die F ße mit den Bolzen in die Löcher der
Stahlplatte stecken.
3. Put the bolts of the legs into the steel plate.
2683, 2684 mit Drehteller 1 / 6 Änderungsdatum: 09.08.18
1x
25 x 60
1x
M10 x 65
1x
SW17
9x
M10
9x
30 x 10,5
2683 (d = 1280) 2684 (d = 1500)
4a. Die F ße mit je 2 Scheiben und je 2 Muttern
befestigen.
4a. Fix the table legs leg with each 2 washers
and 2 nuts.
4b. Die F ße mit je 3 Scheiben und je 3 Muttern
befestigen.
4b. Fix the table legs leg with each 3 washers
and 3 nuts.
5. Den Tisch wenden ohne die F ße zu belasten
und dann gleichzeitig alle 3 Tischbeine auf
dem Boden absetzen.
5. Turn the table right-side-up without using the
feet. Then put the table down on all 3 legs at
once.
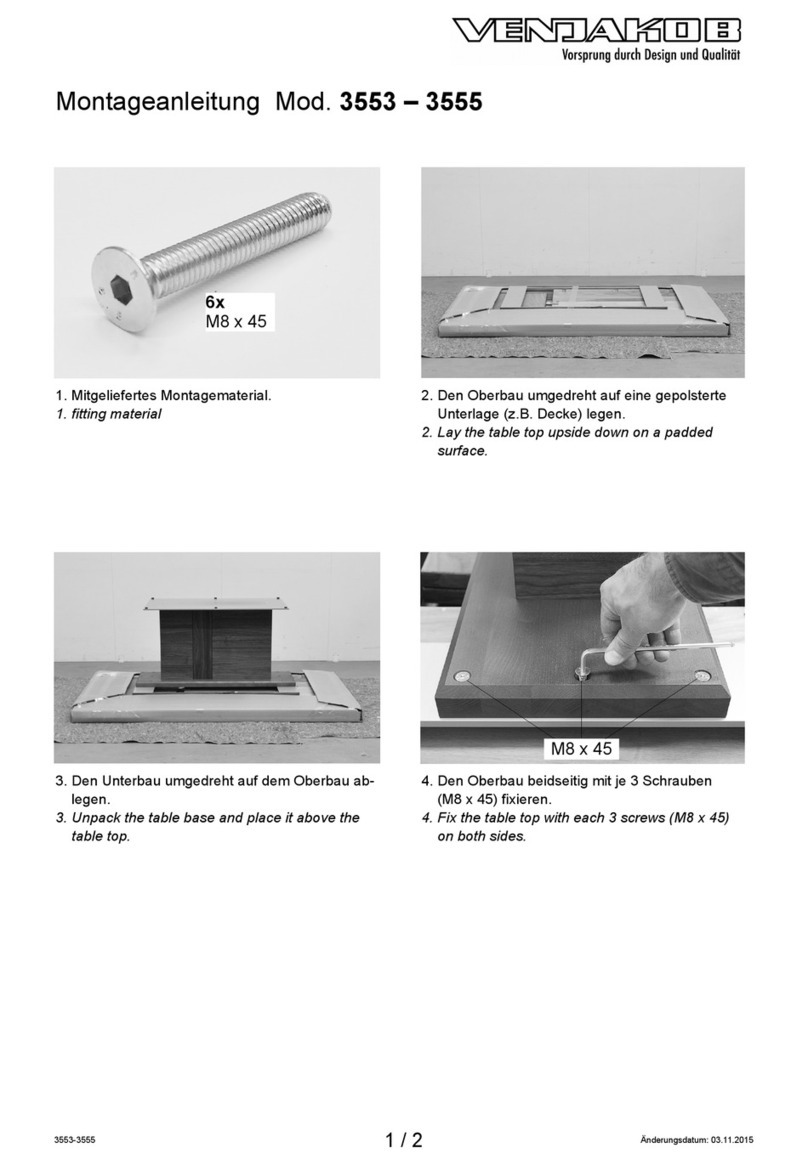
6. Den Drehteller umgedreht auf den gepolsterten
Montageböcken ablegen.
Den Bolzen in die Vertiefung stecken und mit
der Schraube fixieren.
6. Put the rotary plate upside down onto padded
assembling trestles.
Put the bolt into the ca ity and fix it with the
screw.
2683, 2684 mit Drehteller 2 / 6 Änderungsdatum: 09.08.18
!
2x 3x
M10
30 x 10,5
25 x 60
M10 x 65
SW8
7. Den Drehteller mit dem Bolzen in die Buchse
stecken.
7.Put the rotary plate with the bolt into the bush.
8. Pr fen, ob der Drehteller frei läuft und sich im
Zentrum der Platte befindet. Wenn nicht...
8.Check, if the rotary plate is freewheeling and if
it is in the middle of the plate. If not...
9. Unter dem Tisch befinden sich die Befestigungs- und Spannschrauben.
Die 4 Halteplatten-Befestigungsschrauben etwas lösen.
9. Below the table there are the mounting screws and the clamping screws.
Loosen the holding plate attachment screws a little.
2683, 2684 mit Drehteller 3 / 6 Änderungsdatum: 09.08.18
10. Die Befestigungsplatte mit einer Holz-Zulage
und einem Hammer vorsichtig ausrichten.
Anschließend die Befestigungsschrauben
wieder anziehen.
10. Cautiously adjust the mounting base by
using a log and a hammer.
Afterwards tighten the attachment screws
again.
11. Pr fen, ob sich der Drehteller gleichmäßig auf
der Höhe der Hauptplatte befindet. Bitte be-
achten Sie, dass ein Höhenunterschied von
bis zu 1,5 mm auf Grund der eingesetzten,
nat rlichen Werkstoffe unvermeidlich ist.
Wenn nicht...
11. Check, if the rotary plate is on the same
height as the main plate. Please note that a
difference in height up to 1,5 mm can not be
a oided because the basic materials are
natural.
If not...
Zum Grundsätzlichen Verständnis der
Höheneinstellung:
Die Buchse des Drehtellers wird durch 4
Befestigungschrauben und 4 Spannschrauben
gehalten. Die Gewinde aller Schrauben haben
eine sogenannte Steigung von 1,0 mm pro
ganzer Drehung. Daraus folgt, dass wenn alle
Befestigungsschrauben gleichmäßig eine ganze
Umdrehung heraus gedreht werden, sich der
Drehteller um 1 mm absenkt. Durch das teilweise
Justieren der Schrauben kann der Drehteller in
der Höhe und in der Neigung ausgerichtet
werden.
Basic understanding of the hight
adjustment mechanism:
The bush of the rotary plate is fixed by 4
mounting screws and 4 clamping screws. All of
the screws ha e threads with a pitch of 1 mm per
whole turn. Therefore if all of the mounting
screws will be turned out 1 turn, the rotary plate
will sink 1 mm. By turning the screws partially, the
rotary plate can be adjusted to the hight and to
the
2683, 2684 mit Drehteller 4 / 6 Änderungsdatum: 09.08.18
Holzklotz
log of wood
Drehteller absenken / to sink the rotary plate:
12a. Die Spannschrauben herausdrehen
(z.B. 0,5 Umdrehungen = 0,5 mm
Absenkung).
12a. Turn out the clamping screws (e.g.
0,5 turns = 0,5 mm sinking).
12b. Die Befestigungsschrauben nun
wieder anziehen (eindrehen).
12b. Fix (turn in) the mounting screws
again.
Drehteller anheben / to lift the rotary plate:
13a. Die Befestigungsschrauben heraus-
drehen (z.B. 0,5 Umdrehungen =
0,5 mm Anhebung).
13a. Turn out the mounting screws (e.g.
0,5 turns = 0,5 mm lifting).
13b. Die Spannschrauben nun
eindrehen.
13b. Turn in the clamping screws.
2683, 2684 mit Drehteller 5 / 6 Änderungsdatum: 09.08.18
14. Fertiger Esstisch
14. Finsished table.
2683, 2684 mit Drehteller 6 / 6 Änderungsdatum: 09.08.18

This manual suits for next models

1

Other Venjakob Indoor Furnishing manuals

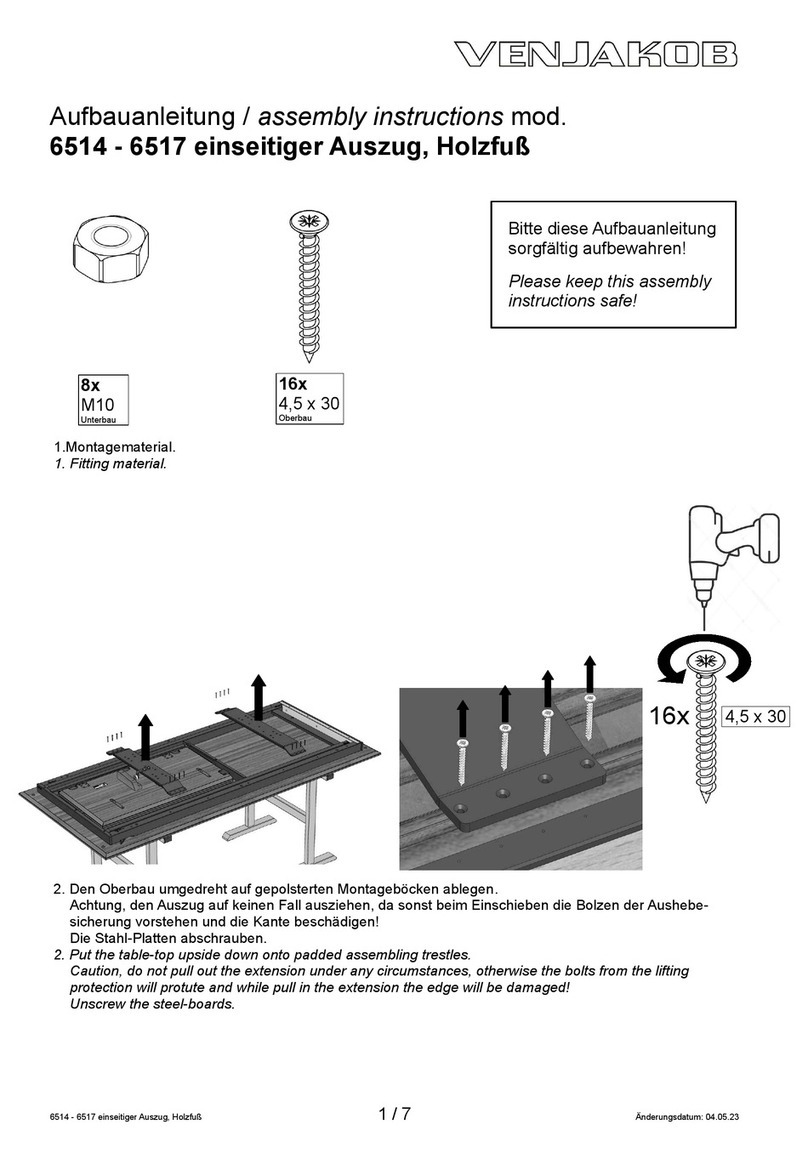
Venjakob 6514 User manual

Venjakob

Venjakob 6514 User manual

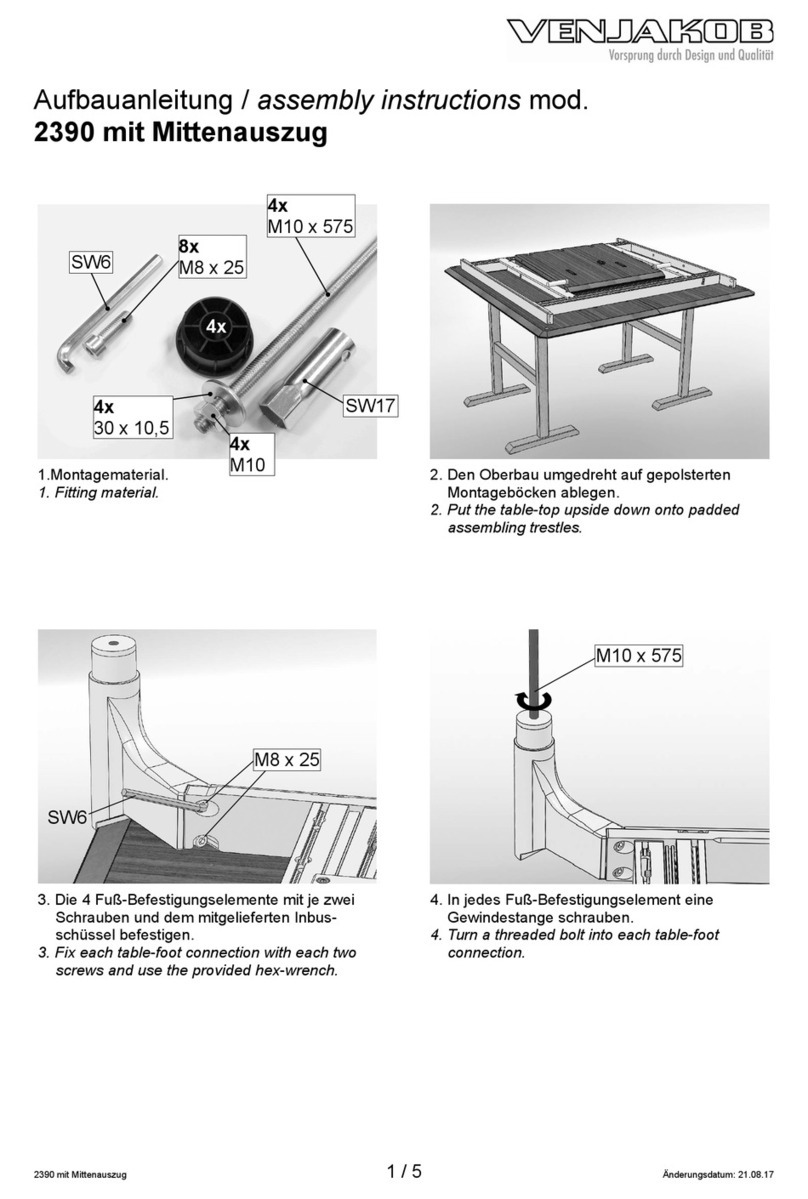
Venjakob 5612-5614 User manual

Venjakob

Venjakob 5612-5614 User manual

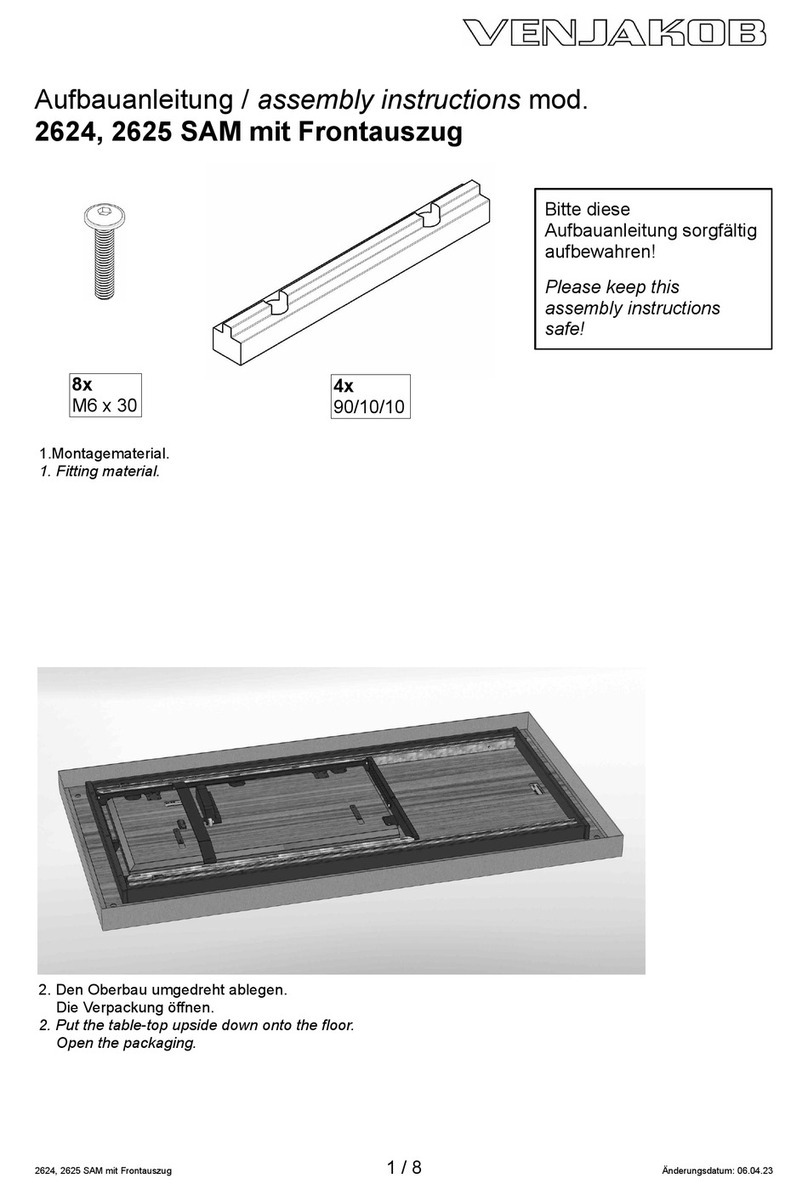
Venjakob NEXT LEVEL 3000 User manual

Venjakob

Venjakob NEXT LEVEL 3000 User manual

Venjakob 6342 User manual

Venjakob

Venjakob 6342 User manual

Venjakob Sentino User manual

Venjakob

Venjakob Sentino User manual
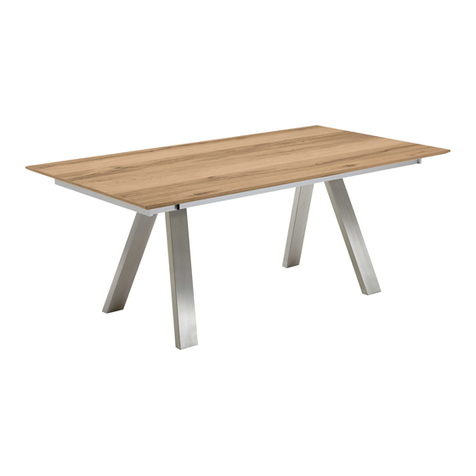
Venjakob Impuls single bench P3 User manual

Venjakob

Venjakob Impuls single bench P3 User manual

Venjakob Impuls corner bench P3 User manual

Venjakob

Venjakob Impuls corner bench P3 User manual

Venjakob 2364 User manual

Venjakob

Venjakob 2364 User manual

Venjakob P8 User manual

Venjakob

Venjakob P8 User manual

Venjakob 3642 User manual

Venjakob

Venjakob 3642 User manual

Venjakob 1590 User manual

Venjakob

Venjakob 1590 User manual
Venjakob 6555 User manual

Venjakob

Venjakob 6555 User manual

Venjakob 4107 User manual

Venjakob

Venjakob 4107 User manual

Venjakob 2253 User manual

Venjakob

Venjakob 2253 User manual

Venjakob 1590 User manual

Venjakob

Venjakob 1590 User manual
Venjakob 2057 User manual

Venjakob

Venjakob 2057 User manual

Venjakob 1630 User manual

Venjakob

Venjakob 1630 User manual

Venjakob 4275 User manual

Venjakob

Venjakob 4275 User manual

Venjakob 6665 User manual

Venjakob

Venjakob 6665 User manual

Venjakob CHIC 6725 User manual

Venjakob

Venjakob CHIC 6725 User manual

Venjakob 4108 User manual

Venjakob

Venjakob 4108 User manual

Venjakob 1630 User manual

Venjakob

Venjakob 1630 User manual

Venjakob 4316 User manual

Venjakob

Venjakob 4316 User manual

Venjakob 2543 User manual

Venjakob

Venjakob 2543 User manual

Popular Indoor Furnishing manuals by other brands

U-Line H-8447 manual

U-Line

U-Line H-8447 manual

Rauch M1771 Assembly instructions

Rauch

Rauch M1771 Assembly instructions

Next ARDEN D22058 Assembly instructions

Next

Next ARDEN D22058 Assembly instructions

ROOMS TO GO 2601-2 Assembly instructions

ROOMS TO GO

ROOMS TO GO 2601-2 Assembly instructions

U-Line H-3734 manual

U-Line

U-Line H-3734 manual

MOEBE Toilet Roll Holder Assembly instructions

MOEBE

MOEBE Toilet Roll Holder Assembly instructions

tikamoon SID0065 Assembly instructions

tikamoon

tikamoon SID0065 Assembly instructions

fantastic furniture Bloc manual

fantastic furniture

fantastic furniture Bloc manual

Adler Europe AD 2159 user manual

Adler Europe

Adler Europe AD 2159 user manual

Asset Haworth Comforto 89 instruction manual

Asset

Asset Haworth Comforto 89 instruction manual

Ironwood GLACIER CD6029 quick start guide

Ironwood

Ironwood GLACIER CD6029 quick start guide

Lightolier FIXTURE SH20330 Instructions for installation

Lightolier

Lightolier FIXTURE SH20330 Instructions for installation

Next 404759 Assembly instructions

Next

Next 404759 Assembly instructions

COLAMY 2219 manual

COLAMY

COLAMY 2219 manual

Notável Móveis NT 1290 Assembly instructions

Notável Móveis

Notável Móveis NT 1290 Assembly instructions

il Tutto bambino GiGi quick start guide

il Tutto bambino

il Tutto bambino GiGi quick start guide

Mäusbacher Komfort C 0780-TP 160-260 Assembly instructions

Mäusbacher

Mäusbacher Komfort C 0780-TP 160-260 Assembly instructions

Furniture of America CM3920T-5PK Assembly instructions

Furniture of America

Furniture of America CM3920T-5PK Assembly instructions

manuals.online logo
manuals.online logoBrands
  • About & Mission
  • Contact us
  • Privacy Policy
  • Terms and Conditions

Copyright 2025 Manuals.Online. All Rights Reserved.