Veriton VN6660G User manual

I
Veriton VN6660G/4660G Mini PC
Lifecycle Extension Guide
EPEAT Lifecycle Extension Guide V1.00
20191219

Disassembly Procedures ......................................................................................................................... 3
Troubleshooting ................................................................................................................................... 36
Exploded Diagrams ............................................................................................................................... 39
FRU (Field Replaceable Unit) List .......................................................................................................... 40
To update your software ...................................................................................................................... 41
To remove your personal data ............................................................................................................. 41

3
Disassembly Procedures
Safety Guidelines
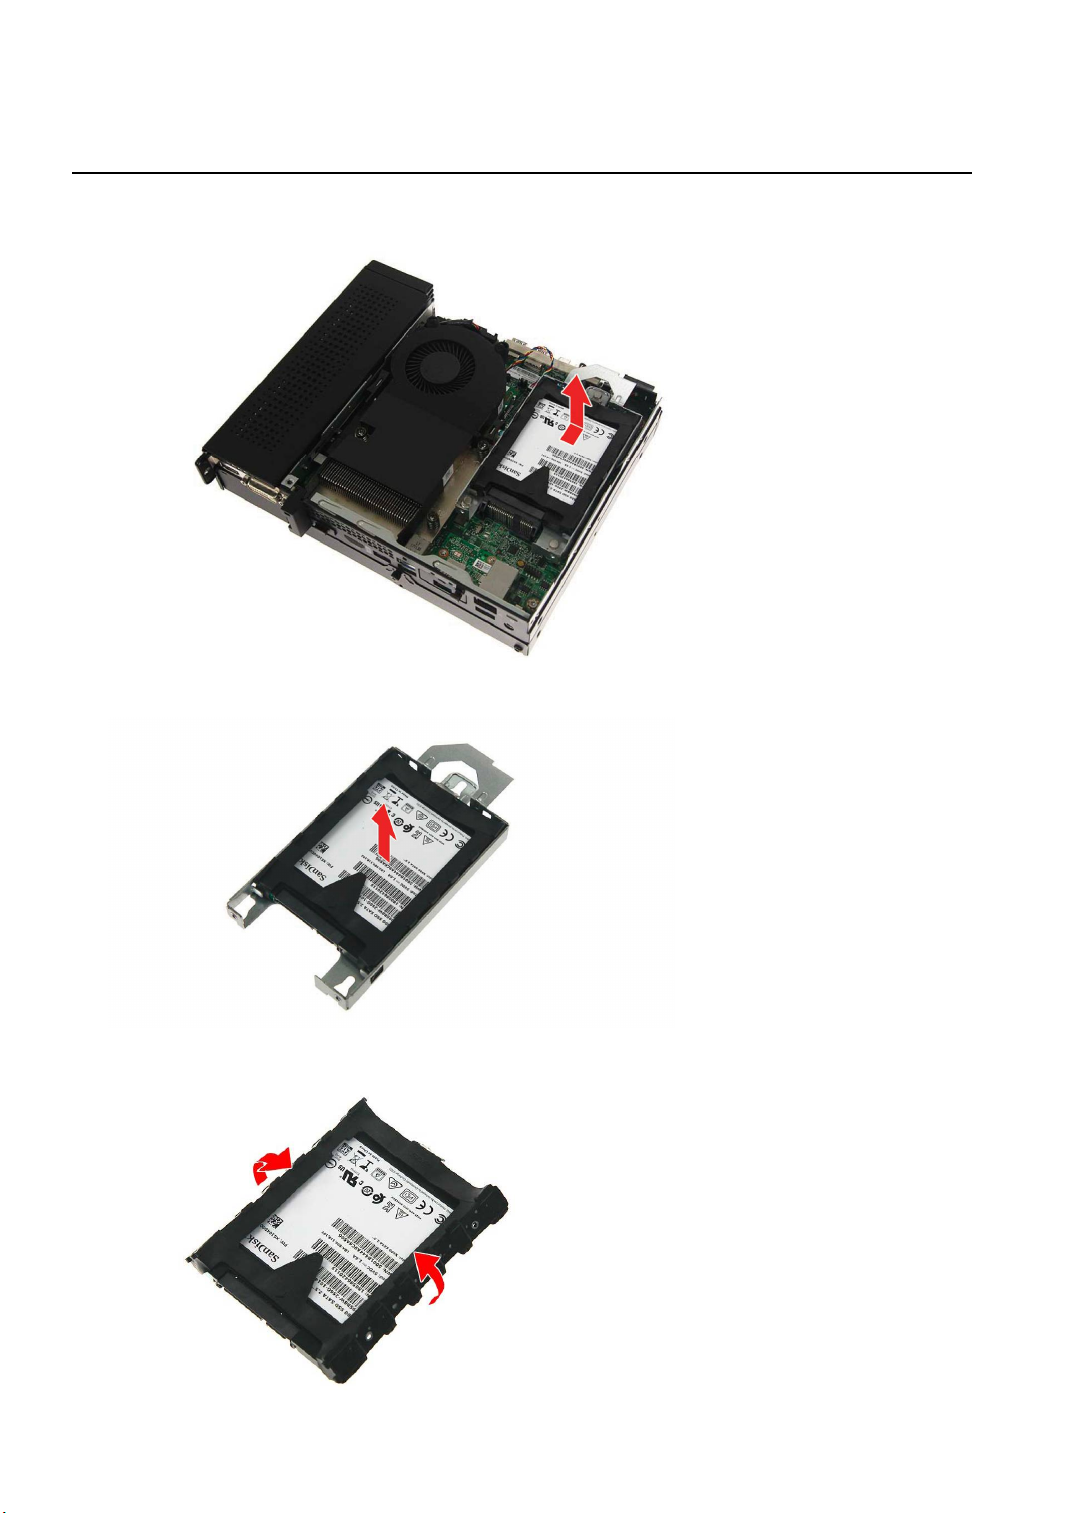
This chapter contains step by step procedures on how to remove and de-install components from
the computer. Use the following safety guidelines to ensure your personal safety. Each procedure
included in this chapter assumes that you are preparing your computer for recycling and disposal.
By performing any of these procedures you acknowledge that any remaining warranty applicable
to your computer will be voided. Before you start any of the procedures in this chapter, make sure
to read the following safety guidelines and the respective instructions within the chapter.
CAUTION!
Turn off your computer and disconnect all power sources before opening the computer cover
or panels.
To avoid electrostatic discharge, ground yourself by using a wrist grounding strap or by
periodically touching an unpainted metal surface at the same time as touching a connector on
the back of the computer.
Take off any metal objects on your arms or fingers such as bracelets, rings or watches and
make sure your hands are completely dry. Even if your unit is unplugged, there may still be
some remaining electric charge.
If a component does not come out easily, do not forcefully remove it. Instead, check that you
are removing it correctly and that no wires or other parts are in the way.
When you disconnect a cable, pull on its connector or on its pull-tab, not on the cable itself.
Some cables have connectors with locking tabs; if you are disconnecting this type of cable,
press in on the locking tabs before you disconnect the cable.
Recommended Equipment
The following equipment are recommended to do the following maintenance procedures:
Wrist grounding strap and conductive mat
Flat screwdriver
Philips screwdriver
Polydrive screwdriver
Plastic tweezers
Flat plastic pry

4
NOTE
:
WEEE Annex VII Component
These
components are classified as requiring selective treatment.
Pre-disassembly Instructions
Do the following prior to starting any maintenance procedures:
1.
Place the system on a stable work surface.
2.
Remove AC power cord from the system and peripherals
3.
Remove all cables from the system.
Make sure the system is completely powered off.

5
Chassis Door Removal
1. Remove the Chassis Cover
1.1. Remove the thumbscrew securing the chassis cover to the chassis.
1.2. Detach the chassis cover from the chassis.

6
HDD Removal
2. Remove the HDD
2.1. Slide the HDD module out of the chassis.
2.2. Detach the HDD from the bracket.
2.3. Detach the rubber gaskets from the HDD.

7
SSD Module Removal
3. Remove the SSD modules
3.1. Disconnect the plastic tab securing the SSD1 module to the mainboard.
3.2. Remove the SSD module from the mainboard.
Note:
WEEE Annex VII component. A circuit board >10 cm2 has been highlighted with the yellow
rectangle as shown above. Please follow local regulations for disposal of detached circuit boards.

8
3.3. Detach the thermal pad from the SSD1 module.
3.4. Repeat Steps 3.1~3.3 to remove SSD2 module.

9
WLAN Module Removal
4. Remove the WLAN module
4.1. Remove the screw securing the WLAN module to the mainboard.
4.2. Detach the WLAN bracket from the WLAN module.

10
4.3. Disconnect the WLAN antenna cables from the WLAN module.
NOTE: For reference during machine reassembly, note which cable color corresponds to the main and auxiliary
connectors.
4.4. Remove the WLAN module from the mainboard.
Note:
WEEE Annex VII component. A circuit board >
10 cm2 has been highlighted with the yellow
rectangle as shown above. Please follow local regulations for disposal of detached circuit boards.

11
Optional Port Module Removal
5. Remove the Optional Port Module (Display Port / HDMI / D-SUB / USB Type A/C)
5.1. Remove the two screws securing the optional port module to the mainboard.
5.2. Detach the optional port module from the mainboard.

12
5.3. Remove the screw securing the optional port module to the port bracket.
5.4. Remove the optional port module from the bracket.
Note:
WEEE Annex VII component. A circuit board >10 cm2 has been highlighted with the yellow
rectangle as shown above. Please follow local regulations for disposal of detached circuit boards.

13
Heatsink Fan Removal
6. Remove the Heatsink Fan
6.1. Disconnect the heatsink fan cable from the mainboard.
6.2. Detach the heatsink fan from the mainboard.

14
Memory Module Removal
7. Remove the Memory modules
7.1. Release the latch on both sides of the DIMM slot (1) and remove the DIMM module from the slot (2).
Note:
WEEE Annex VII component. A circuit board >10 cm2 has been highlighted with the yellow
rectangle as shown above. Please follow local regulations for disposal of detached circuit boards.
7.2. Repeat Step 7.1 to remove the remaining memory module.

15
Thermal Module Removal
WARNING: The heatsink becomes very hot when the system is on. Wait for the heatsink to cool off before
proceeding with below steps.
8. Remove the Thermal Module
8.1. Loosen the four (4) captive screws securing the thermal module to the mainboard.
8.2. Remove the thermal module from the mainboard.

16
CPU Removal
IMPORTANT: Before removing the CPU from the mainboard, make sure to create a backup file of all important
data.
WARNING: The CPU becomes very hot when the system is on. Allow it to cool off first before handling.
9. Remove the CPU
9.1. Press the load lever and move it to the right to release the load lever from the retention tab.
9.2. Pull the load lever to release the CPU cover plate from the retaining post.

17
9.3. Open the CPU cover plate.
9.4. Lift the CPU from the socket.
Note:
WEEE Annex VII component. A circuit board >
10 cm2 has been highlighted with the yellow
rectangle as shown above. Please follow local regulations for disposal of detached circuit boards.

18
Speaker Removal
10. Remove the Speaker
10.1. Disconnect the speaker cable from the mainboard.
10.2. Detach the speaker from the chassis.

19
Expansion Box 2 Cover Removal
11. Remove the Expansion Box 2 Cover
11.1. Remove the security torx screw securing the expansion box 2 cover to the expansion box.
11.2. Detach the expansion box 2 cover from the expansion box.

20
VGA Card Removal
12. Remove the VGA Card
12.1. Remove the VGA card from its slot.
Note:
WEEE Annex VII component. A circuit board >
10 cm2 has been highlighted with the yellow
rectangle as shown above. Please follow local regulations for disposal of detached circuit boards.
This manual suits for next models
1
Table of contents
Other Veriton Desktop manuals