To contact Vertiv Technical Support: visit www.VertivCo.com
© 2018 Vertiv Co. All rights reserved. Vertiv and the Vertiv logo are trademarks or registered trademarks of Vertiv Co. All other names and logos referred to are trade names,
trademarks or registered trademarks of their respective owners. While every precaution has been taken to ensure accuracy and completeness herein, Vertiv Co. assumes no
responsibility, and disclaims all liability, for damages resulting from use of this information or for any errors or omissions. Specifications are subject to change without notice.
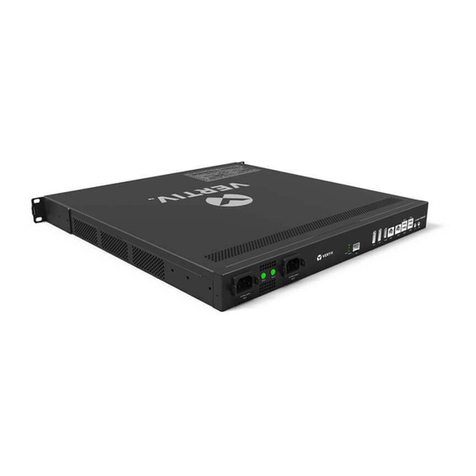
VertiV™ intelligence rDU gateway
Quick Installation Guide
2 590-1976-501A
PUBLIC
MANAGEMENT
NETWORK
1
23
4
CUSTOM SETUP
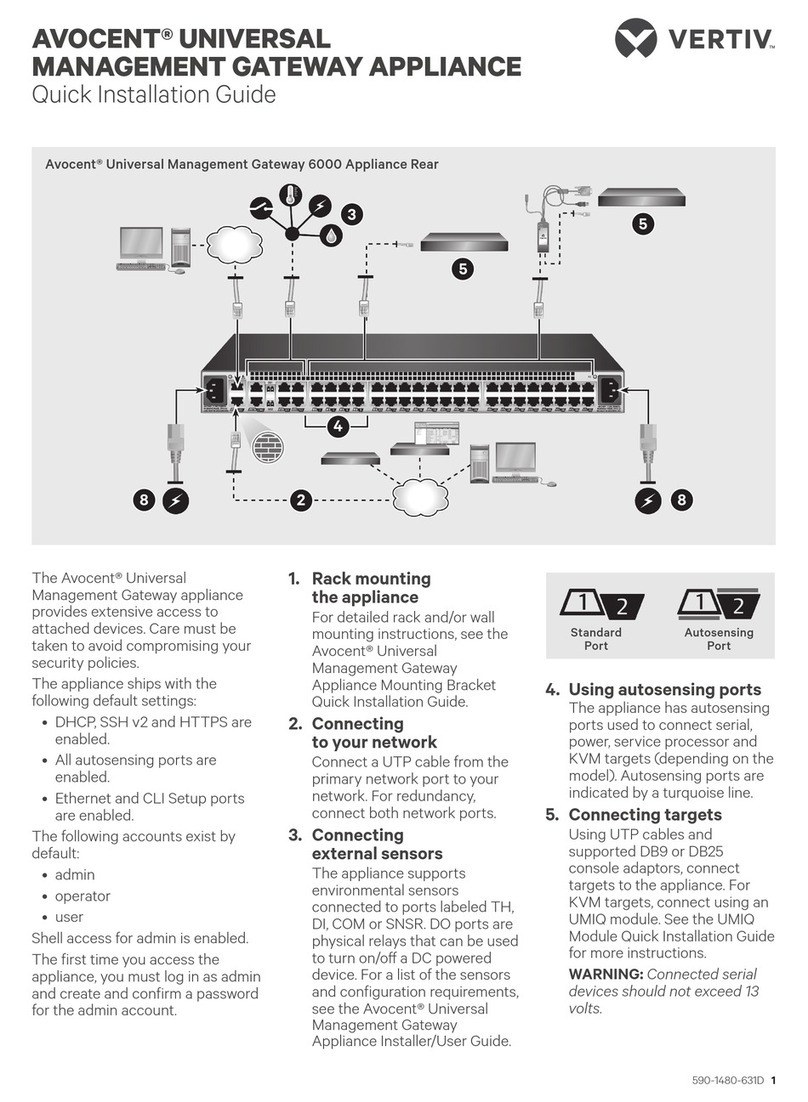
1. Connecting the RDU
gateway to the network
Connect an Ethernet cable from
the network with access to the
Vertiv™ Intelligence portal
(Public) to the LAN1 port on the
gateway. Connect another
Ethernet cable from the private/
device network (Management
Network) to the LAN2 port on
the gateway.
NOTE: If the networks are the
same, connect to LAN1 only.
2. Connecting power
Plug one end of the supplied
power cord into the gateway
and the other end into the
appropriate AC outlet.
3. Connecting the monitor
Connect the HDMI cable from
the monitor to the HDMI or
DisplayPort connector.
4. Connecting USB devices
Insert the Bluetooth adaptor
and the USB keyboard cables
into gateway USB ports.
ASSIGNING THE STATIC IP
ADDRESS
The gateway receives its IP
address from a DHCP service by
default. The Command Line
Interface (CLI) may be used to
modify the network; log in by
entering admin as the username
and password.
NOTE: To change the password,
select Account Service Information
- Account Configuration - Change
Password in the CLI. Or, browse to
https://<IPaddress> and change
the password from the Home menu.
Configuring the gateway
At the CLI Home screen prompt,
select Ethernet Interfaces
Information, then select the
following options:
a. Select enp2s0 (LAN1) for
network management, or
select enp3s0 (LAN2) for
connected device networks.
b. Select UPDATE IPv4 Settings
and enter IPv4 address data.
c. Select UPDATE Name Servers
if you wish to modify the DNS
server address.
Restarting the gateway
Enter zero (0) at each prompt to
return to the Home screen. Select
Chassis Information then select
Reboot.
NOTE: If you choose to shutdown,
power must be restored to the
gateway before it will restart.
NOTE: The web interface is
unavailable during the short time it
takes for the gateway to initialize
the Network Interface Cards.
Completing setup
Follow steps 4-5 on page 1.
Vertiv™ Intelligence Gateway Customized Configuration
TECHNICAL SUPPORT
For RDU gateway support, visit
www.VertivCo.com/RDU300/support
or call (888)-793-8763.


