®
MISE EN GARDE :
FAITES PREUVE DE PRUDENCE LORS DE L’INSTALLATION. UTILISEZ UN ESCABEAU OU UNE ÉCHELLE.
WARNING:
EXERCISE CAUTION WHEN INSTALLING. USE A STEPLADDER OR A LADDER.
1
AN
YEAR
GARANTIE
WARRANTY
V2207
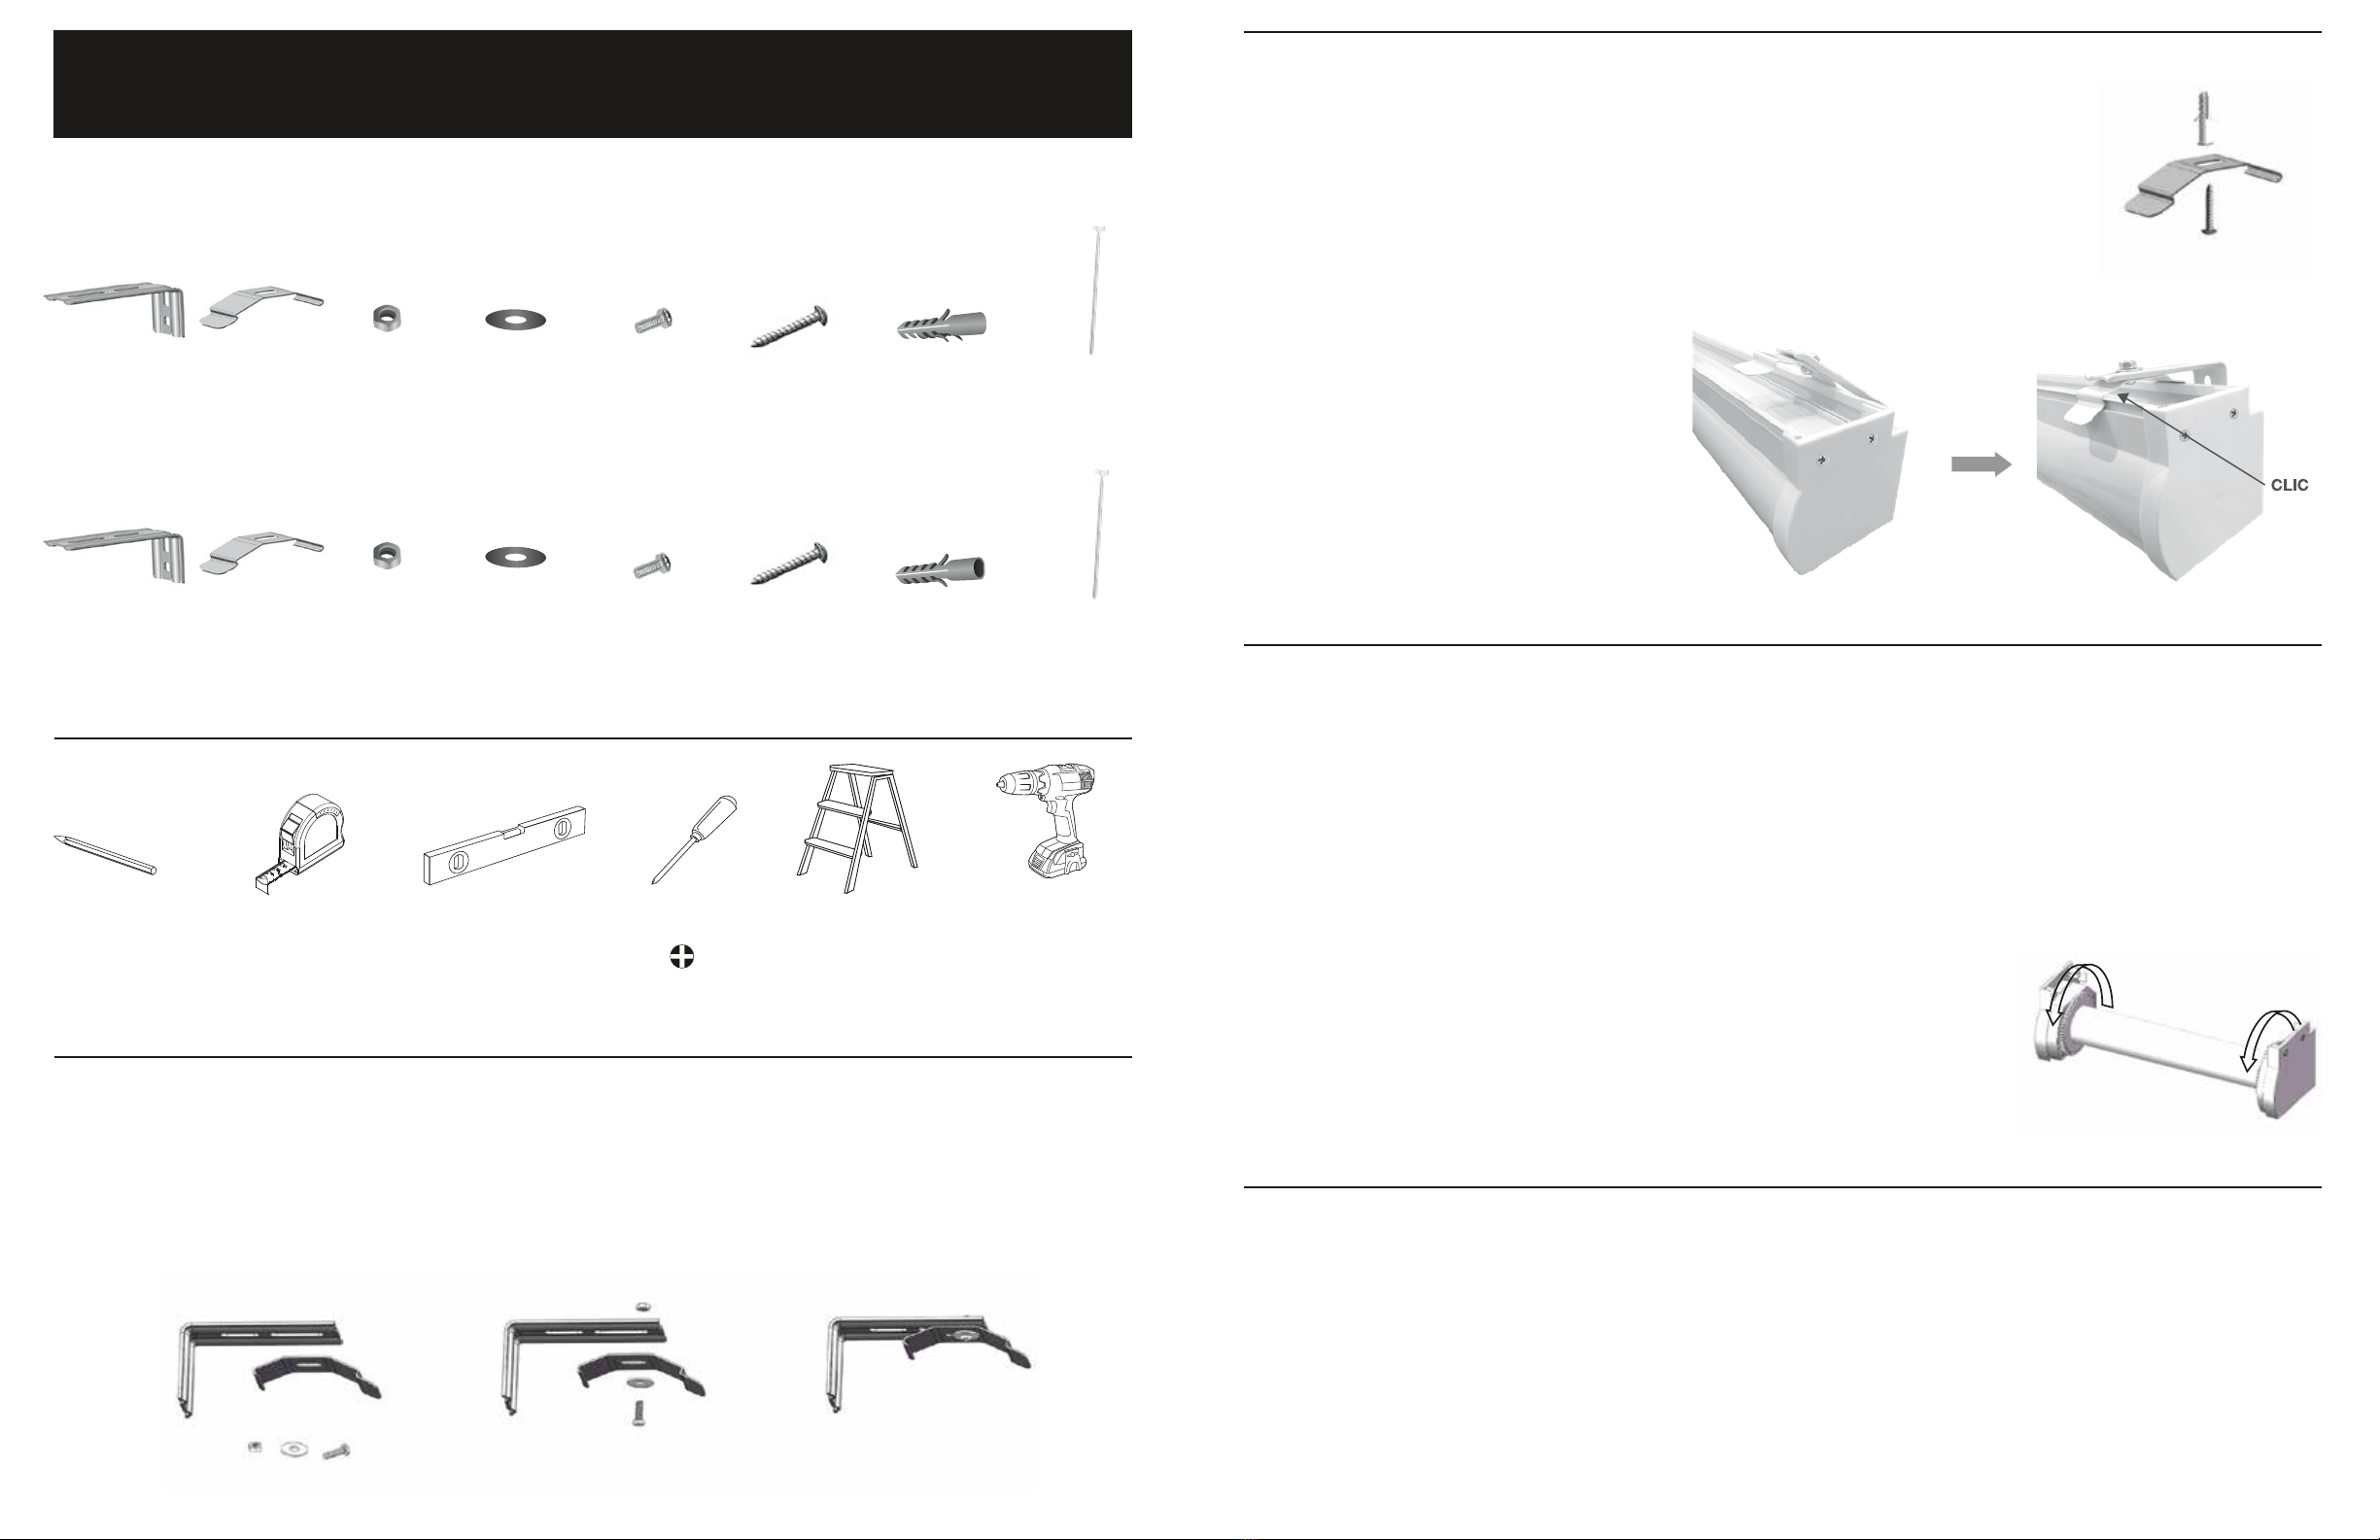
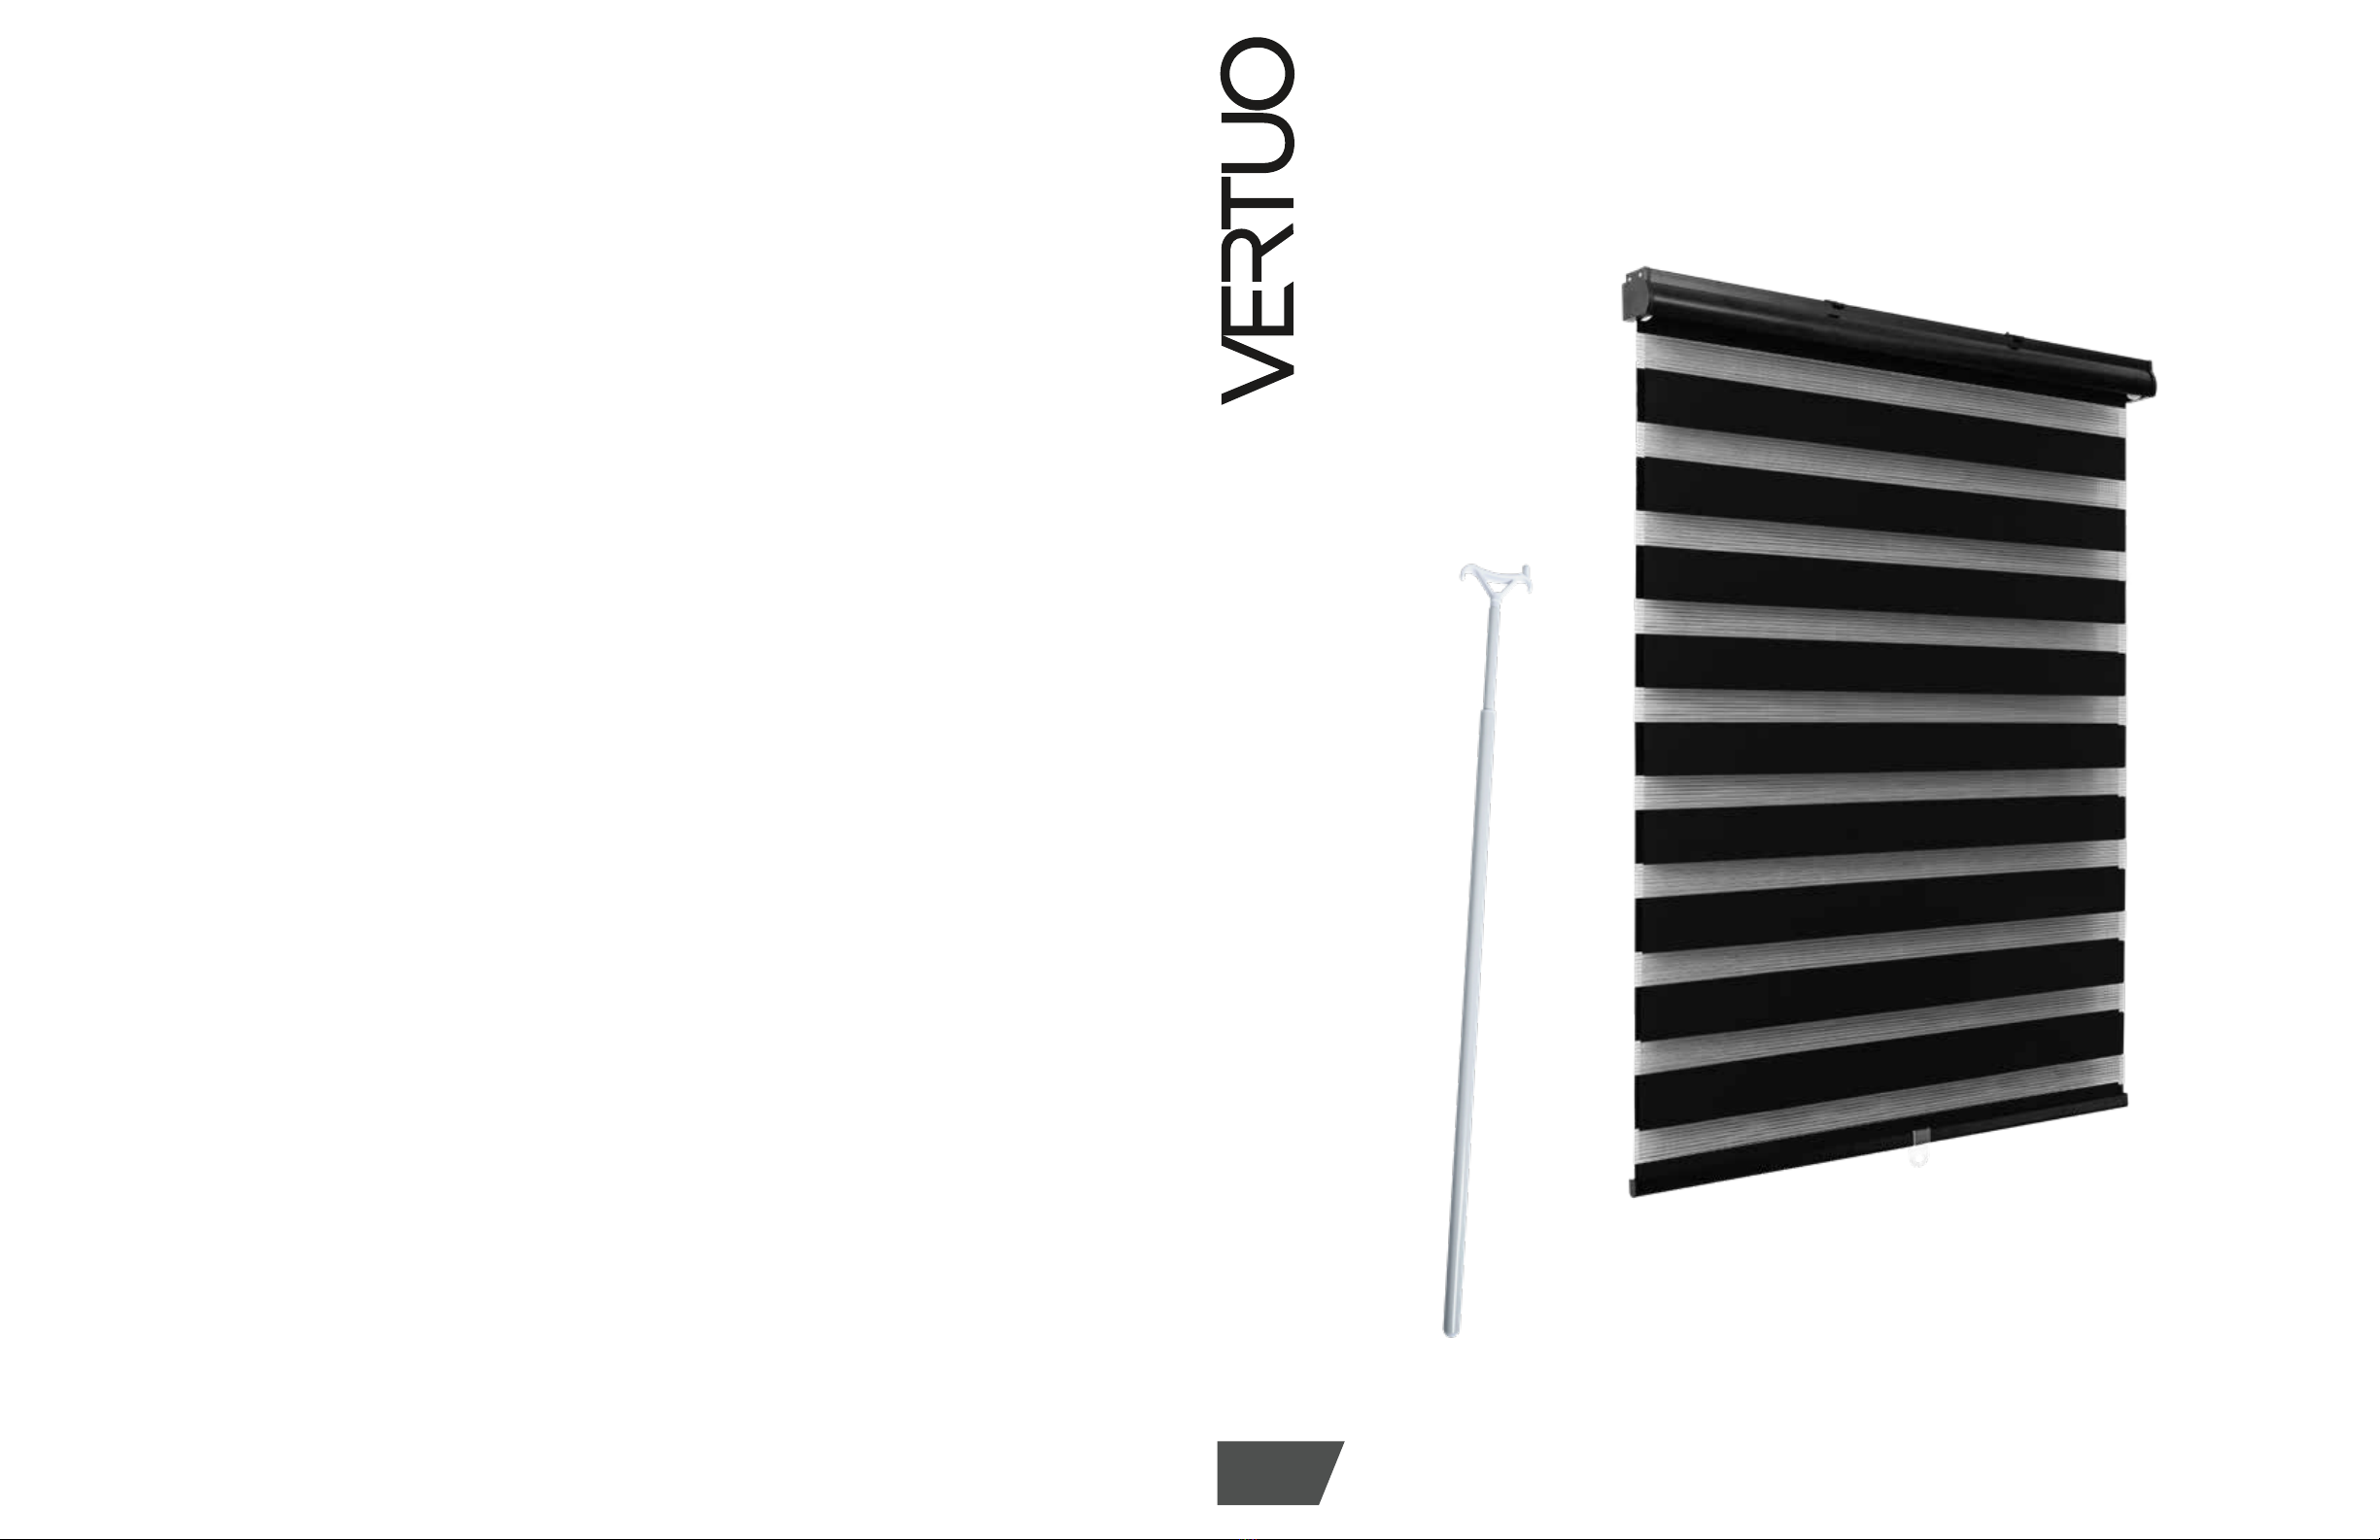
GUIDE D’INSTALLATION
INSTALLATION GUIDE
11002646 - 11002647 - 11002648 - 11002649 - 11002650 - 11002651 - 11002652 - 11002653 - 11002654 -
11002655 - 11002656 - 11002657 - 11002658 - 11002659 - 11002660 - 11002661 - 11002662 - 11002663 -
11002664 - 11002665 - 11002666 - 11002667
NOVELCA
5355, boul. des Gradins, Québec (Québec) Canada G2J 1C8
GARANTIE LIMITÉE D’UN AN
NOVELCA offre une garantie limitée au présent produit (le « Produit »),
et ce, pour une durée d’un (1) an à compter de la date d’achat du
Produit, aux conditions ci-édictées.
La présente Garantie limitée ne s’applique qu’à l’acheteur original du
Produit et elle ne peut être cédée ni transférée.
La présente Garantie limitée n’a pas pour effet d’exclure, restreindre,
limiter ou modifier la garantie légale accordée par la loi à l’acheteur
du Produit.
S’il s’avérait que le Produit présente un vice de fabrication ou qu’une ou
plusieurs pièces du Produit soient défectueuses, le détaillant du
Produit remplacera ou réparera, à sa seule discrétion, la ou les pièces
défectueuses ou le Produit, selon le cas, le tout sans frais et aux conditions
cumulatives suivantes : 1) l’acheteur doit s’adresser au détaillant auprès
de qui il a effectué son achat; 2) l’acheteur doit remettre au détaillant
la ou les pièces défectueuses ou encore le Produit; 3) l’acheteur doit
remettre au détaillant la facture comme preuve de son achat et de la date
de cet achat; 4) l’acheteur doit fournir des informations d’identification
du Produit, notamment, le numéro de série ou le numéro de modèle;
et 5) la période d’un (1) an couverte par la présente Garantie limitée ne
doit pas être expirée. Si le détaillant décide de remplacer la ou les
pièces défectueuses, la ou les pièces de remplacement seront neuves
ou remises à neuf équivalentes à des pièces neuves. La présente garantie
ne crée aucune autre obligation à l’égard du fournisseur de la garantie
que celles explicitement décrites ci-haut.
La présente Garantie limitée ne s’applique pas : 1) aux pièces
consomptibles; 2) à l’usure normale; 3) lorsque le Produit est utilisé à
des fins autres que celles déterminées au guide d’utilisation (s’il en
existe un); 4) lorsque le numéro de série ou autres identifiants du
Produit sont oblitérés ou supprimés; 5) aux dommages purement
esthétiques et n’affectant pas l’usage normal du Produit; 6) lorsque les
dommages, défectuosités, défauts ou autres problèmes sont causés par :
a) un entretien inadéquat du Produit; b) une mauvaise installation ou
un mauvais assemblage du Produit ou une installation ou un assemblage
non conformes au guide d’installation ou au guide d’utilisation (s’il en
existe un); c) une modification, une réparation ou un démontage
apportés au Produit par une personne non autorisée par le détaillant
ou le fabricant; d) le transport par l’acheteur, ses commettants, préposés
ou mandataires; e) une négligence de l’acheteur, ses commettants,
préposés ou mandataires; f) un accident; g) un cas de force majeure ou
encore tout événement non imputable au Produit lui-même.
VERSION FRANÇAISE ET VERSION ANGLAISE
En cas de conflits entre la version française et la version anglaise du texte
de la présente Garantie limitée, la version française a préséance.
ONE-YEAR LIMITED WARRANTY
NOVELCA offers a limited warranty for this product (hereafter: the
“Product”) for one (1) year from the date of purchase of this Product,
with the conditions set out below.
This limited warranty is valid only for the original purchaser of the
Product and it may not be transferred.
The present limited warranty is not meant to exclude, restrict, limit or
modify the legal warranty given by law to the purchaser of the Product.
If the Product contains a manufacturing defect or if one or more parts of
the Product is defective, the retailer commits to replace or repair, at its
sole discretion, the defective part or parts without charge under the
following cumulative conditions: 1) the purchaser must contact the retail
store where the Product was purchased; 2) the purchaser must return
the defective part or parts or the Product to the retailer; 3) the purchaser
must provide the retailer the invoice as proof of purchase and date of
purchase of the Product; 4) the purchaser must supply the Product
identification information, including the serial number or the model
number; and 5) the period of one (1) year covered by this limited
warranty must not be expired. If the retailer decides to replace the defective
part or parts, the replacement part or parts would be new or reconditioned,
equivalent to new parts. The present limited warranty does not create
any other obligation with the provider of the guarantee than those
explicitly described above.
This limited warranty is not applicable: 1) to consumable parts; 2) to normal
wear; 3) when the Product is used for other purposes than what is
described in the user guide (if any); 4) when the serial number or other
identification information of the Product is erased or withdrawn;
5) to damages that are only aesthetic and do not affect the normal use
of the Product; 6) when the damages, defects, faults or other problems
arise from: a) an inadequate maintenance of the Product; b) a faulty
installation or assembly of the Product or an installation or assembly that is
not in accordance with the user or installation guide (if one is provided);
c) a modification, a repair or dismantling of the Product by a person not
authorized by the retailer or the manufacturer; d) the transportation
by the purchaser, his employee, officer or representative; e) a negligence
by the purchaser, his employee, officer or representative; f) an accident;
g) a case of force majeure or any event that is not caused by the
Product itself.
FRENCH VERSION VS ENGLISH VERSION
In case of discrepancy between the French and the English versions
of the text of this limited warranty, the French version shall prevail.