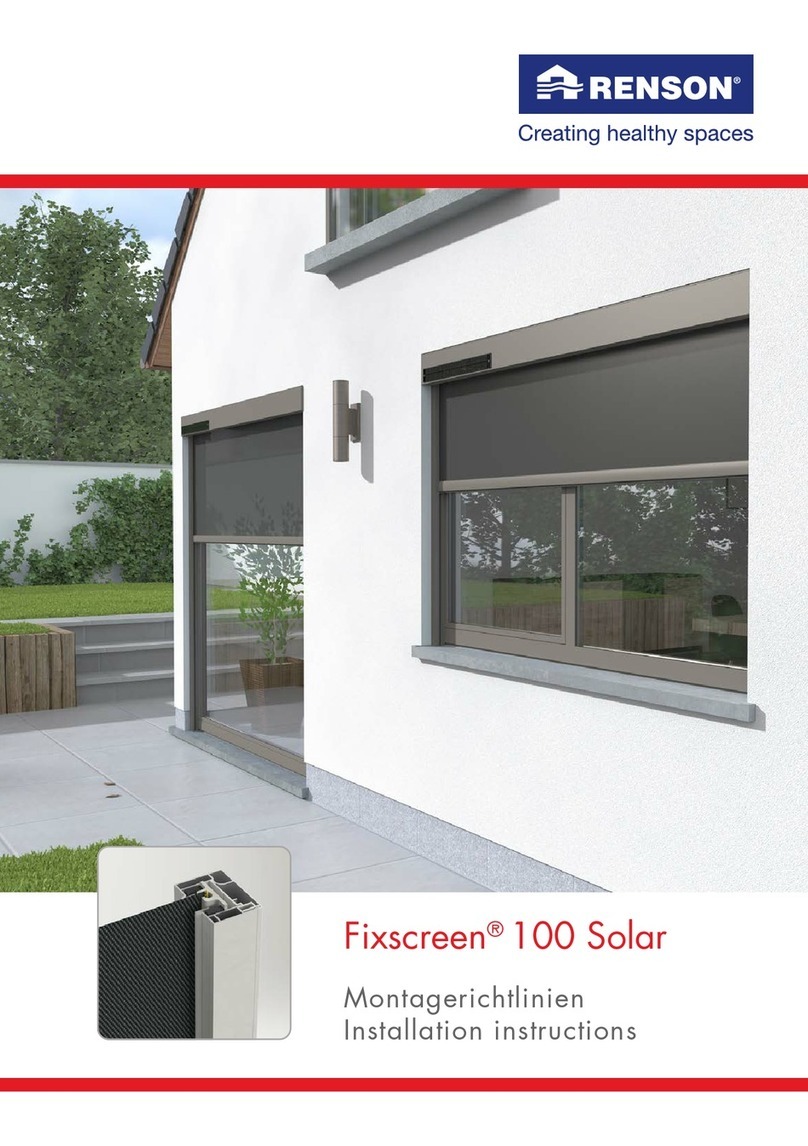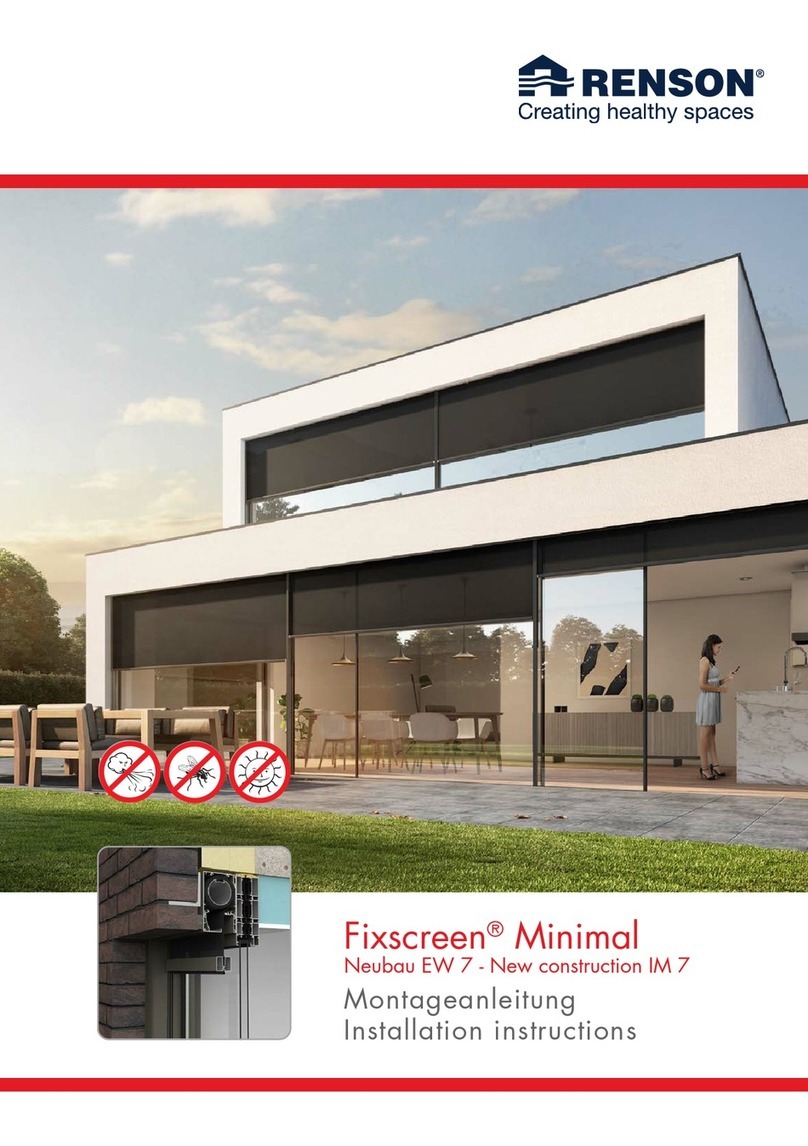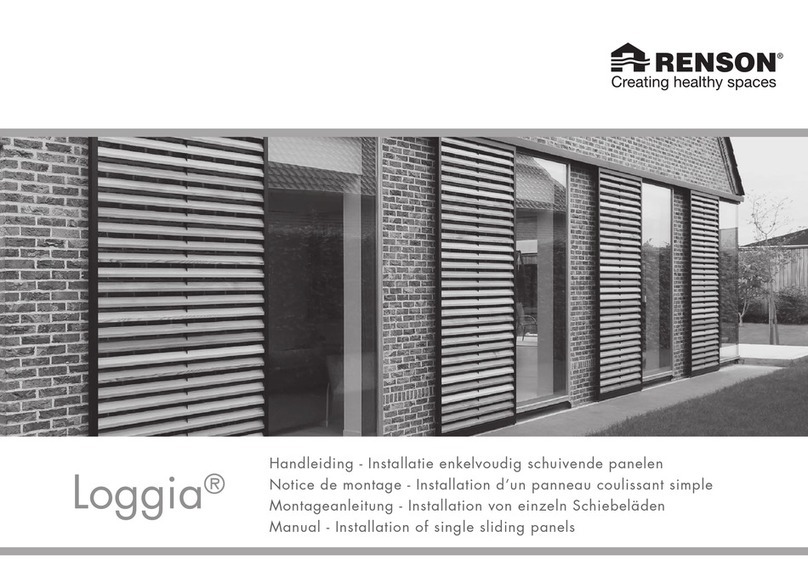
Loggia®
3
TABLE OF CONTENTS
Installation of 2telescopic sliding
panels 4
1. Parts overview 4
2. Sawing the profiles 6
3. Fitting the roller assemblies and
associated fittings 8
3.1 Back Loggia panel 8
3.2 Front Loggia panel 10
4. Upper rail installation options 12
4.1 Installation using wall mounting
profile 12
4.2 Installing the upper rail on the
ceiling 12
4.3 Installation with motor 14
5. Lower rail installation options 16
5.1 Fitting the L-profile 16
5.2 Fitting the Flexguide Plus 16
5.3 Fitting the U-profile 18
6. Fitting the Flexguides in the Loggia
frame (optional) 20
7. Fitting the reversing wheels 22
8. Determining the belt length 24
9. Fitting the belt 26
9.1 Standard installation with belt 26
9.2 Installation of the belt with a
motor in the first positioned
upper rail 26
10. Positioning the panels on the lower rail 28
10.1 Flexguide Plus + Flexguide rail
option 28
10.2 Flexguide Long + L-profile option 28
10.3 Caps + L-profile option 28
10.4 Caps in U-profile option 28
11. Hanging the back panel 30
12. Tensioning the belt 32
13. Installation of the motor 34
14. Hanging the front panel 36
15. Fitting the telescopic connector 38
16. Fitting the cover (optional) 40
16.1 Fitting the cover 40
16.2 Fitting the plastic end caps
(optional) 40
17. Final checks 42
Installation of 3telescopic sliding
panels 44
INHALTSVERZEICHNIS
Montage von 2teleskopische
Schiebeläden 4
1. Übersicht Teile 4
2. Sägen der Profile 6
3. Anbringen der Rollsysteme und der
dazugehörigen Komponenten 8
3.1 Hinterster Loggia-Laden 8
3.2 Vorderster Loggia-Laden 10
4. Montagemöglichkeiten der oberen
Schiene 12
4.1 Montage mit Wandmontageprofil 12
4.2 Montage der oberen Schiene an
der Decke 12
4.3 Montage mit Motor 14
5. Montagemöglichkeiten der unteren
Schiene 16
5.1 Anbringen des L-Profils 16
5.2 Anbringen des FlexguidePlus 16
5.3 Anbringen des U-Profils 18
6. Flexguide in den Loggia-Rahmen
montieren (Option) 20
7. Montieren der Umlenkräder 22
8. Riemenlänge festlegen 24
9. Montage Riemen 26
9.1 Standardmontage des Riemen 26
9.2 Montage des Riemen mit einem
Motor in die erste positionierte
obere Schiene 26
10. Positionierung der Läden auf der
unteren Schiene 28
10.1 Option Flexguide Plus +
Flexguide-Schiene 28
10.2 Option Flexguide Lang + L-Profil 28
10.3 Option Kappen + L-Profil 28
10.4 Option Kappen in U-Profil 28
11. Aufhängen des hintersten Ladens 30
12. Spannen des Riemens 32
13. Motoreinbau 34
14. Aufhängen des vorderen Ladens 36
15. Anbringen der teleskopischen
Verbindung 38
16. Anbringen der Abdeckkappe (Option) 40
16.1 Anbringen der Abdeckkappe 40
16.2 Anbringen der Kunststoff-
Endkappen (Option) 40
17. Kontrolle 42
Montage von 3teleskopische
Schiebeläden 44
TABLE DES MATIERES
Installation de 2panneaux
coulissants télescopiques 4
1. Liste des composants 4
2. Découpe des profils 6
3. Pose des chariots et garnitures afférentes 8
3.1 Panneau Loggia arrière 8
3.2 Panneau Loggia avant 10
4. Possibilités de montage du rail
supérieur 12
4.1 Montage avec profil de fixation
murale 12
4.2 Montage du rail supérieur au
plafond 12
4.3 Montage avec moteur 14
5. Possibilités de montage du rail inférieur 16
5.1 Pose du profil en L 16
5.2 Pose du Flexguide Plus 16
5.3 Pose du profil en U 18
6. Montage du Flexguide dans le cadre
Loggia (option) 20
7. Montage des roues d’inversion 22
8. Déterminer la longueur de la courroie 24
9. Montage de la courroie 26
9.1 Placement standard de la
courroie 26
9.2 Placement de la courroie avec
moteur sur le premier rail
supérieur positionné 26
10. Positionnement du panneau sur le rail
inférieur 28
10.1 Option Flexguide Plus + rail
Flexguide 28
10.2 Option Flexguide Long + profilé
en L 28
10.3 Option embouts + profil en L 28
10.4 Option embouts dans profil en U 28
11. Suspension du panneau arrière 30
12. Tension de la courroie 32
13. Installation du moteur 34
14. Suspension du panneau avant 36
15. Pose du connecteur télescopique 38
16. Pose du profil de finition (option) 40
16.1 Pose du profil de finition 40
16.2 Pose des embouts en synthétique
(option) 40
17. Contrôle 42
Installation de 3panneaux
coulissants télescopiques 44
INHOUDSTAFEL
Installatie van 2telescopisch
schuivende panelen 4
1. Overzicht onderdelen 4
2. Verzagen van de profielen 6
3. Plaatsen van rolstelsels en bijhorende
garnituren 8
3.1 Achterste Loggiapaneel 8
3.2 Voorste Loggiapaneel 10
4. Montagemogelijkheden van de
bovenrail 12
4.1 Montage met
muurbevestigingsprofiel 12
4.2 Montage van de bovenrail aan
het plafond 12
4.3 Montage motor 14
5. Montagemogelijkheden van de
onderrail 16
5.1 Plaatsen van het L-profiel 16
5.2 Plaatsen van de Flexguide Plus 16
5.3 Plaatsen van het U-profiel 18
6. Flexguide monteren in het Loggiakader
(optie) 20
7. Monteren van de omkeerwielen 22
8. Riemlengte bepalen 24
9. Monteren riem 26
9.1 Standaard plaatsing van de riem 26
9.2 Plaatsing van de riem bij motor
op de voorste bovenrail 26
10. Panelen positioneren op onderrail 28
10.1 Optie Flexguide Plus + Flexguide
rail 28
10.2 Optie Flexguide Lang + L-profiel 28
10.3 Optie dopjes + L-profiel 28
10.4 Optie dopjes in U-profiel 28
11. Ophangen van het achterste paneel 30
12. Opspannen van de riem 32
13. Installatie motor 34
14. Ophangen van het voorste paneel 36
15. Plaatsen van de telescopische connector 38
16. Plaatsen van de afdekkap (optie) 40
16.1 Plaatsen van de afdekkap 40
16.2 Plaatsen van de kunststoffen
eindkappen (optie) 40
17. Controle 42
Installatie van 3telescopisch
schuivende panelen 44

