manuals.online logo
Brands
  1. Home
  2. •
  3. Brands
  4. •
  5. Victor
  6. •
  7. Multimeter
  8. •
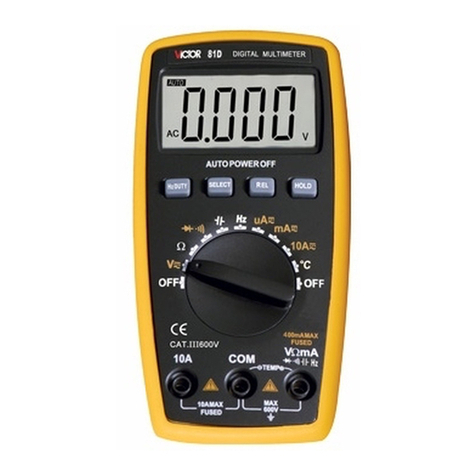
  9. Victor 81D User manual

Victor 81D User manual

Digital Multimeter Operation
Manual
I. General
This is a steady performance, high
security 3 1/2 digital multimeter. It uses LCD
with 18.9mm high figure to make the reading
clear.
The digital multimeter has the function of
measuring ACV, DCV, ACA, DCA, Resistance,
Celsius & Fahrenheit Temperature, Diode,
Continuity. The instrument also has the features
of Unit Symbol Display, Auto/Manual Range
Selection, Auto Power Offer and Alarm
Function. It adopts the directly driven 8 digits
1
microprocessor and dual-integral A/D converter,
which provide the high resolution, high
accuracy displaying driver. Because of its
outstanding functions, the instrument is an
excellent tool and most suitable for lab, factory,
maintenance and repair users.
II. Open-Package Inspection
Open the gift box and take out the instrument,
carefully check the following accessories. If
any accessory is missed or damaged, please
contact the manufactory at once.
●Digital Multimeter 1PC
●Operation Manual 1PC
●Test Leads 1SET
●Temperature Probe(K Type Thermocouple) 1PC
● AAA(1.5V)7# Battery 2PCS
● Holster 1PC
2
III. Safety Note
The instrument is designed according
to IEC1010 standard (safety standard issued
by International Electro technical Committee).
Please read the following before operation.
1. Caution to avoid the electric shock
when measuring voltage higher than
36V DC, 25AC, current higher than
10mA, AC power line with inductance
load and AC power line during the
power fluctuation.
2. Before measuring, should check if the
function knob is set in the correct range
and make sure the test leads connect
reliably, link up correctly, and insulate
properly to avoid the electric shock
3. It meets the requirements of the safety
3
standard only to use the instrument with
the equipped test leads. If the test leads
are broken, should replace them by the
same type and same electric
specification test leads.
4. Do not replace the inside fuse by the
unconfirmed one. Only replace it by the
same type and specification fuse. Before
replacement, should keep the test leads
off the tested point to make sure there is
no any signal at the input terminal.
5. Do not replace the inside batteries by
the unconfirmed one. Only replace them
by the same type and specification
batteries. Before replacement, should
keep the test leads off the tested point to
make sure there is no any signal at the
4
input terminal.
6. When measuring electricity, do not
connect the body with the ground
directly, and do not touch the possible
exposed metallic terminal, output socket
or lead clamp with ground potential.
Usually use the dry cloth, rubber
overshoes, rubber cushion and other
insulated materials to keep the body
isolated with the ground.
7. Do not store and use the instrument in
high humility, high temperature,
combustible, explosive and strong
magnetic places.
8. It is possible to damage the instrument
and endanger the safety of the users
when measuring the voltage over the
5
limit. The allowed maximum voltage is
printed on the front panel of the
instrument, do not measure the value
over the standard safety voltage, do not
input the range limit specified to void
the electric shock and instrument
damage.
9. Do not measure any voltage when
connecting the test leads with the
current terminal to avoid damaging the
instrument and endangering the safety
of the users.
10. Do not try to calibrate or repair the
instrument, should operate it by the
specially trained or qualified
professional people.
11. The function/range selection knob
6
should be set in the correct range when
measuring. When switching the
function/range selection knob, keep the
test leads off the tested object to make
sure there is no any signal at the input
terminal. Do not switch the
function/range selection knob when
measuring.
12. When LCD displays “ ”, please
replace the batteries in time to make
sure the measuring accuracy.
13. Do not allow to measure the voltage
when connecting the test leads with the
current terminal!
14. Do not try to modify the inner circuit at
will to avoid damaging the instrument
and endangering the safety of the users.
7
15.Safety Symbol Description:
Warning!
DCA
High
Voltage!
Dangerous!
ACA
GND
DCA &
ACA
Dual
Insulation
Meets the
direction
of
European
IEC
Low
Battery
Fuse
8
IV. Front Panel & Button Function
Description
1. Instrument Model Number
2.LCD Display:Display the measured data
and unit.
3.Function Button
3.1.MAX(Max Value Hold): Press the
button, the reading is renewed and the
max value is held on LCD.
3.2.SELECT(Function Switch):Press the
button, DC/AC mode, / ,℃/℉
performance switch.
3.3.HOLD(Data Hold): Press the button,
the reading is locked, press the button
again, the lock is cleared.
3.4.RANGE(Auto/Manual Range Switch):
9
Auto Range is the original states, press
the button to switch to the Manual Range.
At the Manual Range mode, press the
button once, the range is switched to the
higher one, press the button again to
switch the range to the lowest one when
measuring the highest range, the cycle is
in proper order from low to high. Keep
pressing the button for 2 sec., return to
Auto Range mode.
4.Knob Switch :Change the measuring
function and range。
5.Input Terminals
5.1.Current、Voltage、Diode、Resistance、
Buzzer、Temperature“-”Input terminal.
5.2.10A“+”input terminal.
5.3.Voltage、Diode、Resistance、Buzzer、
Temperature and Current less than
200mA“+” input terminal.
10
V. Other Functions
Stop working for 15 seconds during
measurement, the instrument will be auto
power off (sleeping mode) to save the power;
in the auto power offer mode, press any
function button or change the knob switch,
the instrument will get into the auto power on
mode (working mode); the auto power offer
mode will be cancelled by pressing the
HOLD button to turn on the instrument.
VI. Property
1.General Property
1-1.Display:LCD
1-2.Max Display:1999(3 1/2)counts
automatic polarity display and unit display
1-3.Measuring Method:Dual integralA/D
converter
11
1-4.Sampling Rage:Approx. 3 times / sec.
1-5.Over range Indication:Display “OL”
1-6.Low Battery Indication:“ ”symbol
appearance;
1-7.Operation Environment:( 0~40)℃,
Relative Humidity: <80% ;
1-8.Storage Environment:( 0~50)℃,
Relative Humidity: <80% ;
1-9.Power:2pcs 1.5V batteries(“AAA”7#
battery);
1-10.Dimension(size): 145×74×36mm
1-11.Weight:Approx. 185g(Including 2pcs
1.5Vbatteries)
1-12.Accessories:1pc operation manual,
Holster、1pc gift box,1 set 10Alest
12
leads、1pc K Type Temperature Probe
TP01 and 2pcs 1.5 batteries。
2.Technical Property
2-1.Accuracy:±(%×reading +digits) ,at
(23±5)℃,relative humidity <75%,
One year calibration guarantee since the time
dispatched from the factory.
2-3-1.DCV
1. Insert the red and black test leads
separately to
mA
V
and COM input
terminals.
2. Turn the knob switch to Range,
press “SELECT” button to switch to DCV
measurement mode.
3. This range is 200mV, The reading to
measure the voltage less than 200mV is
13
much accurate and stable than the
reading measured in the Range “ ”.
4. Turn the knob switch to “ ”Range.
5. Auto range mode is the original states, it
displays “AUTO” symbol, Press
“RANGE” button to switch to Manual
range mode, can select 200mV、2V、20V、
200V、600V Range.
6. Connect the test leads to the tested point,
the voltage and polarity of point
connected by red lead will be displayed
on LCD.
Note:1. At the Manual Range mode, if “OL”
is displayed on LCD, it indicates
the tested voltage value has
14
exceeded the present range limit,
please select the higher range to
complete the measurement.
2. Do not measure the voltage higher
than 600V. Otherwise, there is the danger to
damage the instrument.
3. When measuring the high voltage,
caution to avoid the body touches the high
voltage.
Range
Accura
cy
Resolution
200mV
±(0.5%+4d)
100uV
2V
1mV
20V
10mV
200V
100mV
600V
±(1.0%+4d)
1V
Input Impedance:>10MΩ at Range 200mV ,
40MΩ at other Ranges
Overload Protection:600V AC or 600V AC
Peak Value
15
2-3-2. ACV
1. Insert the red and black test leads separately
to
mA
V
and COM input terminals.
2. Turn the knob switch to Range, press
“SELECT” button to switch to ACV
measurement mode.
3. This range is 200mV, The reading to
measure the voltage less than 200mV is
much accurate and stable than the reading
measured in the Range “ ”.
4.Turn the knob switch to “ ”Range.
5.Auto range mode is the original states, it
displays “AUTO” symbol, Press
“RANGE” button to switch to Manual
range mode, can select 200mV、2V、20V、
200V、600V Range.
16
6.Connect the test leads to the tested point,
the voltage and polarity of point
connected by red lead will be displayed
on LCD.
Note:1. At the Manual Range mode, if “OL”
is displayed on LCD, it indicates the tested
voltage value has exceeded the present range
limit, please select the higher range to
complete the measurement.
2. Do not measure the voltage higher
than 600V. Otherwise, there is the danger to
damage the instrument.
3. When measuring the high voltage,
caution to avoid the body touches the high
voltage.
17
Input Impedance:>10MΩ at Range 200mV,
40MΩ at other ranges
Overload Protection:600V DC or 600V AC
Peak Value;
Frequency Response:(50~200)Hz
Display:Average value response (RMS of
sine wave).
Range
Accuracy
Resolution
200mV
±(1.5%+20d)
100uV
2V
±(0.8%+6d)
1mV
20V
10mV
200V
100mV
600V
±(1.0%+6d)
1V
18
2-3-3. DCA
1.Insert the black test lead to the COM input
terminal, and red test lead to
mA
V
input
terminal (max 200 mV) or 10A input
terminal (max 10A).
2.Turn the knob switch to Current Range, press
“SELECT” button to switch to DCA
measurement mode. Connect the test leads
to the tested point in series, the current
value
and polarity of point connected by red lead
will be displayed on LCD simultaneously.
3. Press “RANGE” button to select auto or
manual range mode.
Note:
1. Firstly users should select the auto range
mode, if users had no idea about the range
19
of tested current, and then select the proper
range based on displaying value.
2. If “OL” is displayed on LCD, it indicates
the tested current value has exceeded the
present range limit, please select the higher
range to complete the measurement.
3. Max input value is 200mA or 10A
(Depending on the terminal the red test
lead is inserted )The input value is
exceeding the range limit, the fuse will be
melt, even damage the instrument.
Range
Accura
cy
Resolution
200uA
±(1.0%+10d)
0.1uA
2000uA
1uA
20mA
10uA
200mA
100uA
10A
±(1.2%+10d)
10mA

Other manuals for 81D

1

This manual suits for next models

1

Other Victor Multimeter manuals

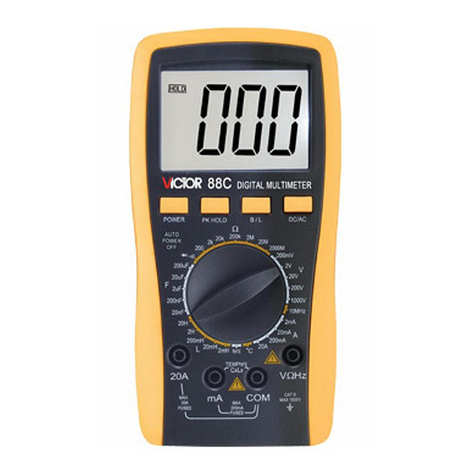
Victor 88C User manual

Victor

Victor 88C User manual

Victor 86B Parts list manual

Victor

Victor 86B Parts list manual

Victor VC9806+ User manual

Victor

Victor VC9806+ User manual

Victor VR-81D User manual

Victor

Victor VR-81D User manual

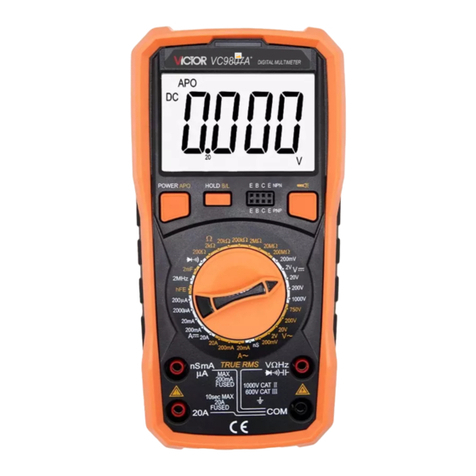
Victor VC9801A User manual

Victor

Victor VC9801A User manual

Victor VC70D User manual

Victor

Victor VC70D User manual
Victor VC921 User manual

Victor

Victor VC921 User manual

Victor VC9808plus User manual

Victor

Victor VC9808plus User manual

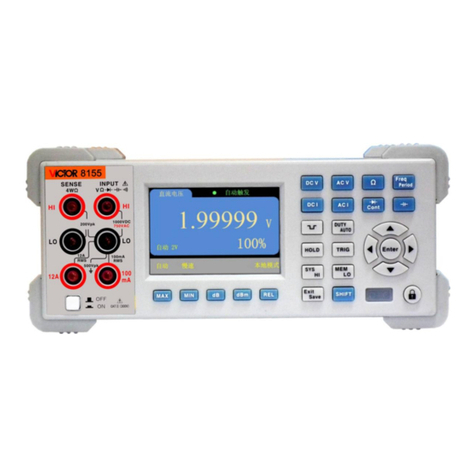
Victor 8155 User manual

Victor

Victor 8155 User manual

Victor VC830L User manual

Victor

Victor VC830L User manual

Victor 6000counts User manual

Victor

Victor 6000counts User manual

Victor 81D User manual

Victor

Victor 81D User manual

Victor VC890D User manual

Victor

Victor VC890D User manual

Victor 81A User manual

Victor

Victor 81A User manual

Victor 606B-II User manual

Victor

Victor 606B-II User manual

Victor VC890D User manual

Victor

Victor VC890D User manual

Victor VC88E User manual

Victor

Victor VC88E User manual

Victor 98A User manual

Victor

Victor 98A User manual

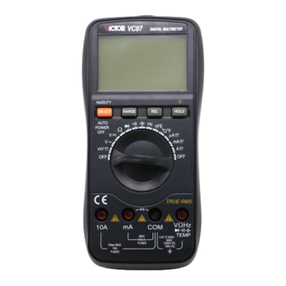
Victor VC97 User manual

Victor

Victor VC97 User manual

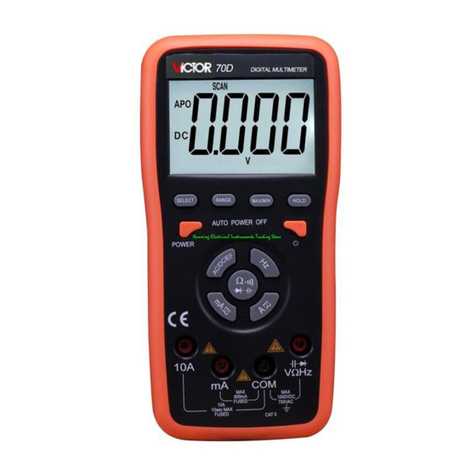
Victor 70D User manual

Victor

Victor 70D User manual

Victor VC9808 User manual

Victor

Victor VC9808 User manual

Victor VC97 User manual

Victor

Victor VC97 User manual

Victor VC9807A+ User manual

Victor

Victor VC9807A+ User manual

Victor VR-9807A User manual

Victor

Victor VR-9807A User manual
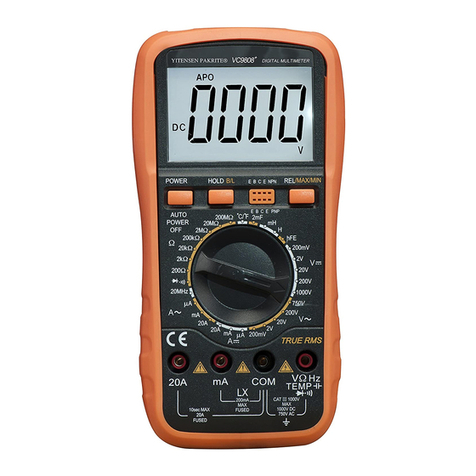
Popular Multimeter manuals by other brands

Circuit-test DMR-1100A user manual

Circuit-test

Circuit-test DMR-1100A user manual

Keithley AUTO-PROBE 167 instruction manual

Keithley

Keithley AUTO-PROBE 167 instruction manual

FLIR EXTECH INSTRUMENTS DM110 manual

FLIR

FLIR EXTECH INSTRUMENTS DM110 manual

Monacor DMT-2004 instruction manual

Monacor

Monacor DMT-2004 instruction manual

Extech Instruments EX503 user guide

Extech Instruments

Extech Instruments EX503 user guide

SATA 03022 user manual

SATA

SATA 03022 user manual

Crenova 6016A operating manual

Crenova

Crenova 6016A operating manual

Sanwa SH-88TR instruction manual

Sanwa

Sanwa SH-88TR instruction manual

Amprobe 33XR-A user manual

Amprobe

Amprobe 33XR-A user manual

Fluke CNX C3000 user manual

Fluke

Fluke CNX C3000 user manual

Greenlee SDMM-1 instruction manual

Greenlee

Greenlee SDMM-1 instruction manual

Keysight U1270 Series Service guide

Keysight

Keysight U1270 Series Service guide

VOLTCRAFT VC-12A operating instructions

VOLTCRAFT

VOLTCRAFT VC-12A operating instructions

HT HT60 user manual

HT

HT HT60 user manual

Martindale Electric CM57 instruction manual

Martindale Electric

Martindale Electric CM57 instruction manual

Southwire 32886963360 operating instructions

Southwire

Southwire 32886963360 operating instructions

Wetekom 81 83 50 instruction manual

Wetekom

Wetekom 81 83 50 instruction manual

Perel ECM2 user manual

Perel

Perel ECM2 user manual

manuals.online logo
manuals.online logoBrands
  • About & Mission
  • Contact us
  • Privacy Policy
  • Terms and Conditions

Copyright 2025 Manuals.Online. All Rights Reserved.