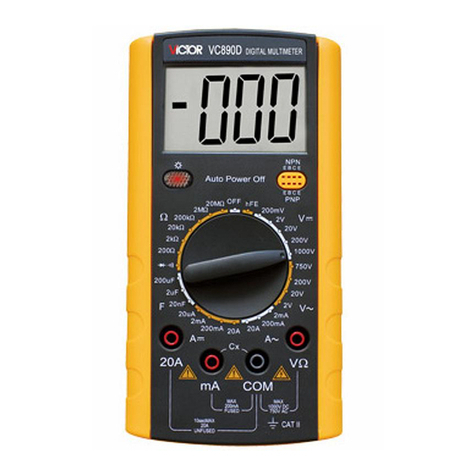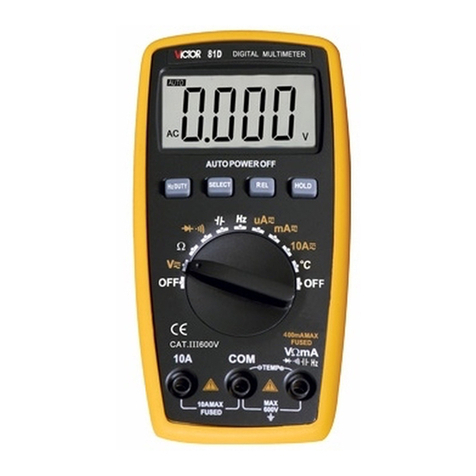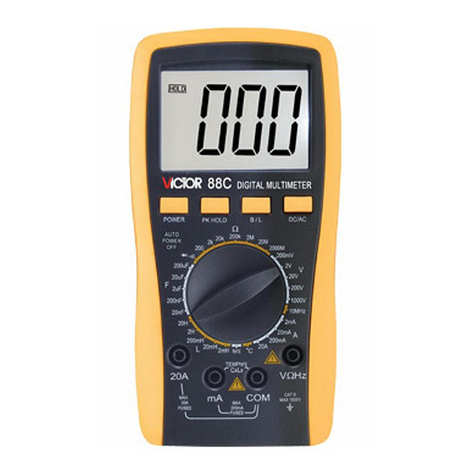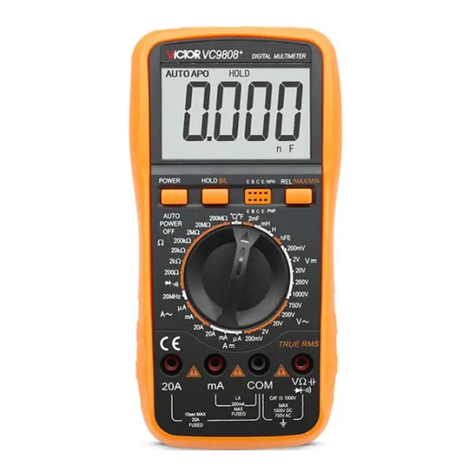
continuously.
Overload protection: 250V DC/AC peak value
WARNING: Do not input any voltage at this range.
3.2.11 Temperature(℃)
Range Accuracy Resolution
-40℃-1000℃
<400 ±(0.8%+4)℃
≥400 ±(1.5%+15)℃
1℃
Thermocouple: K type
WARNING: do not input any voltage at this range.
4. OPERATION
4.1 Panel Description
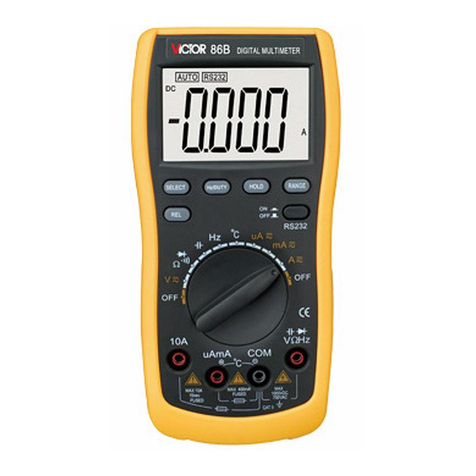
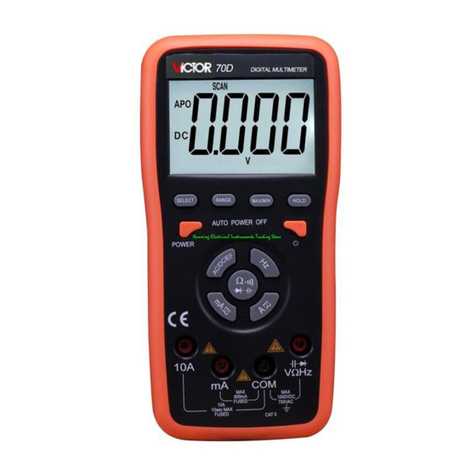
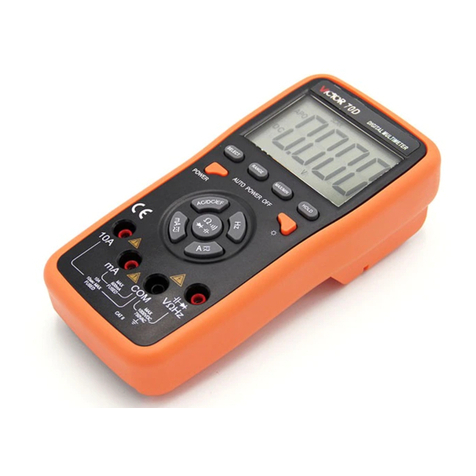
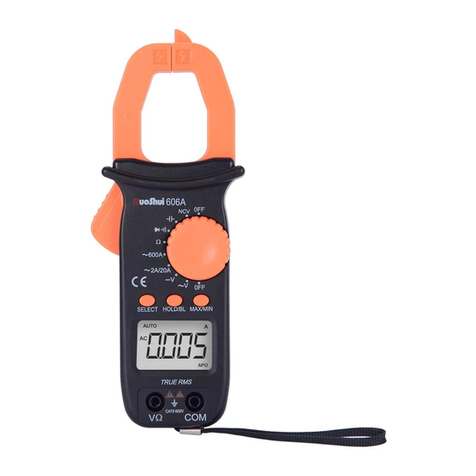
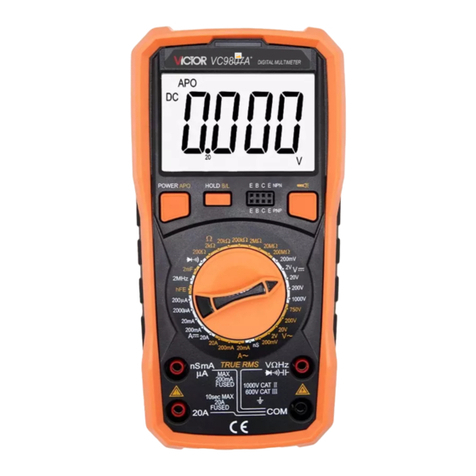
①LCD: display the measuring value and unit.
②Function key:
②-1. RST key: when the meter under sleep or lock states,
press this key, the meter will be active.
②-2. Hz/DUTY key: when measuring the AC
voltage/current, press Hz/DUTY can choose
voltage/frequency/duty cycle or current/frequency/duty
cycle mode. When measuring the Frequency, press
Hz/DUTY will shift between frequency and duty cycle
(1~99%)measurement.
②-3. REL key: press it to store the present reading as a reference for subsequent readings. The
display is zeroed, and the stored reading is subtracted from all subsequent readings and REL symbol
appears. REL (readings) = input value - reference value. Press it again to exit the REL mode and
“REL” symbol will disappear.
②-4. HOLD key: press the key, the measuring value will be held on LCD and HOLD symbol
appears. Press it again to exit the hold mode and HOLD symbol will disappear.
②-5. RANGE key: auto range is the default when you turn on the meter. Press RANGE it will enter
manual range mode. Under manual range mode, press RANGE each time will select a higher range
till reach the highest range then back to the lowest range. Press RANGE for 2 seconds it will back to
auto range mode.
②-6. DC/AC key: select DC/AC mode.
③Input terminal for hFE measurement
④Rotary switch: used to change the range and choose functions.
⑤Input terminal for temperature measurement.
⑥Voltage, current, resistance, frequency input terminal.
⑦Battery case.
4.2 DCV measurement
4.2.1 Insert the black test lead into “COM” terminal, and the red one into “V/Ω/Hz” terminal.
4.2.2 Switch the knob to V range. Press DC/AC key to choose DC mode.
4.2.3 Auto range is the original states, it will display “AUTO” symbol. Press “RANGE” key to
change to manual range mode, and 400mV, 4V, 40V, 400V, 1000V range is selectable;
4.2.4 Connect test leads to the test point; LCD will display polarity and voltage of the test point
connected by the red test lead.
NOTE:
1. Under manual range mode, if LCD displays “OL”, it means over range, you should select
the higher range.
2. Do not input a voltage over DC 1000V. It may cause damage to the circuit of meter.
3. Be careful while measuring a high voltage circuit. DO NOT touch the high voltage circuit.
4. The built –in buzzer will beep to warn user, when the measuring voltage over DC1000V.
4.3 ACV measurement
4.3.1 Insert the black test lead into “COM” terminal, and the red one into “V/Ω/Hz” terminal.
4.3.2 Switch the knob to V range, and press “DC/AC” key to choose AC mode;
4.3.3 Auto range is the original states, it will display “AUTO” symbol. Press “RANGE” key to
change to manual range mode, and 400mV, 4V, 40V, 400V, 750V range is selectable;
4.3.4 Connect test leads to the test point; LCD will display voltage of the two test points.
Note:
1. At 400mV range there is only manual range available.
2. Under manual range mode, if LCD displays “OL”, it means over range, you should select
the higher range.
3.Do not input a voltage over AC 750V. It may cause damage to the circuit of meter.
4. Be careful while measuring a high voltage circuit. DO NOT touch the high voltage circuit.
5. The built –in buzzer will beep to warn user, when the measuring voltage over AC750V.
4.4 DCA measurement
4.4.1 Insert the black test lead into “COM” terminal and the red one into “mA” terminal (Max.
400mA) or into “A” terminal (Max.20A);
4.4.2 Switch the knob to a proper current range, and then connect the test leads to the electric
circuit. LCD will display polarity and current of the test point connected by the red test lead.
Note:
1. Firstly users should select the highest range, if users not sure about the range of current
under test, and then select the proper range based on displaying value.
2. If the LCD displays “OL”, it means the current is over range. Now you need to select a
higher range.
3. When tested current ≥10A at 20A range, buzzer will sound to remind user.
4. Maximum input current is 400mA or 20A (subject to where the red test lead insert into).
Current higher than that will damage the fuse, and may cause damage to the circuit of meter.
4.5 ACA measurement
4.5.1 Insert the black test lead into “COM” terminal and the red one into “mA” terminal (Max.
600mA) or into “A” terminal (Max.20A);
4.5.2 Switch the knob to a proper current range, press “DC/AC” key to select the AC mode,
and then connect the test leads to the electric circuit. LCD will display current value.
Note:
1. Firstly users should select the highest range, if users not sure about the range of current
under test, and then select the proper range based on displaying value.
2. If the LCD displays “OL”, it means the current is over range. Now you need to select a
higher range.
3. When tested current ≥10A at 20A range, buzzer will sound to remind user.
4. Maximum input current is 400mA or 20A (subject to where the red test lead insert into).
Current higher than that will damage the fuse, and may cause damage to the circuit of meter.
4.6 Resistance measurement
4.6.1 Insert the black lest lead into “COM” terminal and the red one into “V/Ω/Hz” terminal.
4.6.2 Switch the knob to Ωrange, and connect the leads with the resistor under test.
4.6.3 Press “RANGE” key to choose auto or manual range.
4.6.4 Before measuring low resistance, you should make the test leads short-circuit at first,
and then press “REL”. By this way, you can get the actual value of the resistance.
Note:
1. Firstly users should select the highest range, if the value of resistance is unknown
beforehand, and then select the proper range based on displaying value.
2. The LCD displays “OL” when the resistance is over the selected range. The knob should be
adjusted to a higher range. When measuring value is over 1MΩ, the reading will take a few
seconds to be stable. It’s normal for high resistance measurement.
3. When input terminal is in open circuit, LCD will display “OL”.
4. Before measuring in line resistor, make sure that the power is off and all capacitors are
discharged completely.
5. When there is big error, it may be affected by other online component or there is voltage on
the resistor.
6. Do not input any voltage at resistance range.
4.7 Capacitance measurement
4.7.1 Switch the knob to “ ”range;
4.7.2 Insert the black test lead to “COM” terminal and the red one to “V/Ω/Hz” terminal;
4.7.3 If the LCD doesn’t display “0”, press “REL” to clear the reading;
4.7.4 Connect the capacitor to “COM” and “VΩHz” terminal. (Note: the red test lead is for
positive pole ○
+).LCD displays capacitance value.
Note:
1. Don’t input voltage or current to the “VΩHz” terminal when measuring the capacitance or
the capacitor still in the “Cx” terminal.
2. In order to assure the accuracy, please press “REL” to clear the reading before testing.
3. There is only the auto range mode under the capacitance range.
4. The capacitor must be completely discharged before testing.
5. The reading of 200uF range will take more than 15 seconds to be stable.
4.8 Frequency measurement
4.8.1 Insert the black lest lead into “COM” terminal and the red one into “V/Ω/Hz” terminal.
4.8.2 Switch the knob to “Hz” range, connect the test leads or shielded cable to the signal
source or the load which is tested.
4.8.3 Press “Hz/DUTY” key to switch frequency/duty cycle measurement, LCD will display
the frequency or duty cycle of the signal source which is tested.
Note:
1. There is only the auto range mode under the frequency range;
2. The meter can still work if the input current is higher than 10V rms, but the accuracy is not
guaranteed;
3. In noisy environment, it's better use shield cable to measure a low signal;
4. When measuring high voltage circuit, do not touch the high voltage circuit;
5. Don’t input voltage higher than 250V DC or AC peak value, or it may damage the meter.

