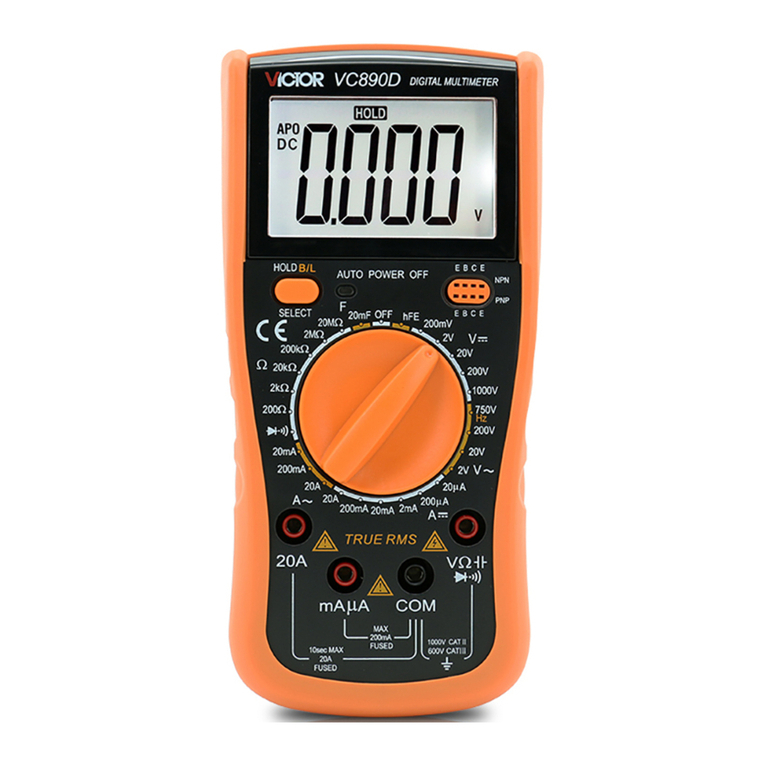
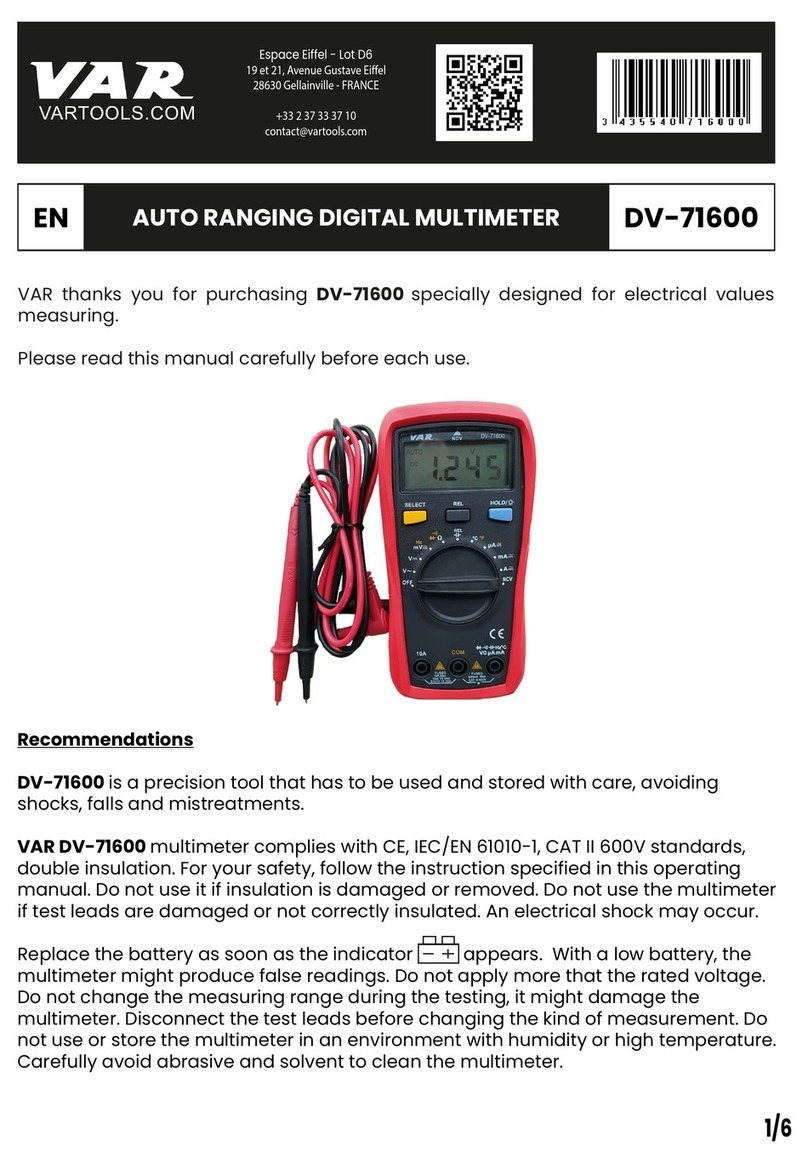
Victor 6056B User manual

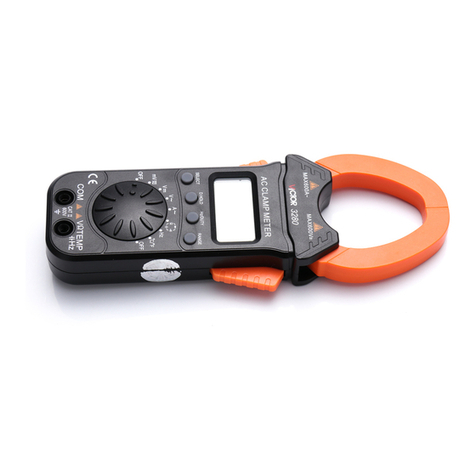
User’s Manual of Digital Clamp Multimeter

Table of Contents
1. General……………………………………….1
2. Unpacking Check…………………………….2
3. Safety Notices…………………. …………….2
4. Common Electric Symbols…………….…….5
5. External Structure…………………………….6
6. Symbols Displayed…………………………….7
7. Functions of Key and Automatic Power-off….8
8. Effectiveness of Keys………………………….9
9. Characteristics…………………………………10
10. Maintenance and Care……………………….26

1
I. General
It is a 3 3/4-bit digital clamp meter of automatic
range conversion and a high-reliability digital clamp
multimeter with stable performance and driven by
battery. It adopts 16mm font height LCD display of
clear readings. With the functions of data holding and
automatic power-off, it is more convenient to use.
This meter can be used to measure such parameters
as DCV, ACV, DCA, ACA, resistance, capacity,
frequency, diode, continuity test, etc. Centered on the
dual slope A/D conversion of large-scale integrated
circuit, the whole set has the function of automatic
range conversion and thus is a meter with excellent
performance and a desirable tool for labs, factories,
radio fans and homes.
Warning: Before use, please read carefully
the information under “Safety Notices”.

2
II. Unpacking Check
After unpacking, please carefully check if the
following items are missing or damaged. If yes, please
contact the distributor immediately.
■
Digital clamp multimeter
1 set
■
User’s manual
1 piece
■
Test leads
1 set
■
9V battery
1 piece
III. Safety Notices
Please note warning mark “ ” and the
sentence titled with “Warning”, which represent the
circumstances or actions that endanger the user,
may cause damages to the clamp multimeter or the
tested equipment.
This meter is designed and produced strictly in
accordance with the safety requirements of GB4793
electronic measuring meters and IEC61010-1 and
IEC1010-2-032 Safety Standards and conforms to the
safety standards of double insulation and over-voltage

3
CAT III 600V and Grade II pollution. Before use,
please read this manual carefully.
1. When measuring the voltage above 30V, the AC
electric line with inductive loads and the AC electric
line during electric fluctuation, be cautious against
electric shock.
2. Before measurement, check if the measurement
function switch is at the proper gear, check if the test
probe touches the measured item reliably, with
proper connection, good insulation, etc, in order to
avoid electric shock.
3. The clamp multimeter cannot conform to the
requirements of the related safety standards until it is
used together with the attached test probe. If the test
probe cable is broken, it must be replaced with the
cable of the same type or the same electric
specifications.
4. Do not use any other batteries not confirmed or
unauthorized to replace the battery of the meter; do
replace the battery with only the battery of the same
type or the same electric specifications. Before
replacing the test probe, keep it away from the

4
measured point and make sure there are no signals on
the input end.
5. During the electric measurement, never directly touch
the ground or touch naked metal terminals, output
ports, lead clamps, etc that may have ground
potential.
6. Do not store and use the meter in the environment of
high temperature, high humidity, high flammability,
high explosion potential and strong magnetic field.
7. Measuring the voltage out of the allowed limit
voltage may damage the meter and endanger the
operator. The allowed limit voltage is marked on the
panel of the meter. Never measure the input signal
out of this standard in order to prevent electric shock
and damage on the meter.
8. Do not attempt to calibrate or repair this meter.
Surely, when necessary, the calibration and repair
must be conducted by specially trained personnel or
qualified professional personnel.
9. During measurement, the function/range selection
switch must be placed at the correct range gear.
When converting the function/range selection switch,

5
be sure to disconnect the test probe cable from the
tested item and make sure there are no signals input
into the input end. Never convert the function/range
selection switch during measurement.
10. When the LCD display shows “ ”, please
replace the battery in time to ensure the
measurement accuracy.
11. Do not change the circuits of this meter without any
permission to avoid damaging this meter and
endangering safety.
IV. Common Electric Symbols
Warning!
DC
High voltage!
Danger!
AC
Ground
AC/DC
Double
insulation
European
directives
complied
Low battery
Fuse

6
V. External Structure
1. Clamp head;
2. Clamp head trigger;
3. Function selection (SELECT) key;
4. Reset (REL) key;
5. LCD display;
6. COM input port: Negative input
terminal with black test probe inserted;
7. VΩ input port: Positive input terminal for measuring
voltage, resistance, capacity, frequency, diode and
continuity with red test probe inserted here;
8. Data Hold key (HOLD);
9. Function/range selection button: used to select
various measuring functions and ranges.

7
VI. Symbols Displayed
1. Negative sign;
2. AC signal measurement sign;
3. DC signal measurement sign;
4. Automatic range sign;
5. Diode measurement sign;
6. Buzzer symbol;
7. Relative value measurement sign;
8. Data hold sign;
9. Low battery sign;
10. Resistance measurement unit(Ω);
11. Current measurement unit (A);
12. Voltage measurement unit(V, mV);
13. True RMS sign;
14. Auto power off sign.

8
VII. Functions of Keys and Automatic Power-off
(1) SELECT: Selects functions in the trigger mode.
When two or above measurement functions combine
at the same gear, press this key to convert
measurement functions.
(2) HOLD: Holds readings in the trigger mode. Press
this key to lock the displayed value and press it
again to relieve the locking state and then enter the
normal measurement state.
(3) REL: Measures relative values in the trigger mode.
Press this key at the DCA gear and then this meter
will regard the currently displayed value as the
reference value and automatically reset the LCD
display. In the subsequent measuring results, the
reference value will be automatically deducted until
the relative value measurement function exits by
pressing this key again.
Automatic power-off function: During
measurement, whether pressing function keys or
rotating function/range selection button, if idle for
15min, the meter will automatically “power off”. In
such state, press the function keys (for effective key
operations, see VIII) or rotate the function/range
selection button, then the meter will automatically
“Power on” and enter the measurement status. To
power off the meter, hold the SELECT key, then
the automatic power-off function will be cancelled.
“Auto Power-off” represents a sleep status. In such
state, a small amount of current (approximately

9
5μA) will be consumed. If the meter is not used for
long, be sure to shut off its power.
(5) Buzzer: Press any function key at any gear; if such
key is valid, the buzzer will buzz; if invalid, the
buzzer will not buzz; the buzzer will give 5
continuous warning buzzes for within about 1min
before auto power-off; the buzzer will give a long
buzz for warning before power-off. The buzzer
sounds at the continuity measurement resistance less
than about 50Ω.
VIII. Effectiveness of Keys
Not all key operations are effective at any gear.
Only the effective key operation can choose
corresponding operation function or wake up the
sleeping clamp multimeter. See the following table
for details ( ●means effective):
Key
REL
HOLD
SELECT
Note①:The capacitance gear has relative value
measurement function.

10
IX. Features
1. General Features
1-1. Display mode: LCD display;
1-2. Max. display: 3999(3 3/4)bit auto polar display or
unit display;
1-3. Measurement mode: Dual slope A/D conversion;
1-4. Conversion rate: 3 times/s;
1-5. Over-range display: “OL” displayed in the highest
1-6. Low battery display: “ ” occurs on the upper part
of the LCD;
1-7. Auto power-off function;
1-8. Max. head opening size: dia. 38mm;
1-9. Max. size of predicted current lead: dia. 36mm;
1-10. Effect of electromagnetic field: If used for devices
nearby electromagnetic field, unstable or incorrect
readings may be displayed;
1-11. Error caused by test position: When measuring
current, please place the source to be tested in the
center of the head; otherwise, certain additional
error will occur;
1-12. Operating environment: (0~40)℃, RH<80%;
1-13. Storage environment: -10~50℃, RH<80%;

11
1-14. Power supply: 9V battery;
1-15. Volume (dimensions): 225mm×76mm×32mm
(L×W×H) ;
1-16. Approx. 270g (battery included).
2. Technical
Accuracy: ± (a% of reading + word count) with
accuracy ensured. Ambient temperature: (23±5)℃,
RH<75%; calibration warranty period as one year
from ex-works date.
2-1. DCV Measurement
A)Turn the function/range SELECT switch gear

12
B) Respectively insert the red test probe and black test
probe into the VΩ and COM ends.
C) Parellelly connect the test probe cable onto the tested
circuit or the power supply, then the polarity of the red
test probe cable and the tested voltage value will be
shown on the screen.
D) Read the currently measured result from the display.
DCV Technical Indicators:
Range
Accuracy
Resolution
400mV
±(0.5%+4d)
0.1mV
4V
1mV
40V
10mV
400V
100mV
1000V
±(1.0%+6d)
1V
Input resistance: 10MΩ.
Overload protection: 1000V DC or AC peak.

13
2-2. ACV Measurement
A) Turn the function/range SELECT switch gear..
B) Respectively insert the red test probe and black test
probe into the VΩ and COM ends.
C) Parellelly connect the test probe cable onto the tested
circuit or the power supply.
D) Read the currently measured result from the display.

14
ACV Technical Indicators (True RMS)
Range
Accuracy
Resolution
4V
±(0.8%+10d)
1mV
40V
10mV
400V
100mV
750V
±(1.0%+10d)
1V
Input resistance: 10MΩ.
Frequency response: sine wave and triangle
wave :(40~1000)Hz ,other wave form :(40~200)Hz;
Display: True RMS
Overload protection: 1000V DC or AC peak.
Note:
• Do not measure the DCV above 1000V or ACV above
750V.
• When high voltage is measured, be sure to avoid
electric shock. After measurement, immediately
disconnect the test probe and the tested circuit.
2-3. Resistance Measurement
A) Turn the function/range switch to gear.
B) Respectively insert the red test probe and black test
probe into the VΩ and COM ends.

15
C) Parellelly connect the test probe cable onto the tested
resistor, then the tested resistance value will be shown
on the screen.
D) Read the currently measured result from the display.
Note:
•When the online resistor is measured, be sure to shut
off the line power supply and discharge all capacitors
completely.
• If the tested resistor is open or its resistance is out of
the max. range of the clamp multimeter, it will show
“OL”

16
• When the resistance above 1MΩ is measured, the
reading on the meter will not be stable until several
seconds have passed. This is normal for high-resistance
measurement.
•When the resistor is measured, do not input voltage
value. Never input the voltage above the overload
protection, otherwise, the meter may be damaged and
the operator may be hurt.
•After the measurement is over, immediately
disconnect the test probe from the tested circuit.
Resistance (Ω)Technical Indicators
Range
Accuracy
Resolution
400Ω
±(0.8%+5d)
0.1Ω
4kΩ
±(0.8%+4d)
1Ω
40kΩ
10Ω
400kΩ
100Ω
4MΩ
1kΩ
40MΩ
±(1.2%+10d)
10kΩ
Open voltage:400mV
Overload protection: 250V DC or AC peak.

17
Note: When 400Ω is used, it is necessary to short circuit
the test probe to test the resistance of the lead, which
will be deducted from the actual test.
2-4. Diode Measurement and Continuity Test
2-4-1.Diode Measurement
A) Turn the
function/range
SELECT switch
gear. Press
the SELECT key to
choose the desired
diode measurement
mode.
B) Respectively insert the
red test probe and
black test probe into
the VΩ and COM
ends.
C) Connect the red test probe onto the positive of the
diode and the black test probe onto the negative.
D) Read the currently measured result from the display.

18
Note:
• In case of open diode or reverse polarity, the display
will show “OL”.
• When the online diode is measured, be sure to shut off
the line power supply and discharge all capacitors
completely.
• After the measurement is over, immediately
disconnect the test probe and the tested circuit.
2-4-2. Continuity Test
A) Turn the function/range SELECT switch
gear.
B) Press the SELECT key to choose the desired
Table of contents
Other Victor Multimeter manuals

Victor
Victor 6000counts User manual

Victor
Victor 8145B User manual

Victor
Victor VR-81D User manual

Victor
Victor 86B Parts list manual

Victor
Victor VC9807A+ User manual

Victor
Victor VC9808plus User manual
Victor
Victor 8165 User manual
Victor
Victor VR-9807A User manual

Victor
Victor 81D User manual

Victor
Victor VC9806+ User manual
Popular Multimeter manuals by other brands

3B SCIENTIFIC PHYSICS
3B SCIENTIFIC PHYSICS 100 instruction sheet

UEi
UEi DM383B instruction manual

Sperry instruments
Sperry instruments DM6650T operating instructions

Agilent Technologies
Agilent Technologies U1253B quick start guide

Wavetek
Wavetek Meterman AM8 Operator's manual

Velleman
Velleman DVM851 user manual