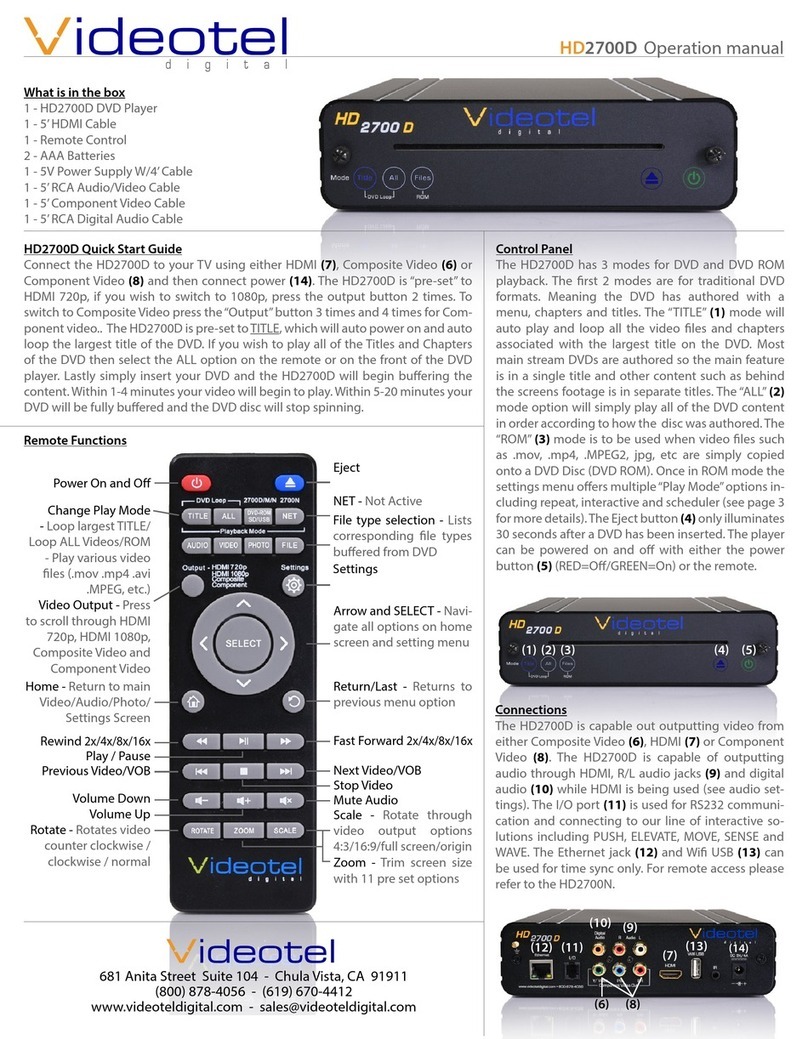
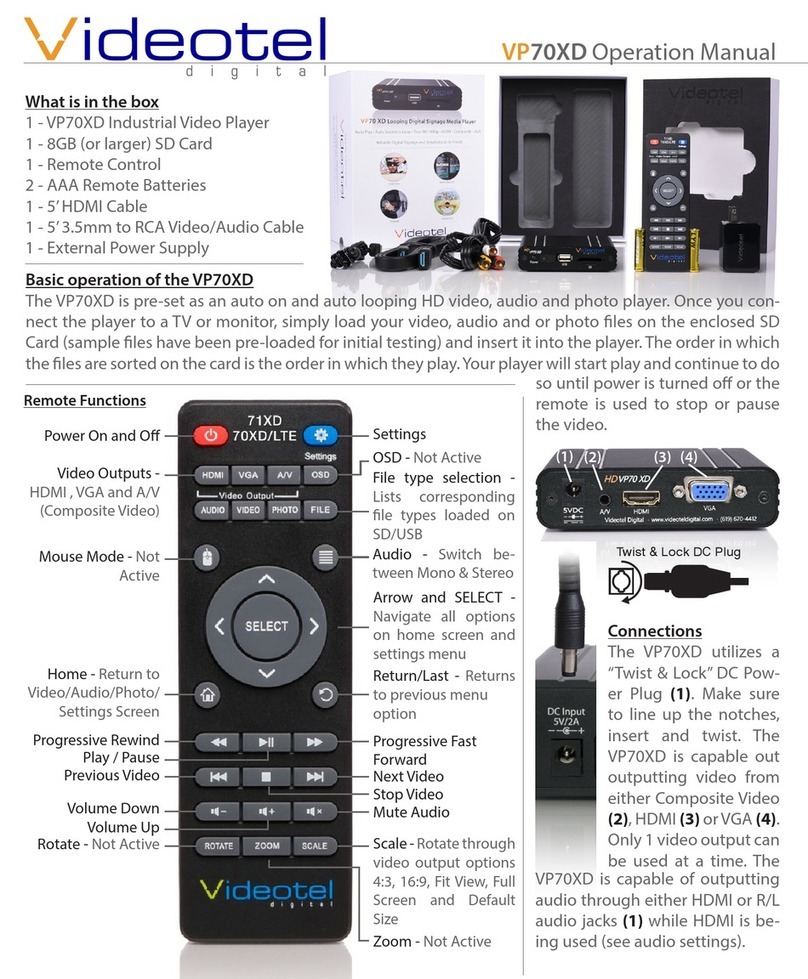
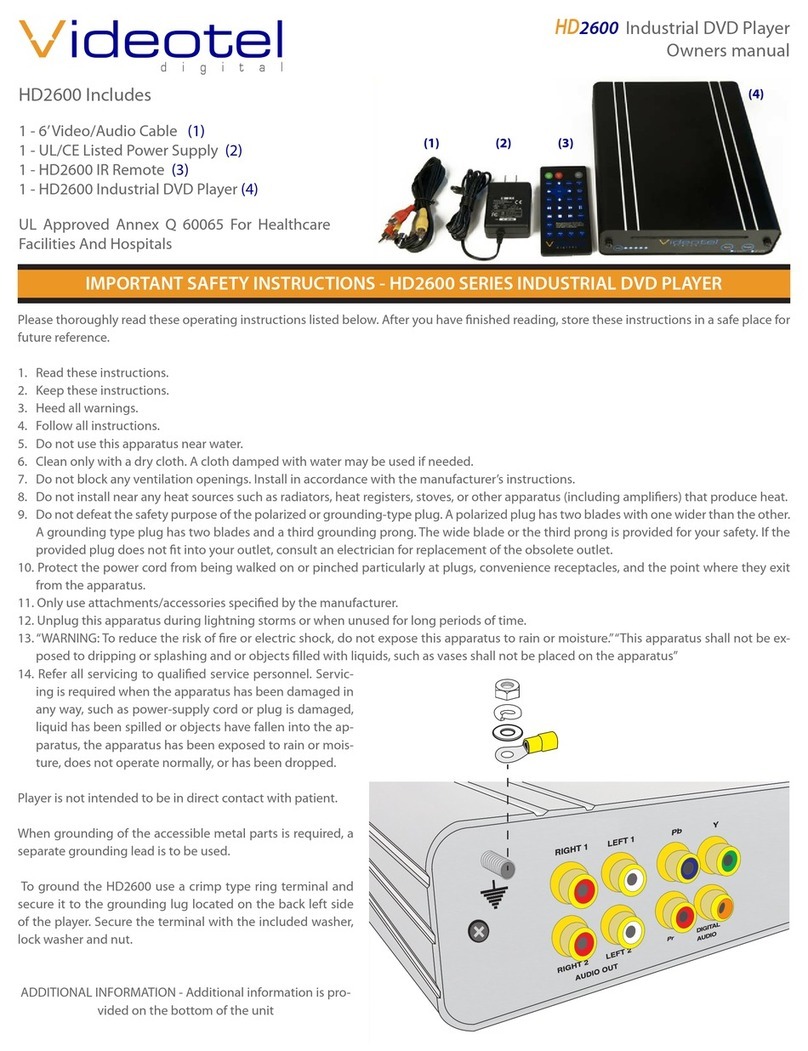
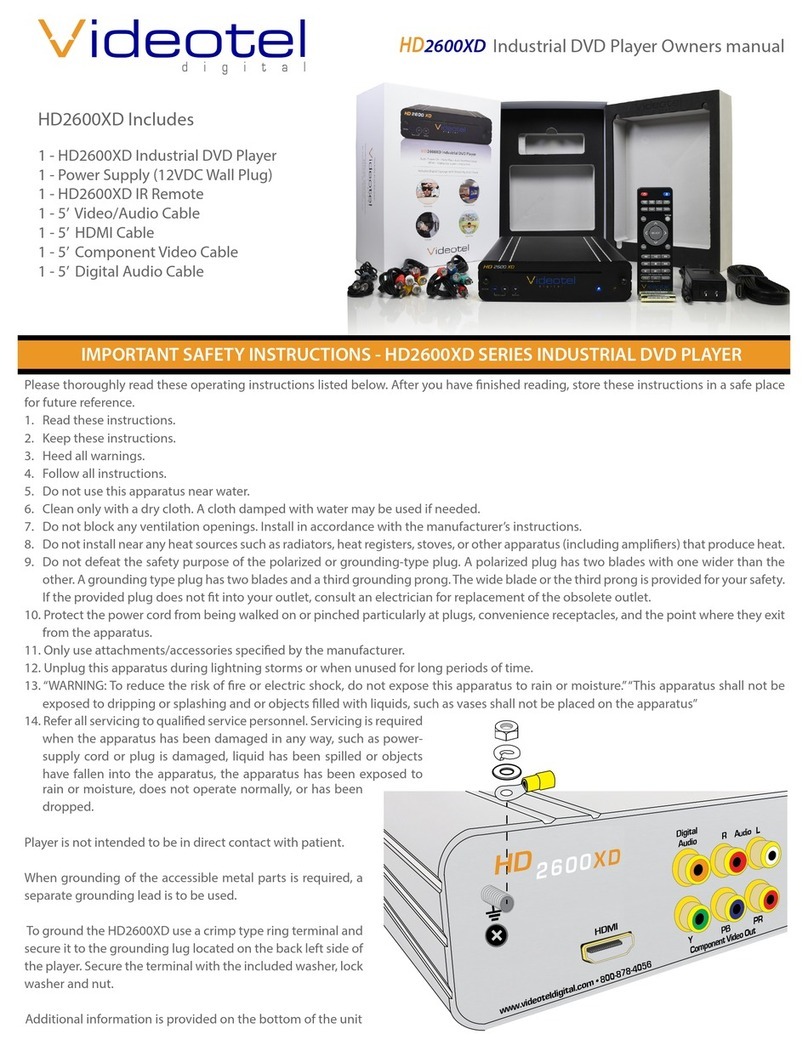
Videotel VP71XD 4K User manual

VP71XD 4K Operation Manual
DRAFT - 0320
What is in the box
1 - VP71XD 4K Video Player
1 - Remote Control
1 - 5’ HDMI Cable
1 - USB Power Supply W/5’ Cable
1 - 5’ RCA to RCA A/V Cable
1 - 8GB (or higher) USB
1 - 8GB (or higher) SD Card (pre-
loaded with sample videos)
digital
Remote Functions
Power On & O
Change Video
Output - HDMI,
VGA and A/V
Mouse Mode -
Press to enter
& exit “mouse
mode”, then
use arrow keys
Home - Returns
to start up
screen
Rewind
Play / Pause
Previous Video
Volume Down
Volume Up
Rotate -Rotates
video counter
clockwise /
clockwise /
normal
Settings
ALL - Lists all content
on SD/USB
Turns on & o OSD
Arrow and SELECT -
Navigate all options
on home screen and
setting menu
Return/Last -Returns
to previous screen
Fast Forward
Next Video
Stop Video
Mute Audio
Scale - Inactive
Zoom - Trim screen
size with 11 pre set
options
Connections
The VP71XD 4K is capable out outputting video from either Composite Video (4), VGA (6) or HDMI
(5). The VP71XD 4K is capable of outputting audio through HDMI or R/L audio plugs (3) (using the
included A/V cable), while HDMI or VGA is being used. The I/O port (2) is used for RS232 communica-
tion and connecting to our line of interactive solutions including PUSH, MOVE, SENSE, WAVE, RFID and
ELEVATE. The USB on the front (8) can be used for content playback and/or for a keyboard / mouse. Use
the enclosed power supply and make sure to line up the pins on the plug and then “Twist & Lock”
the plug into the jack (1). The VP71XD 4K will only output 1 video source at a time. Use the remote to
select HDMI, VGA or A/V.
(5)
digital
(6)(4)(3)(2)
(1)
681 Anita Street Suite 104 - Chula Vista, CA 91911
(800) 878-4056 - (619) 670-4412
www.videoteldigital.com - sales@videoteldigital.com
Page 1
This player has pre-loaded sample videos and is ready to test
right out of the box
If you ordered one of our interactive solutions the SD (9) will be
loaded with a looping 000.mov le and multiple trigger les (001.
mp4, 002.mov, etc.). The player will also be set to interactive mode.
Simply connect the VP71XD 4K to a TV, connect the interactive de-
vice and power on the player.
System and Play Mode Settings
To access the various content playback options (in order, random,
schedule or interactive) or photo playback options, simply remove
SD/USB and when on the home screen, press the “SELECT” button
twice. You can also access this setting screen when videos or photos
are playing buy using “mouse mode” (or by plugging in a mouse)
and moving the cursor to the upper right corner.
Note: If the “Settings Guidelines” (14) is checked an animated on
screen display will show settings access instructions each time the
settings are saved.
Play Content From USB/SD
The VP71XD 4K is pre-set to play from USB or SD, which will auto
power on and auto loop any video, audio and/or photos loaded on
the SD or USB drive. Once you connect the player to a TV or moni-
tor, simply load your video, audio and/or photo les onto any SD
Card or USB drive and insert it into the player. The order in which
the les are sorted on the card (alphanumeric) is the order in which
they play. Your player will start play and continue to auto loop until
power is turned o. Once power is restored the VP71XD 4K will auto
start and auto play without any manual interaction.
Twist &
Lock
(7) (8) (9)
(14)

Page 2
Playback Modes (In Order, Random, Schedule and Interactive)
Below is a brief description of what each File Playback Mode does. All 5 modes can be used when playing from USB or SD.
In Order: (36) All the content loaded either on an SD or USB will be played in alpha numeric order. In the example below (37) the rst le to
be played would be “Adams.mpeg”, then “Break Dancer.mov” and lastly, “Costa Rica.mov”. Once the last le has played, the VP71XD 4K will
automatically begin playing the rst le and continue looping all loaded les endlessly.
Random: (38) This mode functions the same as “In Order” except all the les loaded on the SD or USB will loop randomly.
Note: Both of these modes can be used with any combination of videos, photos and/or audio les. If you desire to mix photos with videos and
use transitions, the transitions only work on photos
and not videos. Also, make sure ONLY your desired
les are loaded on the SD/USB. The VP71XD 4K will
play all content on the device/folder the regardless
if there are les in sub-folders.
(36) (38)
(37)
(40) (41)(39)
Playback Modes (Interactive-Instant/Delayed)
These modes would be used if you have an appli-
cation that requires interactive video triggering us-
ing one of our solutions (45) (PUSH, MOVE, WAVE,
SENSE, RFID, RF PUSH and ELEVATE). For example:
Lets say your application requires a looping video
and 3 mechanical buttons that each play a specic
video (photo or audio) le when pressed. First you
would load 4 videos on your SD/USB (46). These
les would need to be labeled 000.mov (mov, mp4,
jpg, mp3, etc..), 001.mov, 002.mov and 003.mov
(47). The video le 000.mov represents the video
that will loop endlessly until either button 1 (001.
mov will play), 2 (002.mov will play) or 3 (003.mov
will play) is pressed.
Push Move Wave Elevate Sense
• Instant mode (40) will trigger a dierent video even if the rst video has not nished play-
ing. For example: If 3 buttons are available and button 2 is pressed, video 002.mov will
begin playing. If button 3 is pressed, then video 002.mov will stop and video 003.mov will
instantly play.
• Delayed mode (41) will ignore any additional button or sensor triggers until the 1st video
is nished playing. For example: If 3 buttons are available and button 2 is pressed, video
002.mov will begin playing, play once and then loop the 000.mov video again. If button 3
is pressed during video 002.mov, the VP90 will ignore all requests for a new video until the
1st selected video is done playing.
Note: The le names MUST start with 3 numbers but you can add additional verbiage after the
rst 3. For example:
000 - Main Looping Video.mp4
001 - Learn More About Our Museum.mov
002.mpeg
003 - The Music Of The Wascanegi People.mp3
Playback Modes (Scheduling) (39)
This mode would be used if you wish to play specic videos at dierent times of the day and/or
week. The VP71XD 4K will read a text le (48) that is loaded on your USB/SD that you create and
can edit at any time. The text le must be placed on the same USB/SB that contains the video,
photo and/or audio les.
For example if you wanted to play a breakfast menu from 9am to 11am, a lunch menu from
11am to 3pm and a dinner menu from 3pm to 11pm you would use this scheduling mode. Once
scheduling mode is selected you simply need to create a text le (48) with start and stop times
and load it on the same SD/USB as your video/audio/photo les (49). A sample play list can be
downloaded from our web site or can be manually typed from the example on the right (48).
(45)
(46)
(47)
(48)
(50)
(51)
(52)

• [MOVIE–AUTOFILE] (50) will be your looping attract screen or default video. Even if you plan to play content all day, everyday you must enter
a le and load it on the SD/USB. The “Jennys Logo.jpg” will loop whenever no other start/stop time is active.
Page 3
Playback Modes (Scheduling) (39) - Continued
• [DAY_TO_PLAY] Represents what day of
the week you wish to play the indicated le.
Days of the week must be entered as follows
MON TUE WED THU FRI SAT (51) SUN. If
you wish to play the content everyday, then
enter ALL (52).
• You can input an unlimited number of stop
and start times and the scheduler works o
of a 7 day calendar. Tip: The text le must be
called playlist.txt (48).(48)
(49)
Image Settings
The VP71XD 4K has several options for creating
transitions when playing photos/images from
SD/USB. These settings do not apply to creating
transitions between videos or videos to photos...
only photo to photo.
• Image Delay: (60) The time between switch-
ing from one image to the next.
• Image Transition Delay: (61) The amount of
time that elapses from the start of the tran-
sition to the end.
• Image Transition Eect In and Out: (62)
Chose from a variety of transitions includ-
ing Fade In/Out, Rotate and Slide In/Out.
You can choose a dierent transition when
bringing the new image in and taking the
image out.
• Image scale type: (63) While it is best to use
images that match your screen size (If your
screen is 1920x1080, make the image a pro-
portional size ex: 1920x1080 or 2880x1620)
the VP71XD 4K can scale your images as
well.
(60) (61)
(62)
- Center Crop: Your image will be centered and if the image is larger then the screen, the
edges will be cropped.
- Fit Center: If your image is larger then the screen then the horizontal or vertical portion
of the image will be adjusted to t which would leave black bars on the sides that are
smaller then the screen.
- Fit XY: If your image is larger or smaller then the screen then the image will be adjusted
(Squeezed or Stretched) to t.
- Fit Start: The image will be scaled vertically and if it is smaller then the screen size it will
be ushed to the left and have a black space on the right.
(62)
(63)
Settings
System Settings
The VP71XD 4K has several system settings that can be accessed by pressing the “Settings” button. Most cli-
ents use the VP71XD 4K without ever using the System Settings option but below is a list of the options that
are available that can be changed.
• HDMI Resolution: While the VP71XD 4K will auto detect the maximum resolution of the TV connected,
you can access all the various options.
• Network: The VP71XD 4K does not have any remote access ability but for clients using Schedule Mode
then connection to Wi is helpful for the time sync feature.
• Audio: Allows you to change audio output options from Passthrough, Spdif Passthrough and HDMI Bit
Stream.
• Date and Time: Adjust the date and time or set for“automatic”.
Table of contents
Other Videotel DVD Player manuals

Videotel
Videotel HD2700D User manual

Videotel
Videotel VP72 4K User manual

Videotel
Videotel VP70XD User manual

Videotel
Videotel V2200 User manual

Videotel
Videotel VP70LTE+ User manual

Videotel
Videotel HD2600 User manual

Videotel
Videotel VP92 User manual

Videotel
Videotel VP70 LTE+ User manual

Videotel
Videotel HD2600XD User manual

Videotel
Videotel HD2700M+ User manual