1
ENGLISH
1. Before you start...............................................................................................................................2
1.1.Warranty................................................................................................................................2
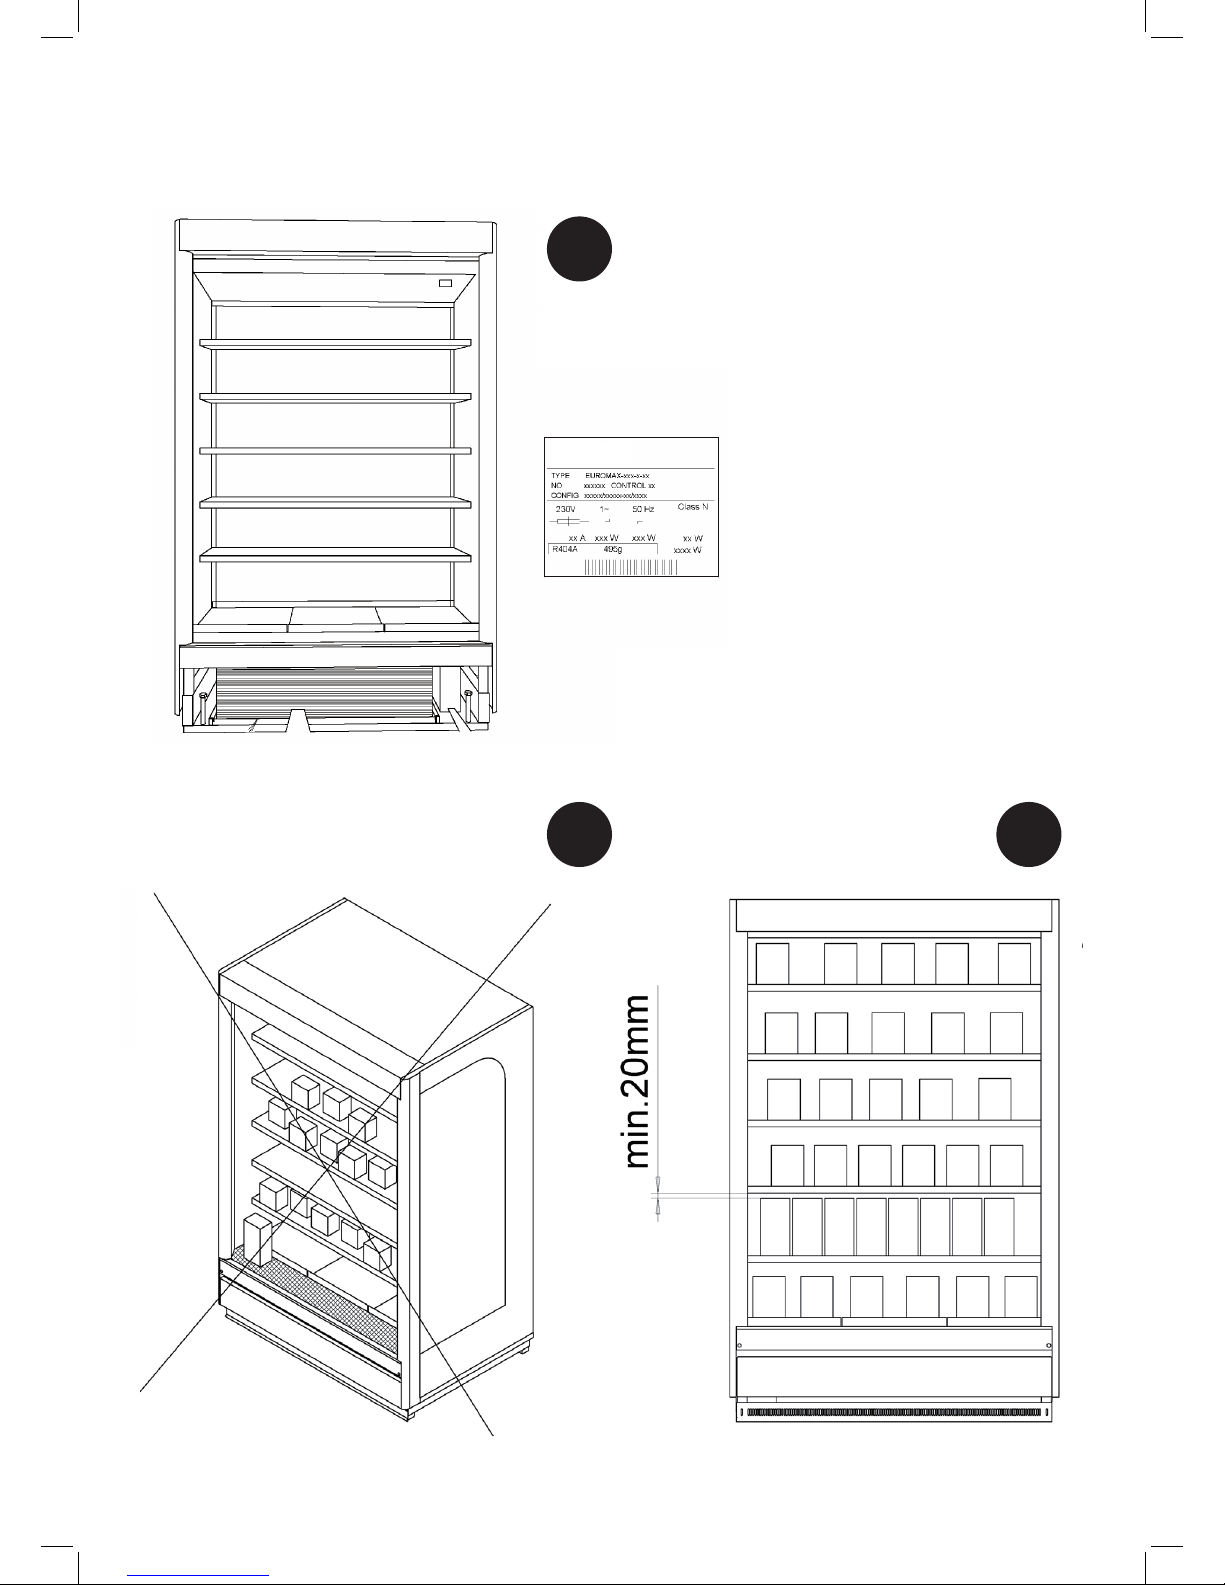
2. TectoPromo MD1 Euroclassic / MD2 Euromax / MD4 Visio.........................................................2
2.1.Warnings...............................................................................................................................2
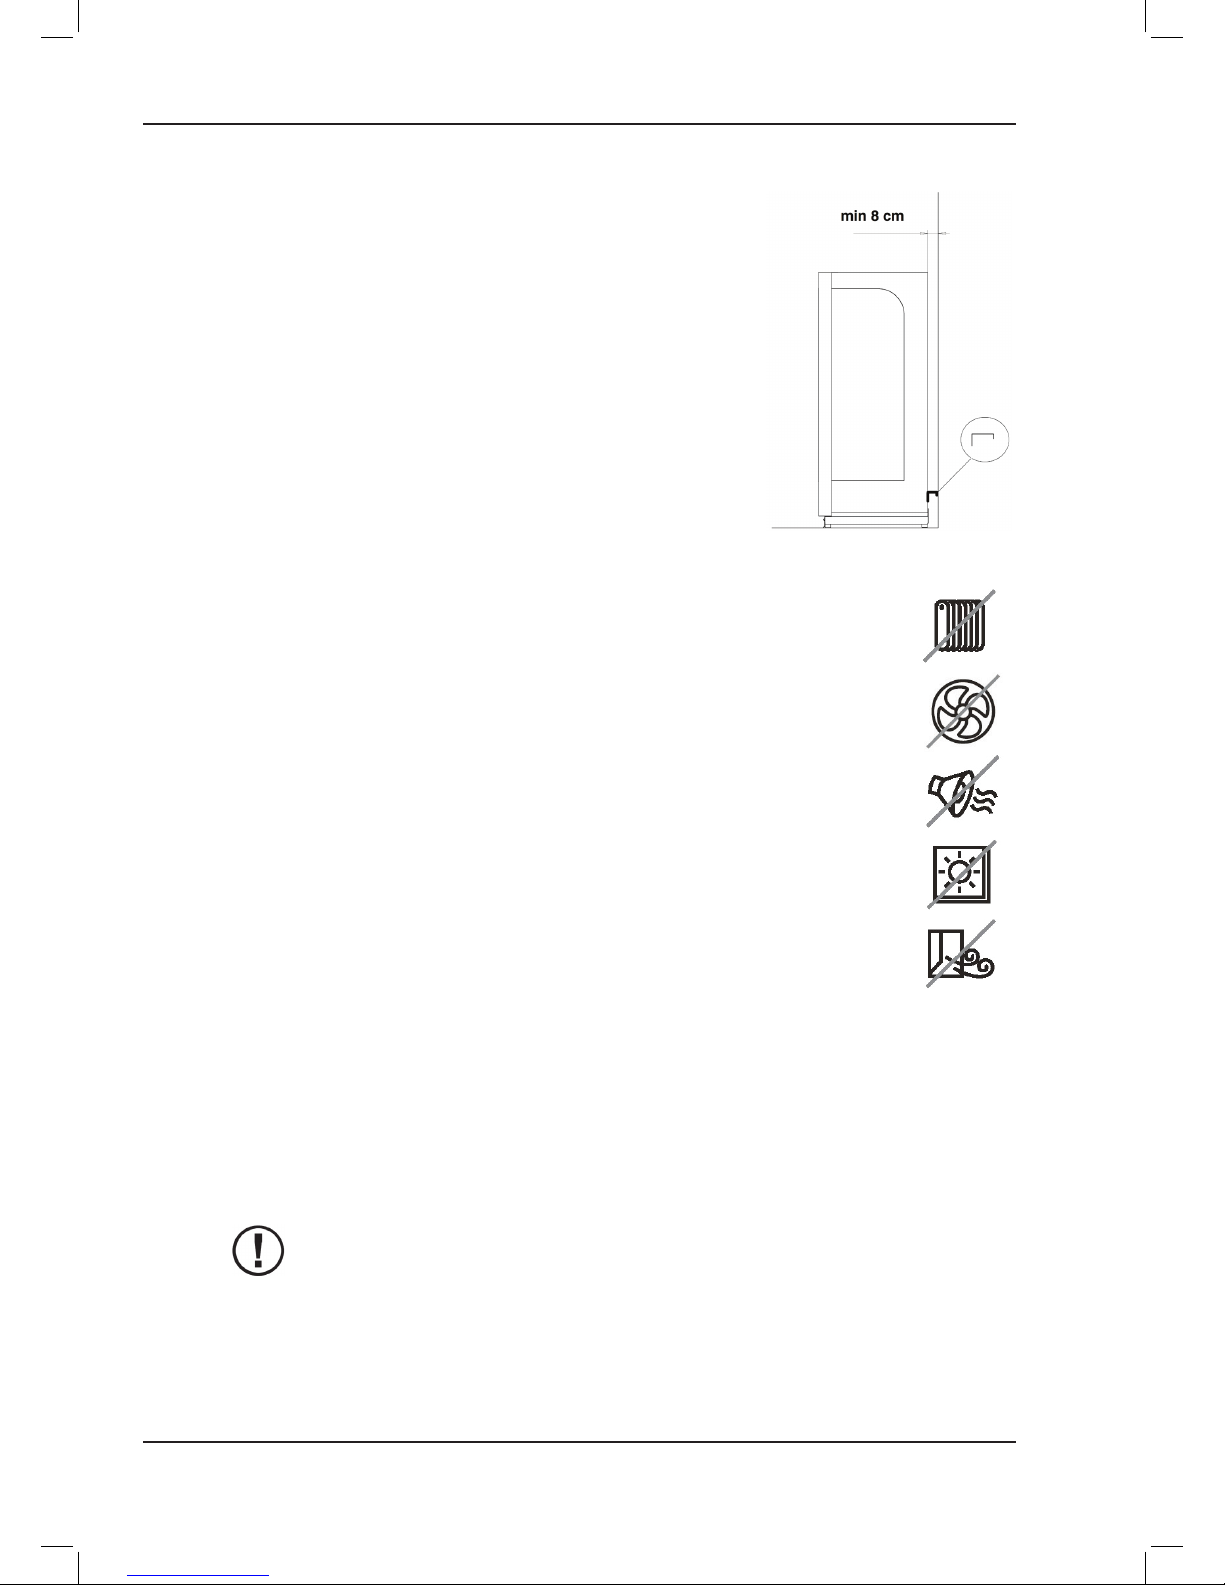
2.2.Restrictions ..........................................................................................................................3
2.3.Package ................................................................................................................................4
2.4.Transport damage................................................................................................................4
2.5.Installing ...............................................................................................................................4
2.6.Cleaning before use.............................................................................................................5
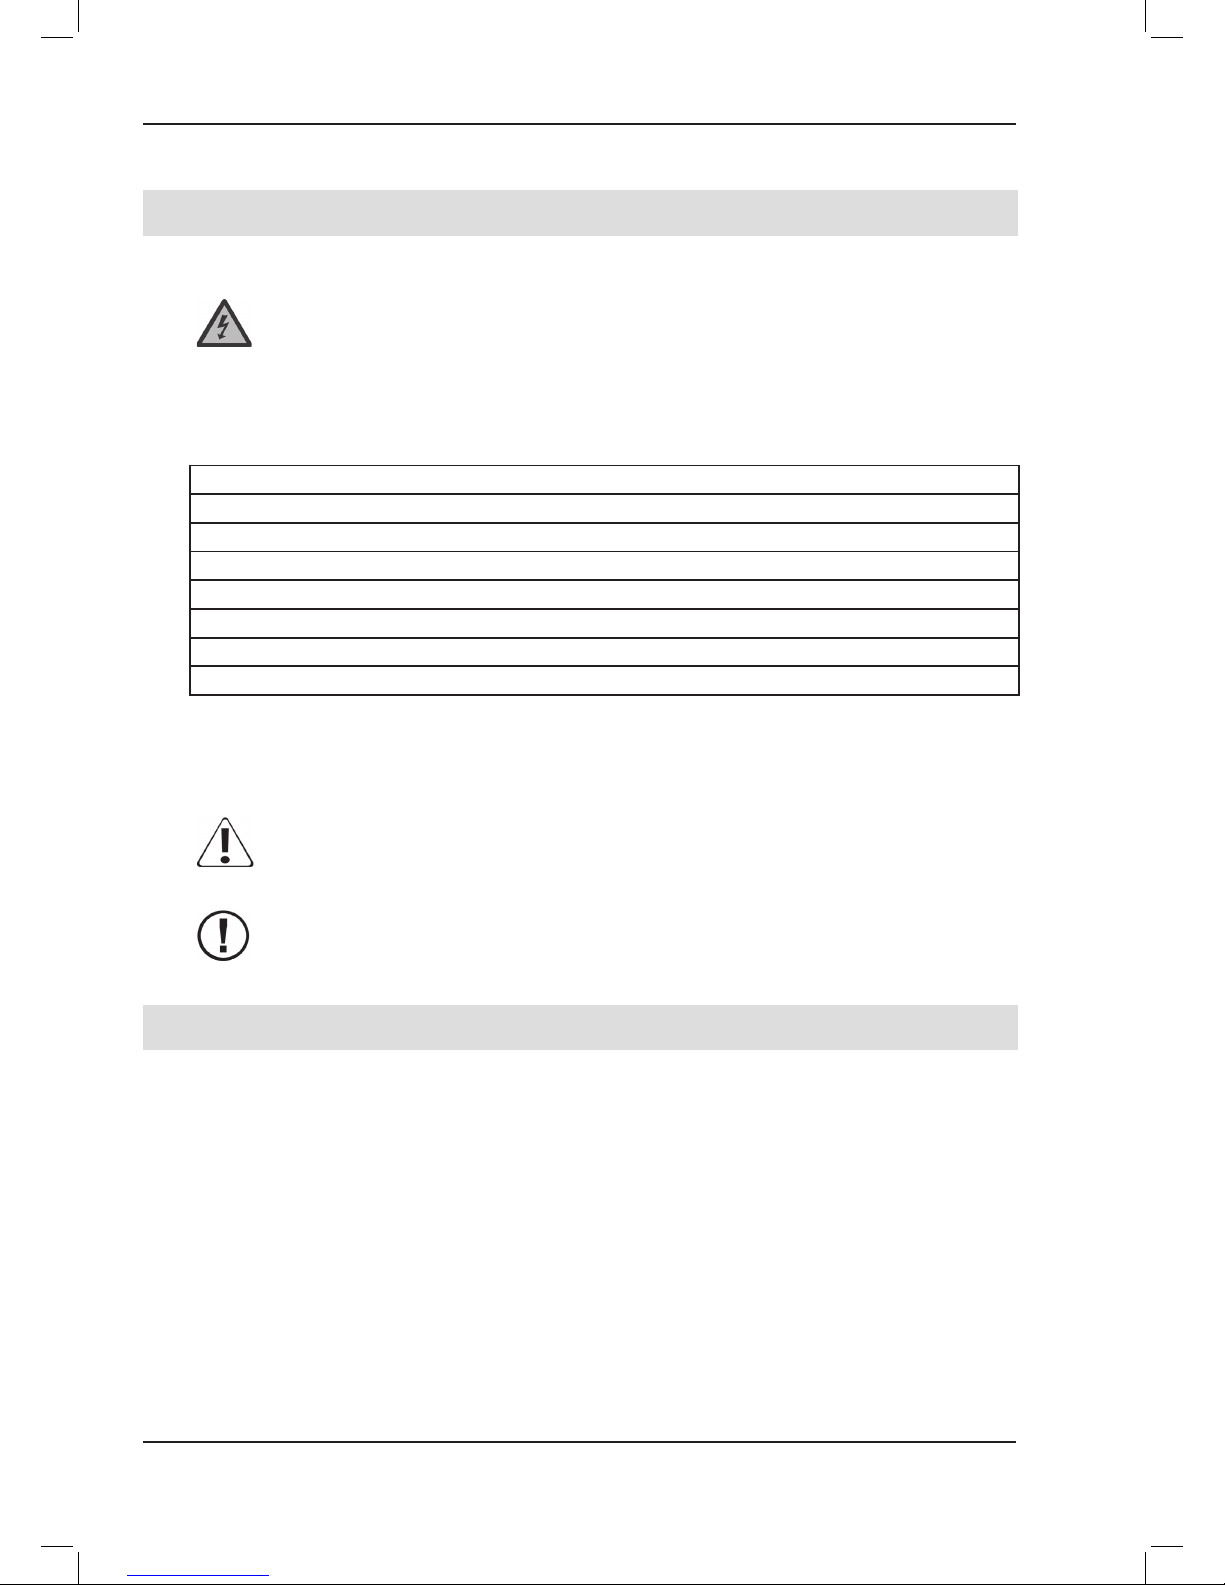
3. Electrical connections ....................................................................................................................6
4. Operation .........................................................................................................................................6
4.1.Starting up............................................................................................................................7
4.2.Loading cabinet ...................................................................................................................7
4.3.Setting operating thermostat.............................................................................................. 7
4.4.Control device......................................................................................................................8
4.4.1. Alarms........................................................................................................................8
4.4.2. Other messages ........................................................................................................8
4.4.3. LED symbols..............................................................................................................9
4.5.Automatic defrosting......................................................................................................... 10
5. Cleaning.........................................................................................................................................10
5.1.Cleaning condenser........................................................................................................... 11
6. Interruptions in electricity distribution ....................................................................................... 11
7. Troubleshooting ............................................................................................................................ 11
8. Servicing and spare parts ............................................................................................................12
8.1.Servicing condensate pump.............................................................................................12
8.2.Replacinguorescenttube............................................................................................... 12
9. Disposal of equipment..................................................................................................................12