manuals.online logo
Brands
  1. Home
  2. •
  3. Brands
  4. •
  5. Viessmann
  6. •
  7. Tools
  8. •
  9. Viessmann 4198 H0 User manual

Viessmann 4198 H0 User manual

Bedienungsanleitung
Operation Manual
Ösen-Biegezange
Eyehook bending pliers
4198 H0
4298 TT
4398 N
1. Wichtige Hinweise / Important information ..................................................... 2
2. Einleitung / Introduction .................................................................................. 2
3. Anwendung / Using ........................................................................................ 2
H0 TT/N
2
DE EN
1. Wichtige Hinweise
Bitte lesen Sie vor der ersten Anwendung des Produktes
diese Bedienungsanleitung aufmerksam durch. Bewahren
Sie diese auf, sie ist Teil des Produktes.
1.1 Sicherheitshinweise
Vorsicht:
Verletzungsgefahr!
Tragen Sie eine Sicherheitsbrille zum Drahtschneiden.
Beachten Sie, dass die Zange dem zu schneidenden
Draht entspricht (Härte und Durchmesser des Drahtes).
Schneiden Sie möglichst in der Mitte der Schneideäche.
Durch Verschleiß kann es zum Abrutschen und somit zu
Unfällen kommen. In diesem Fall ist die Zange zu erneuern.
1.2 Das Produkt richtig verwenden
Dieses Produkt ist bestimmt:
- Zum Kürzen, Biegen und Richten der Viessmann
Oberleitungsfahrdrähte.
- Zur Benutzung in trockenen Räumen.
Jeder darüber hinausgehende Gebrauch gilt als nicht be-
stimmungsgemäß. Für daraus resultierende Schäden
haftet der Hersteller nicht.
1.3 Packungsinhalt überprüfen
Kontrollieren Sie den Lieferumfang auf Vollständigkeit:
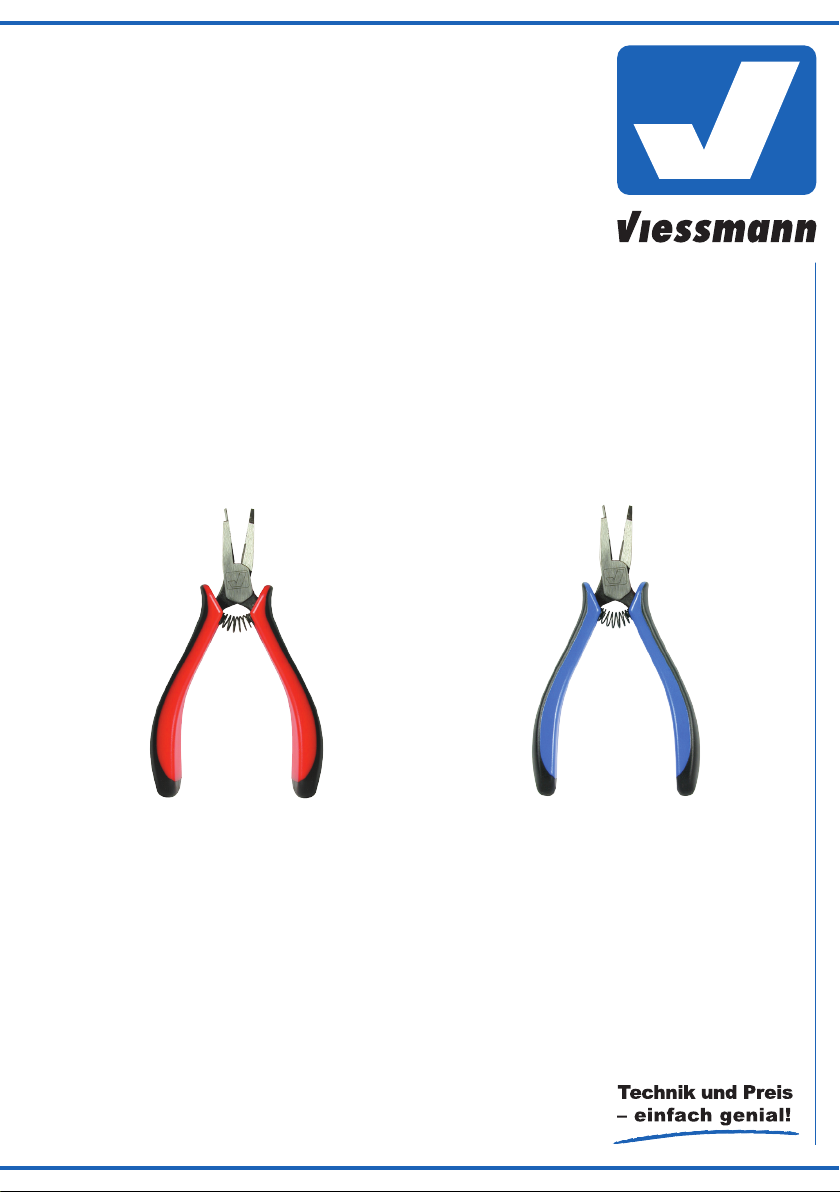
- Ösen-Biegezange
- Anleitung
2. Einleitung
Mit der Viessmann Ösen-Biegezange Art.-Nr. 4198, 4298
und 4398 sind Sie in der Lage, die Viessmann Univer-
sal-Fahrdrähte (Art.-Nr. 415x H0, 425x TT, 435x N) auf
die gewünschte Länge zu kürzen und die Ösen zum Ein-
hängen in den Auslegern zu biegen.
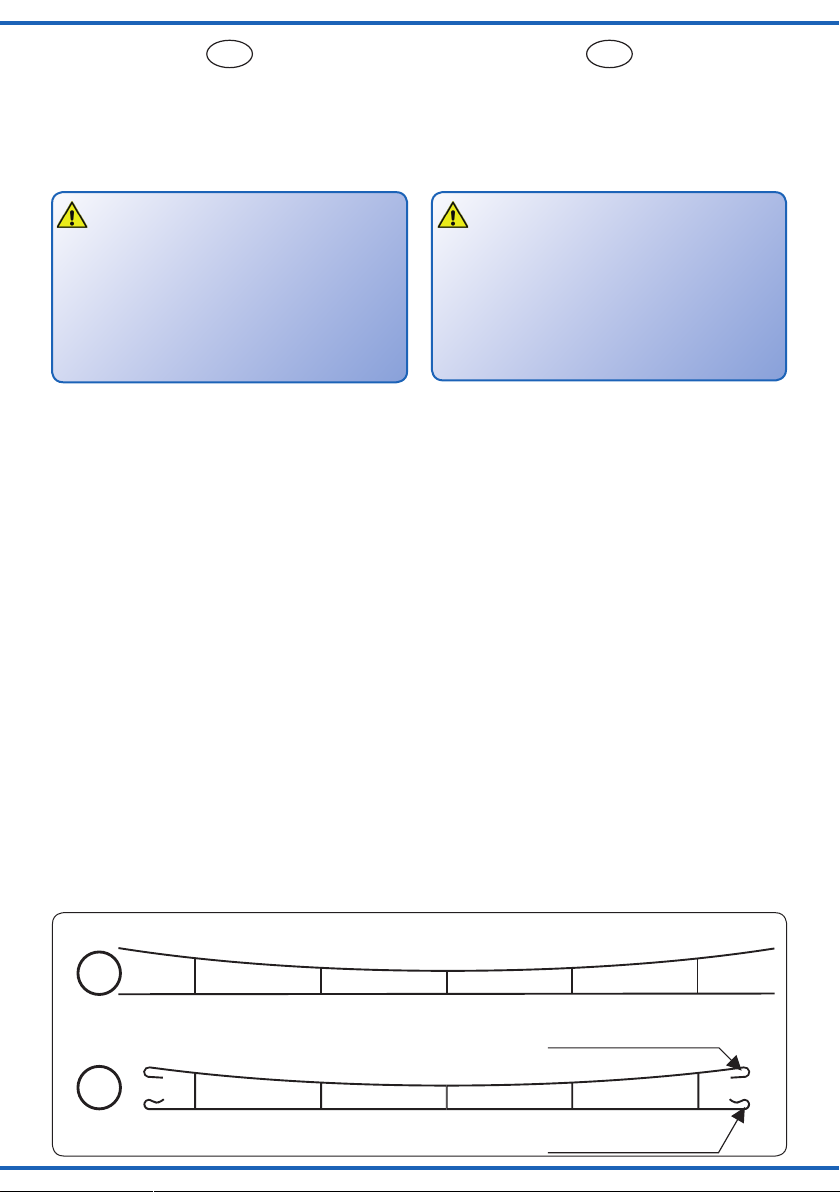
3. Anwendung
In Abb. 1 wird der Universal-Fahrdraht in seinem
ursprünglichen Zustand (a) und nach dem Biegen der
Ösen (b) gezeigt.
1. Important information
Please read this manual completely and attentively be-
fore using the product for the rst time. Keep this manual.
It is part of the product.
1.1 Safety instructions
Caution:
Risk of injury!
Wear safety glasses for wire cutting.
Observe the cutting pliers capacities (diameter and
wire hardness).
Do not use the pliers extremities for cutting.
Wearout can cause sliding and accidents. In this case,
the pliers must be replaced.
1.2 Using the product for its correct purpose
This product is intended:
- For shortening, bending and straightening of the
Viessmann catenary wires.
- For using in dry rooms only.
Using the product for any other purpose is not approved
and is considered incorrect. The manufacturer is not re-
sponsible for any damage resulting from the improper
use of this product.
1.3 Checking the package contents
Check the contents of the package for completeness:
- Eyehook bending pliers
- Manual
2. Introduction
With the eyehook bending pliers item-No. 4198, 4298 and
4398 you can shorten the universal catenary wires (item-
No. 415x H0, 425x TT and 435x N) on the desired length.
Afterwards you can bend the eyehooks.
3. Using
In g. 1 you can see the universal catenary wire in its original
form (a) and after the bending of the eyehooks (b).
Fig. 1
Abb. 1
A
B
gerade Öse
straight eyehook
Öse mit Hinterschnitt
formed eyehook
3
3.1 Biegen der Ösen
1. Kürzen Sie den Fahrdraht symmetrisch zu den Fall-
seilen auf die erforderliche Länge. Diese ergibt sich
aus der rechnerischen Fahrdrahtlänge (Abstand zwi-
schen den beiden Aufnahmepunkten der Ausleger,
zwischen die der Fahrdraht gespannt werden soll)
plus einem Biegezuschlag von 2 x 6 mm (H0) bzw. 2 x
5 mm (TT und N), siehe Abb. 2.
2. Legen Sie den gekürzten Fahrdraht in die Zange ein.
Achten Sie dabei auf die richtige Position von Fahr-
draht und Zange (Abb. 3), wie in Punkt 3 beschrieben.
3.1 Bending of the eyehooks
1. Cut the catenary wire symmetrically to the vertical
wires down to the needed length. This results by the
mathematical length (distance between the both con-
necting points of the brackets, where the catenary
wire should be spanned) and a bending bonus of 2 x
6 mm (H0) resp. 2 x 5 mm (TT and N), see g. 2.
2. Put the shortened catenary wire into the pliers. Check
thereby the right position of catenary wire and pliers
as specied in point 3.
3. Abhängig davon, ob Sie eine Öse mit Hinterschnitt
oder eine gerade Öse erzeugen wollen, ist der Fahr-
draht in die Nut oder auf die gerade Auageäche zu
legen (Abb. 4). Das Ende des Fahrdrahtes muss da-
bei bündig mit der Außenkante der Zange sein.
3. Depending on whether you want to bend a formed
or a straight eyehook, you have to put the catenary
wire into the groove or on the contact surface (g. 4).
Thereby the end of the catenary wire has to be coin-
cide with the outer edge of the pliers.
4. Close the pliers and press it powerful.
5. Turn the pliers as shown in g. 5 and press the cate-
nary wire along the bending radius while turning (see
right drawing).
4. Drücken Sie die Zange kräftig zu.
5. Drehen Sie die Biegezange wie in Abb. 5 und führen
Sie dabei den Fahrdraht am Biegeradius entlang
(siehe rechte Zeichnung).
gewünschte Fahrdrahtlänge a
desired wire length a
benötigte Ausgangslänge
needed start length
a + 12 mm (H0)
a + 10 mm (TT/N)
=
H0 6 mm
(TT/N 5 mm)
Öse mit Hinterschnitt
formed eyehook
gerade Öse
straight eyehook
Anlagekante
für Fahrdraht
position corner for
the running wire
Fig. 2
Abb. 2
H0 6 mm
(TT/N 5 mm)
Fig. 3
Abb. 3
Fig. 4
Abb. 4
Modellbauartikel, kein Spielzeug! Nicht geeignet für Kinder
unter 14 Jahren! Anleitung aufbewahren!
Model building item, not a toy! Not suitable for children
under the age of 14 years! Keep these instructions!
Ce n’est pas un jouet. Ne convient pas aux enfants de
moins de 14 ans ! C’est un produit décor! Conservez cette
notice d’instructions!
Não é um brinquedo!Não aconselhável para menores de
14 anos. Conservar a embalagem.
Modelbouwartikel, geen speelgoed! Niet geschikt voor
kinderen onder 14 jaar! Gebruiksaanwijzing bewaren!
Articolo di modellismo, non è un giocattolo! Non adatto
a bambini al di sotto dei 14 anni! Conservare instruzioni
per l’uso!
Artículo para modelismo ¡No es un juguete! No
recomendado para menores de 14 años! Conserva las
instrucciones de servicio!
DE
EN
FR
NL
IT
ES
PT
Modelltechnik GmbH
Bahnhofstraße 2a
D - 35116 Hatzfeld-Reddighausen
www.viessmann-modell.de Made in Europe
4
Änderungen vorbehalten. Keine Haftung für Druckfehler
und Irrtümer.
Die aktuelle Version der Anleitung nden Sie auf der
Viessmann Homepage unter der Artikelnummer.
Subject to change without prior notice. No liability for
mistakes and printing errors.
The latest version of the manual can be looked up at the
Viessmann homepage using the item-No.
6. Zange ö󰀨nen. Ziehen Sie die Zange seitlich aus der
Öse heraus (Abb. 6).
Diese prinzipielle Arbeitsfolge gilt für das Biegen beider
Ösentypen.
Fig. 5
Abb. 5
6. Open the pliers. Pull the pliers sidely out of the eye-
hook (g. 6).
Fig. 6
Abb. 6
This principal working sequence is valid for bending both
types of eyehooks.
98822
Stand 04
08/2017
Ho/Pic/Me

This manual suits for next models

2

Other Viessmann Tools manuals

Viessmann 2111 User manual

Viessmann

Viessmann 2111 User manual

Viessmann 4198 (H0) User manual

Viessmann

Viessmann 4198 (H0) User manual

Popular Tools manuals by other brands

Neilsen CT4694 quick start guide

Neilsen

Neilsen CT4694 quick start guide

PAC Handlelok 1004 installation instructions

PAC

PAC Handlelok 1004 installation instructions

Sealey CP20VPSH manual

Sealey

Sealey CP20VPSH manual

CRH CRL W4950WBP instructions

CRH

CRH CRL W4950WBP instructions

Staubli GSRD Series Assembly instructions

Staubli

Staubli GSRD Series Assembly instructions

Tapmatic effectivity tools DeBurr-Z Safety and operation instructions

Tapmatic

Tapmatic effectivity tools DeBurr-Z Safety and operation instructions

Josef Kihlberg JK20-689L operating instructions

Josef Kihlberg

Josef Kihlberg JK20-689L operating instructions

Protekt AZ 300 instruction manual

Protekt

Protekt AZ 300 instruction manual

Sealey Power tools GSA11 instructions

Sealey

Sealey Power tools GSA11 instructions

OfiTE 170-91 instruction manual

OfiTE

OfiTE 170-91 instruction manual

Gardena RollUp M/L Operator's manual

Gardena

Gardena RollUp M/L Operator's manual

ATI Technologies Flexdeburr 9150-RC-300 Series manual

ATI Technologies

ATI Technologies Flexdeburr 9150-RC-300 Series manual

CORNING FBC-005 operating instructions

CORNING

CORNING FBC-005 operating instructions

Gardencraft NW-25W Instructions for use

Gardencraft

Gardencraft NW-25W Instructions for use

Senco FramePro325 FRHXP operating instructions

Senco

Senco FramePro325 FRHXP operating instructions

CALIMA 46009 operating instructions

CALIMA

CALIMA 46009 operating instructions

Flexzilla L8651FZ Owner's instructions

Flexzilla

Flexzilla L8651FZ Owner's instructions

CATU CE-75 manual

CATU

CATU CE-75 manual

manuals.online logo
manuals.online logoBrands
  • About & Mission
  • Contact us
  • Privacy Policy
  • Terms and Conditions

Copyright 2025 Manuals.Online. All Rights Reserved.