Viale Vicenza, 14
36063 Marostica VI - Italy
www.vimar.com
49400927C0 02 1911
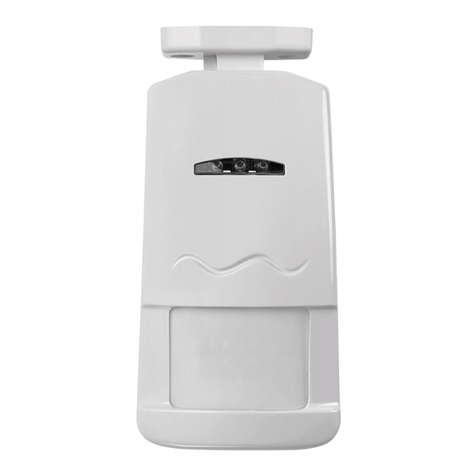
By-alarm
01728
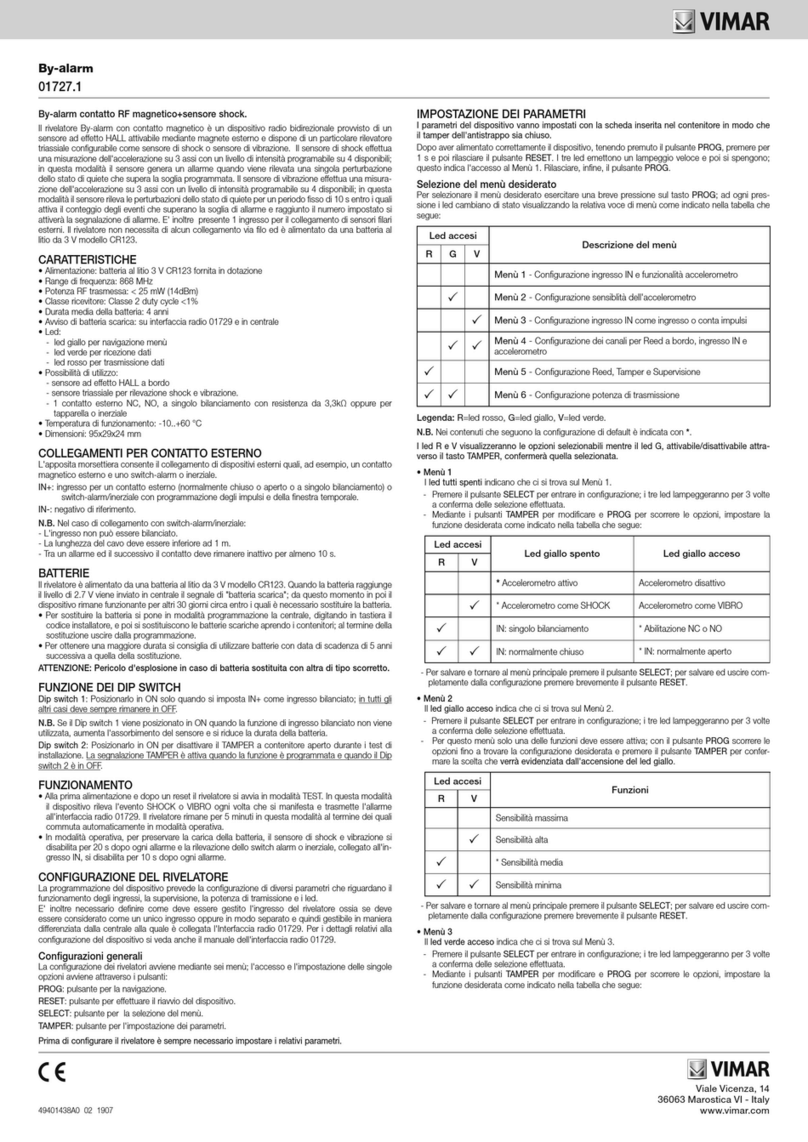
The three LEDs will emit a fast blink and then go out; this indicates access to Menu
1. Lastly, release the PROG button.
Selecting the desired menu
To select the desired menu, briefly press the PROG button; each time it is pressed
the LEDs change status, showing the related menu item as shown in the table
below:
LEDs on Descriptions of the menu
R G V
Menu 1
- IN and Tamper configuration
Menu 2 -
Pyroelectric configuration 1
Menu 3 -
Pyroelectric configuration 2
Menu 4 -
Channel configuration
Menu 5 -
Supervision and LEDs configuration
Menu 5 -
Transmission capacity configuration
Legend: R=Red LED, G=Amber LED, V=Green LED.
N.B. In the following contents the default configuration is indicated by *.
The R and V LEDs display the selectable options and the G LED, activated/
deactivated with the TAMPER button, confirms the selected one.
•Menu 1
When all LEDs are off you are in Menu 1.
- Press the SELECT push-button to enter the configuration; the three LEDs will
blink 3 times to confirm the selection made.
- Using the TAMPER push-button to edit and the PROG push-button to scroll
through the options, set the desired function as shown in the table below:
LEDs on Amber LED off Amber LED on
R V
IN: NC (normally closed) *IN: NO (normally open)
Tamper off *Tamper on
- To save and return to the main menu, press the SELECT button; to save and exit
configuration completely, briefly press the RESET button.
•Menu 2
When the amber LED is on you are in Menu 2.
- Press the SELECT push-button to enter the configuration; the three LEDs will
blink 3 times to confirm the selection made.
- Using the TAMPER push-button to edit and the PROG push-button to scroll
through the options, set the desired function as shown in the table below:
LEDs on Amber LED off Amber LED on
R V
Pyroelectric off *Pyroelectric on
Blind Time: 4 min *Blind Time: 2 min
N.B.: Blind Time is the period of suspension of pyroelectric detection so as to
optimise energy saving. This period of suspension is activated when an alarm
is detected and ends at the end of the programmed time.
- To save and return to the main menu, press the SELECT button; to save and exit
configuration completely, briefly press the RESET button.
•Menu 3
When the green LED is on you are in Menu 3.
- Press the SELECT push-button to enter the configuration; the three LEDs will
blink 3 times to confirm the selection made.
- For this menu, only one of the functions must be active; using the PROG
button, scroll through the options until you find the desired configuration and
press the TAMPER button to confirm the choice that will be highlighted by the
amber LED coming on.
LEDs on Functions
R V
1 pulse
*2 Bipolar pulses
3 Bipolar pulses
4 Pulses of any polarity
- To save and return to the main menu, press the SELECT button; to save and exit
configuration completely, briefly press the RESET button.
•Menu 4
When the green and amber LEDs are on you are in Menu 4.
- Press the SELECT push-button to enter the configuration; the three LEDs will
blink 3 times to confirm the selection made.
- For this menu, only one of the functions must be active; using the PROG
button, scroll through the options until you find the desired configuration and
press the TAMPER button to confirm the choice that will be highlighted by the
amber LED coming on.
LEDs on Functions
R V
*Infrared + IN: all on channel 1
Infrared: on channel 1
IN: on channel 2
- To save and return to the main menu, press the SELECT button; to save and exit
configuration completely, briefly press the RESET button.
•Menu 5
When the red LED is on you are in Menu 5.
- Press the SELECT push-button to enter the configuration; the three LEDs will
blink 3 times to confirm the selection made.
- Using the TAMPER push-button to edit and the PROG push-button to scroll
through the options, set the desired function as shown in the table below:
LEDs on Amber LED off Amber LED on
R V
Supervision off *Supervision on
Supervision interval 8 min *Supervision interval 20 min
- To save and return to the main menu, press the SELECT button; to save and exit
configuration completely, briefly press the RESET button.
•Menu 6
When the red and amber LEDs are on you are in Menu 6.
- Press the SELECT push-button to enter the configuration; the three LEDs will
blink 3 times to confirm the selection made.
- For this menu, only one of the functions must be active; using the PROG
button, scroll through the options until you find the desired configuration and
press the TAMPER button to confirm the choice that will be highlighted by the
amber LED coming on.
LEDs on Functions
R V
Normal power
* Medium power
Maximum power
- To save and return to the main menu, press the SELECT button; to save and exit
configuration completely, briefly press the RESET button.
