Install the Front Camera
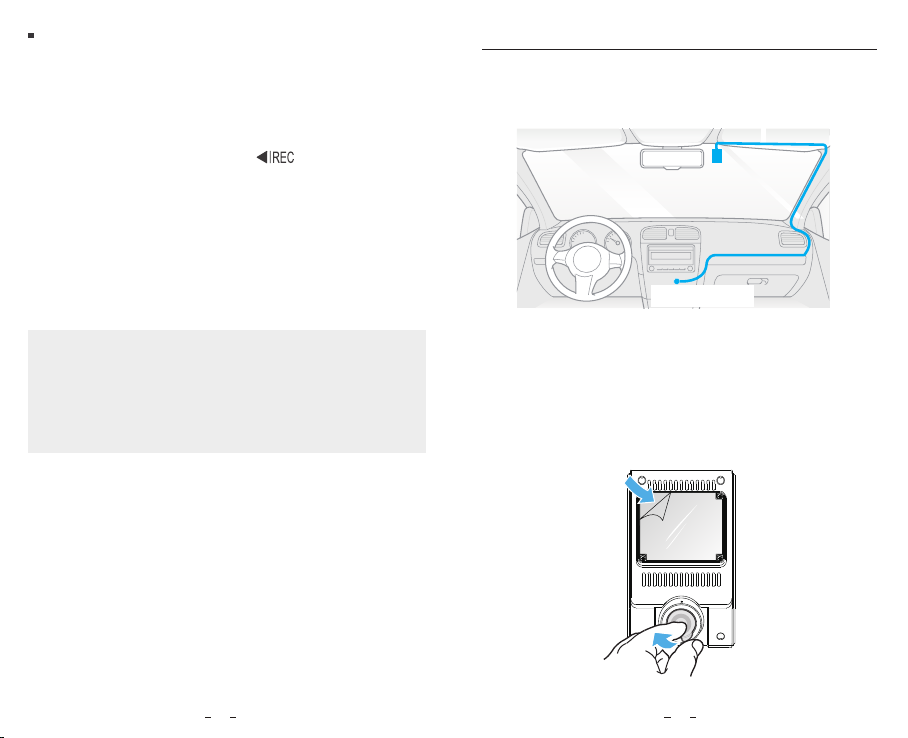
1. Select a location on the windshield behind the
rear-view mirror where the camera will not obstruct the
driver’s view while driving.
2. Wipe clean the installation surface of the windscreen
with a dry cloth, it must be grease free for the sticky pad
to stick firmly.
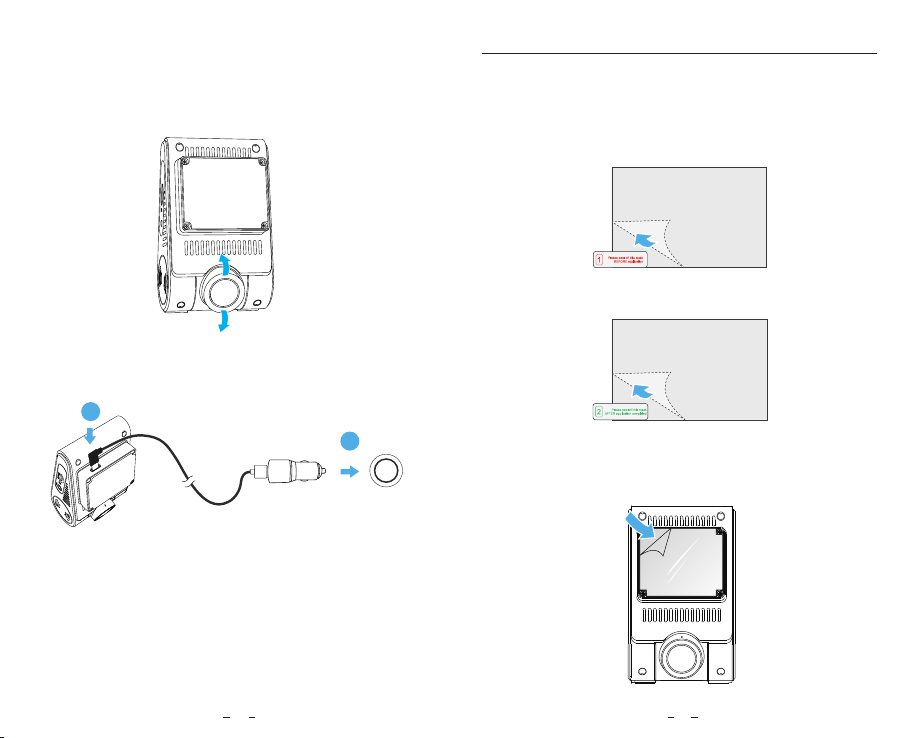
3. Mount the dashcam directly to the windshield with the
sticky pad, or attach the static sticker to the selected
location before installation (Refer to guide on page 13).
4. Peel the protection film off the sticky pad and camera
lens.
Best mounting location
Connect to car
cigarette lighter socket
1110
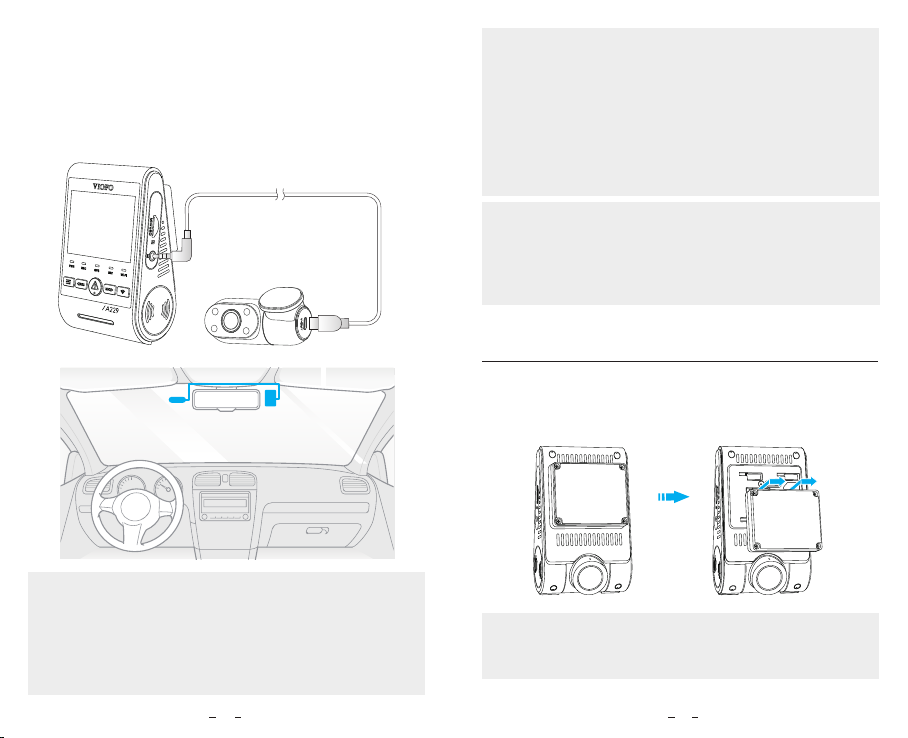
Format the memory card
Memory card must be formatted before first use.
Format the memory card in the camera
Format the memory card using a computer
To format the card in the camera, either use the
VIOFO App and the format option in the Settings,
or alternatively long press the [ ] button.
To format the memory card on your computer, follow
your computer’s user manual.
For deep formatting of the memory card, you can also
download the GUIFormat tool from our official website:
https://viofo.com/download/guiformat.exe
Note:
We suggest formatting the card periodically to ensure
the best performance of the camera.
Formatting the card will erase all data permanently,
please back up important data beforehand.