DESCRIPTION PAGE
... .... .... .... . ... . ... . .... .... .... . ... . ..1
...........................................2
..........................................2
..........................................3
.......................................4
.....................................6
........................................7
................................................7
...................................9
.................................9
...............................9
........................................9
.............................1 0
.....................1 0
.............................................6
.............................1 1
.......................................1 2
..............................1 2
... .... .... .... . ... . ... . .... .... .... . ... 1 3
..........................................1 4
.................................1 5
..........................................1 5
...................................1 5
..................................................1 6
......................................16
................................1 7
............................................17
...............1 8
. . .................................1 8
. . ............................ . . . .1 9
. . ............................ . . . ........2 0
Introduction
Safety Note
Warning Sign
Content of Carton
Name of Parts
Operation Button
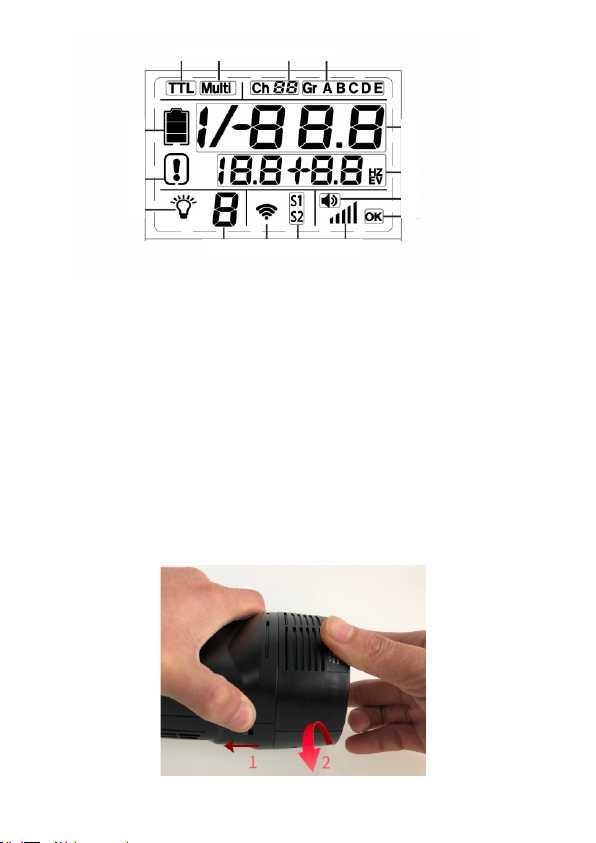
LCD Panel
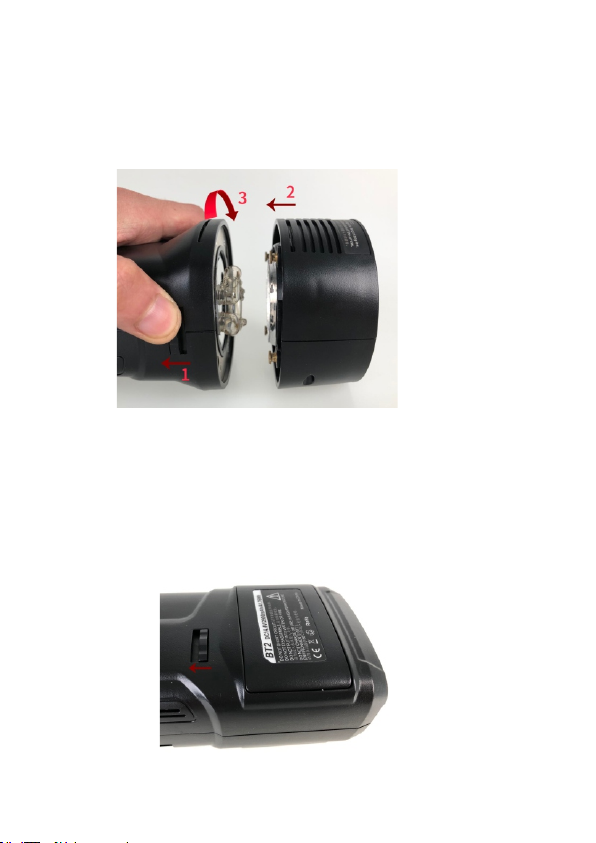
Demount Reflector
Mount Reflector
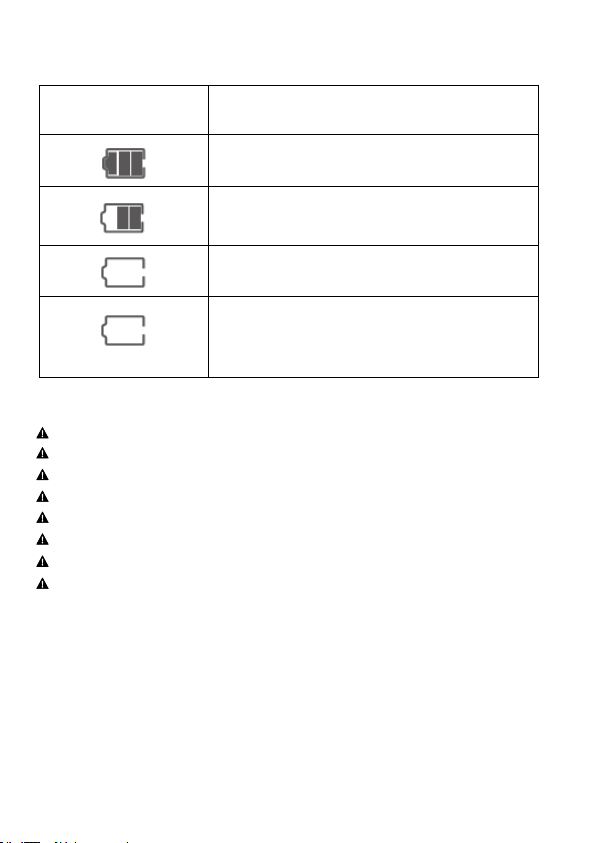
Battery
Switch on Flash Light
Select Triggering Ways
Operating Modeling Lamp
Set Flash Mode
Flash Mode-M Manual Flash
Flash Mode-Multi Stroboscopic Flash
Flash Mode-TTL Auto Flash
High-Speed Sync
Setting Channel and Group
More Functions
Audible Beep
S1 and S2 Optical Mode
Auto Standby
Constant Color Mode
Mask
Setting ID Number
Restore Factory Settings
Using VISICO Transmitter (not included)
Error Codes
Flash Capacitor Preventative Maintenance
Changing Flash Tube
USB Firmware Update
Technical Data
.......................................2
..................1 7