manuals.online logo
Brands
  1. Home
  2. •
  3. Brands
  4. •
  5. vita
  6. •
  7. Outdoor Furnishing
  8. •
  9. vita Trellis User manual

vita Trellis User manual

1.
Center Post
(1) 2” x 3 1/2“ x 75” - 11105
2. Pergola Posts (2) 2“ x 3 1/2” x 64“ - 11106
3. Post Cap (1) - 10611
4. Top and Bottom Rails
(4) 1 1/2” x 3 1/2“ x 54 7/8” - 11111
5. Rail Inserts
(2) 1 1/4“ x 1 1/4” x 20 1/2“ - 11108
6.
Horizontal Spindles
(10) 1 1/2” X 1 1/2“ X 54 3/4” - 11112
7.
Vertical Spindles
(8) 7/8” X 1 1/2“ X 58 1/4” - 11110
8. 2“ x 3 1/2”Flat top Caps (4) - 10615
9. 1 1/2
”Self-Auguring Stainless Steel Screw
(18) - 20005
10.
3”Self-Auguring Stainless Steel Screw
(26) - 20007
11.
Tube of Vinyl Glue
(1) - 20000
Tools You Will Need
• Cordless Drill
• Level
Optional Materials
• See note on page 6
• Pressure treated wood 2x4x?” (To be modified)
• “L” Bracket (If securing center post to concrete)
• Wood screws for securing modified 2x4
General Information
•Read Instructions through carefully before beginning assembly.
• When assembling components, place on a non-abrasive surface (i.e. shipping box) to avoid scratching.
• We recommend an area approx 5’x 8’ for unobstructed assembling.
• You should not need to use excessive force when assembling component.
10’ Pergola Trellis
ASSEMBLY INSTRUCTIONS
1
Not to Scale
10
9
Please read through before starting assembly.
IMPORTANT: CHECK THE INSIDE OF YOUR POSTS FOR ALL MATERIALS.
Check Box for These Contents
In the event of missing or defective parts please call our customer service dept. at
1 800 282 9346
(Mon. to Fri. 8:00 AM to 5:00 PM EST).
V1.1/201020
The 10’ Pergola Trellis is designed to be installed with our
10’ x 10’ Pergola with an opening of 110” between the posts.
1
2
345 6 7
8
11
Ground
10 in
110 in
73 in
9 in
75 7/8 in
7 7/8 in
www.wearevita.com
2
1
One by one, insert the four vertical spindles through the
routed holes on the five horizontal spindles as shown.
Insert the top and bottom rails onto the trellis assembly
as shown.
Repeat for second trellis assembly.
1
2
3
STEP ONE
2
3
10’ Pergola Trellis Instructions
Trellis Assembly
x2
3
10’ Pergola Trellis Instructions
1
Apply a small amount of glue on each of the tabs on the
2” x 3 1/2” flat top post cap as shown.
Install the flat top post caps onto the ends of the pergola
post as shown. Press for about 30 second to allow the
vinyl glue to set.
Repeat for both pergola posts.
1
STEP TW0
Pergola Trellis Post Assembly
2
3
2
4
STEP T HREE
410’ Pergola Trellis Instructions
Lay one of the trellis assemblies on the floor and insert
the trellis assembly into the pergola post through the routed
holes as shown. Make sure all the horizontal spindles and
rails are bottomed out inside the pergola post.
Fasten the pergola post to the horizontal spindles and
rails using nine, 3 in. screws as shown.
Repeat the two steps above for second wall half.
Insert the rail inserts into the cavity in the top and bottom
rails as shown. Insert until the rail bottoms out on the
vertical spindle.
Insert the assembly through the centre post as shown.
Note the locations of the pre-drilled holes.
For asthetics purposes, all the screws should be on the
same side of the wall.
1
2
3
Pergola Trellis Assembly
4
1
3
2
STEP T HREE
Attach the second wall half to the wall assembly through the
centre post and rail insert as shown. Make sure all the horizontal
rails butt up against each other.
Fasten the assembly together using 18, 1 1/2 in. screws
through the pre-drilled holes on the center post as shown.
Again, make sure all the screws are on the same side of the
wall.
5
6
Pergola Trellis Assembly
5
6
5
10’ Pergola Trellis Instructions
6
TollFree Phone: 1 800 282 9346
www.wearevita.com
STEP FOUR
With a helper, stand up and move the pergola trellis to its
final location as shown. The pergola trellis should be
centered on the pergola main columns.
Using a level, make sure the trellis post is plumb and fasten
to the pergola main columns using four, 3 in screws per
side.
Attach the post cap onto the center post.
1
2
3
Pergola Trellis Installation
3
2
Note: The center post of the pergola trellis was designed to
rest on top of the ground. If additional support is required,
consider inserting a pressure treated 2x4 (cut to 3.25" wide)
into the bottom of the center post (up to10"). Secure it inside
the center post with screws (2x4 wood and screws purchased
separately).
The length of the modified 2x4 will vary, depending on one
the following:
• If the pergola trellis is being installed over ground, extend
the length of the modified 2x4 into the ground at least 18".
• If the pergola trellis is being installed over an accessible deck,
cut the modified 2x4 flush within the bottom of the center
post. Secure it to the deck with wood screws from underneath
the deck, through the deck boards, into the modified 2x4
(purchased separately).
• If the pergola trellis is being installed over a concrete patio,
consider securing the modified 2x4 to the concrete with a
galvanized steel "L" bracket (purchased separately).
Be sure to factor in the thickness of the "L" bracket when
modifying the 2x4 to fit inside the center post.

Other vita Outdoor Furnishing manuals

vita Heartwood VA68899 User manual

vita

vita Heartwood VA68899 User manual

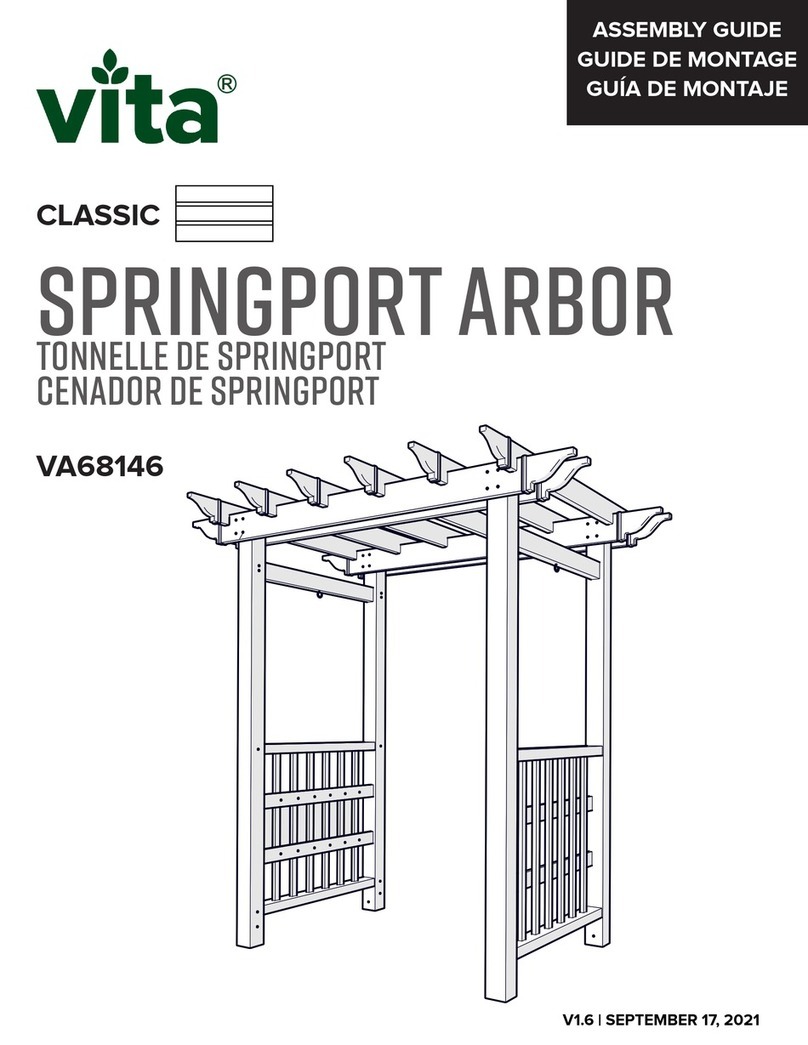
vita CLASSIC SPRINGPORT ARBOR VA68146 User manual

vita

vita CLASSIC SPRINGPORT ARBOR VA68146 User manual

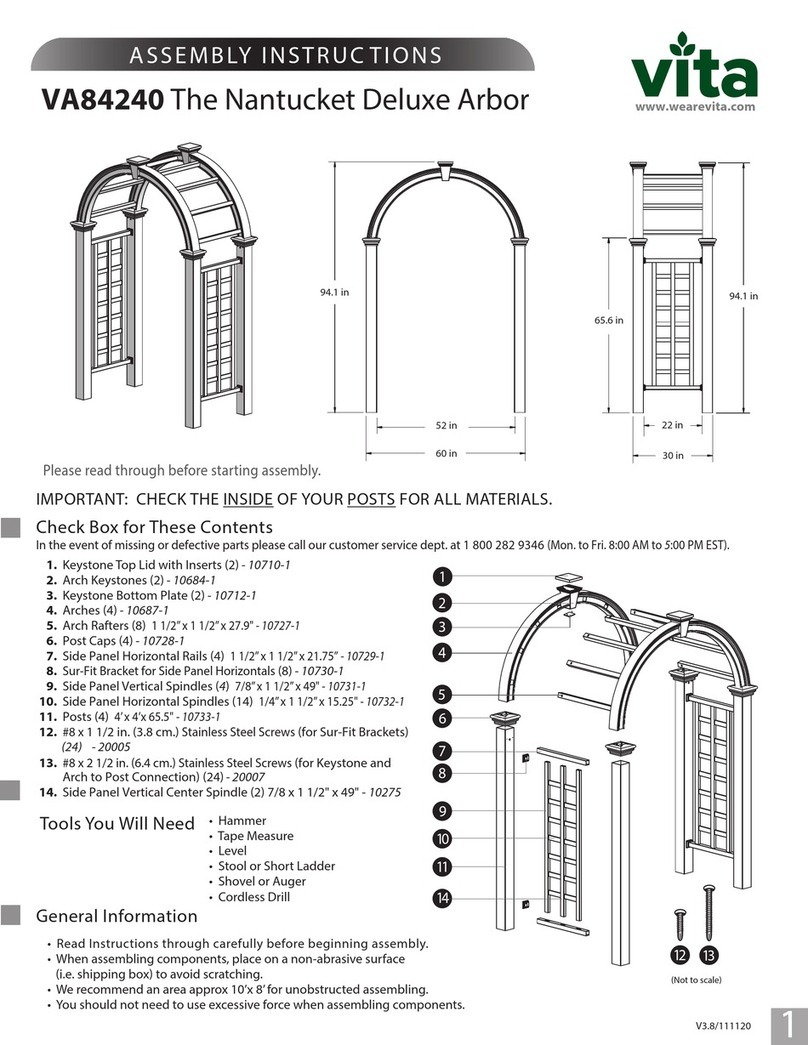
vita The Nantucket Deluxe User manual

vita

vita The Nantucket Deluxe User manual

vita Athens Trellis User manual

vita

vita Athens Trellis User manual

vita Regency User manual

vita

vita Regency User manual

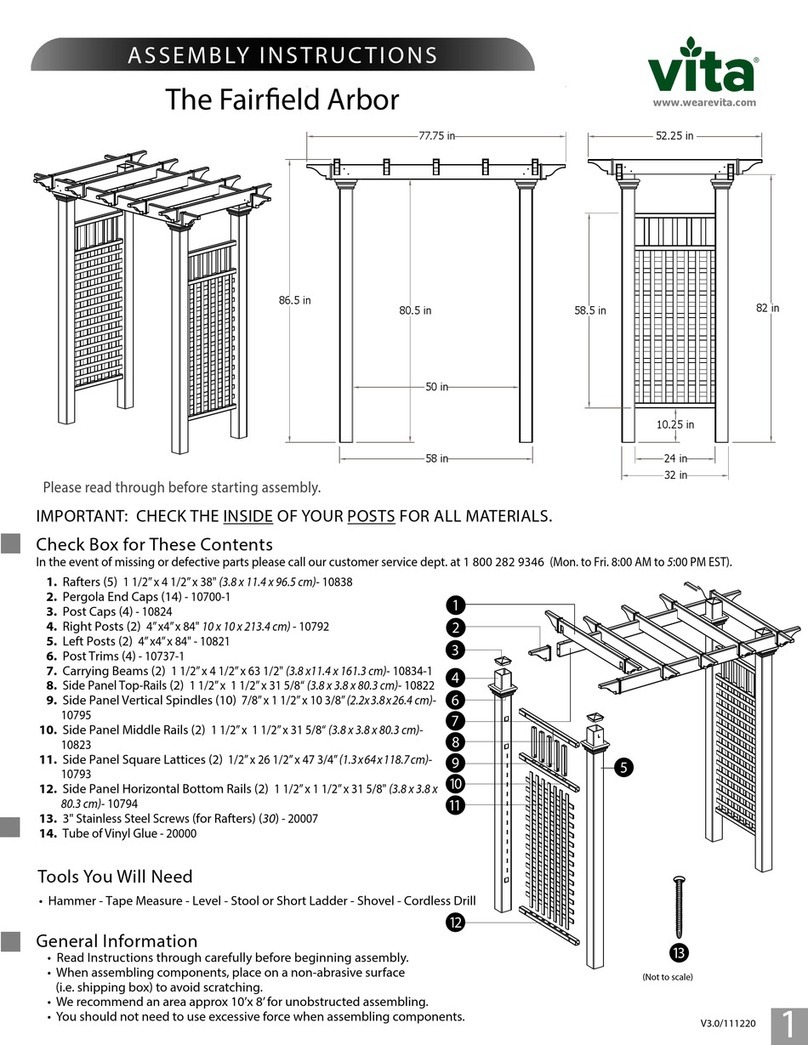
vita The Fairfield User manual

vita

vita The Fairfield User manual

vita Malibu User manual

vita

vita Malibu User manual

vita CLASSIC SPRINGPORT ARBOR VA68146 User manual

vita

vita CLASSIC SPRINGPORT ARBOR VA68146 User manual

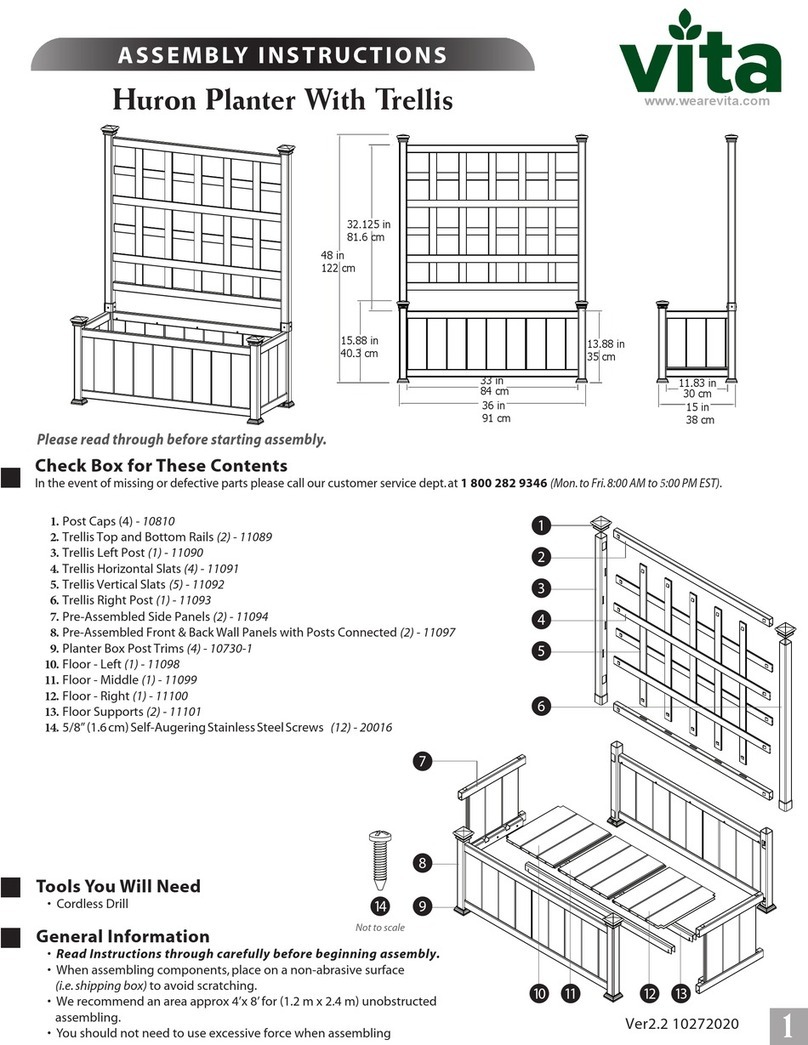
vita Huron Planter With Trellis User manual

vita

vita Huron Planter With Trellis User manual

vita Cardiff VA42089 User manual

vita

vita Cardiff VA42089 User manual

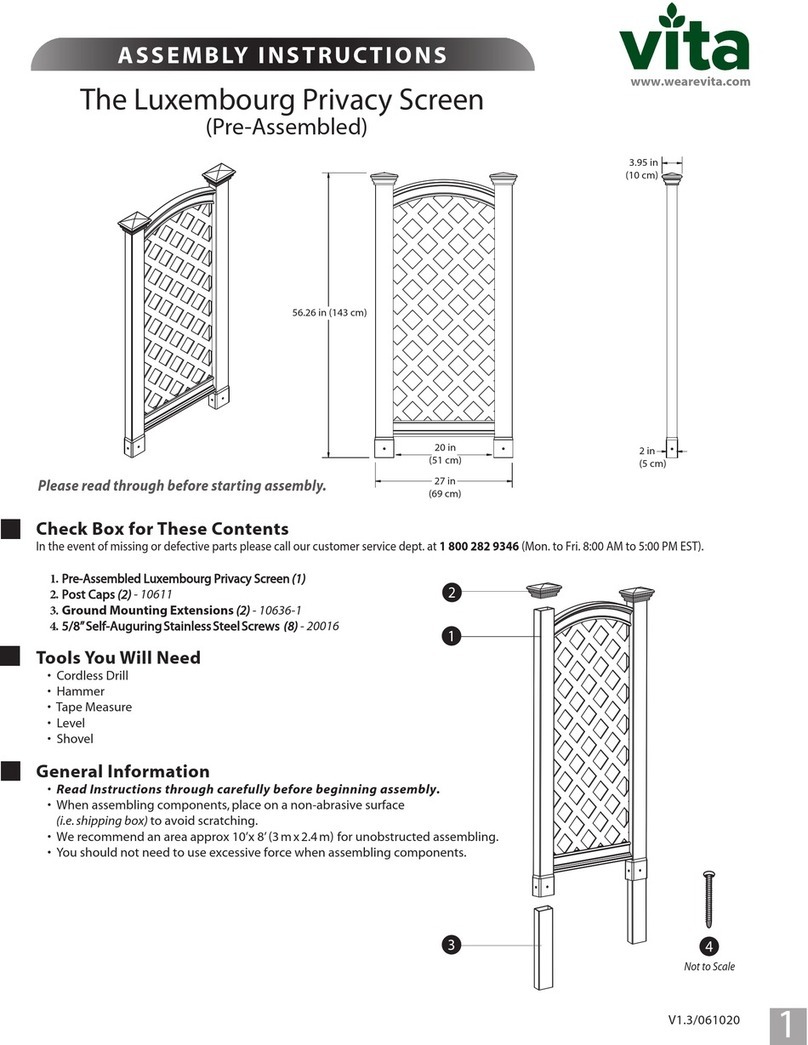
vita The Luxembourg User manual

vita

vita The Luxembourg User manual

vita Greens Urban Garden VT17002 User manual

vita

vita Greens Urban Garden VT17002 User manual

vita Classic Regency Trellis VT68198 User manual

vita

vita Classic Regency Trellis VT68198 User manual

vita The Fairfield Arbor User manual

vita

vita The Fairfield Arbor User manual

vita CLASSIC SPRINGPORT ARBOR VA68146 User manual

vita

vita CLASSIC SPRINGPORT ARBOR VA68146 User manual

vita Belham Living Craftsman Arbor User manual
vita

vita Belham Living Craftsman Arbor User manual

Popular Outdoor Furnishing manuals by other brands

Lakeland Mills CF1009 quick start guide

Lakeland Mills

Lakeland Mills CF1009 quick start guide

Millennium Q200 instruction manual

Millennium

Millennium Q200 instruction manual

KNOBLOCH FLASH DB7010 Mounting instructions

KNOBLOCH

KNOBLOCH FLASH DB7010 Mounting instructions

Blue Sky Outdoor Living OKCSST26 owner's manual

Blue Sky Outdoor Living

Blue Sky Outdoor Living OKCSST26 owner's manual

LHBcraft OT001 Assembly instructions

LHBcraft

LHBcraft OT001 Assembly instructions

Safavieh Outdoor Diona PAT7510 manual

Safavieh Outdoor

Safavieh Outdoor Diona PAT7510 manual

RioOutdoors 6F-WSC installation instructions

RioOutdoors

RioOutdoors 6F-WSC installation instructions

Safavieh PAT9001A quick start guide

Safavieh

Safavieh PAT9001A quick start guide

hanit BENCH HYDE PARK Assembly instructions

hanit

hanit BENCH HYDE PARK Assembly instructions

modway EEI–2934 quick start guide

modway

modway EEI–2934 quick start guide

Hanover OAKMONT4PCL-ASH manual

Hanover

Hanover OAKMONT4PCL-ASH manual

BASI SWL 60 operating instructions

BASI

BASI SWL 60 operating instructions

EAST OAK EO-DB22011 owner's manual

EAST OAK

EAST OAK EO-DB22011 owner's manual

PATIO TIME CAA096 instruction manual

PATIO TIME

PATIO TIME CAA096 instruction manual

Atleisure Catalina FRN-310391 Use & care instructions

Atleisure

Atleisure Catalina FRN-310391 Use & care instructions

Playcore ultra site 337S-R6 manual

Playcore

Playcore ultra site 337S-R6 manual

ECCB OUTDOOR Adirondack Chair with Integrated Footrest Assembly instructions

ECCB OUTDOOR

ECCB OUTDOOR Adirondack Chair with Integrated Footrest Assembly instructions

Forever Redwood THE SUNSET PATIO PAVILION Assembly instructions

Forever Redwood

Forever Redwood THE SUNSET PATIO PAVILION Assembly instructions

manuals.online logo
manuals.online logoBrands
  • About & Mission
  • Contact us
  • Privacy Policy
  • Terms and Conditions

Copyright 2025 Manuals.Online. All Rights Reserved.