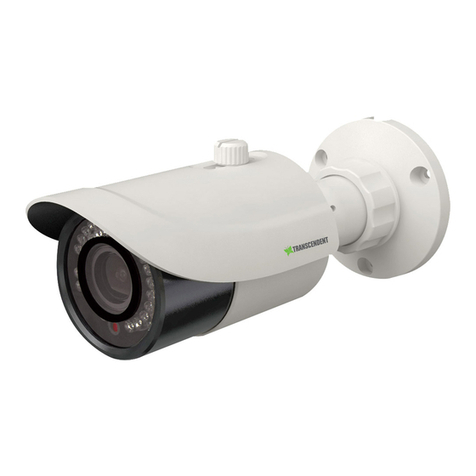
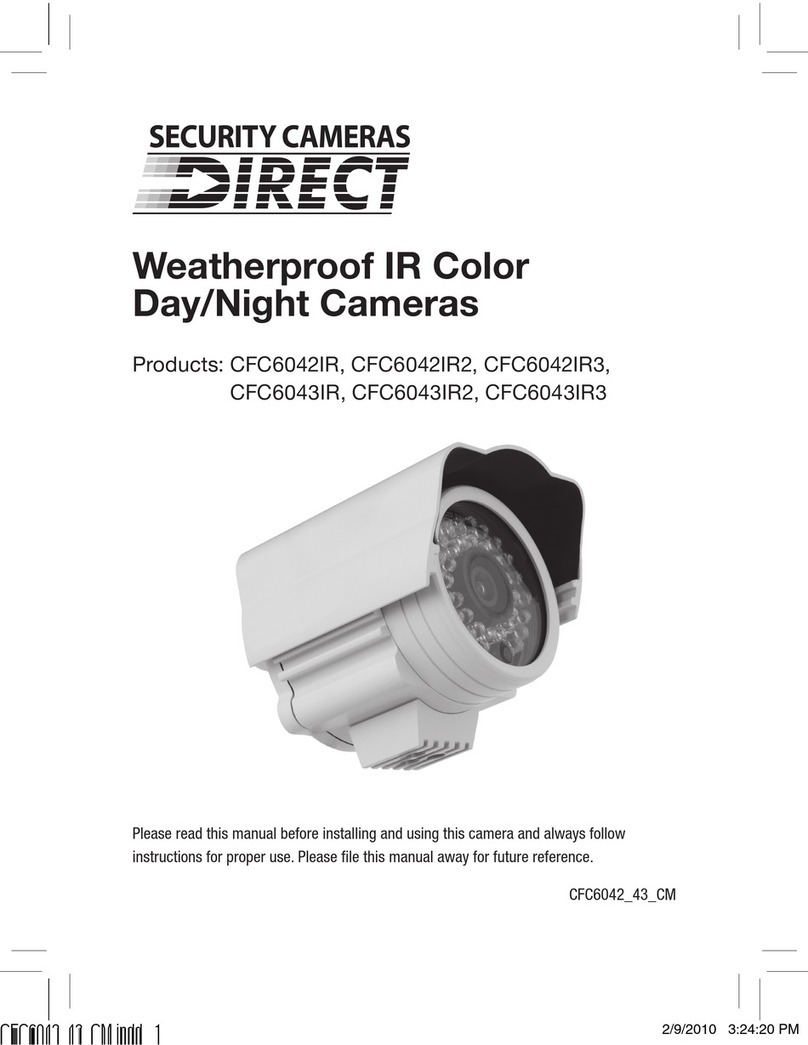
Vitek VTD-VPH User manual
Other Vitek Security Camera manuals
Vitek
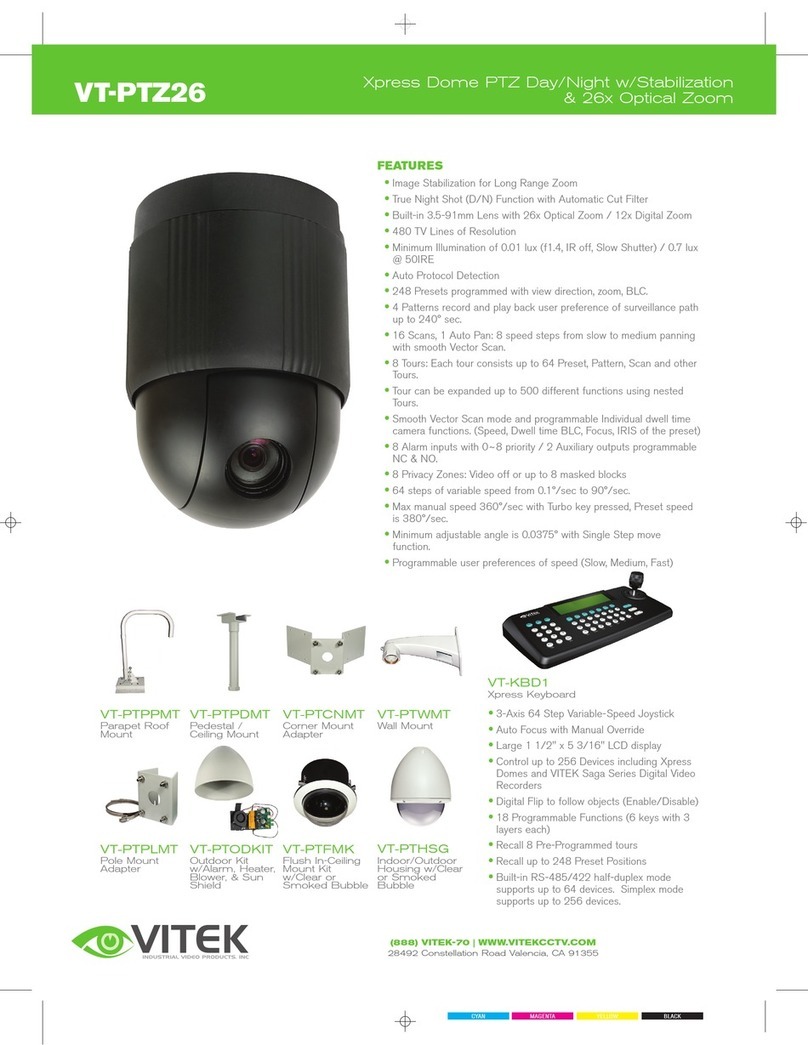
Vitek VT-PTZ26 User manual
Vitek
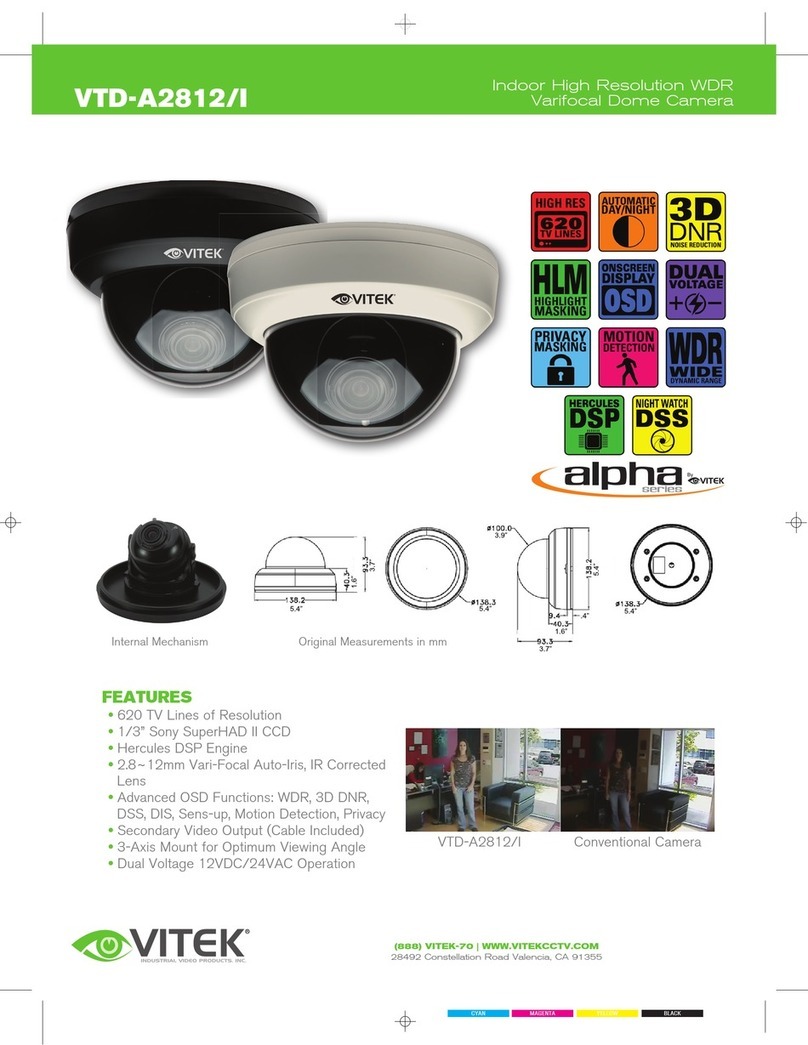
Vitek VTD-A2812 User manual
Vitek
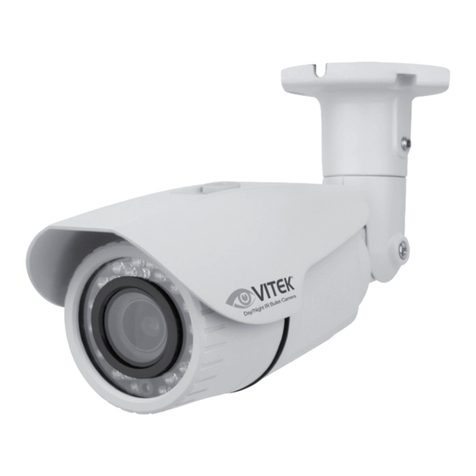
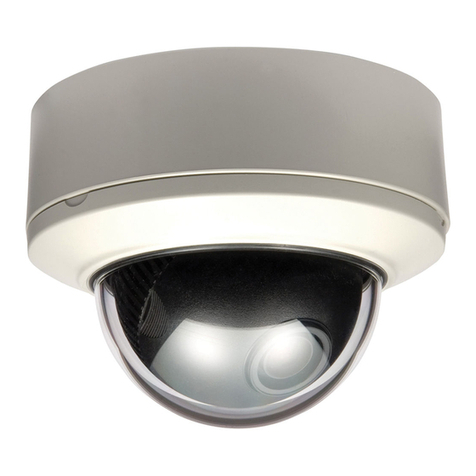
Vitek Virtuoso VTC-IR303FNP User manual
Vitek
Vitek INDOOR MIGHTY DOME - User manual
Vitek
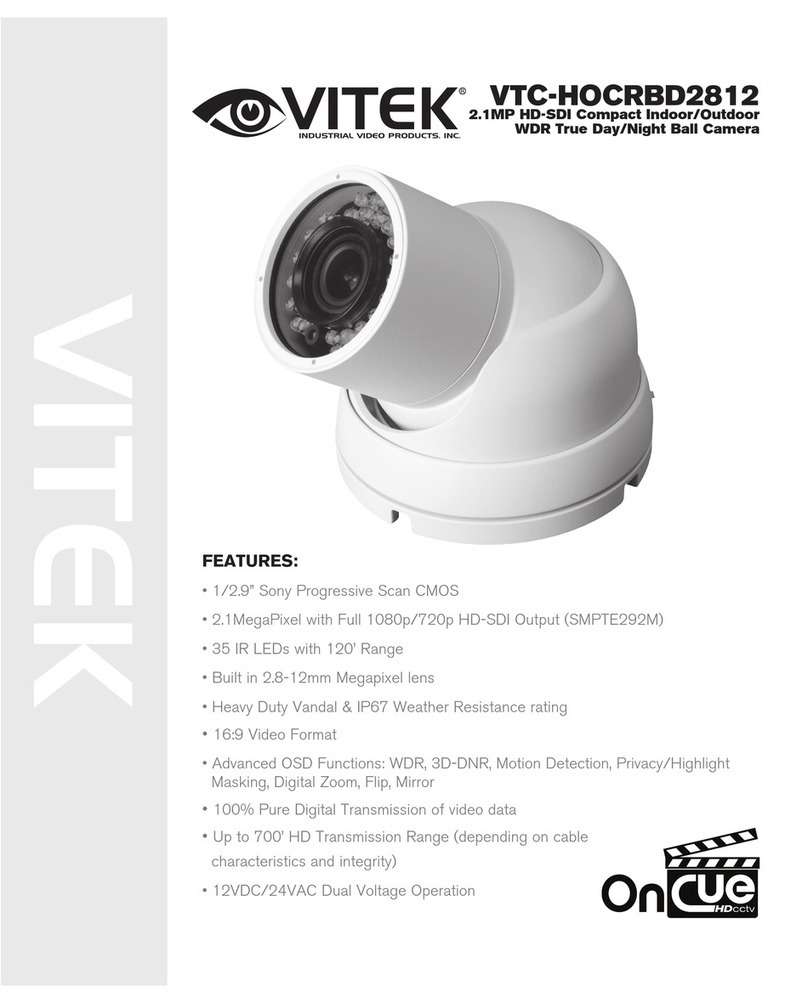
Vitek VTC-HOCRBD2812 User manual
Vitek
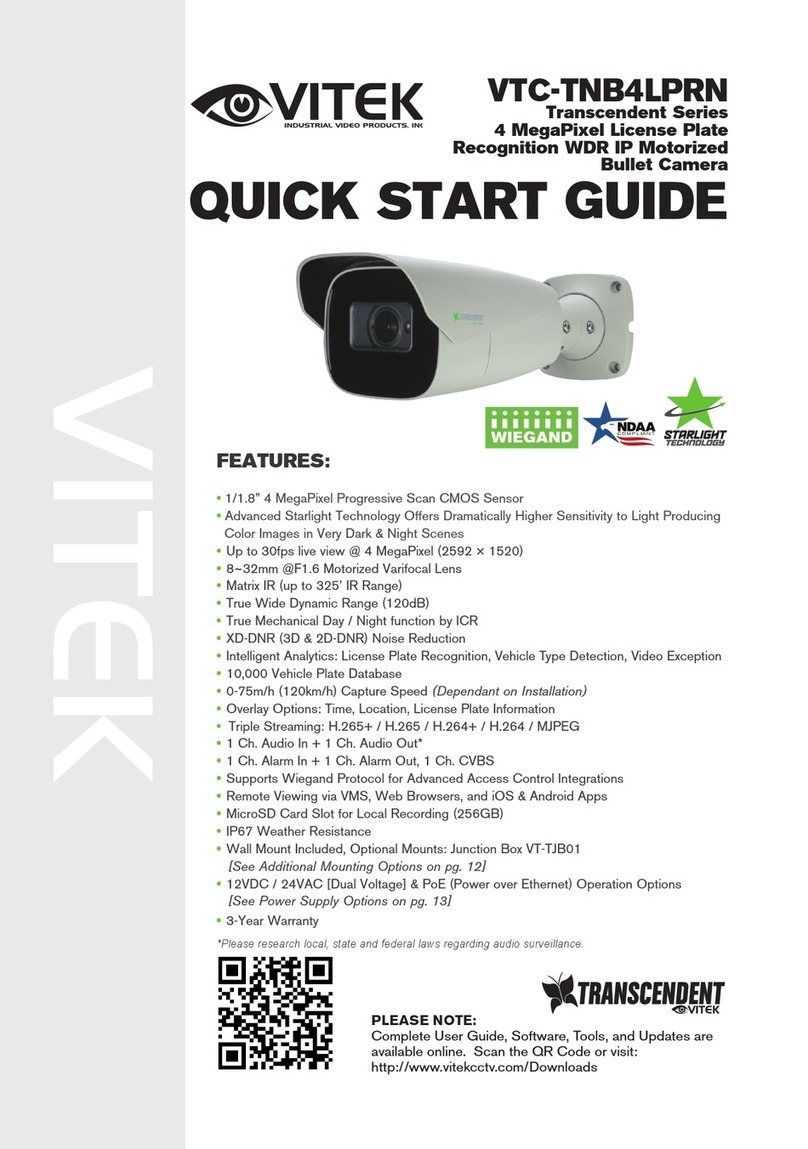
Vitek TRANSCENDENT VTC-TNB4LPRN User manual
Vitek
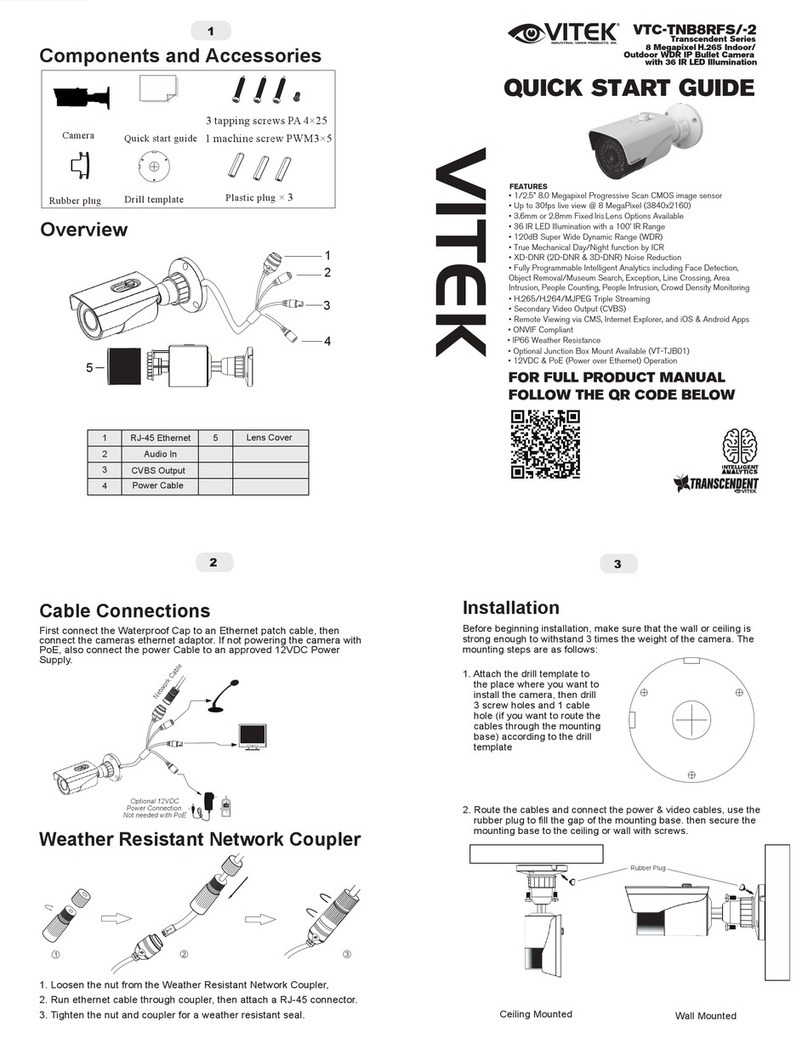
Vitek Transcendent VTC-TNB8RFS-2 User manual
Vitek
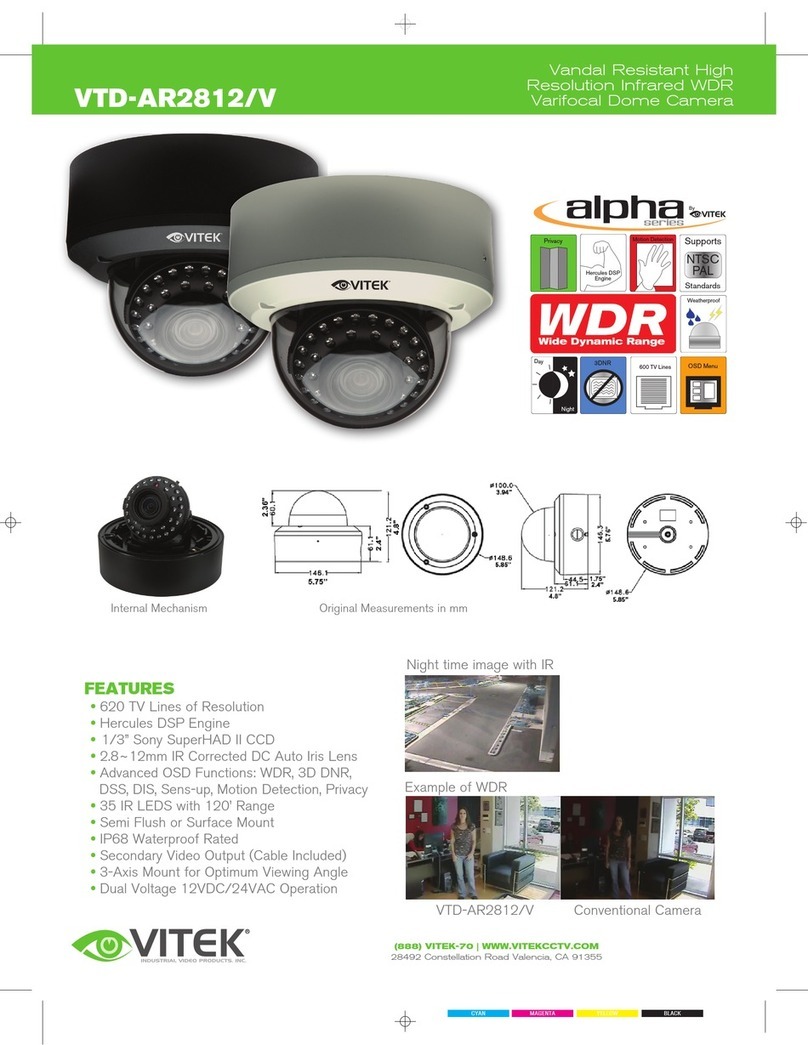
Vitek VTD-AR2812-V User manual
Vitek
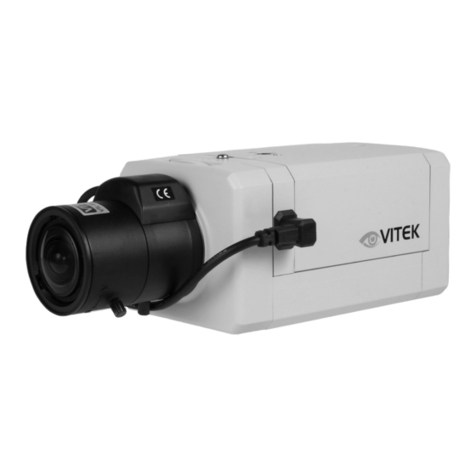
Vitek VTC-C770/WDR User manual
Vitek
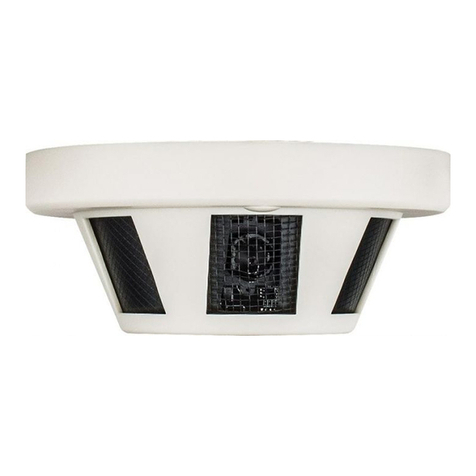
Vitek TRANSCENDENT VT-SMKC2T User manual
Vitek
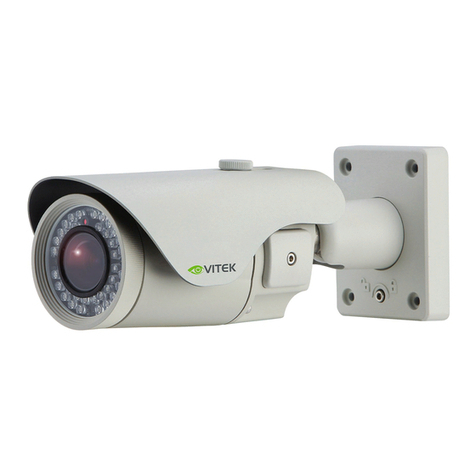
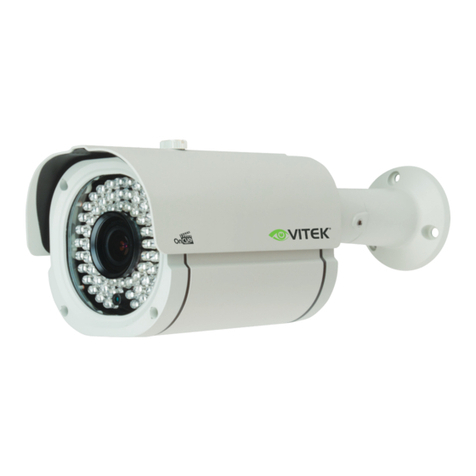
Vitek VIRTUOSO User manual
Vitek
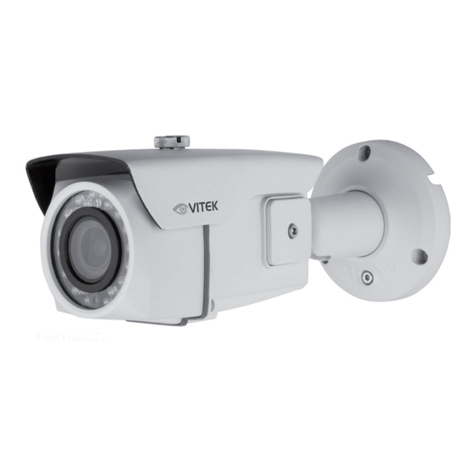
Vitek VTC-BHOCR2812 User manual
Vitek
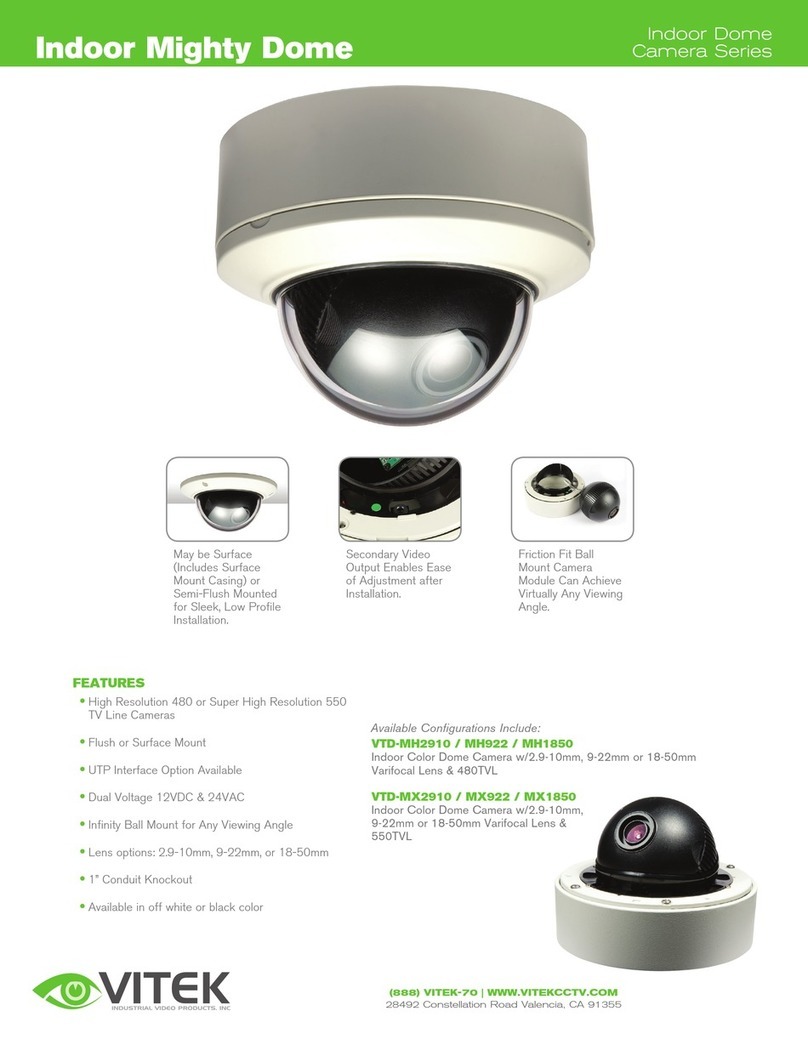
Vitek STARLIGHT VTC-IRM30-2812 User manual
Vitek
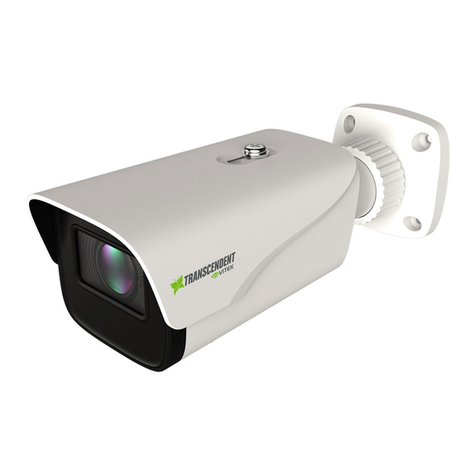
Vitek INDOOR MIGHTY DOME - User manual
Vitek
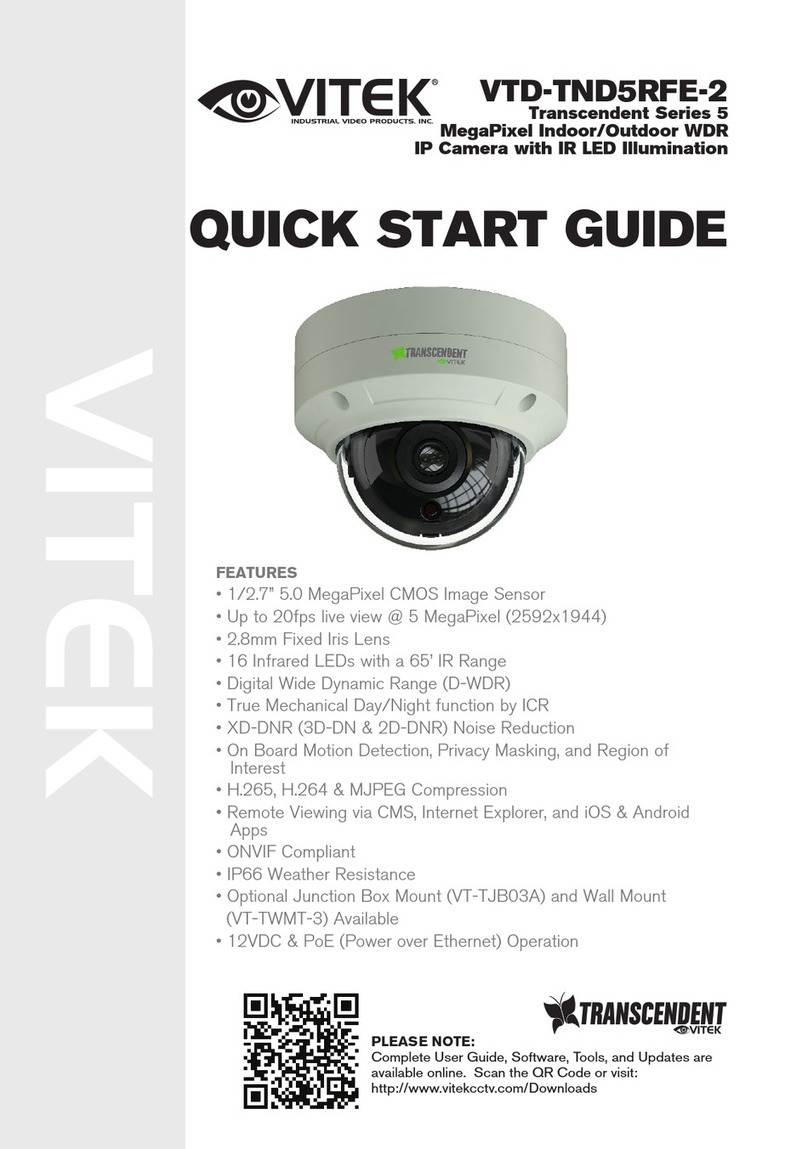
Vitek Transcendent Series User manual
Vitek
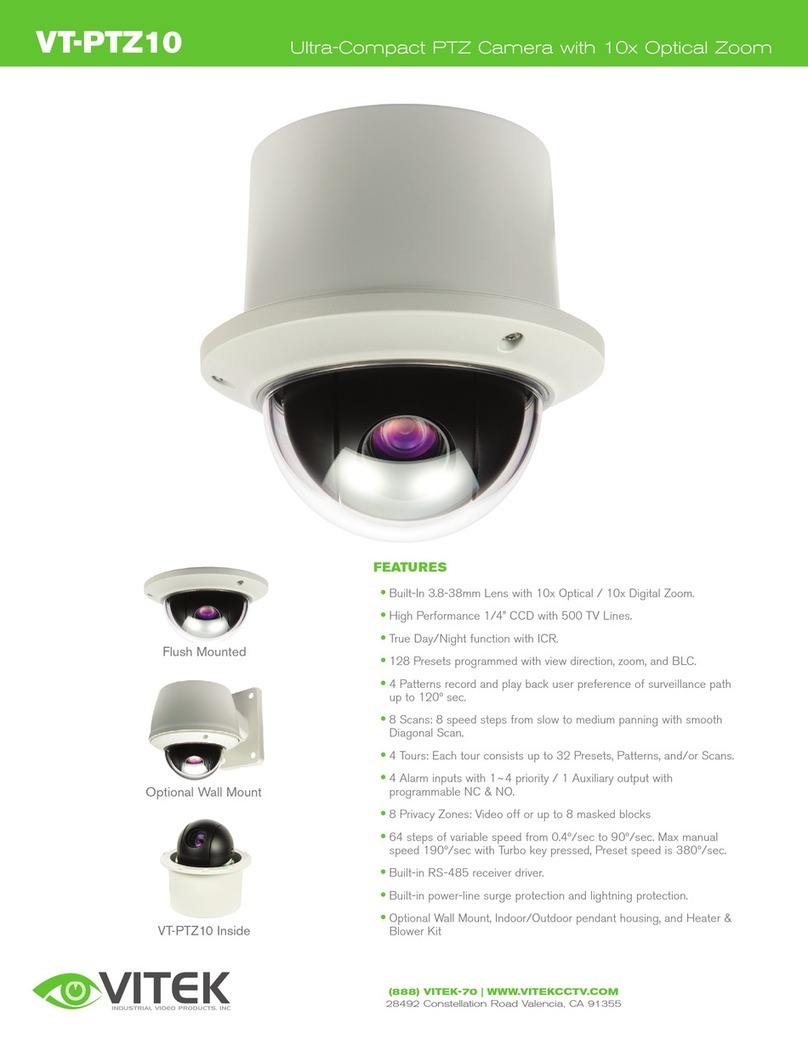
Vitek Transcendent 5 Series User manual
Vitek
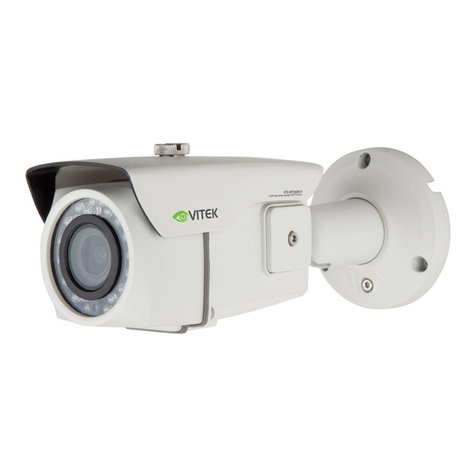
Vitek VT-PTZ10 User manual
Vitek
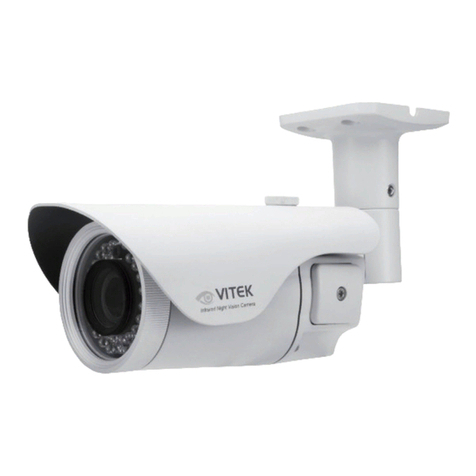
Vitek Premium TVI VTC-IRT30-2812 User manual
Vitek
Vitek VTC-IR40-N User manual
Vitek
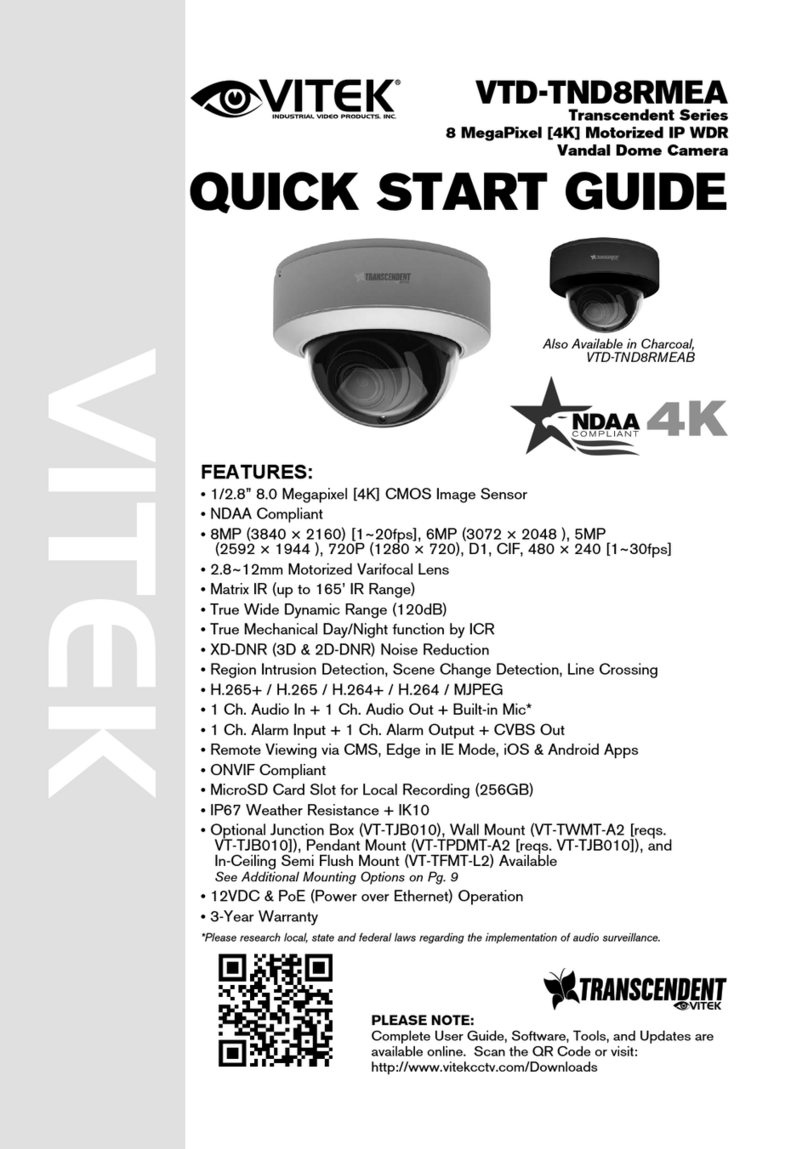
Vitek Transcendent VTD-TND8RMEA User manual
