viveroo Free User manual

User manual
free
!
viveroo GmbH
Wewelsburger Straße 4
33154 Salzkotten
Germany
www.viveroo.com
REV20190101
free

Safety information
User manual free, page of2 11
! Warning
Please read the assembly instructions included carefully. Please read
this free user manual completely before using your free. Please follow
the instructions and recommendations to ensure proper use and
maximum enjoyment.
Safety
information
free and all free mounting sets are intended for use in enclosed and dry
living spaces.
The following conditions must be provided:
-Operating temperature between 0° C (32° F) and 35° C (95° F).
-Relative humidity (during use): 20!% to 90!%, non-condensing.
-No external environmental influences such as oil, chemicals, salt,
extensive dust, etc.
Installation, service or repairs, if necessary, may only be performed by
authorized persons.
The maximum altitude is 2.000m.
The installer is responsible for selecting the proper mounting location
and safe installation of free. This also applies to installation in movable
parts, such as doors. The installer is responsible for performing and
documenting all necessary safety tests.
All electrical installation work may only be conducted by authorized,
trained electricians, always adhering to the general rules and
regulations applying to electrical installation.
Should it become apparent that safe operation of free is not assured,
then free must immediately be taken out of service and secured
against potential misuse. If the free functions are limited, blocked or
disabled, if an unusual odor is present, if noises such as scratching are
audible or damage is visible, safe operation can no longer be
guaranteed.
!

Technical Data
User manual free, page of3 11
Measurements
in millimeter
Measurements design cover
free for …
… iPad mini 4
… iPad 9.7 inch (2018/2017) Air, !
Air 2, iPad Pro 9.7 inch
… iPad Pro 10.5 inch
… iPad Pro 11 inch
… iPad Pro 12.9 inch
230 x 133
267 x 164
277 x 173
275 x 178
332 x 214
Depth free
16
Size of opening
(for furniture installation)
Size of opening
(for flush-mounted box)
Round hole, 50mm to put the
connector through.
elongated hole 68x139
Installation depth (for furniture)
Installation depth (for flush-mounted
box)
30
75
Weight in gram
free for …
… iPad mini 4
… iPad 9.7 inch (2018/2017) Air, !
Air 2, iPad Pro 9.7 inch
… iPad Pro 10.5 inch
… iPad Pro 11 inch
… iPad Pro 12.9 inch
876
924
952
993
1.110
Electrical
connections
Power supply
Power consumption
100-240Vac, 50-60Hz
12,5Watt - 18Watt depending
on iPad and power supply
CE & Co.
All free have CE certification. free is quality "Made in Germany". We use
only high-quality parts and components produced by market leaders.
free customers are proud of their iPad Garage.
Removal from
power supply
free may be removed from the power supply via the circuit breaker in
the respective rooms.
Technical changes and mistakes are excepted.
Product
contents:
-User manual free
-free
-Mounting plate
-screw set
Compatability:
Electrical operation of free is permitted only in connection with free
MountingSet and power supply and cable included in the
MountingSet. Operation of free without a MountingSet will lead to
immediate loss of guarantee and warranty.

Operation
User manual free, page of4 11
Functions
Remove and insert iPad
free can be either installed vertically or horizontally !
(see installation guide).
free in landscape position: Put the iPad from the left on the
guide rail. Slide it to the right to the Lightning connector. Push it
until you hear a click tone that indicates the safe hold of the
iPad.
free in portrait position: Put the iPad from the upper left on the
vertical guide rail. Slide it to the bottom to the Lightning
connector. Push it until you hear a click tone that indicates the
safe hold of the iPad.
All surfaces and edges are fitted with felt or slip tapes to
protect your iPad from scratches and damage.
LockingSystem
free offers an optional security locking system to protect your
iPad from theft. Eine separate Bedienungsanleitung liegt den
entsprechend ausgerüsteten Geräten bei. The locking system
can be retrofitted any time, please see:
Care and
Cleansing
Cleanse your free as needed with a soft micro fiber cloth and
clear water only. Dampen the micro fiber cloth and wipe the
surfaces gently.
! WARNING: The interior of the free must remain dry. To ensure
this, use only a damp cloth for cleansing.
! WARNING: Never scratch, scrape or scrub free surfaces with
abrasive materials.
LockingSystem security!
Article 350100 (free for iPad mini, Air 2)
Article 350102 (for all iPad generations except mini and Air 2)!
!
Anti-theft system for the iPad, opening with key.

Installation
Use the corresponding MountingSet to install your free. All MountingSets come with
specific mounting instructions.
Illustration are examples. Depending on the iPad and USB port, another power adapter and cables can be supplied.
!
User manual free, page of5 11
Step 1
free can be either installed vertically or horizontally !
(see installation guide).
! Important: This installation guide shows the installation
process for Inwall mounting with flush-mount box
(MountingSet Inwall). Here free is installed in landscape
position.
Fix and secure the mounting plate using the supplied
screws (2.5mm hex). Tighten the screws lightly at first.
Then you can adjust it to its final position using a level.
Now tighten the screws.
! Important: If you use MountingSet Furniture you can
attach the mounting plate directly. Please use
woodscrews.
Step 2
! Optional: The mounting plate provides an additional
mounting hole on the left side. It is located outside the
box directly on the wall and gives free additional
stability if necessary.
Depending on the type of wall, please select the
appropriate fasteners (plugs + screw, wood screw, etc.).

Installation"
User manual free, page of6 11
Step 3
Connect the Lightning connector from the flush-mount
box to the corresponding contact on the free.
The guide shows the upgrade option to connect LAN/
Ethernet to the USB 3 socket, please see:
Step 4
Fasten the free to the mounting plate using the supplied
screws (2.5mm hex).
Step 5
Cover the screws with the felt-buttons.
Supplementary set for cable bound connection to home
network. Please note that this set is a factory installed
hardware.

Warranty"
User manual free, page of7 11
Warranty
free comes with a one year warranty from date of purchase by the
original end customer, unless the device was repaired or replaced
during the warranty period. In this case, the warranty is valid until the
end of the regular two year warranty or six months following the
repair/replacement, whichever comes first.
Warranty claims and
verification
Should your free for any reason not perform as expected, please
contact your dealer and provide the original invoice with serial
number as well as a brief description of your complaint.
Warranty claims and
verification
The following devices are excluded from the warranty
Devices with damages caused by:
-acts of nature,
-misuse, including but not limited to disregarding the user manual and
mounting instructions,
-inappropriate handling,
-connection to an incorrect power supply,
-repairs or attempted repairs by unauthorized persons,
-use of the device in connection with third party products,
devices on which the serial number of the producer has been changed,
deleted, removed or made illegible.
Apple, iPad and Lightning are registered trademarks of Apple Inc.

Installation and operation guide!
LockingSystem security (optional)
Key-based locking system to protect iPad from theft. For viveroo free.
User manual free, page of8 11
Includes
-Locking plate to fasten to free, with fastening
material
-Removable locking bar
-Key hole barrier, two keys
-Installation guide and operating instructions
This installation guide explains how to install the
security locking system for viveroo free. security has
either been pre-installed or can be retrofitted. If
security has been pre-installed, please continue with
Step 3.
Step 1
Deinstall free. (Please see installation guide free,
Chapter Mounting, Step 4).
Step 2
Fasten the locking plate on the back of free using the
fastening screws included (2mm hexagon socket
screws).
Remount free.

Installation and operation guide!
LockingSystem security (optional)
Key-based locking system to protect iPad from theft. For viveroo free.
User manual free, page of9 11
Step 3
Place the iPad in free. Put the locking bar on the
locking plate from the left. The keyhole will be
pointing down.
Step 4
Insert the keyhole barrier and the key into the locking
bar from below. Turn the key to the left and remove
it. Free is now locked and the iPad is protected from
theft.
To unlock free, insert the key and turn it to the right.
The key and the keyhole barrier can now be removed
by pulling downward and the locking bar can be
removed by sliding it off sideways.
! Please note: Store keys in a safe spot and identify
them well. Without a key, the locking system can
only be opened by force and will be damaged!

Installation and operation guide!
LAN connection (optional)
LAN/Ethernet connection
Supplementary set for cable bound connection to home network. For viveroo free.
Note: Illustrations are exemplary. Depending on the iPad and USB port, various components are supplied.
User manual free, page of10 11
Safety
warning
Electrical current!
Danger of electrical shock leading to death and fire hazard.
- Work on 230V may only be performed by qualified electricians.
- Disconnect power supply prior to installation/de-installation
Includes
-USB Ethernet adapter
-CAT-Crimp Connector (RJ45 Male)
-Installation and operation guide!
This guide pertains to installation of LAN/Ethernet
supplementary set for viveroo free. Supplementary
set can be installed provided the LAN/ Ethernet
interface is available.
Installation
Connect the USB Ethernet adapter to the USB
socket on the back of free. Place CAT-Crimp
Connector (RJ45 Male) on CAT cable. Please see
installation guide included.
Connect CAT cable, including the RJ45 Male plug to
USB Ethernet adapter.
! Note: Lay CAT cable as follows:
1. For installation in furniture and wood panel
walls: Lay cable from back through drill hole.
2. For installation in cavity walls, brick or concrete
walls (with cavity socket): Position CAT cable
including USB Ethernet adapter at back of cavity
socket.
power supply unit
space for Ethernet connection
230V
voltage
keep free
space
space for für
power connection
For following components:
Please connect cable with red marks up.

User manual free, page of11 11
Other manuals for Free
4
Table of contents
Other viveroo Docking Station manuals
Popular Docking Station manuals by other brands

Philips
Philips DC390/37 user manual

Satechi
Satechi TRIPLE 4K DISPLAY DOCKING STATION quick guide
Altec Lansing
Altec Lansing inMotion iM3 quick start guide
StarTech.com
StarTech.com 8STUSB3DDOCKFT instruction manual
Digitus
Digitus USB 3.0 Dual SATA HDD user manual
Williams Sound
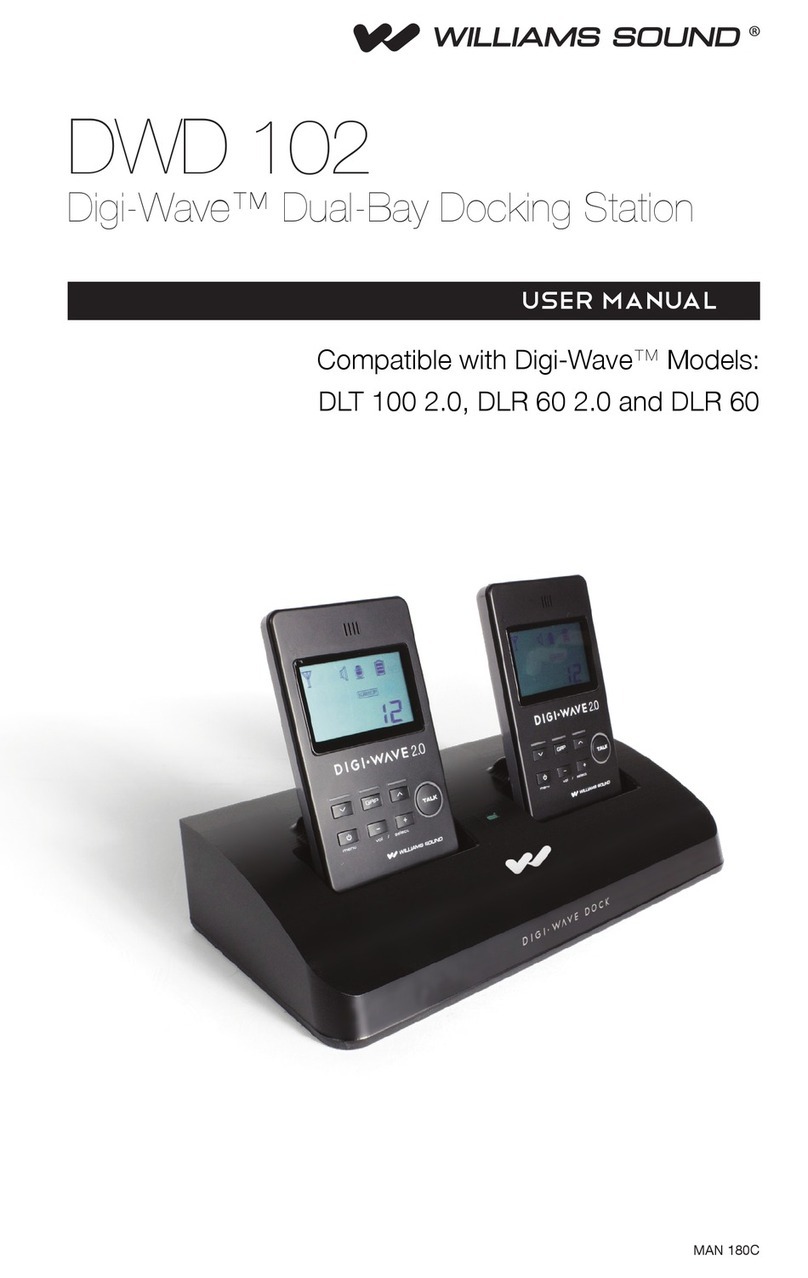
Williams Sound DWD 102 user manual
