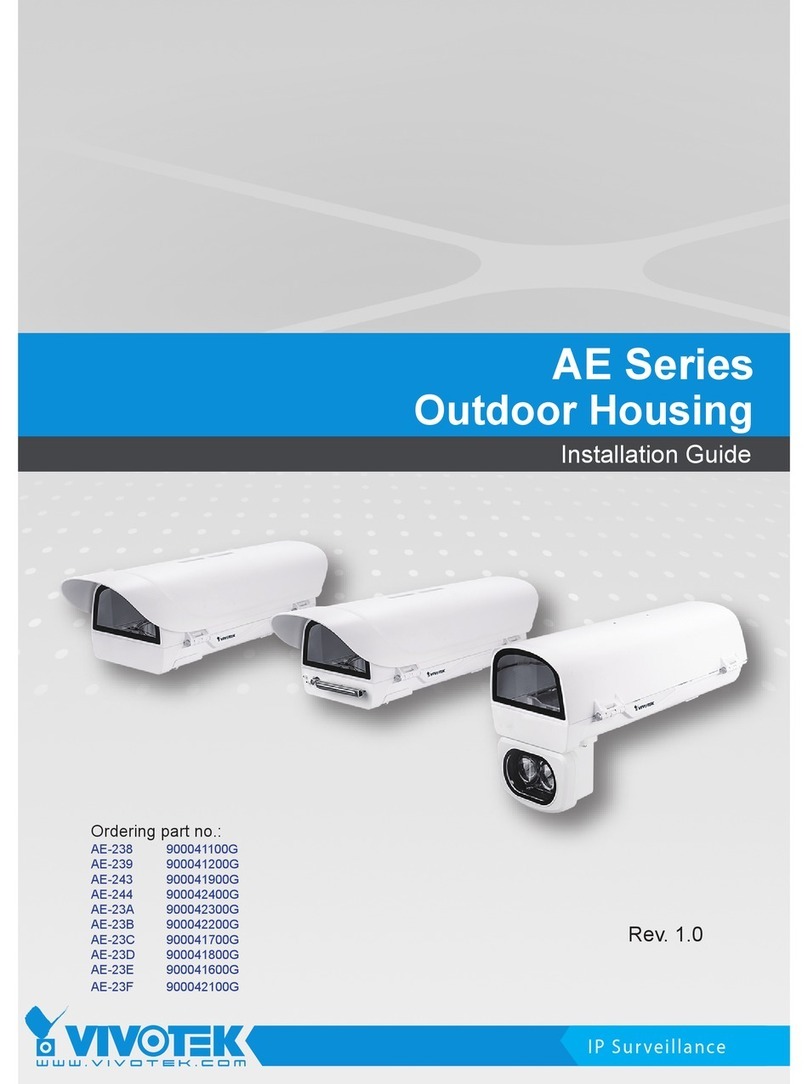
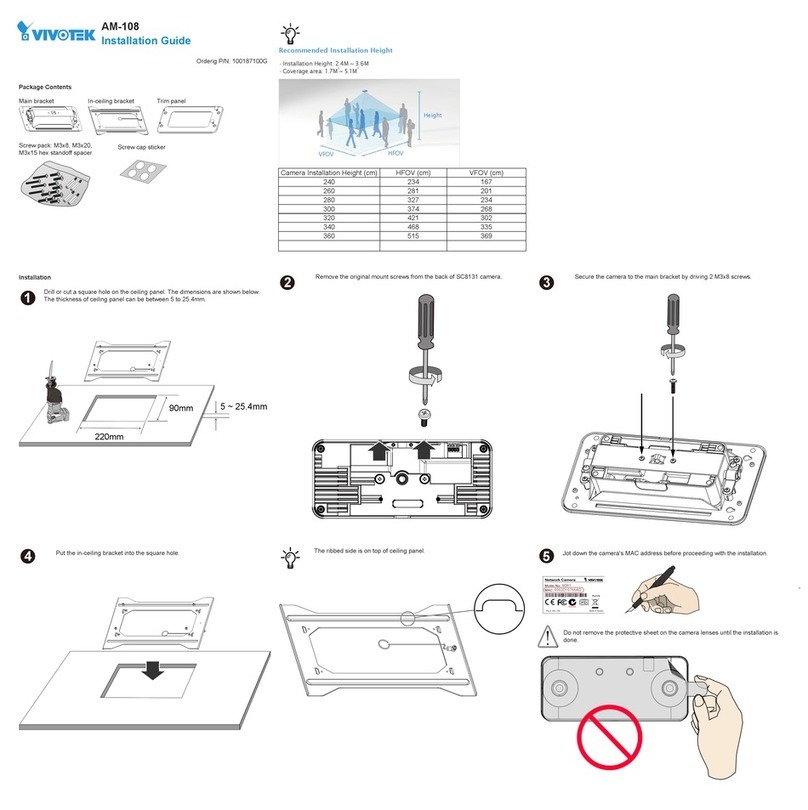
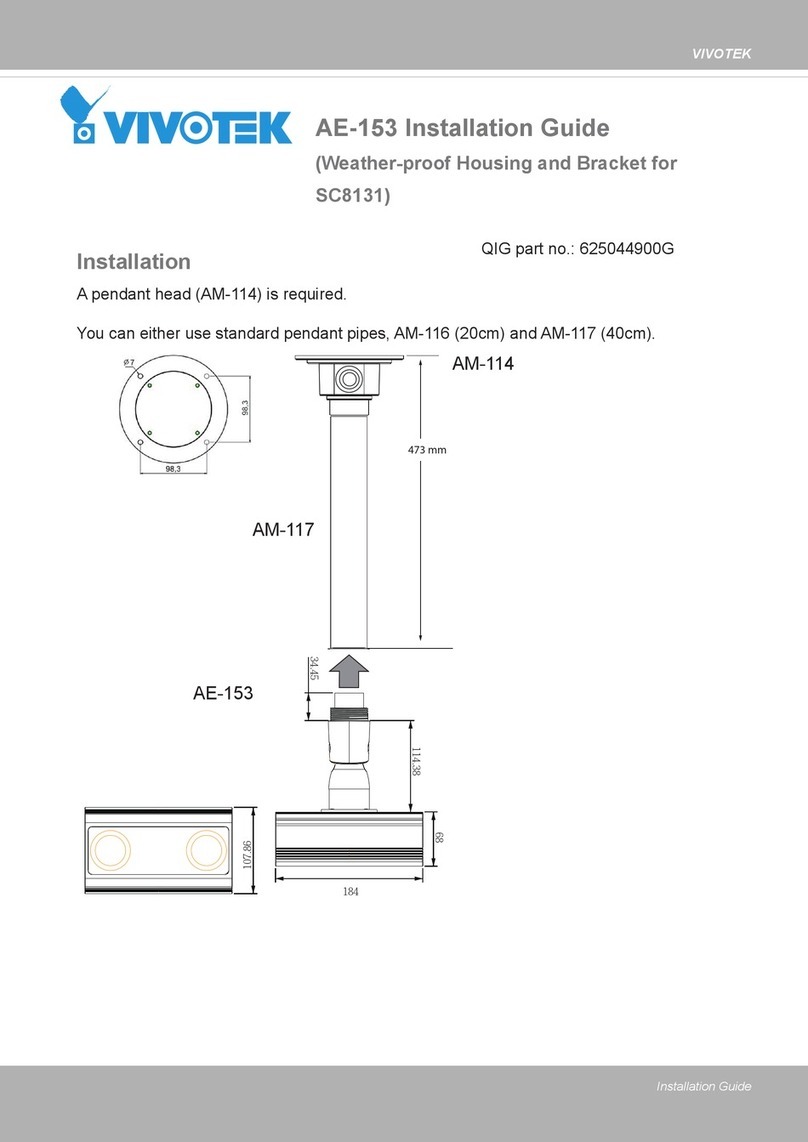
Vivotek AM-21C User manual
Other Vivotek Camera Accessories manuals
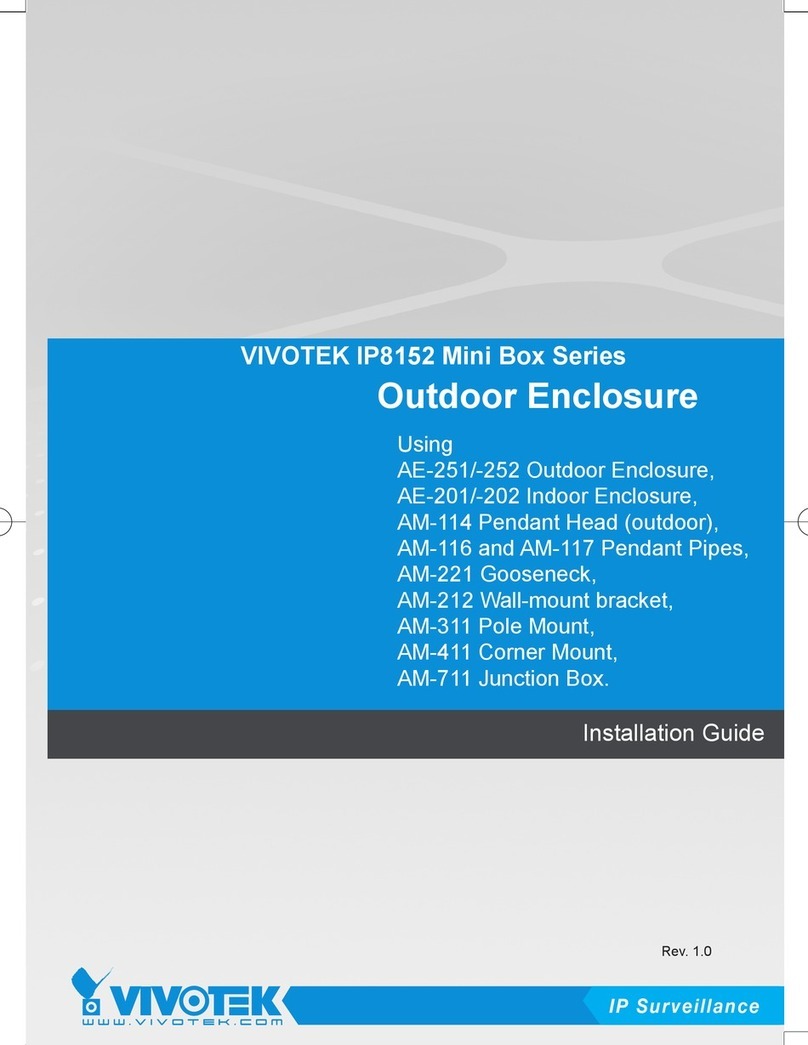
Vivotek
Vivotek IP8152 User manual
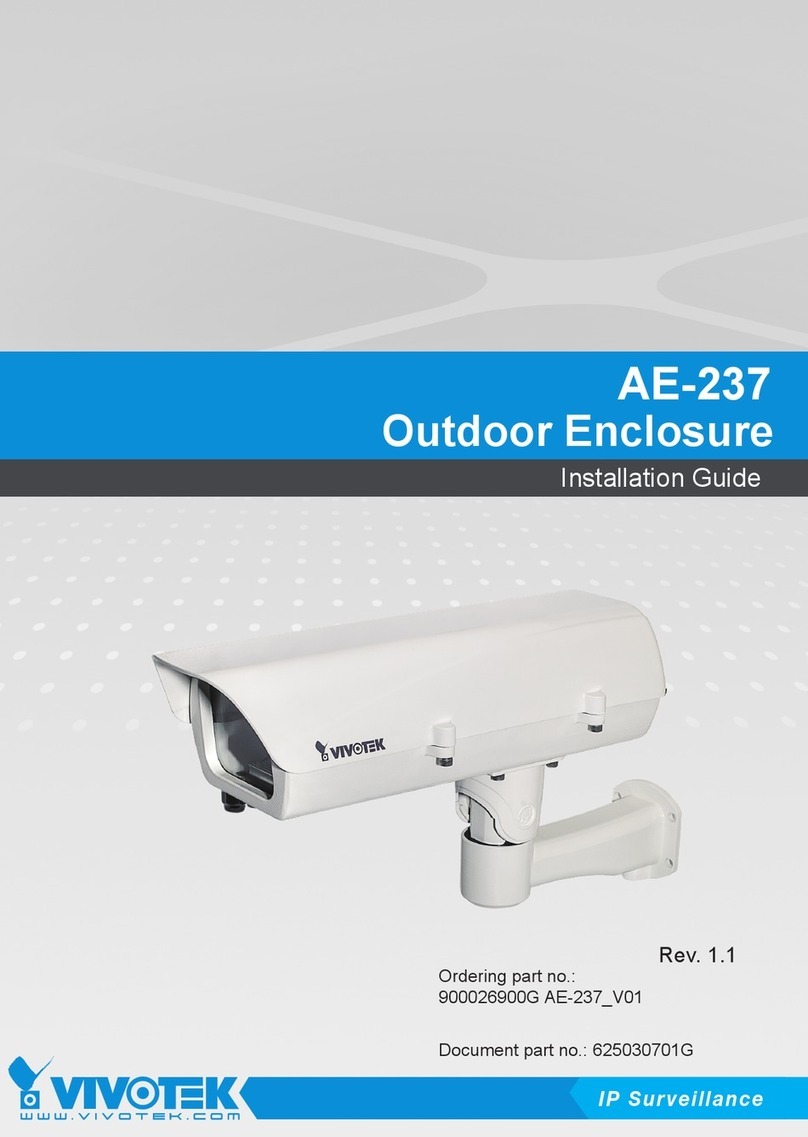
Vivotek
Vivotek AE-237 User manual
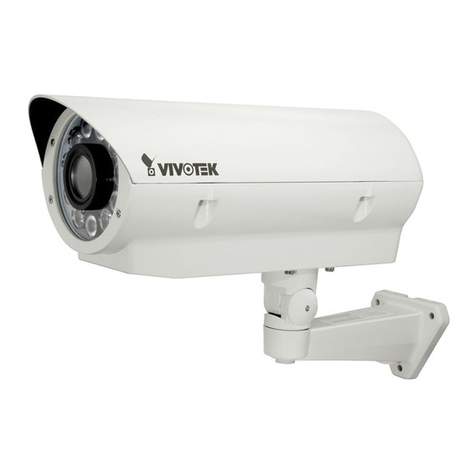
Vivotek
Vivotek AE2000 User manual
Vivotek
Vivotek Fixed Dome AM-116 User manual
Vivotek
Vivotek AM-516 User manual

Vivotek
Vivotek Stainless Steel Housing Series User manual
Vivotek
Vivotek AE-252 User manual
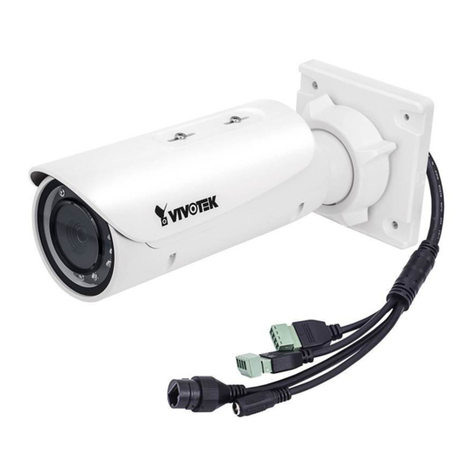
Vivotek
Vivotek IB836BA-HT User manual
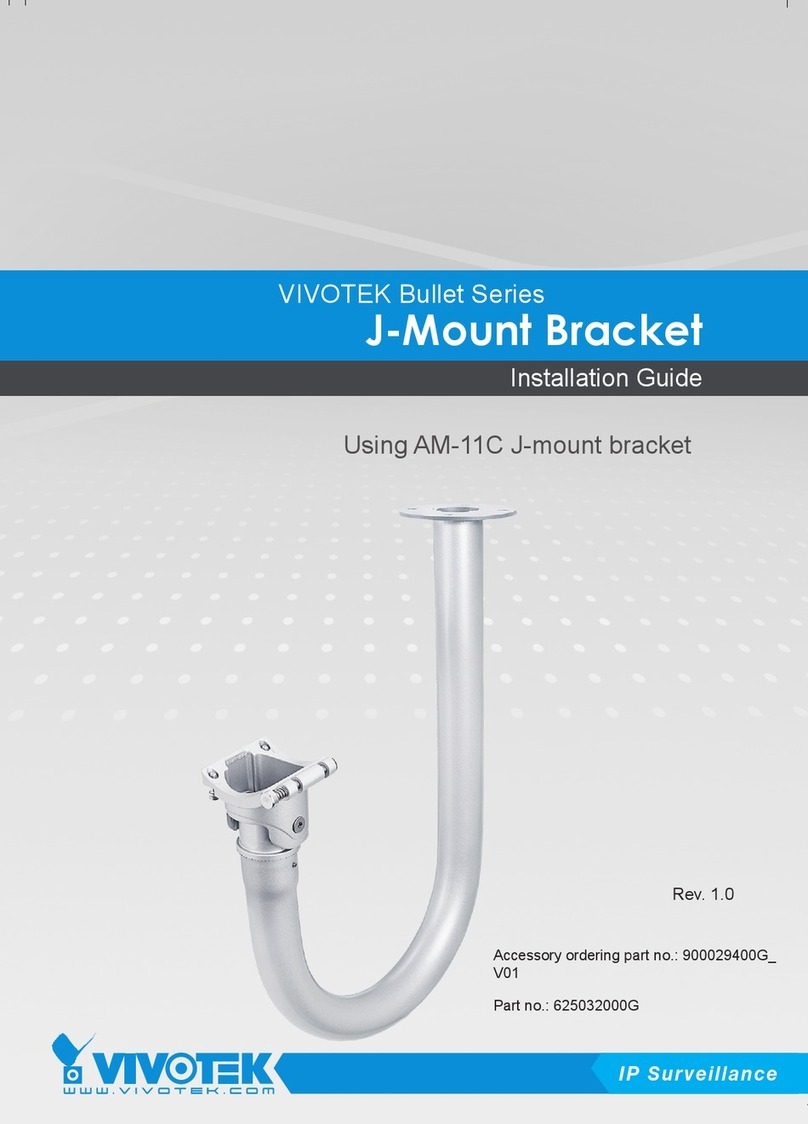
Vivotek
Vivotek Bullet Series User manual
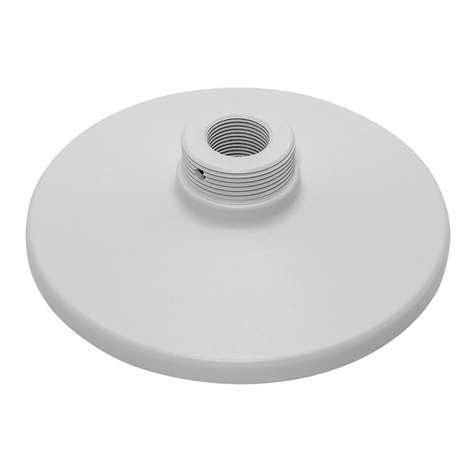
Vivotek
Vivotek AM-520 User manual
Popular Camera Accessories manuals by other brands

Viltrox
Viltrox EF-NEX Mount instructions

Calumet
Calumet 7100 Series CK7114 operating instructions

Ropox
Ropox 4Single Series User manual and installation instructions

Cambo
Cambo Wide DS Digital Series Main operating instructions

Samsung
Samsung SHG-120 Specification sheet

Ryobi
Ryobi BPL-1820 Owner's operating manual
