VXA9221BD
INSTALLATION GUIDE
PAGE 2 of 2
ELECTRONIC AIR PRESSURE SENSOR INSTALLATION
Disconnect the vehicle's negative battery cable.
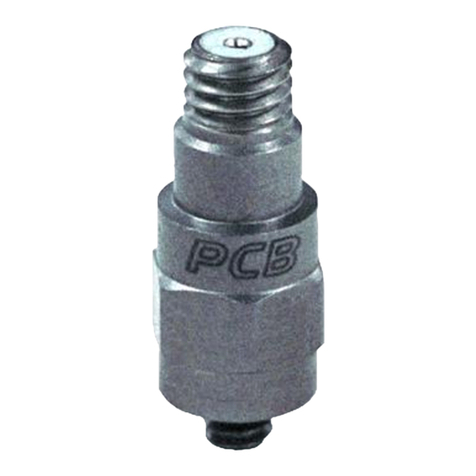
This air gauge uses two sensors with a standard 1/4" NPT male thread for monitoring pressures not
exceeding 290 PSI, allowing you to monitor two air sources independently at the same time in one location.
Thread each of the sensors into each of the sources you would like to monitor (example: manifold, air tank,
etc.). If your device have a different port size a thread adapter will be needed. IMPORTANT: Be sure to use a
thread sealant to seal the threads.
Route the air pressure sensor wire harnesses to the air gauge location and plug it into the back of the gauge.
IMPORTANT: Make sure that wires are away from any moving parts and heat.
Avoid installing the electronic air pressure sensors in a port where water can accumulate, for air tank installation the
best place is the top or side of the air tank.
GAUGE WIRING
Using automotive grade wiring (18 gauge); connect the RED wire to a positive 12 volt constant (unswitched)
source. It may be connected to the fuse panel, an accessory wire, or any positive 12 volt source that turns on
and off with the ignition or vehicle’s lights. If the wire is connected to the battery you must install a 3A fuse
closer as possible to the battery connection point.
Using automotive grade wiring (18 gauge); connect the GREEN wire to a positive 12 volt (switched) source. It
may be connected to the fuse panel, an accessory wire, or any positive 12 volt source that turns on and off
with the ignition.
Using automotive grade wiring (18 gauge); connect the BLACK wire to any good (unpainted) ground
connection. You may also route a wire directly to the negative side of the vehicle’s battery.
Mount the gauge using the mounting hardware provided.
Reconnect the vehicle's negative battery cable.
BUTTON FUNCTIONS
The button is located in the back of the air gauge.
Pressing the button will cycle to AC.1, AC.2 and AC.3, each setting corresponds to a different opening
animation when the gauge is power up.
Pressing and holding for 5 seconds will enter the gauge into “Maximum Air Pressure Warning”setting.
IMPORTANT: This feature is not available in this model.

