Vobx 2310 User manual

Vobx 2310 IP Phone USER MANUAL
Page
- 1 -
User Manual
Vobx 2310 IP Phone
Version 1.0
Singapore

Vobx 2310 IP Phone USER MANUAL
Page
- 2 -
Chapter I Product Information
1-1 Package Contents
1-2 Safety Information
1-3 Features of This IP Phone
1-4 Descriptions of All Keys and Components
1-5 Basic Setup
Chapter II System Setup and Basic Operating
2-1 Network Setup (On LCD Screen)
2-2 Network Setup (Web Interface)
2-3 VoIP Setup (On LCD Screen)
2-4 VoIP Setup (Web Interface)
2-5 Date / Time Setup
2-6 Accepting and Making Phone Calls
2-7 Holding and Transferring Calls, and
Conference Call
2-8 Auto Call Forwarding
2-9 Auto Call Rejection (DND Function) and
Ringer Mute
2-10 Adjust Ringer / Handset / Speakerphone Volume
Chapter III Advanced Operating Techniques
3-1 Advanced Phone Settings
3-2 Reading and Writing Text Messages
3-3 Address Book Management
3-4 View Call Records
3-5 Change Ringer Type
3-6 Change Display Language
3-7 View Firmware Version
Chapter IV Appendix
4-1 Troubleshooting
4-2 Specification
4-3 FCC Statements
4-4 Firmware Upgrade

Vobx 2310 IP Phone USER MANUAL
Page
- 3 -
1-1 Package Contents
Thank you for purchasing VOBX 2310 IP Phone! Before you
start using this phone, please check the contents in the product
package first. If any item listed in the table below is missing,
please contact your dealer of purchase.
1
IP Phone (Main Body) 1 pc
2
Handset 1 pc
Handset Cable 1 pc
A/C Power Adapter 1 pc
CAT 5 Ethernet Cable 1 pc
Phone Stand 1 pc

Vobx 2310 IP Phone USER MANUAL
Page
- 4 -
1-2 Safety Information
Please follow the following safety instructions while you’re using
this IP Phone, or you could damage this phone and yourself.
1. Do not place this phone in high-humid and / or hot
environment, like bathroom or kitchen. Please refer to the
specification of this phone to understand the environmental
requirements of this phone.
2. This phone is designed for indoor use; do not use this phone
at places like garden or any other outdoor environment.
3. If you want to place this phone at high places, please make
sure that the phone is properly secured. Falling down from
high places will damage this phone!
4. Do not drag any connected cord with force; the terminal and
cord will be damaged.
5. Only use dry cloth with water to clean this phone; do not use
alcohol or other chemical solution to clean this phone.
6. There’s no user-serviceable part inside this phone; if the
phone is not working properly, please contact the dealer of
purchase to ask for help.
7. Do not set the volume control of handset to a too high
setting; high volume could damage your ear if you use this
phone for too long time.
8. Do not put the phone and / or A/C adapter on paper, cloth, or
other flammable materials.
9. If you smell something strange or even see smoke coming
out from the phone or A/C adapter, disconnect the power
cord immediately (if it’s safe), and call your dealer of
purchase for help.

Vobx 2310 IP Phone USER MANUAL
Page
- 5 -
1-3 Features of This IP Phone
The VOBX 2310 IP phone takes full advantage of the power of
your data network; it supports TCP/IP network communication
protocol, which is the most popular network protocol used in the
world nowadays. With easy-to-use user interface, you don’t
need any help from network technician, or extra network device
to install your new VOBX 2310 IP Phone. Just connect it to your
existing data network, with some simple configuration steps;
you can start to enjoy the communication convenience provided
by VOBX 2310!
The following features are also provided by VOBX 2310:
Supports various network access methods (Static IP, DHCP,
and PPPoE).
Built-in phone address book, supports up to 100 entries.
Built-in call record; supports up to 30 entries (10 entries for
missed calls, dialed calls, and accepted calls each).
Built-in calendar and clock.
Speed-dial keys for frequent used numbers.
‘Do not disturb’ (DND) function.
Text message function let you send / receive text
messages by this phone.
Message indicator for incoming call and message.
Speaker phone function for hands-free operation.
Call transfer
3-way conference.
2 lines with maximum of 16 characters per line LCD
Caller-ID support.
Vobx 2310 IP Phone USER MANUAL
Page
- 6 -
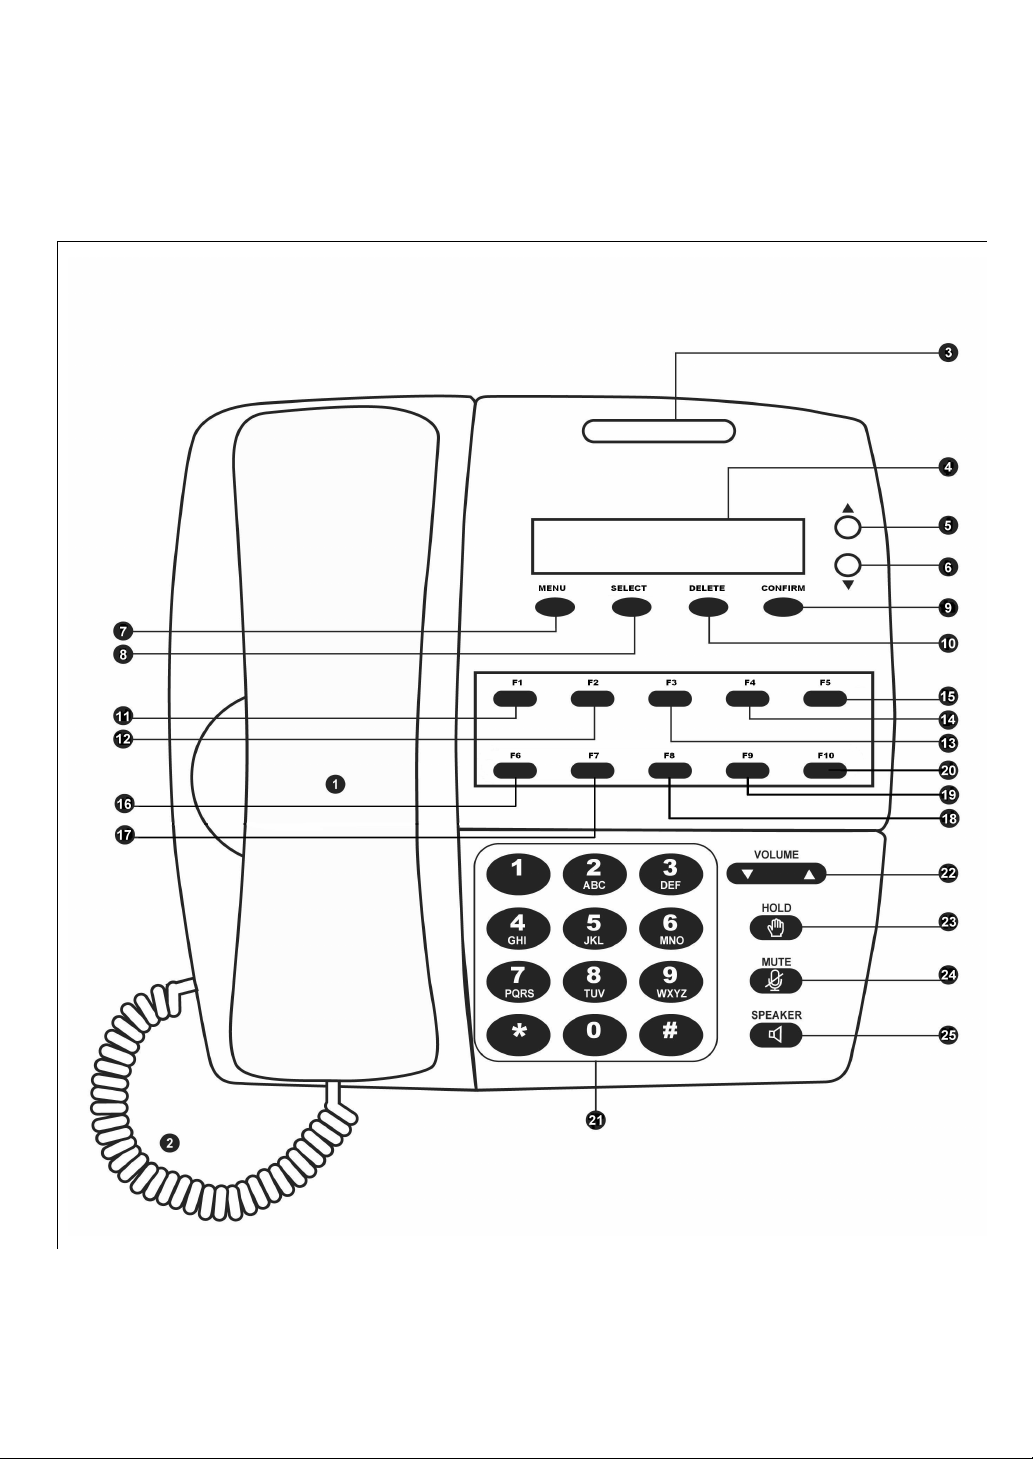
1-4 Descriptions of All Keys and Components
Front View:
Vobx 2310 IP Phone USER MANUAL
Page
- 7 -
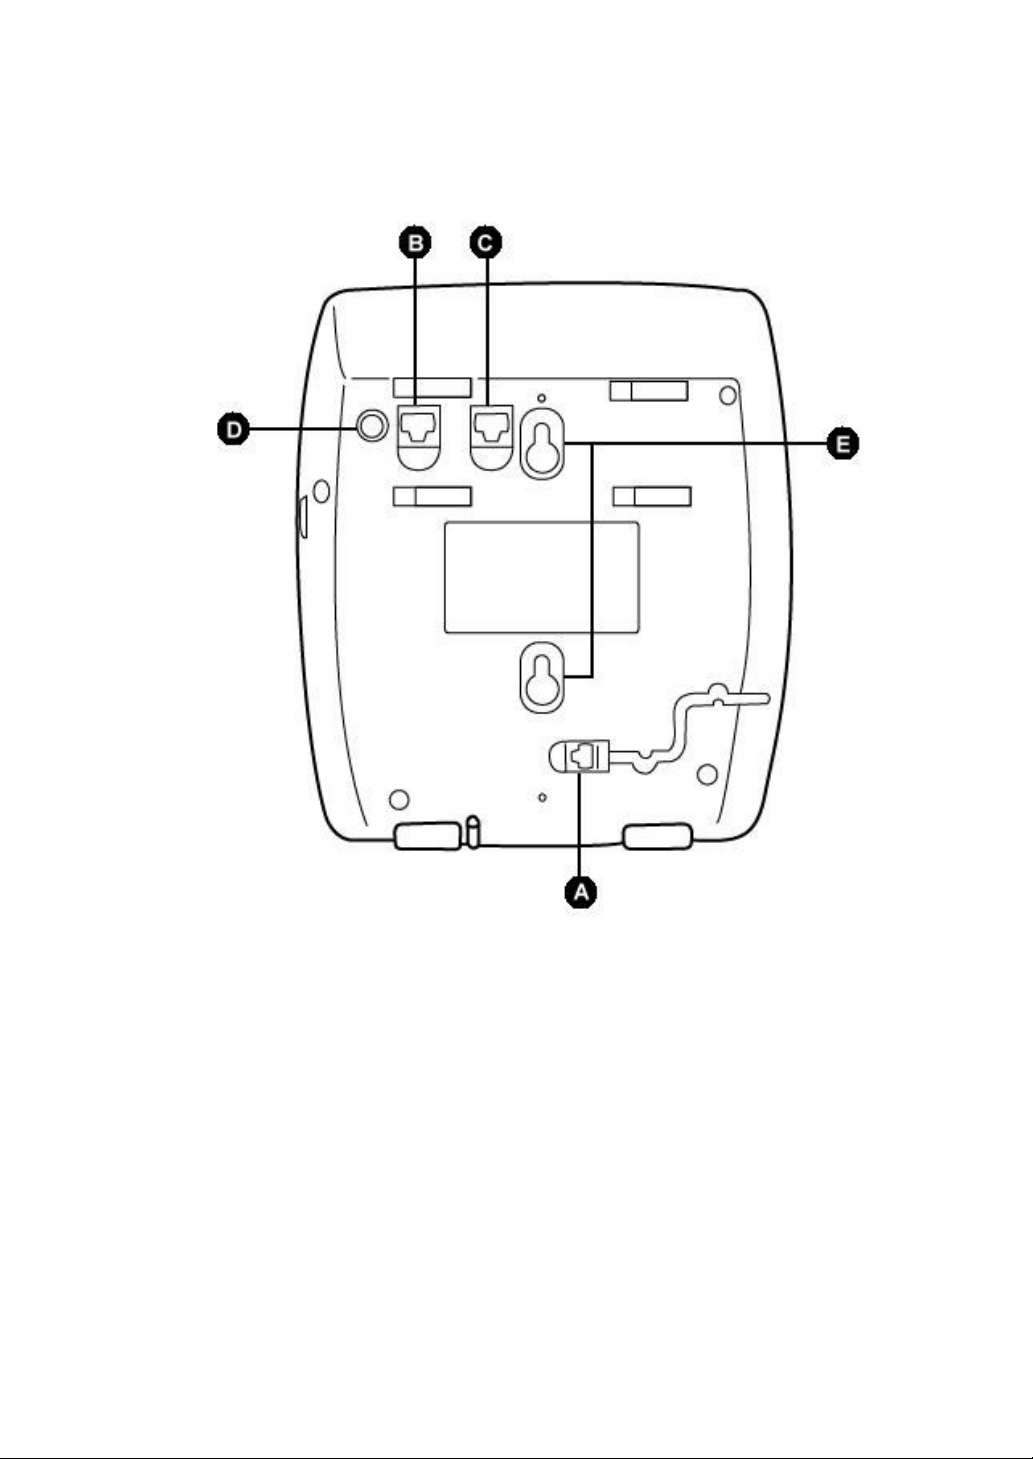
Back View
Vobx 2310 IP Phone USER MANUAL
Page
- 8 -
Here are descriptions of all keys and components of this IP Phone:
Item No.
Description Item No.
Description
1 Handset 17 (F7) Speed-dial key
2 Handset Cord 18 (F8) Speed-dial key
3 Message Indicator 19 (F9) Speed-dial key
4 LCD Display 20 (F10) Speed-dial key
5 Up Key 21 Numeric Keypad
6 Down Key 22 Volume Key (Up / Down)
7 Menu Key 23 Hold Key
8 Return Key 24 Mute Key
9 Select Key 25 Speaker Key
10 Delete Key 26 Hook
11 (F1) Speed-dial key 27 Speaker
12 (F2) Speed-dial key 28 Handset Holder
13 (F3) Speed-dial key A Handset
14 (F4) Speed-dial key B LAN Network Jack
15 (F5) Speed-dial key C PC Network Jack
16 (F6) Speed-dial key D Power Jack
E Wall Mount Hole
* : Keys with LED (Light-Emitting Diode)

Vobx 2310 IP Phone USER MANUAL
Page
- 9 -
1-5 Basic Setup
Please unpack the product package and follow the following
instructions to setup your new VOBX 2310 IP Phone:
1. Insert the Ethernet cable to the LAN network jack as shown
on the following picture, and connect the other end of Ethernet
cable to the local area network (LAN). Please make sure that
VoIP server is reachable from the network you connected to. If
you are using this phone in the company, please ask the
network administrator for detailed information; If you are using
this phone in your home, you should connect the Ethernet cable
to the ADSL or Cable modem router.
2. Please insert the power jack of A/C adapter to the phone, as
shown on the following picture.
Vobx 2310 IP Phone USER MANUAL
Page
- 10 -
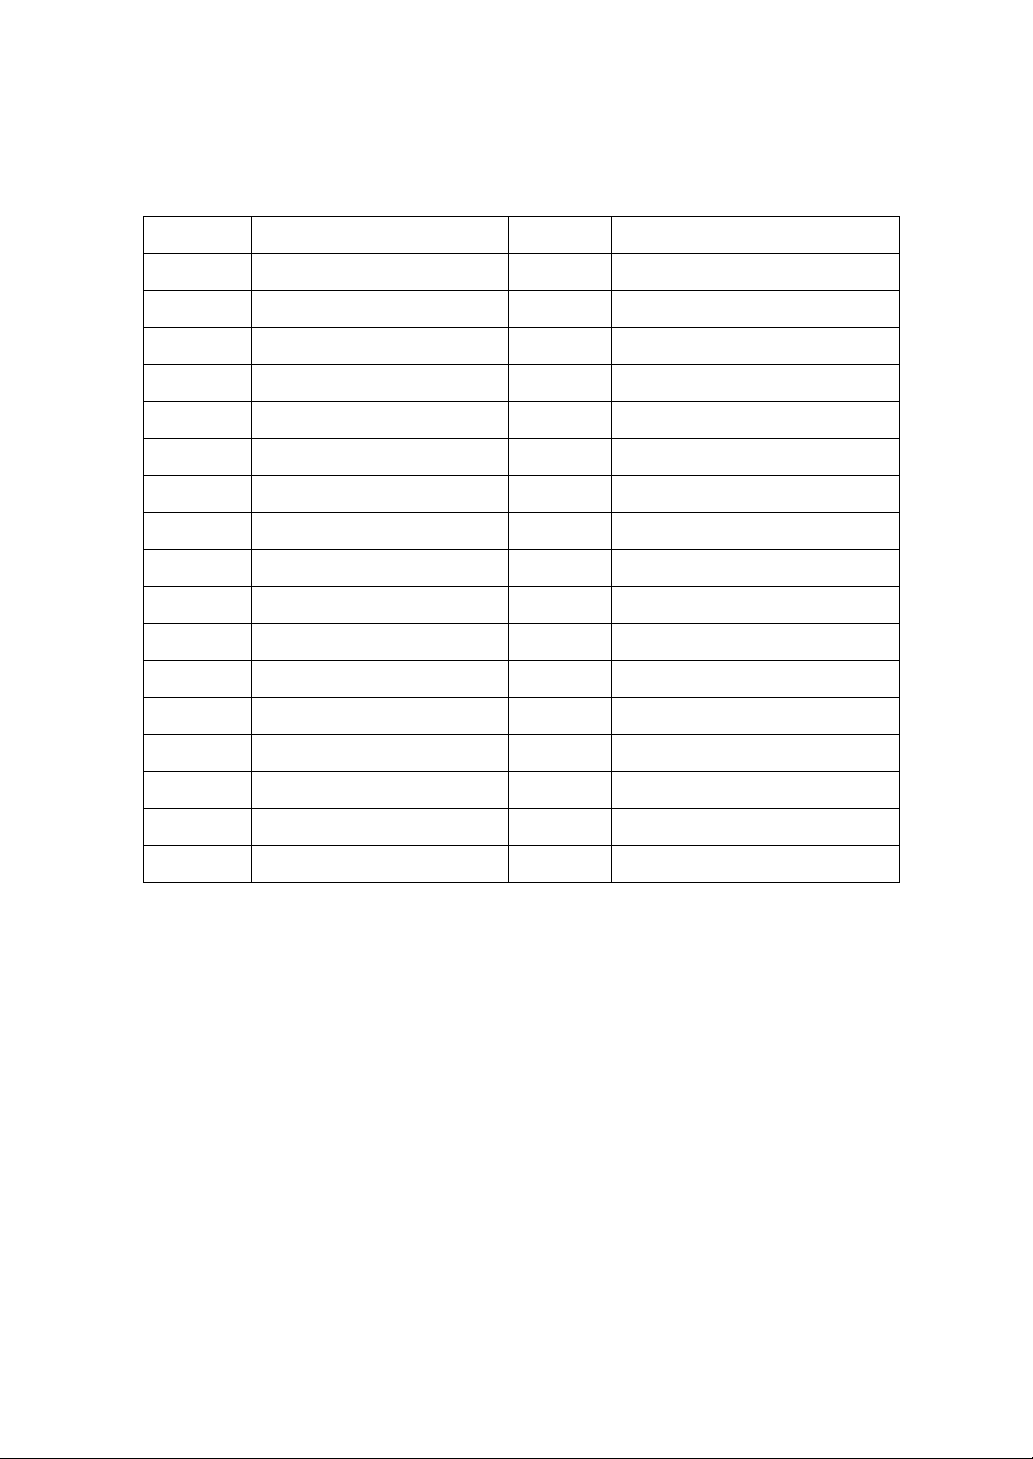
3. This phone can be placed on desk or hang on the wall:
If you want to put the phone on the desk, please insert the
phone stand to the notch located at the back of the phone, as
shown on the following picture. Please note that one end of
phone stand is taller, and another end is shorter. If you insert
the taller end to the upper notch, the phone will be higher when
you place the phone on the desk; if you insert the shorter end to
the upper notch, the phone will be lower.

Vobx 2310 IP Phone USER MANUAL
Page
- 11 -
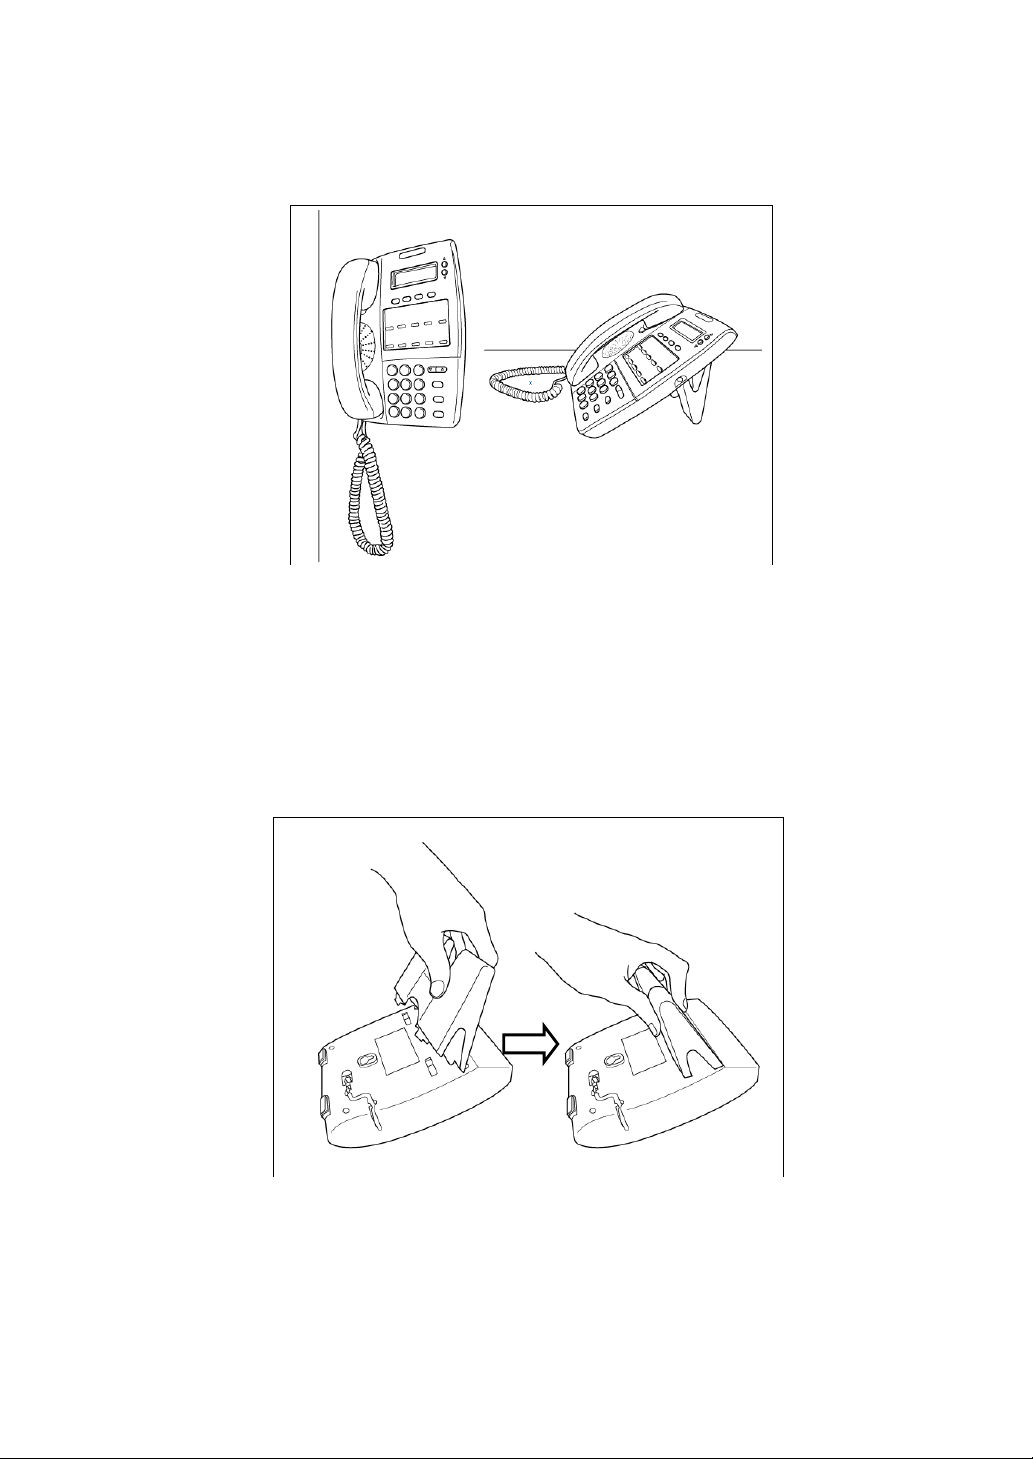
If you plan to hang the phone on the wall, please skip this step,
and mount the phone on the wall by the wall mount hole on the
back of the phone. And please remember to use a coin to rotate
the handset holder for 180 degrees, as shown on the following
picture:
4. Please connect the shorter end of the handset cord to the
handset, as shown on the following picture.
Vobx 2310 IP Phone USER MANUAL
Page
- 12 -
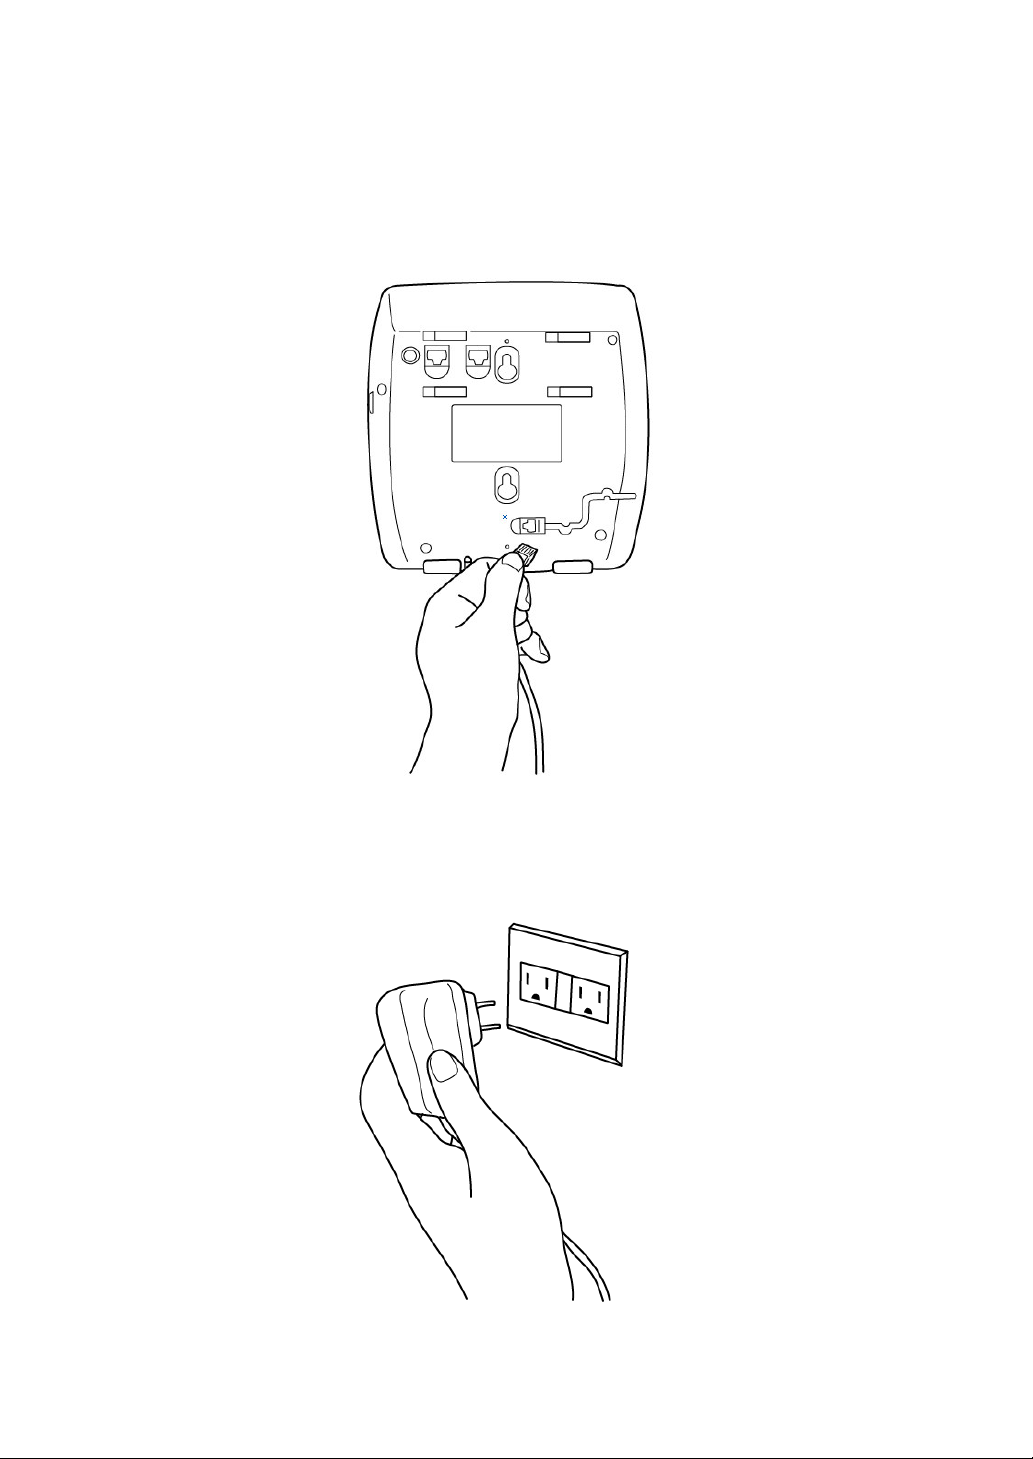
6. Please connect the other end of the handset cord to the
phone, as show on the following picture. Please put the cord in
the slot next to the jack, so the cord can be fitted on the back of
the phone.
7. Please insert the A/C adapter on the power outlet, and make
sure the output voltage of power outlet meets the requirement
of A/C adapter (AC 100V to 240V, 50/60Hz)

Vobx 2310 IP Phone USER MANUAL
Page
- 13 -
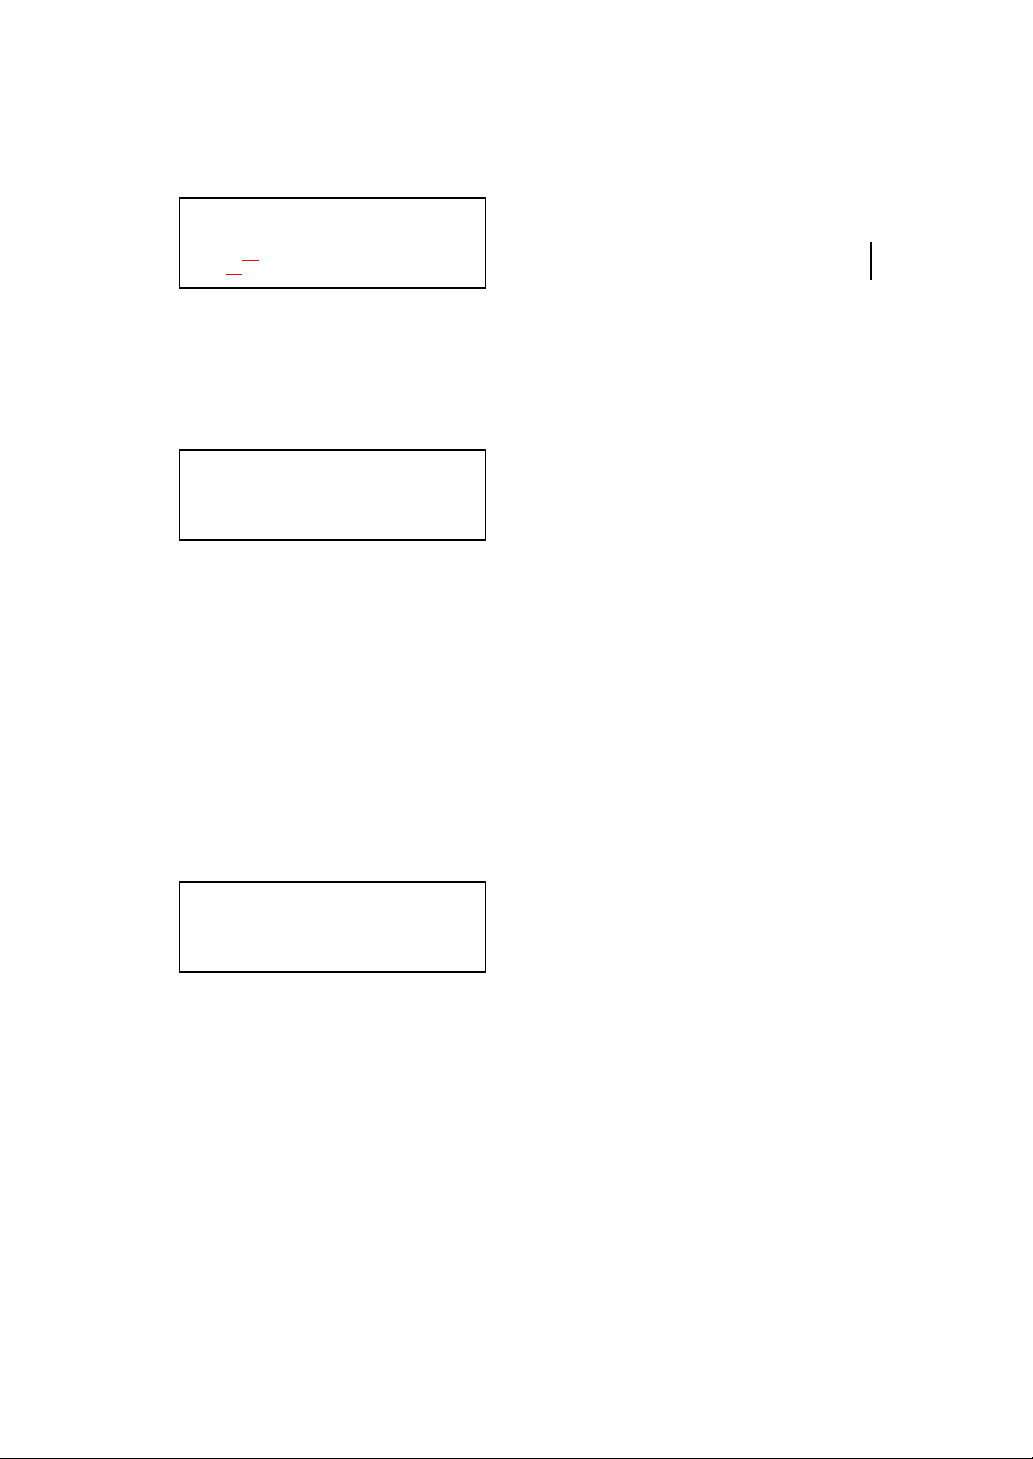
8. Now check the LCD display on the phone, you should see
some text displayed on it, as shown on the following picture. If
not, please restart from step 2 and make sure everything is
done properly; If you still can not see anything displayed on
LCD display, please contact the dealer of purchase and ask for
help.
07-11 07:53
Not Registered
Vobx 2310 IP Phone USER MANUAL
Page
- 14 -
2-1 Network Setup (On LCD Screen)
Before you can use VOBX 2310 IP phone, it must be
connected to network with a valid IP address. In this section
you’ll learn how to setup IP address for this phone by one of
many supported methods.
VOBX 2310 supports three methods to obtain IP address:
Static IP (IP address is manually entered by user)
PPPoE (IP address will be obtained automatically,
for ADSL user)
DHCP (IP address will be obtained automatically,
for LAN user)
Please decide a setup method before you continue; if you’re not
sure which method you should use, please ask your network
administrator, your ISP, or telephone service provider. then
follow the following procedures to setup IP address:
1. Press [MENU] key once.
2. Press [ ] key repeatedly,
until “ > Setting “ is
displayed on LCD, then
press [Select] key.
>Address Book
Call Records
Call Records
>Setting
Vobx 2310 IP Phone USER MANUAL
Page
- 15 -
3. Press [ ] key repeatedly,
until “ >Net Setting “ is
displayed on LCD, then
press [Select] key.
4. There are 4 options here,
they are:
IP Address (Static IP),
PPPoE, DHCP, and
MAC (MAC address
lookup). Press [ ] or [ ]
key until proper IP address
setup method is displayed,
then press [Select] key.
Static IP Setup:
1. Press [Select] key when
”>IP Address ” is displayed
on LCD, then press [Select]
key (If not, press [ ] or [ ]
until it is displayed.
>Net Setting
VoOIP Setting
>IP Address
PPPoE
>IP Address
PPPoE

Vobx 2310 IP Phone USER MANUAL
Page
- 16 -
2. Please check the message
displayed on LCD display now,
In Case A, it means DHCP is
enabled; please follow the
following procedure to disable
DHCP first:
Press [Menu] key once, to
back to previous menu,
the press [ ] until
” >DHCP Set ” is displayed,
then press [Select] key,
Press [ ] or [ ] key until
“ DHCP: Off “ is displayed,
then press [Select] key,
and follow the instructions on
next step.
In Case B, you’ll see a
flashing cursor displayed on
LCD display, which means
the phone is already in static
IP mode. Please proceed to
next step and start to enter IP
address.
IP (Read Only):
192.168.0.1
IP Address:
192.168.0.1

Vobx 2310 IP Phone USER MANUAL
Page
- 17 -
3. Please enter IP address by
numeric keypad now, you
can press [Delete] to move
cursor left and erase a
character, or
press [Menu] to abort and
back to menu.
To input dot, press
*
key.
When the IP address entry
is done, press [Select] to
save change and proceed
to next setup item.
4. Please input netmask of IP
address now, then press
[Select] to save change and
proceed to next step.
5. Please input gateway
address now, then press
[Select] to save change and
proceed to next step.
IP Address:
192.168.0.1
Net Mask:
255.255.255.0
Gateway:
192.168.0.254
Note: If you entered an invalid IP address, you’ll not be able to
save change you made, please try again.

Vobx 2310 IP Phone USER MANUAL
Page
- 18 -
6. Please input DNS (Domain
Name Server) address now,
then press [Select] to save
change and proceed to
next step.
7. You’ll see the message as
shown on the left displayed
on the LCD display, please
be patient. The Phone will
be ready again after about
45 seconds.
PPPoE Setup:
Please follow the following procedures to setup IP address by
PPPoE:
1. Press [ ] or [ ] key
until”>PPPoE ” is displayed
on LCD, then press [Select]
key.
2. Press [ ] key until
“ PPPoE: On “ is displayed,
then press [Select] key.
3. Please input the PPPoE
username assigned by your
internet service provider
here. You can use numeric
keypad to enter number,
Dns:
192.168.0.254
Use Static IP
Restarting......
IP Address
>PPPoE
PPPoE: On
Name:
Username
Vobx 2310 IP Phone USER MANUAL
Page
- 19 -
alphabet, and symbol. To
erase a character, press
[Return]. After username is
entered, press [Select] key,
or press [Menu] to abort.
4. Please enter PPPoE
password now, then press
[Select] key.
5. Please enter the name of
your internet service
provider here. This is
Password:
Username
Note: Password characters will be displayed on LCD display,
please make sure nobody is behind you!
ISP:
ISP_NAME
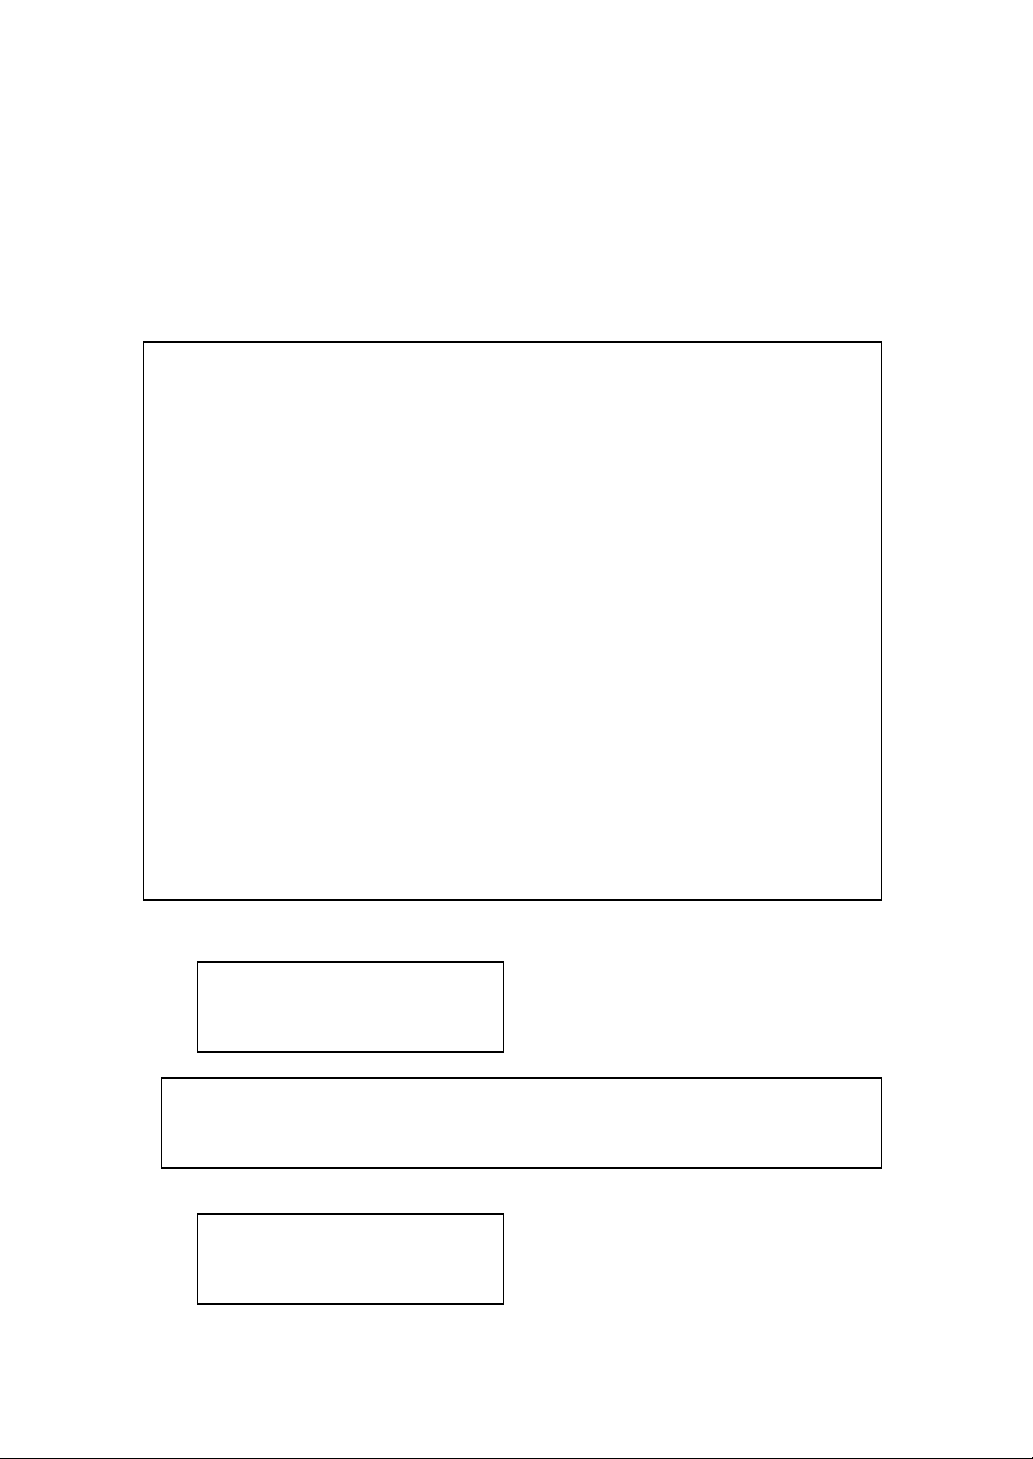
Hint: How to input symbol, number, and alphabet?
Every number key in numeric keypad area represents a set of
symbol, number, and / or alphabet. You can press a key repeatedly
to select next character for that key. For example, you can press
“2” key for 3 times repeatedly to get “B”, and press “5” key for 5
times to get “j”. If you pause between keystrokes, cursor will move
right for 1 character, so you can input a new character.
The character set of every key is listed as follow (left to right):
1: 1 . @ , ? / _ - ( ) : ; ! “ 6: 6 M N O m n o
2: 2 A B C a b c 7: 7 P Q R S p q r s
3: D E F d e f 8: 8 T U V t u v
4: 4 G H I g h I 9: 9 W X Y Z w x y z
5: 5 J K L j k l 0: 0
*: . * #: # (space)
Vobx 2310 IP Phone USER MANUAL
Page
- 20 -
optional and you can press
[Select] key without
entering anything.
6. Please press [ ] or [ ]
key to select authentication
method here, available
options are PAP and CHAP,
press [Select] key when a
proper method is selected.
7. You’ll see the message as
shown on the left displayed
on the LCD display, please
be patient. The Phone will
be ready again after about
45 seconds.
DHCP Setup:
Please follow the following procedures to setup IP address by
DHCP:
1. Press [ ] or [ ] key
until”>DHCP Set ” is
displayed on LCD, then
press [Select] key.
Authentication:
PAP
PPPoE Enabled
Restarting......
PPPoE Enabled
Restarting......
PPPoE
>DHCP
Table of contents


