Vocera B3000 User manual

Wearing the Badge
Use a lanyard (shown here)
or universal clip attachment
to support the Badge.
Important: For optimal
speech recognition, the
top of the Badge should
be approximately 6 inches
(15 centimeters) from
your chin.
In the following gures, the shaded area is the speech
zone, the region in which the Badge can detect audio.
Turning the Badge On and Off
To turn the Badge on: Press the Call button.
To turn the Badge off: Press and hold the Hold/DND
button for at least 5 seconds.
Logging In/Out
To log in:
•If the Badge display shows “Logged Out”:
Press the Call button, wait for the Genie to answer, and
then say your rst and last name.
•If the Badge display shows someone else’s name:
Log out (see below), wait for the chime, then press the
Call button again to log in.
To log out:
•Press the Call button, wait for the Genie to answer, and
then say “Log me out.”
Vocera B3000
Communication Badge
Quick Reference Guide
Badge Features
Flipping the Screen
Press Select to show the menu, press either Up or Down
to navigate to Settings, press Select, navigate to Flip
Screen, and press Select.
Badge Indicators
Green blink: Power is on, DND mode is off.
Amber blink: Power and DND mode are on.
Recording Your Name
To record your name: Press the Call button, wait for the
Genie to answer, and then say:
• Record my name.
Basic Calling
To start a call: Press the Call button, wait for the Genie
to answer, and then say:
• Call <person’s first and last names>.
• Call <person’s first name> in <department name>.
• Call <group name>. (Calls one group member)
To end a call: Press the Call button.
Sending and Playing Messages
To send a message: Press the Call button, wait for the
Genie to answer, and then say:
• Record a message for <person’s first and last names>.
• Record a message for <group name>.
(Sends to all members)
To play your messages: Press the Call button, wait for the
Genie to answer, and then say:
• Play messages (to play new voice messages).
• Play text messages (to play new text messages).
• Play old messages or Play old text messages.
During message play, you can press the Call button
and say:
• Save (to save the current message).
• Delete (to erase the current message).
• Date (to hear the date/time of the current message).
• Repeat (to repeat the current message).
• Skip (to play the next message).
Broadcasting to a Group
To broadcast an announcement to every available
member of a group: Press the Call button, wait for the
Genie to answer, and then say:
• Broadcast to <group name>.
• Urgently broadcast to <group name>.
To reply to everyone in a broadcast:
1. Press and hold the Call button. If it is OK to talk,
you hear a beep. Otherwise, you hear a chirp.
2. Begin speaking.
3. When nished, release the Call button.
Connecting to Telephones*
To dial a telephone number or transfer a call on hold:
Press the Call button, wait for the Genie to answer,
and then say:
• Dial extension <number>.
• Dial an outside number.
• Transfer to extension <number>.
To send a numeric page: Press the Call button,
wait for the Genie to answer, and then say:
• Page <person’s rst and last names>
• Dial a pager number.
*Requires permission from the system administrator
Hold and Do Not Disturb
To hold a call in progress: Press the Hold/DND button
on the top of the Badge.
To release the hold: Press the Hold/DND button again.
For Do Not Disturb mode: Press the Hold/DND button
when no call is in progress. Press it again to release
Do Not Disturb.
©2014 The Vocera logo is a trademark of Vocera Communications, Inc. Vocera®is a trademark of
Vocera Communications, Inc. registered in the United States and other jurisdictions. All other
trademarks are the property of their respective owners. VOC_7416_QRG_072814_v1
Call Waiting
If you hear the Call Waiting tone while you are on a call,
it means another party is trying to call you. You can look
at the Badge display to see who is calling.
•To take the call: Press the Call button. The first
call is put on hold and the second call is connected.
To end the second call and return to the original call,
press the Call button again.
•To refuse the call: Press the Hold/DND button.
Charging the Battery
The following steps show a single-bay charger, but
you may also use an eight-bay charger. There are two
indicator lights on the charger, blue for capacity, which
decreases over time, and green/red for charge status.
1. Use your thumb to press
the battery latch and lift it up,
and then remove the battery.
2. Insert the battery into the
charger, label facing back,
and press down on the battery
until you see the blue light turn
on. After a second, the green
light will begin to blink.
Note: If the blue light remains
on and is steady, the battery
is beyond its useful life. If so,
replace it.
3. When the green light stops
blinking and is steady, the
battery is fully charged.
Remove it from the charger.
4. Slide the pegs at the top of the
battery into the two holes in
the Badge’s battery compartment
and press down gently to seat
the battery in the Badge.
Top View
Back ViewFront View
Badge Display Symbols
Unread Text Message
Microphones
Headset Jack
Up/Down Button*
Select Button
Up/Down Button*
Speaker
*Up and Down depend on screen orientation
Call Button
Battery
Battery Latch
Attachment
Anchor Points
Hold/DND Button
Indicator Light
Attachment Anchor Point
Microphones
Badge
Display
Unplayed Voice Message
Status Message Area
Speakerphone Mode
Headset Mode
Handset Mode
Signal Strength Battery Level
DND Mode

Wearing the Badge
Use a lanyard (shown here)
or universal clip attachment
to support the Badge.
Important: For optimal
speech recognition, the
top of the Badge should
be approximately 6 inches
(15 centimeters) from
your chin.
In the following gures, the shaded area is the speech
zone, the region in which the Badge can detect audio.
Turning the Badge On and Off
To turn the Badge on: Press the Call button.
To turn the Badge off: Press and hold the Hold/DND
button for at least 5 seconds.
Logging In/Out
To log in:
•If the Badge display shows “Logged Out”:
Press the Call button, wait for the Genie to answer, and
then say your rst and last name.
•If the Badge display shows someone else’s name:
Log out (see below), wait for the chime, then press the
Call button again to log in.
To log out:
•Press the Call button, wait for the Genie to answer, and
then say “Log me out.”
6 in (15 cm)
Badge Features
Flipping the Screen
Press Select to show the menu, press either Up or Down
to navigate to Settings, press Select, navigate to Flip
Screen, and press Select.
Badge Indicators
Green blink: Power is on, DND mode is off.
Amber blink: Power and DND mode are on.
Recording Your Name
To record your name: Press the Call button, wait for the
Genie to answer, and then say:
• Record my name.
Basic Calling
To start a call: Press the Call button, wait for the Genie
to answer, and then say:
• Call <person’s first and last names>.
• Call <person’s first name> in <department name>.
• Call <group name>. (Calls one group member)
To end a call: Press the Call button.
Sending and Playing Messages
To send a message: Press the Call button, wait for the
Genie to answer, and then say:
• Record a message for <person’s first and last names>.
• Record a message for <group name>.
(Sends to all members)
To play your messages: Press the Call button, wait for the
Genie to answer, and then say:
• Play messages (to play new voice messages).
• Play text messages (to play new text messages).
• Play old messages or Play old text messages.
During message play, you can press the Call button
and say:
• Save (to save the current message).
• Delete (to erase the current message).
• Date (to hear the date/time of the current message).
• Repeat (to repeat the current message).
• Skip (to play the next message).
Broadcasting to a Group
To broadcast an announcement to every available
member of a group: Press the Call button, wait for the
Genie to answer, and then say:
• Broadcast to <group name>.
• Urgently broadcast to <group name>.
To reply to everyone in a broadcast:
1. Press and hold the Call button. If it is OK to talk,
you hear a beep. Otherwise, you hear a chirp.
2. Begin speaking.
3. When nished, release the Call button.
Connecting to Telephones*
To dial a telephone number or transfer a call on hold:
Press the Call button, wait for the Genie to answer,
and then say:
• Dial extension <number>.
• Dial an outside number.
• Transfer to extension <number>.
To send a numeric page: Press the Call button,
wait for the Genie to answer, and then say:
• Page <person’s rst and last names>
• Dial a pager number.
*Requires permission from the system administrator
Hold and Do Not Disturb
To hold a call in progress: Press the Hold/DND button
on the top of the Badge.
To release the hold: Press the Hold/DND button again.
For Do Not Disturb mode: Press the Hold/DND button
when no call is in progress. Press it again to release
Do Not Disturb.
Call Waiting
If you hear the Call Waiting tone while you are on a call,
it means another party is trying to call you. You can look
at the Badge display to see who is calling.
•To take the call: Press the Call button. The first
call is put on hold and the second call is connected.
To end the second call and return to the original call,
press the Call button again.
•To refuse the call: Press the Hold/DND button.
Charging the Battery
The following steps show a single-bay charger, but
you may also use an eight-bay charger. There are two
indicator lights on the charger, blue for capacity, which
decreases over time, and green/red for charge status.
1. Use your thumb to press
the battery latch and lift it up,
and then remove the battery.
2. Insert the battery into the
charger, label facing back,
and press down on the battery
until you see the blue light turn
on. After a second, the green
light will begin to blink.
Note: If the blue light remains
on and is steady, the battery
is beyond its useful life. If so,
replace it.
3. When the green light stops
blinking and is steady, the
battery is fully charged.
Remove it from the charger.
4. Slide the pegs at the top of the
battery into the two holes in
the Badge’s battery compartment
and press down gently to seat
the battery in the Badge.
Other manuals for B3000
1
Other Vocera Conference System manuals
Popular Conference System manuals by other brands
Lucent Technologies
Lucent Technologies MERLIN LEGEND Release 7.0 System manager's quick reference
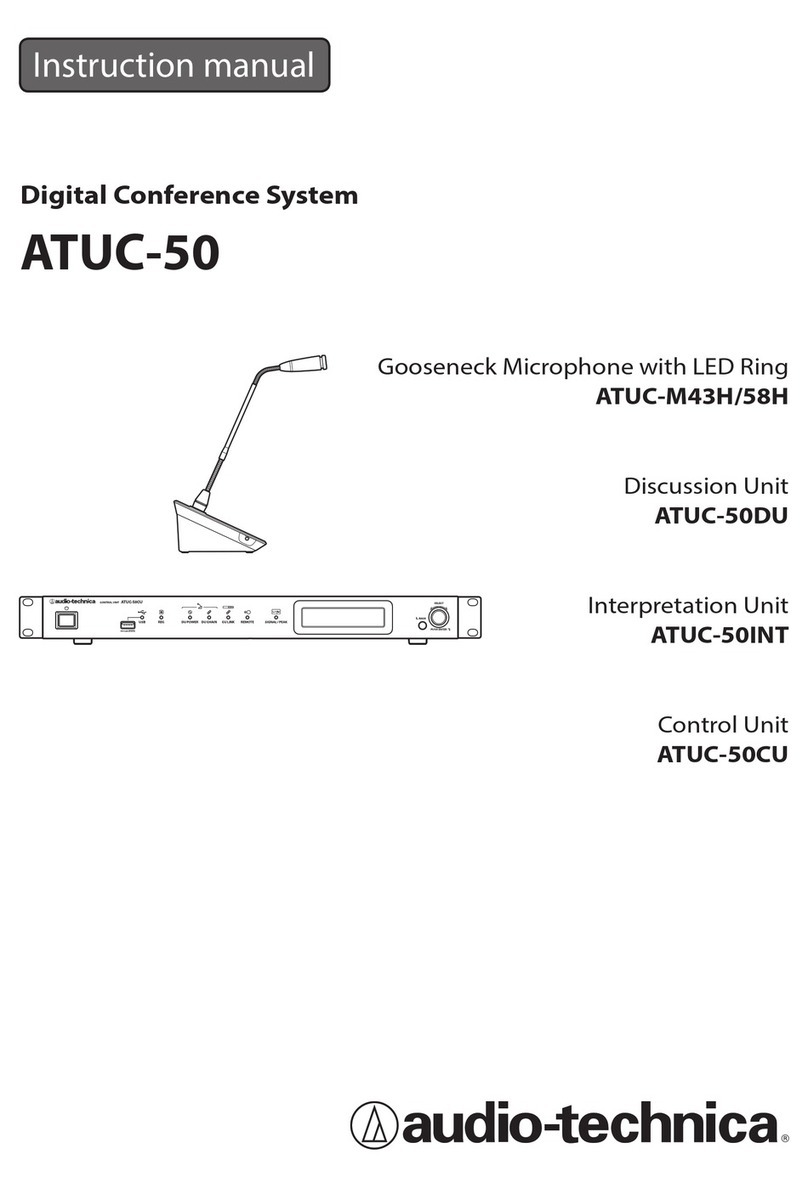
Audio Technica
Audio Technica ATUC-50 instruction manual
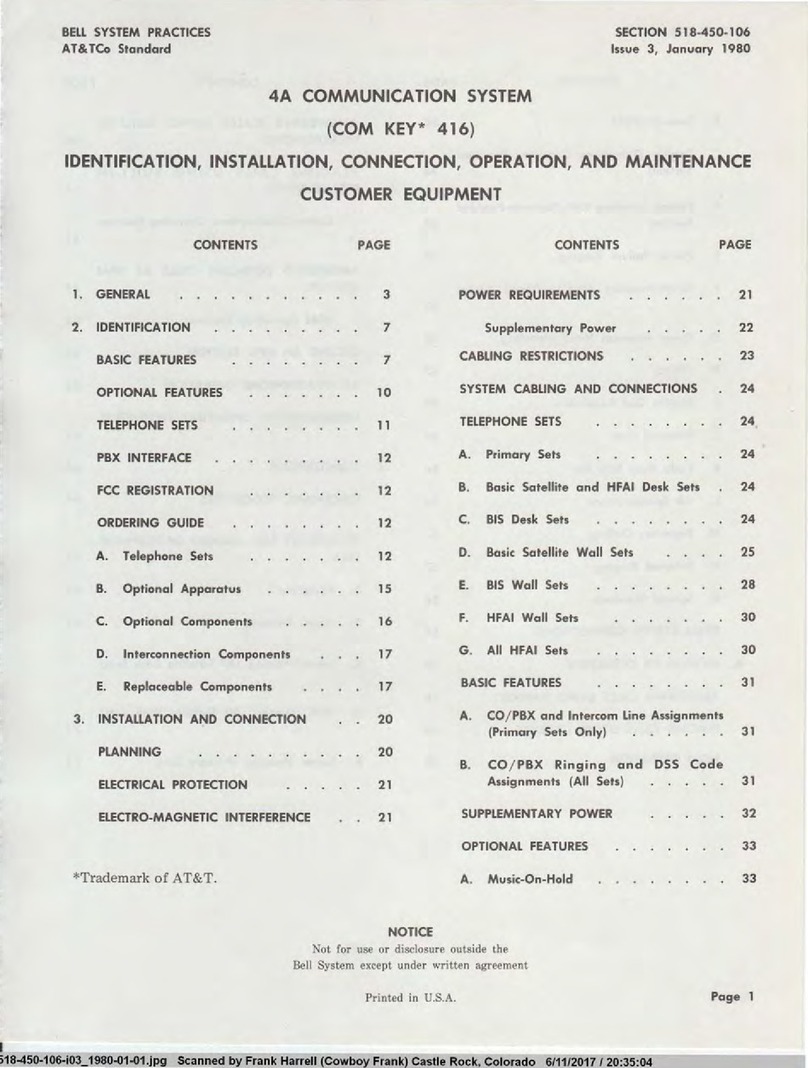
Bell System
Bell System Com Key 416 Identification, Installation, Connection, Operation, and Maintenance Customer Equipment
Yamaha
Yamaha CS-700 Series Operation guide

Creator
Creator WIFI6301 user manual

Dahua
Dahua TS20A0 quick start guide


