manuals.online logo
Brands
  1. Home
  2. •
  3. Brands
  4. •
  5. Vogtlin
  6. •
  7. Measuring Instrument
  8. •
  9. Vogtlin red-y compact Series User manual

Vogtlin red-y compact Series User manual

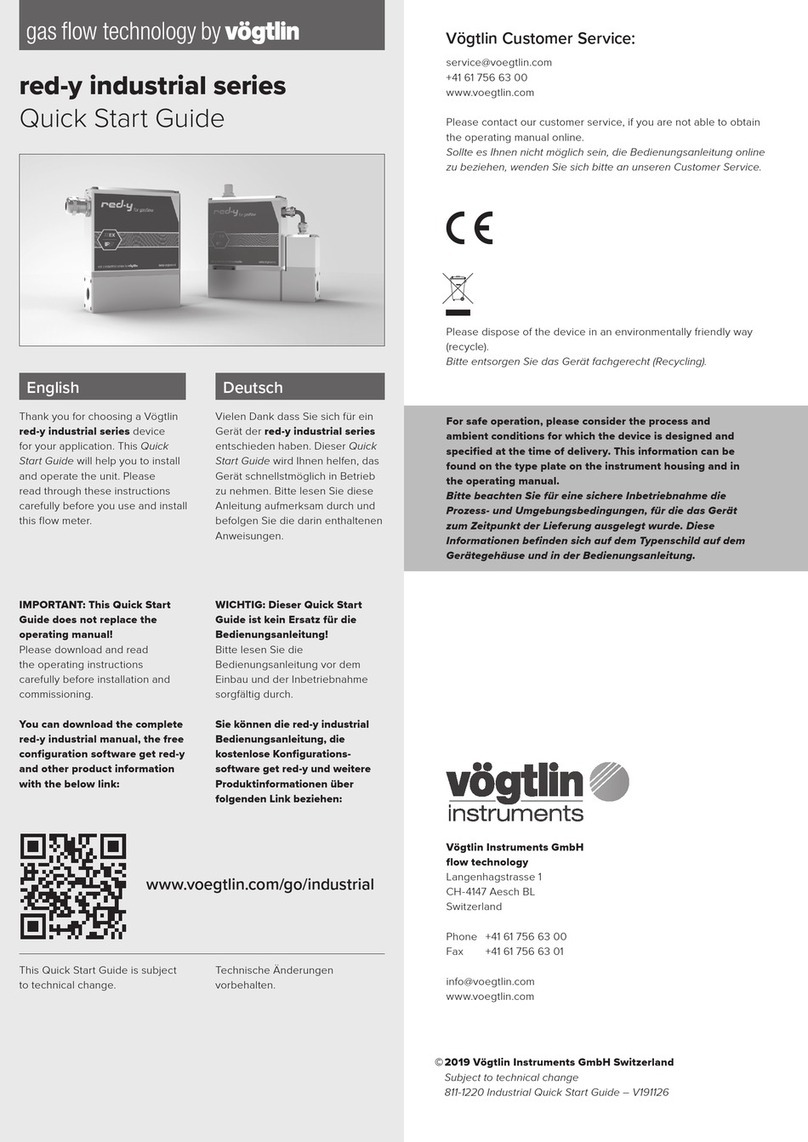
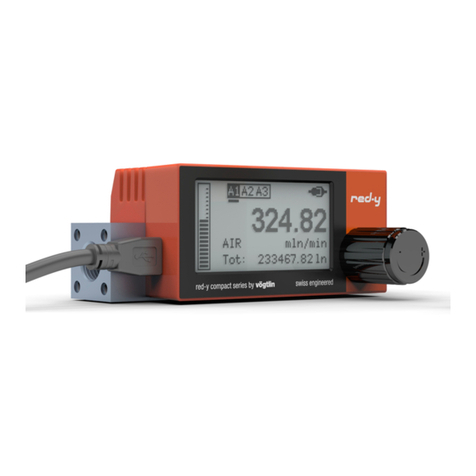
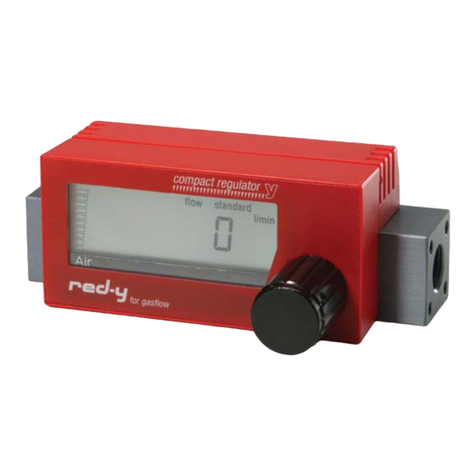
red-y compact series SN > 300 000
Quick Start Guide
Thank you for choosing the Vogtlin red-y compact series for your
application. This Quick Start Guide will help you to install and operate the
unit. Please read through these instructions carefully before you use and
install this flow meter.
This Quick Start Guide does not replace the operating manual. To benefit
from all features and to operate the device safely, please read the manual
(see supplied CD or our website).
Please contact your sales partner if you have questions about any aspect
of the product.
General Operation
The compact has a modern touch screen. You can operate the unit by
touching the screen with your fingers. Please do not use sharp objects like
ballpoints.
Switching the unit on
When the unit is powered by a battery, you have to touch the screen for
3 seconds to switch the unit on. Stop touching the screen once you see
something on the display. If you continue to touch the display during start-
up you enter the service mode (for USB firmware update only). To exit
from the service, mode touch the screen for 5 seconds. When the unit is
powered with an external supply (24 Vdc/ USB), the device switches on
automatically.
Home Screens
The selectable home screens show you all the information you need.
You can switch between home screens by touching the display for about
a second.
Menu
To enter the menu, just touch the screen (no matter where) for more than
one second. Once you are in the menu, use the control buttons on the
bottom to navigate through the functions / settings.
Return Up Down Select
Hold for home
screen
Electrical connection 24 Vdc
The optional 12-30 Vdc version (use 150 mA power supply) of the
compact has a 12 pin connection cable with configuration according
to the table below. 1+2 are for the power supply, 3-12 are for the alarm
module.
Pin Color Assignment
1 red PWR+
2 black PWR-
3 white IN2
4 brown IN1
5 green IN.GND
6 yellow OUT3.NO
7 grey OUT3.NC
8 pink OUT3.COM
9 blue OUT2.A
10 violet OUT2.B
11 grey-pink OUT1.A
12 red-blue OUT1.B
Vielen Dank dass Sie sich für ein Gerät der red-y compact series
entschieden haben. Dieser Quick Start Guide wird Ihnen helfen, das Gerät
schnellstmöglich in Betrieb zu nehmen. Bitte lesen Sie diese Anleitung
aufmerksam durch und befolgen Sie die darin enthaltenen Anweisungen.
Dieser Quick Start Guide ersetzt nicht die Bedienungsanleitung.
Um sämtliche Funktionen des Geräts zu nutzen, lesen Sie bitte die
Bedienungsanleitung (siehe beigelegte CD oder Webseite).
Bei Fragen zum Produkt kontaktieren Sie bitte Ihren Vertriebspartner.
Allgemeine Bedienung
Der compact besitzt ein intuitives Bedienkonzept, welches Sie durch
Tippen bedienen können. Bitte verwenden Sie dazu keine spitzen
Gegenstände.
Gerät einschalten
Um das batteriebetriebene Gerät einzuschalten, drücken sie das Touch
Display für 3 Sekunden und lassen dieses wieder los, sobald auf dem
Bildschirm eine Anzeige erscheint. Halten Sie das Display während dem
Aufstarten gedrückt, startet das Gerät den Service Modus (Updatemodus).
Um den Service Modus zu verlassen, drücken Sie das Display abermals
für 5 Sekunden. Falls Sie das Gerät mit Fremdspeisung (24 Vdc / USB)
betreiben, startet dieses automatisch.
Hauptseiten anzeigen
Mit einer kurzen Berührung des Displays können Sie zwischen den
wählbaren Hauptseiten umschalten.
Menu
Drücken Sie länger als eine Sekunde auf das Touch-Display, um in das
Menu zu gelangen. Im Menu verwenden Sie die Navigationselemente am
unteren Rand des Displays.
Zurück Nach oben Nach unten Auswahl
Halten führt zur
Hauptseite
Elektrischer Anschluss 24 Vdc
Die 12-30 Vdc Version (min. 150mA Stromversorgung) des compact hat
ein 12-poliges Anschlusskabel mit Konfiguration gemäss untenstehender
Tabelle. 1+2 ist für die Spannungsversorgung, 3-12 für das Alarmmodul.
Pin Farbe Belegung
1 rot PWR+
2 schwarz PWR-
3 weiss IN2
4 braun IN1
5 grün IN.GND
6 gelb OUT3.NO
7 grau OUT3.NC
8 pink OUT3.COM
9 blau OUT2.A
10 violett OUT2.B
11 grau-pink OUT1.A
12 rot-blau OUT1.B
Vögtlin Customer Service:
service@voegtlin.com | +41 61 756 63 00
www.voegtlin.com
Battery Replacement
Hold the compact on the main body with one hand. Push with two fingers
on both sides where the plastic notches are located (1) and pull off the
battery housing (2). Please observe the polarity of the battery.
Please dispose of the battery in an environmentally friendly way
(recycle).
Change from battery to external supply or
alarm module
Hold the compact on the main body with one hand. Push with two fingers
on both sides where the plastic notches are located (1) and pull off the
battery housing (2).
Mount the electronic board (4) with the supplied washers (3) and screws
(5) to the back of the compact.
Plug in the cable into the electronic board (6) and mount the cable tension
relieve on the body of the compact with the two screws (7). Make sure the
cable is secured.
Finally place the plastic cover over the power supply module (8). For the
electrical connections please refer to the other side of this Quick Start
Guide or the manual.
IMPORTANT:
Do not use Teflon® tape or liquid sealing on the process connections.
Please ensure that the piping is clean and purged before you connect the
flow meter.
For battery units the default setting is that the unit switches off 15 minutes
after you last touched the screen. You can disable the «Auto power off» in
the settings, for example for consumption measurements (see manual).
Get the latest product information on:
www.voegtlin.com
Austausch der Batterie
Halten Sie den compact mit einer Hand am Grundkörper fest. Drücken
Sie mit je einem Finger an beiden Seiten bei den Rippen nach innen (1)
und ziehen Sie den Batteriedeckel gerade nach hinten weg (2).
Beim Einsetzen einer neuen Batterie unbedingt die Polarität beachten.
Bitte entsorgen Sie die Batterie fachgerecht (Recycling).
Umbau von Batterie auf 24 Vdc Speisung oder
Alarmmodul
Halten Sie den compact mit einer Hand am Grundkörper fest. Drücken
Sie mit je einem Finger an beiden Seiten bei den Rippen nach innen (1)
und ziehen Sie den Batteriedeckel gerade nach hinten weg (2).
Befestigen Sie die Platine (4) mit den dafür vorgesehenen
Distanzscheiben (3) und Schrauben (5) auf der Rückseite des compact.
Stecken Sie anschliessend den Stecker am Kabelende in die Buchse auf
der Platine (6). Als nächstes befestigen Sie die Zugentlastung mit den
beiden Schrauben (7).
Als letzten Schritt den Kabeldeckel anbringen bis er einrastet (8).
Die Litzenbelegung entnehmen Sie bitte der Vorderseite dieses Quick
Start Guide oder der Bedienungsanleitung.
WICHTIG:
Verwenden Sie kein Teflon®-Abdichtband oder Flüssigdichtmittel um die
Anschlüsse abzudichten. Stellen Sie sicher, dass die Anschlussleitungen
gereinigt und gespült sind bevor Sie das Gerät anschliessen.
Das batteriebetriebene Gerät wird automatisch 15 Minuten nach der
letzten Bildschirmberührung ausgeschaltet. Diese Einstellung kann
im Menu deaktiviert werden, z.B. für Verbrauchsmessungen (siehe
Bedienungsanleitung).
Aktuelle Produktinformationen finden Sie unter:
www.voegtlin.com
© 2016 Vögtlin Instruments AG Switzerland – subject to technical change – 811-1216 Compact Quick Start Guide – V160413
BATTERY
2
1
1
2
1
1
4
3
5
6
7
8

Other manuals for red-y compact Series

2

Other Vogtlin Measuring Instrument manuals

Vogtlin TEESING Q-Flow Series User manual

Vogtlin

Vogtlin TEESING Q-Flow Series User manual

Vogtlin red-y compact Series User manual

Vogtlin

Vogtlin red-y compact Series User manual

Vogtlin red-y GCR User manual

Vogtlin

Vogtlin red-y GCR User manual

Vogtlin red-y industrial Series User manual

Vogtlin

Vogtlin red-y industrial Series User manual

Vogtlin V-Flow Series User manual

Vogtlin

Vogtlin V-Flow Series User manual

Vogtlin SmartTrak 100 Series User manual

Vogtlin

Vogtlin SmartTrak 100 Series User manual

Vogtlin Q-Flow User manual

Vogtlin

Vogtlin Q-Flow User manual

Vogtlin Red-y compact 2 Series User manual

Vogtlin

Vogtlin Red-y compact 2 Series User manual

Vogtlin Red-y compact 2 Series User manual

Vogtlin

Vogtlin Red-y compact 2 Series User manual

Popular Measuring Instrument manuals by other brands

Sibata AP-632TL Operation manual

Sibata

Sibata AP-632TL Operation manual

Bosch DLE 70 Professional Original instructions

Bosch

Bosch DLE 70 Professional Original instructions

socomec DIRIS A40 Technical guide

socomec

socomec DIRIS A40 Technical guide

Azbil MCF0080 User's Manual For Installation & Configuration

Azbil

Azbil MCF0080 User's Manual For Installation & Configuration

Keysight Technologies P5000A Series quick start guide

Keysight Technologies

Keysight Technologies P5000A Series quick start guide

Brookfield KF40 operating instructions

Brookfield

Brookfield KF40 operating instructions

Enlogic Advantage Series user manual

Enlogic

Enlogic Advantage Series user manual

M&C PMA Series instruction manual

M&C

M&C PMA Series instruction manual

horiba LAQUA WQ-310 instruction manual

horiba

horiba LAQUA WQ-310 instruction manual

PCB Piezotronics W138A10/038CY020AC Installation and operating manual

PCB Piezotronics

PCB Piezotronics W138A10/038CY020AC Installation and operating manual

Attonic AD-TM Series Operation manual

Attonic

Attonic AD-TM Series Operation manual

Automation Dr. Nix QNix 5500 quick start guide

Automation Dr. Nix

Automation Dr. Nix QNix 5500 quick start guide

Nexus 1500+ quick start guide

Nexus

Nexus 1500+ quick start guide

Micro Audiometrics ES3S user guide

Micro Audiometrics

Micro Audiometrics ES3S user guide

Ametek BARBEN ANALYTICAL OXY visor Installation, operation and maintenance manual

Ametek

Ametek BARBEN ANALYTICAL OXY visor Installation, operation and maintenance manual

LaMotte WaterLink SpinTouchFF instruction manual

LaMotte

LaMotte WaterLink SpinTouchFF instruction manual

Primes FocusMonitor-W quick start guide

Primes

Primes FocusMonitor-W quick start guide

Lutron Electronics UV-340A Operation manual

Lutron Electronics

Lutron Electronics UV-340A Operation manual

manuals.online logo
manuals.online logoBrands
  • About & Mission
  • Contact us
  • Privacy Policy
  • Terms and Conditions

Copyright 2025 Manuals.Online. All Rights Reserved.