6 7
RAZOR®HD 4000 GB
BASIC OPERATION
Battery Installation and Replacement
To insert a new battery, flip up
the finger tab on the Battery Cap
and unscrew, counterclockwise,
to remove. Insert a CR2 battery
with the positive side (+) facing
outwards. Reinstall Battery Cap
and ensure it is tightly closed.
Power Up
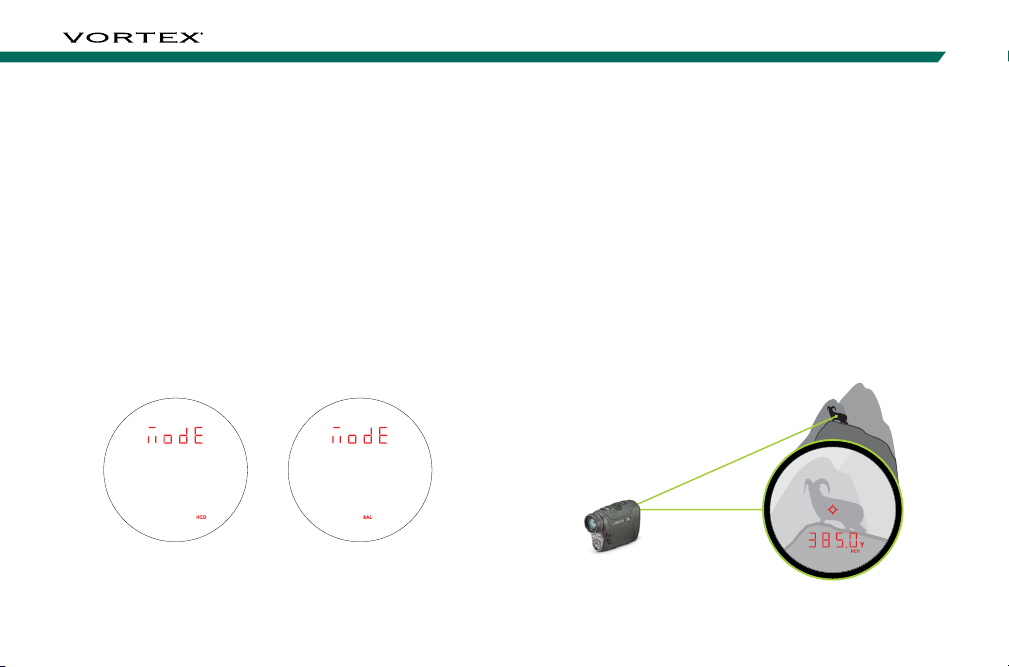
Once the battery is installed, the Razor®HD 4000 GB is in
ready condition – the normal power-off condition when not
ranging. To power up the Razor®HD 4000 GB from ready
condition, press and release the “Measure” button. The
HCD or BAL ranging screen will display. The auto-shutoff
feature can be adjusted to 30, 45, 60, or 180 seconds.
See the Auto-Shutoff section on page 16.
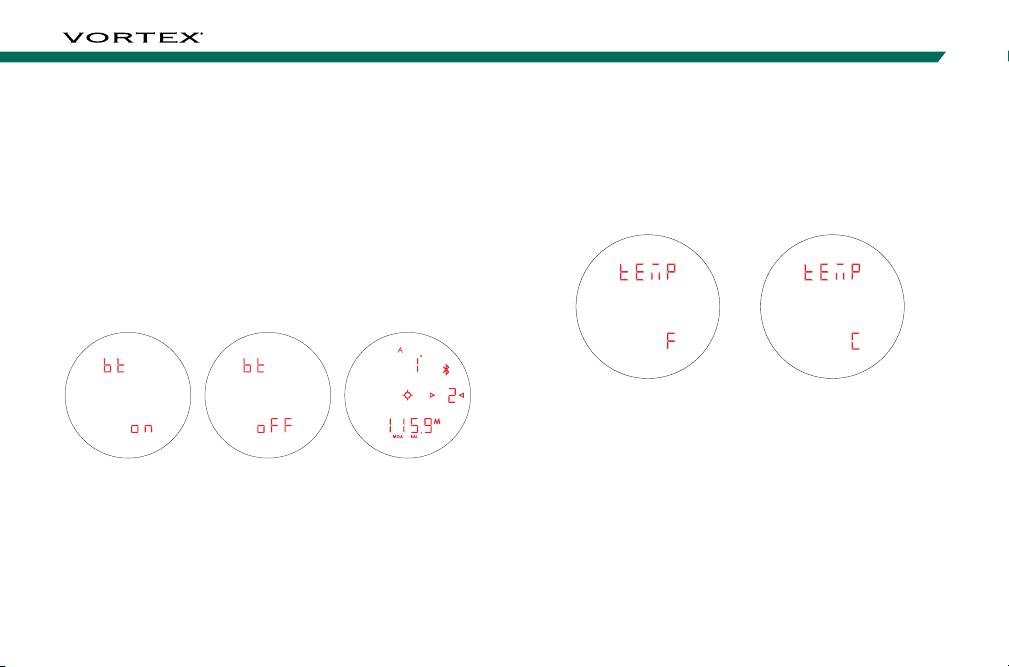
Low Battery Icon
The Low Battery Icon displays
once the battery reaches 25%
life and stays on until there is no
power or the battery is replaced.
Adjust the Eyecup
The Adjustable Eyecup on the Razor®HD 4000 GB
twists in and out so any viewer can see the full field and
enjoy comfortable viewing and ranging – with or without
eyeglasses. When not using eyeglasses or sunglasses, it is
recommended to keep the eyecup fully extended. For best
viewing when wearing eyeglasses, twist eyecup in to allow
closer contact to your glasses.
Focus
Adjust the Diopter
until the image is
sharp. Make note of
this Diopter setting in
case you need to set
it again.
Diopter Focus
Adjustable
Eyecup