To insure your safety while assembling your Voyager product:
Fully read and understand the assembly instructions
Do not assemble this product if items are missing or damaged
Wear protective gloves, clothing and eye wear when assembling this product
For ease of assembly best to have 2 people
Check tightness of all hardware each year to avoid injury.
Installation procedure
The following tools will be needed: tape measure, (1) 9/16” wrenches, (2) 7/16” wrenches,
Phillips screw driver.
1. Insert head of 4 carriage bolts into raceway on the underside of the rail and slide to
desired location on dock. Per diagram A.
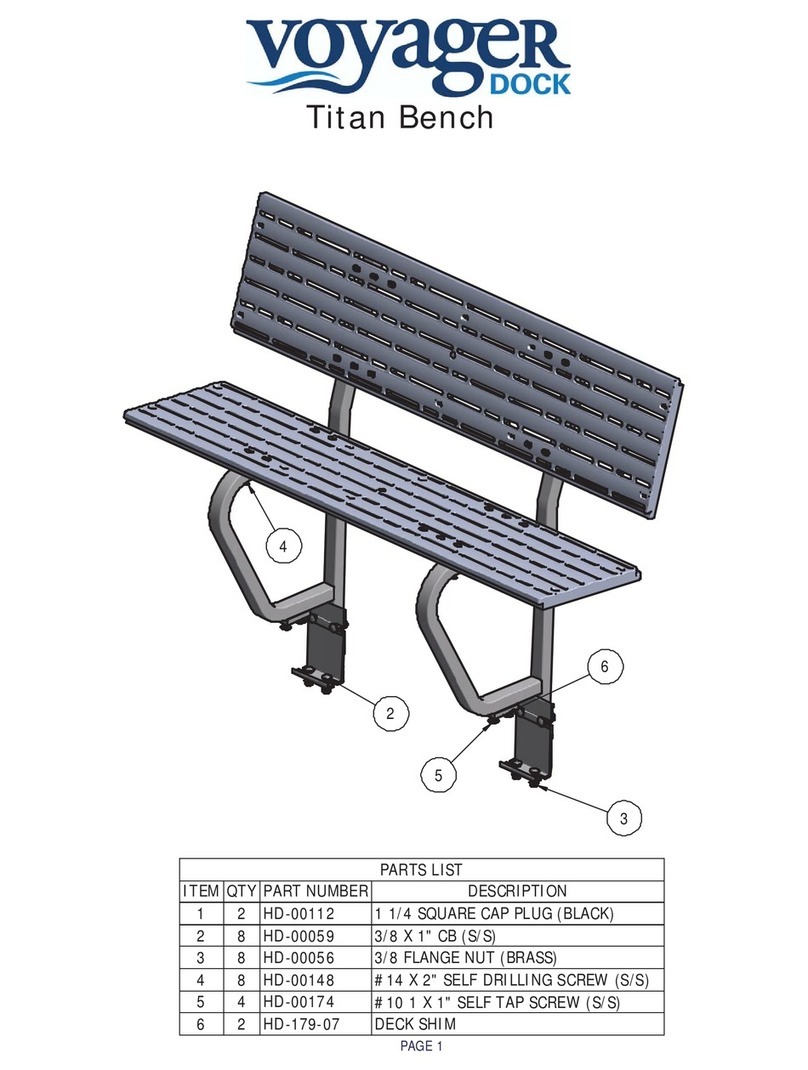
2. Install 1 ¼” caps into the top of bench leg frames. Per diagram B.
3. If using on dock with Titan X-series decking skip to line 6. If used on dock with Titan
Classic deck, or similar height deck, a shim will need to be attached to bottom of the
bench legs.
4. Set bench leg upside down and attach shim with self drilling screws to leg. Per diagram
C.
5. Repeat step 4 for second bench leg.
6. Hook first bench leg into side of dock rail at desired location and slide carriage bolts into
bracket. Finger tighten nuts at this time. Per diagram D
7. Repeat step 3 for second bench leg, leaving approximately 31” in between bench legs.
Per diagram E.
8. Once bench is in desired location put carriage bolt into raceway on the side of dock,
slide carriage bolt into bench bracket and install flange nut. Per diagram F.
9. Repeat step 5 for remaining 3 carriage bolts.
10. Set seat plank onto bench legs, slide plank over until 1 side is up against bench leg.
Position about 2” out from leg. Per diagram G.
11. Use 2 self tapping screws and attach to leg. Per diagram G-1.
12. Slide 2nd leg out to angle on seat plank and repeat step 8.
13. Take seat back and hold flush with top of bench leg, attach 1st side with 2 self tapping
screws. Per diagram H.
14. Repeat step 10 to attach 2nd side.
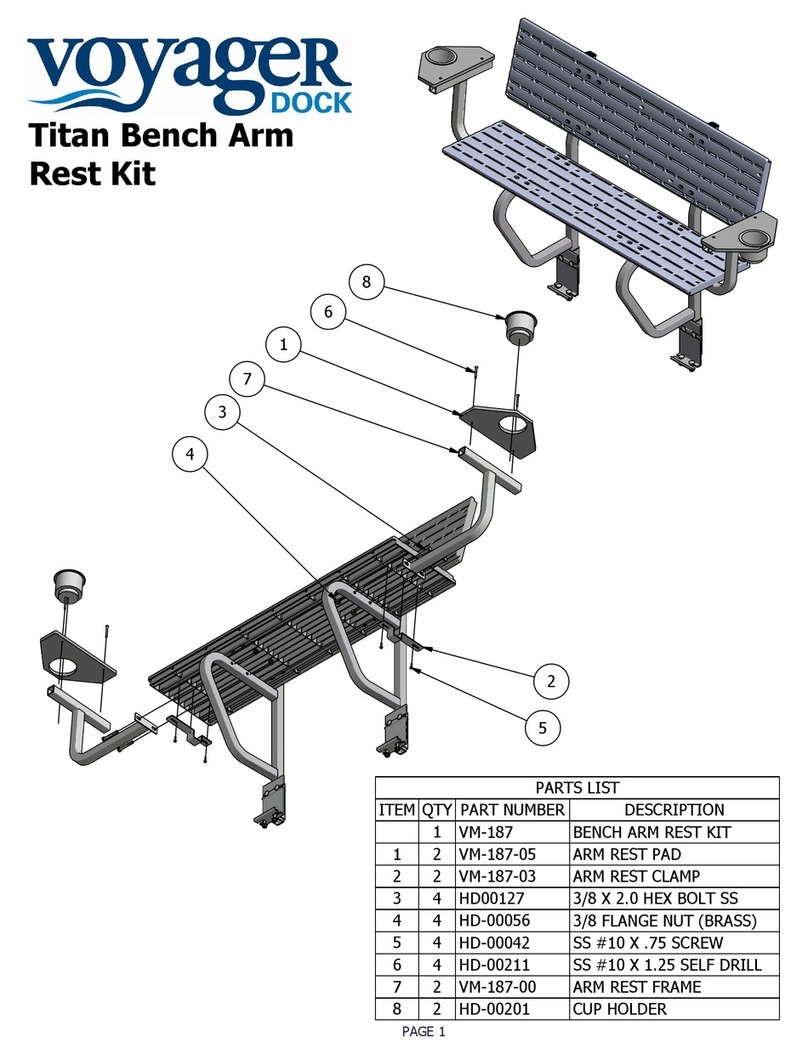
15. Install first armrest into tube on seat back and install ¼” x 1-3/4” hex bolt with acorn
nut. Per diagram I.
PAGE 4


