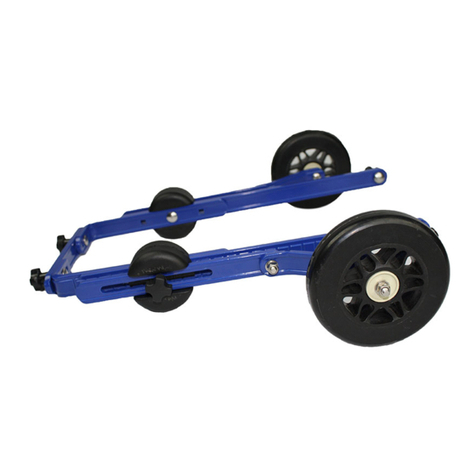
The knuckles come bonded together
for proper angle setting
1. Remove the rear clamps, leg rings, and front harness.
2. Remove adjustment knob and small washer from the knuckle.
3. Pull out the strut/wheel assembly.
4. Remove both sides of the black round knuckle.
5. Remove the two 8.5” side extenders and replace with the 11.5” side extenders in the front wheel kit.
6. Insert the bolt through the inside middle square hole on the frame and through the side extender square hole.
(Make sure the line indicators on the side extenders still face outward on each side.)
7. Reinstall the knuckle by placing half of it over the bolt. Make sure the arrow is pointing to front of the wheelchair,
teeth on the outside.
8. Attach outside half of knuckle making sure the arrow is pointing upwards, teeth on inside.
9. Insert the rear strut in knuckle at correct height for your dog.
10. Put on the flat washer and Screw on the adjustment knob and tighten.
NOTE: You won’t be using the front harness that came with the rear kit. Instead you will use the Leg Rings that
came with the front wheel kit for the front support.
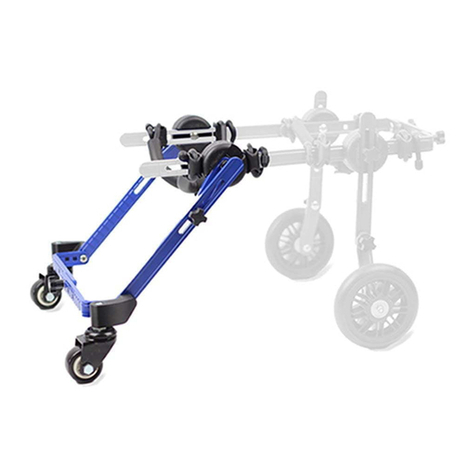
On top of the caster wheels you will see the letter ”R” or “L”. The “R” is for the dog’s right leg, and the “L” is for the
dog’s le leg.
Please watch instructional video here: hpets.net/mfwa
Diagram 1 (for B2)
2
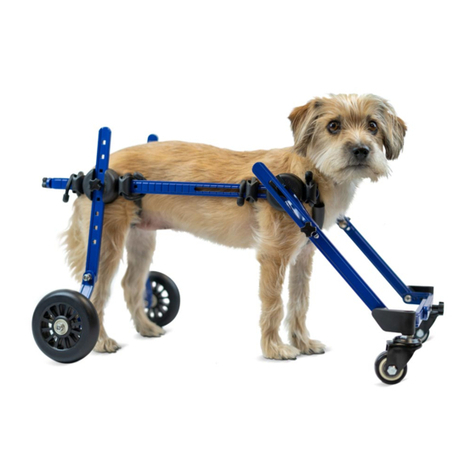
Installing the FRONT Wheels to the Frame (see Diagram 1)
1. Remove the adjustment knob and washer on the front knuckle, holding the bonded knuckle together in one
piece, remove bolt. Attach knuckle to the side extender over the slot approximately 3” from the front end.
The front knuckle is bonded together. This should insure the correct angle for caster mount and wheel.
(caster mount top should always be parallel to ground).
2. Insert bolt through the side extender and knuckle, then install the front wheel angle piece in the slanted slot,
add flat washer and adjustment knob, screw on tightly.
Note: you might need to move the outer strut down to get to the adjustment knob. (Continued on page 3)
Flat washer
Lock washer
Loosen to adjust
height on both sides
(Do not remove knob completely)
Right hand
strut assembly
Le hand
strut assembly
Adjustment
knob
Adjustment knob
Flat
washer
Knuckle
Knuckle
Carriage bolts
Carriage bolt
Preparing Your Rear Mini Wheels for Front Attachment
(This must be done secondly)
If purchasing a Quad Mini Wheelchair, start with instructions in rear box first
