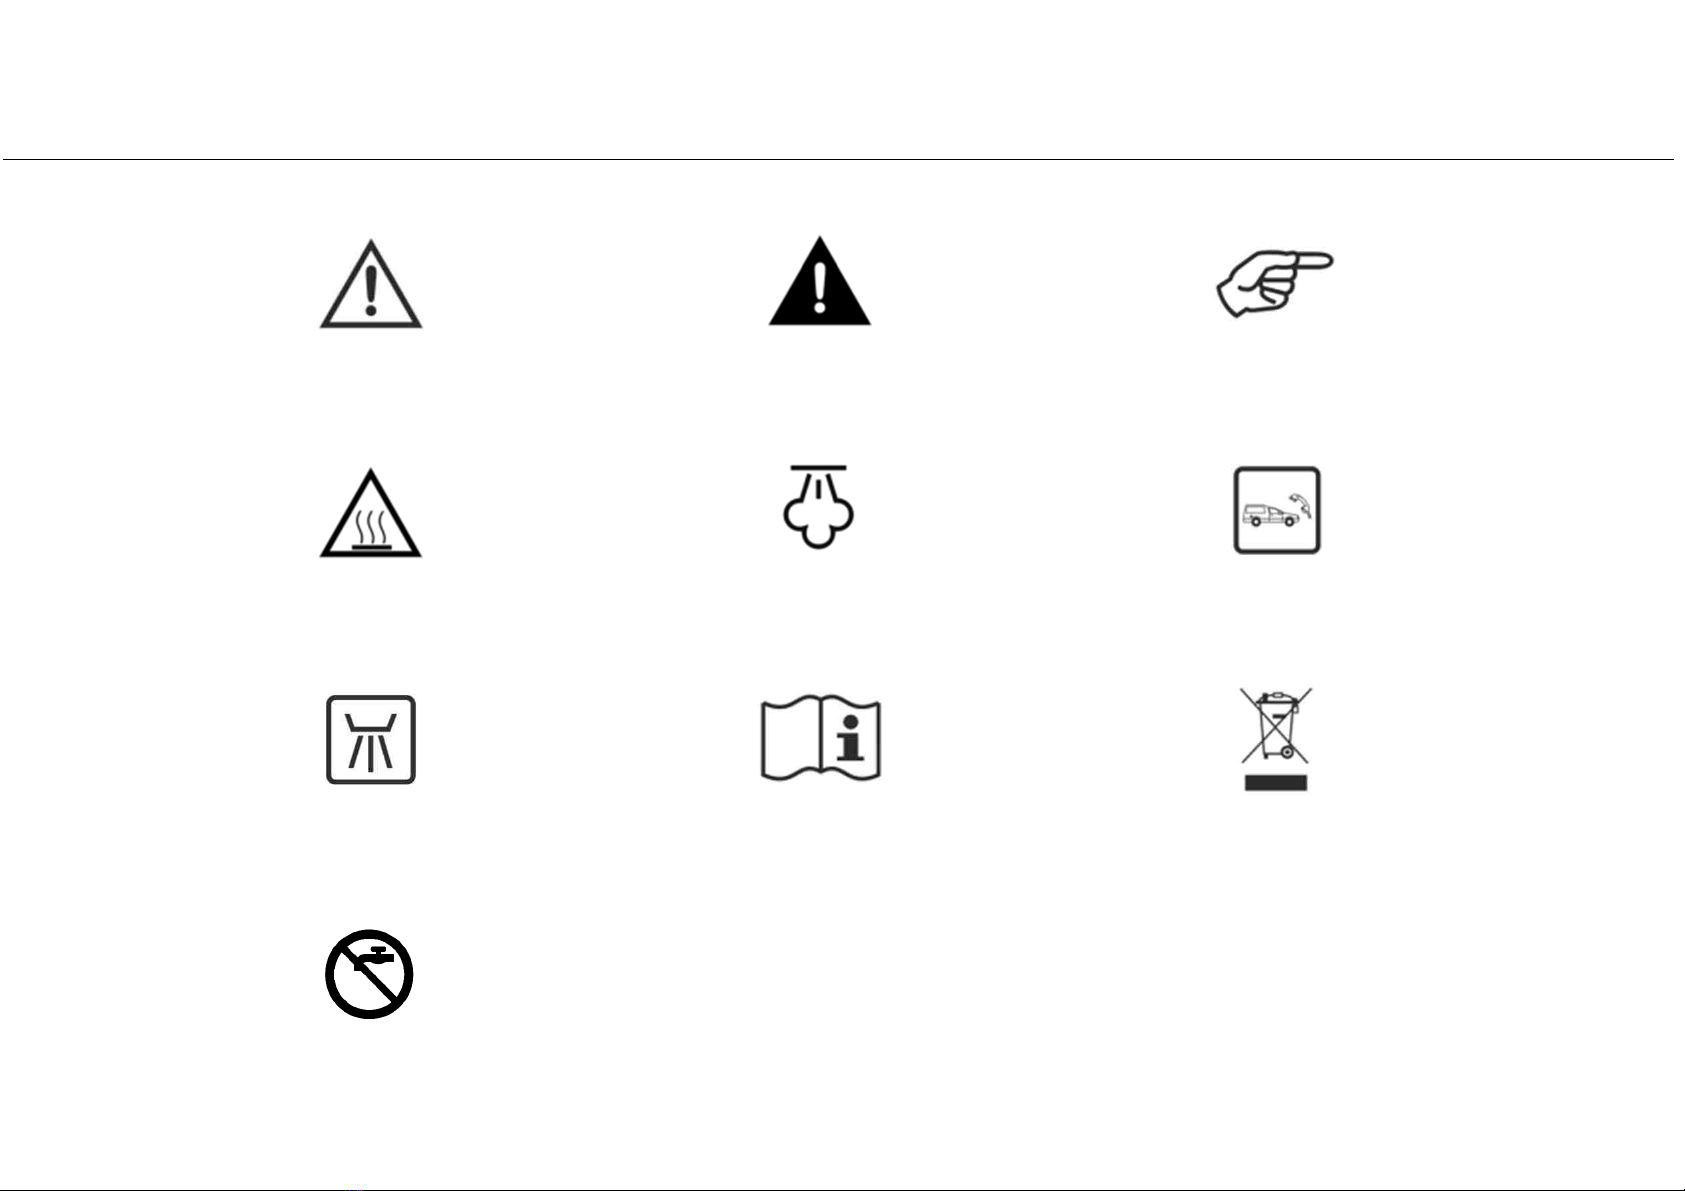
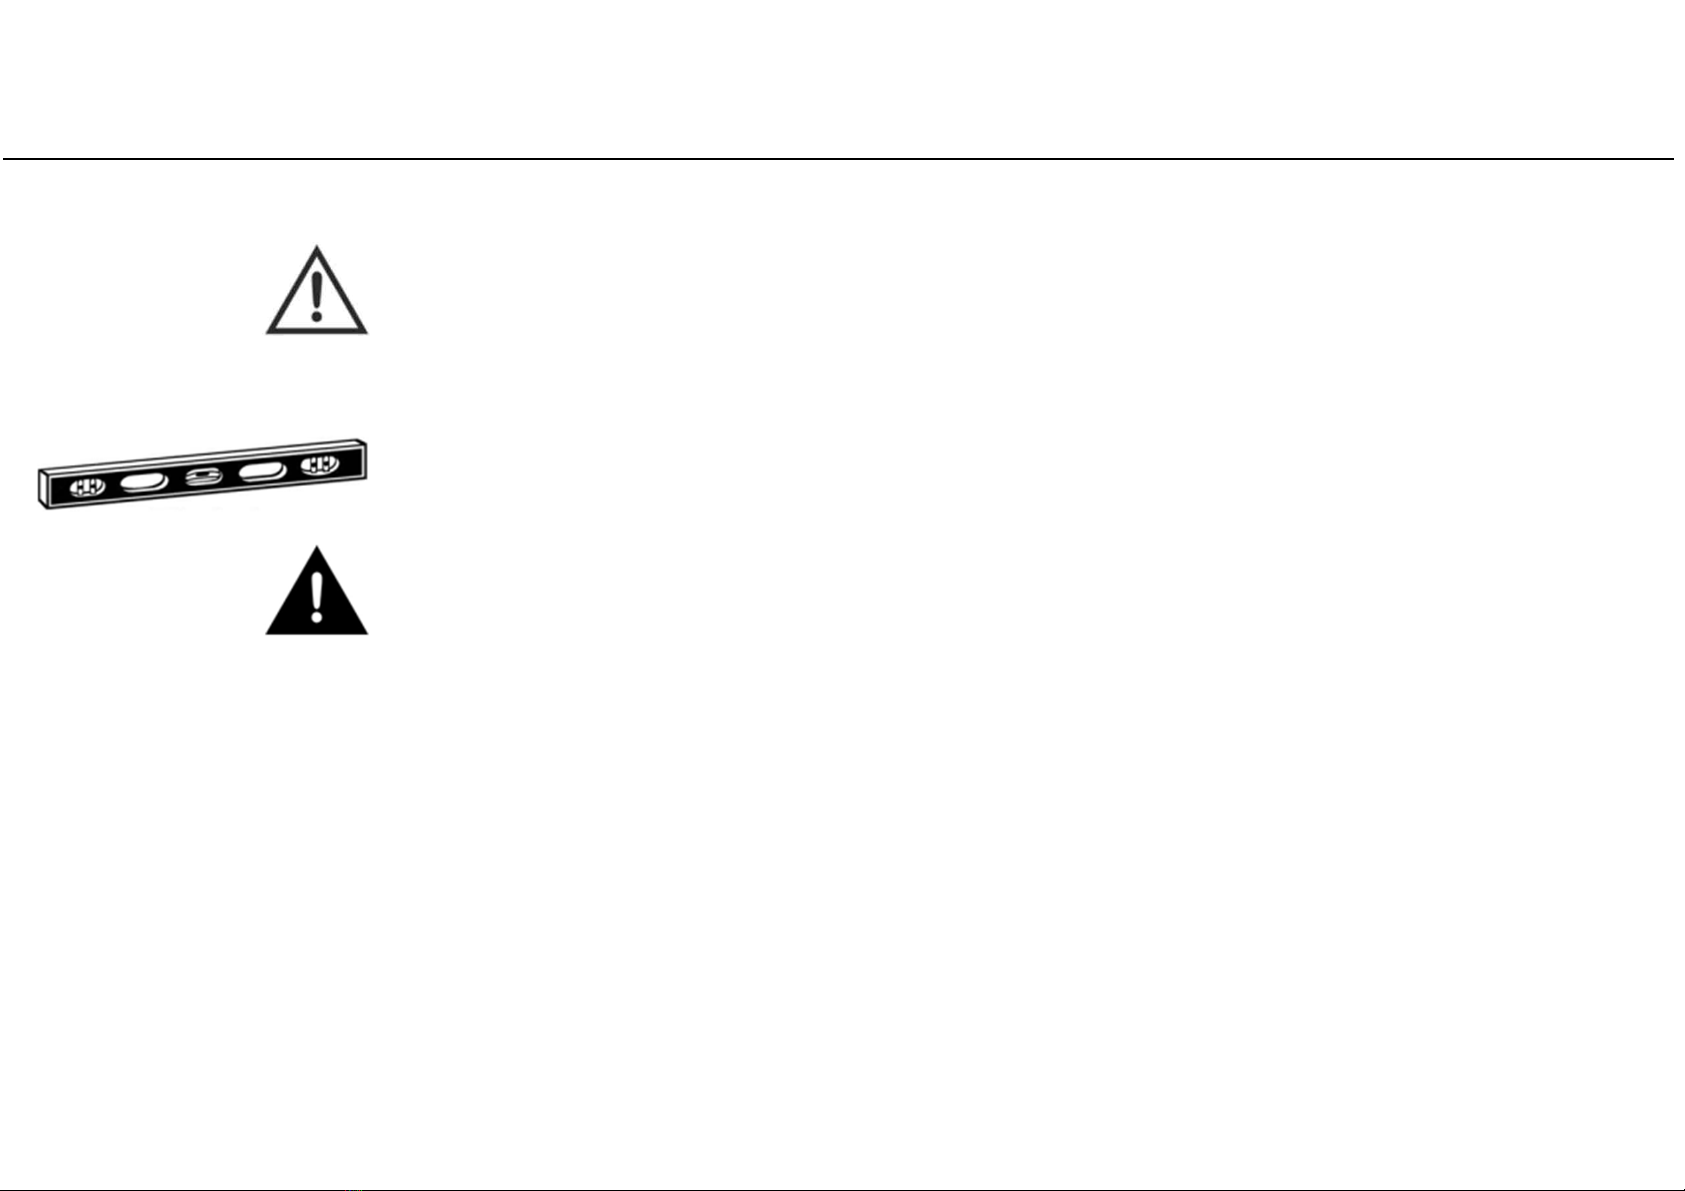
W&H MS User manual

Posizione logo
Instructions for use
MS - EN13060-ST55 - ENG - Rev 12

S mbols
2
S mbols displa ed on the product and/or used in this manual:
WARNING!
Risk of injur
ATTENTION!
To prevent damage occurring
HOT SURFACES!
Risk of burns
HOT STEAM!
Risk of burns
Thermo washer
disinfectable
Consult instruction for use
Do not use tap water
to fill the tank

Contents
3
1. Introduction . . . . . . . . . . . . . . . . . . . . . . . . . . . . . . . . . . . . . . . . . . . . . . . . . . . . . . . . . . . . . . . . . . . . . . . . . . . . . . . . . . . . . . . . . . . . . . . . . . . . . 4
2. Unpacking . . . . . . . . . . . . . . . . . . . . . . . . . . . . . . . . . . . . . . . . . . . . . . . . . . . . . . . . . . . . . . . . . . . . . . . . . . . . . . . . . . . . . . . . . . . . . . . . . . . . . . . 6
3. Safet advice . . . . . . . . . . . . . . . . . . . . . . . . . . . . . . . . . . . . . . . . . . . . . . . . . . . . . . . . . . . . . . . . . . . . . . . . . . . . . . . . . . . . . . . . . . . . . . . . . . . . 8
4. Installation and start-up . . . . . . . . . . . . . . . . . . . . . . . . . . . . . . . . . . . . . . . . . . . . . . . . . . . . . . . . . . . . . . . . . . . . . . . . . . . . . . . . . . . . . . . . . . 9
5. Programming . . . . . . . . . . . . . . . . . . . . . . . . . . . . . . . . . . . . . . . . . . . . . . . . . . . . . . . . . . . . . . . . . . . . . . . . . . . . . . . . . . . . . . . . . . . . . . . . . . . . 18
6. Running a sterilization c cle . . . . . . . . . . . . . . . . . . . . . . . . . . . . . . . . . . . . . . . . . . . . . . . . . . . . . . . . . . . . . . . . . . . . . . . . . . . . . . . . . . . . . 25
7. Maintenance . . . . . . . . . . . . . . . . . . . . . . . . . . . . . . . . . . . . . . . . . . . . . . . . . . . . . . . . . . . . . . . . . . . . . . . . . . . . . . . . . . . . . . . . . . . . . . . . . . . . 38
8. Troubleshooting, alarms and messages . . . . . . . . . . . . . . . . . . . . . . . . . . . . . . . . . . . . . . . . . . . . . . . . . . . . . . . . . . . . . . . . . . . . . . . . . . . 47
9. Rec cling and disposal . . . . . . . . . . . . . . . . . . . . . . . . . . . . . . . . . . . . . . . . . . . . . . . . . . . . . . . . . . . . . . . . . . . . . . . . . . . . . . . . . . . . . . . . . . 55
ANNEXES
1 Technical data . . . . . . . . . . . . . . . . . . . . . . . . . . . . . . . . . . . . . . . . . . . . . . . . . . . . . . . . . . . . . . . . . . . . . . . . . . . . . . . . . . . . . . . . . . . . . . . . . . . 56
2 Maintenance of dental instruments . . . . . . . . . . . . . . . . . . . . . . . . . . . . . . . . . . . . . . . . . . . . . . . . . . . . . . . . . . . . . . . . . . . . . . . . . . . . . . . 57
3 Sterilization load preparation . . . . . . . . . . . . . . . . . . . . . . . . . . . . . . . . . . . . . . . . . . . . . . . . . . . . . . . . . . . . . . . . . . . . . . . . . . . . . . . . . . . . . 58
4 Water qualit . . . . . . . . . . . . . . . . . . . . . . . . . . . . . . . . . . . . . . . . . . . . . . . . . . . . . . . . . . . . . . . . . . . . . . . . . . . . . . . . . . . . . . . . . . . . . . . . . . . . 60
5 Example of a c cle data report . . . . . . . . . . . . . . . . . . . . . . . . . . . . . . . . . . . . . . . . . . . . . . . . . . . . . . . . . . . . . . . . . . . . . . . . . . . . . . . . . . . . 61
6 Accessories and spare parts . . . . . . . . . . . . . . . . . . . . . . . . . . . . . . . . . . . . . . . . . . . . . . . . . . . . . . . . . . . . . . . . . . . . . . . . . . . . . . . . . . . . . . 62
7. W&H Installation check-list for sterilizers . . . . . . . . . . . . . . . . . . . . . . . . . . . . . . . . . . . . . . . . . . . . . . . . . . . . . . . . . . . . . . . . . . . . . . . . . . 67

1. Introduction
For our safet and the safet of our patients
The purpose of this manual is to provide ou with information about MS sterilizers to ensure:
•proper installation and set-up;
•optimal use;
•safe and reliable operation;
•compliance with regular maintenance and servicing requirements.
4
Intended use of the product
Small steam sterilizers are widel used for medical purposes, e.g. in general medical practices, dentistr , facilities for personal
h giene and beaut care and also veterinar practices. The are also used for materials and equipment, which are likel to come into
contact with blood or bod fluids, e.g. implements used b beaut therapists, tattooists, bod piercers and hairdressers.
The devices is intended for professional use onl b trained people.
About this manual
All drawings, images and texts contained in this manual are the propert of the manufacturer.
All rights reserved. Even partial duplication of drawings, images or text is prohibited.
The information contained in this document is subject to change without prior notice.
Responsibilit of the manufacturer
The manufacturer can onl accept responsibilit for the safet , reliabilit and performance of the product when the
product itself is installed, used and serviced in accordance with these instructions for use.
Servicing b unauthorized persons invalidates all claims under warrant and an other claims.
Please carefull read the safet information in Chapter 3!

5
Introduction
ANSI/AAMI ST55: Table-top steam sterilizers.
Qualifications of the users
There are two t pes of users who ma operate the sterilizer:
- The Users are the persons who use the sterilizer according to the ADVANCED USER’s instructions. The must be trained in
operating the sterilizer and in its safe use. Training must be regular and evidence of the understanding shall be recorded.
- The Advanced user is the head of the clinic/practice, who is legall responsible for the efficienc of the h giene protocol in
place as well as the sterilization process. He/she is also responsible for the USERS’ training and the correct operation and
maintenance of the equipment.
Conformit to European Standards and Directives
Medical Device Directive 93/42/EEC for devices class IIb, in accordance with the Rule 15 – ANNEX IX of the Directive.
Directive PED 2014/68/EU (Pressure Equipment Directive) for ever sterilization chamber designed and manufactured in
conformit to the ANNEX 1 and to the procedure described in the module D1 Annex III.
Directive 2012/19/EU (WEEE) for disposal of parts coming from electrical or electronic products.
See the Declaration of Conformit and the Warrant Card in the enclosed documents.
IEC 61010-2-40: Safet requirements for electrical equipment for measurement, control and laborator use; particular
requirements for sterilizers and washer-disinfectors used to treat medical materials.
IEC 61326-1: electrical equipment for measurement, control and laborator use; EMC requirements, general requirements.
IEC 61010-1: Safet requirements for electrical equipment for measurement, control and laborator use, general
requirements

2. Unpacking
If the sterilizer comes from a cold location, wait until all external and internal surfaces
are free from moisture before switching it ON.
The sterilizer must be removed from the box and transported b two people.
The sterilizer must be removed from the box and transported using the specific straps
and also using PPE devices (personal protective equipment) according to applicable
standards.
Weight: 38 kg
Check the external conditions of the box and the sterilizer. In case of an damage,
immediatel contact our dealer or the shipping agent that has carried out the
transport.
6
To unpack the sterilizer:
1) Open the four locks with our finger and remove them;
2) Lift the cardboard top box;
3) Remove the sterilizer from the basement using the belt provided.
All accessories are in the sterilization chamber.
Open the front door.
Remove all items except the tra s and the tra rack.
The packaging of the product is environmentall friendl and can be
disposed of b industrial rec cling companies.
However, we recommend to keep the original packaging should ou
ever have to ship or transport the sterilizer.

Contents of the package
Tra (3 pieces total)
Fast guide
Declaration of conformit
Warrant card
Works tests report
7
Mains cable
Funnel
Wall spacer
Tube for drain connection
Reversible rack
Tra holder
Drain tube
USB pen Drive loaded with
Instructions for use

3. Safet advice
8
•The product is intended for indoor use onl .
•Keep the user manual for further consultation.
•The user is responsible for the proper installation, the correct use and maintenance of the sterilizer in accordance with the instructions listed
in this manual.
•The safet devices of the sterilizer are impaired when the product itself is not installed, used and serviced in accordance with the instructions
provided b the manufacturer..
•The sterilizer has not been designed for the sterilization of liquids, foodstuff or waste.
•The sterilizer must not be used in presence of explosive or flammable gases, vapours, liquids or solids.
•The chamber is automaticall heated up to high temperature as soon as the sterilizer is switched on – risk of burns!
•Ensure that the socket the mains cable is connected to is properl grounded.
•The tra s and the sterilization load will be hot at the end of each c cle. Use tra or cassette holders to empt the sterilization chamber.
•Do not drink an water coming from the sterilizer.
•Do not exceed the maximum load weight limits as specified in this manual (see Chapter 6).
•Do not remove the name plate or an label from the sterilizer.
•To avoid electrical short circuits, do not pour water or an other liquids over the sterilizer.
•Use onl the power cord set provided b the manufacturer. Plug into a wall socket with an effective ground connection.
•Switch off the sterilizer and unplug the mains cable before inspecting, carr ing out maintenance or servicing the sterilizer.
•The low-voltage outlet in the rear of the sterilizer is for the connection of specific accessories onl : do not connect an device other than
those specificall supplied b the manufacturer.
•All electric devices connected to the sterilizer shall be of Insulation Class II (double insulated) or higher.
•Repairs, maintenance or service must be carried out b service technicians authorized b the manufacturer and using genuine spare parts
onl .
•During an repairs, maintenance or transport, ward off unauthorized personnel from the working area.
•In case of transport:
–Completel drain both water tanks (see section “Water Tanks” in Chapter 4 of the Instructions for use).
–Allow the sterilization chamber to cool down.
–Use original or appropriate packaging.

9
4. Installation and start-up
9
Required minimum clearances
Back side: 50 mm
Right and left sides: 10 mm
Upper side: As required for filling the water tank, 50 mm minimum
Placement
Place the sterilizer on a flat and level surface, far from sources of heat and from flammable materials.
Do not place the sterilizer so that it is difficult to open the service door and operate on the controls in it.
Do not place the sterilizer so that it is difficult to disconnect the power suppl plug.
Place the sterilizer in a well ventilated room.
If installed in a cabinet, this shall be provided with an opening of at least 200x150 mm on the rear side.
The sterilizer must not be operated in presence of explosive atmospheres.
Alwa s wear personal protective equipment.

10
Electrical connection
The electrical power suppl to the sterilizer must fulfil all applicable standards in the countr of use,
and must compl with the data label on the back of the sterilizer.
Use onl the cord set provided b the manufacturer.
Connect the cord set to the socket provided in the back of the sterilizer.
Do not use cable extensions nor multiple sockets/adapters
Connect the mains cable to a wall socket with the following characteristics:
•Single - phase 200 - 240 V, 50/60 Hz - 10A, on a dedicated circuit;
•Overvoltage categor = II;
•Protected b a suitable circuit breaker and a residual-current device. All protection devices must be
certified according to applicable standards;
•Maximum current absorbed b the sterilizer: 10A;
•A grounded connection is essential.

Water tanks
Filling the clean water tank
•Switch the sterilizer ON
•Slide the tank cover to the right to access the clean water tank inlet.
•Remove the cap from the tank inlet;
•Insert the funnel and fill the water tank with app. 3.5 litres of distilled or demineralized water;
•Once the clean water tank is almost full, an audible tone will sound; stop filling;
•Place the cap to close the tank;
•Slide the tank cover back into its original position.
11
Draining the used and clean water tank
•Open the service door at the front of the sterilizer.
•Put a container (4 litres min) below the sterilizer and insert into it the free end of the drain tube.
•Insert the drain tube into the right connector (gre ) for the used water, or into the left connector
(blue) for the clean water.
•Let the water flow from the tank completel .
•Press the push-button on top of the quick connector to dislodge the drain tube.
Do not use tap water to fill the clean water tank
Use onl distilled or demineralized water as described in ANNEX 4.
Do not add an chemical / additive to the water.
Clean water drain (blue)
Used water drain (gre )

Chamber furniture
12
Chamber rack
Insert the rack into the sterilizer chamber, align it at the center/bottom of the chamber and push it gentl
into position until it clicks.
The chamber rack is reversible and can accommodate 5 tra s horizontall or 3 cassettes verticall .
If inserted in a 90° degree rotated position, the rack holds 3 tra s or 3 cassettes horizontall .
Usable space in the chamber
195 x 195 x 390mm (WxHxD); equal to the volume of 15 litres.
The chamber furniture consists of the tra s, the tra rack and the steam diffuser plate.
Before touching the chamber furniture, ensure the sterilization chamber
is cold: risk of burns!
Sterilit at the end of the c cle is not guaranteed if the steam diffuser plate was not correctl placed.
To hook the steam diffuser plate, slide it into the chamber until it gets engaged into the end hooks.
To remove the steam diffuser plate, press it in the center of the end edge (1) and slide it outwards (2).
Steam diffuser plate
Ensure that the steam diffuser plate is firml hooked in its position before starting a
sterilization c cle. An improper positioning of the steam diffuser plate could result in bad
steam qualit and could impair the sterilization process, with risk of non sterile load and
cross infection.

13
Controls, commands, connections
Service door
Mains switch
Bacteriological filter
Used water drain (gre )
Clean water drain (blue)
USB port (optional)
See notes below
Identification
label
Front view
Keep the USB pen drive provided plugged into the USB port, so that all
sterilization c cle reports will be saved in it.
To prevent data loss or corruption, periodicall cop the whole data in
the USB pen drive to a computer or to another safe support.
Displa
Water tank cover
Tank filling cover - cap
Door pin
Sterilization chamber
Door seal
Chamber door
Dust filter
Service door
Control panel

Controls and commands
14
Rear view
Condenser grid
Mains cable guide
Mains plug socket
Serial communication port
Accessor
power socket
Pressure safet valve cover
Detail of the h draulic connections (optional)
Water suppl inlet
Used water drain
The water suppl s stem must deliver demineralized water meeting the
requirements as listed in ANNEX 4.
Do not add an chemical / additive to the water.
The manufacturer’s warrant is void if the sterilizer was used with water
containing either chemical additives, or contaminant levels exceeding
those listed in ANNEX 4.
The water suppl s stem must be fitted with a backflow preventing
device compl ing to IEC 61770 and to national and local regulations.
The maintenance of the external water filling s stem must be done in
exact accordance with the information of the instructions for use given
with the relevant s stem.
All the cables and tubes connected on the rear side of the sterilizer must
be placed far from the condenser grid (e.g. using the available guides).

Controls and commands
15
Switching ON the sterilizer
Press the mains switch behind the service door to switch ON the sterilizer.
The visual indicator on the mains switch turns green and the START screen (see next page) appears.
“SLEEP” mode
If the sterilizer is not used for 12 hours, (the time interval can be changed, see Chapter 5 - Programming) it
will automaticall switch to “SLEEP” mode.
In “SLEEP” mode the displa remains dark and the sterilizer chamber is no longer heated to save energ .
Exit from “SLEEP” mode through an of the following actions:
- Press an button on the control panel;
- Open or (if it is open)close the chamber door.
It is also possible to put the sterilizer into “SLEEP” mode manuall :
On the START screen, press the BACK button.
A 10 second countdown will commence. At the end of the countdown the sterilizer will enter the
“SLEEP” mode.
The countdown can be stopped at an time b pressing the BACK button.

Displa and icons
16
Third and fourth lines
Show additional information about the active option/action.
Warning, tank and printer icons
The cursor (>) preceding an icon means
that an information message is to be read.
“Padlock” icon
The cursor (>) preceding this icon
informs that the door is safel locked.
Second line
Shows the active option/action (preceded b the cursor >).
B pressing OK, the active option/action will be selected/executed.
Pressing UP or DOWN changes the active option/action.
First line
Shows the title/purpose of the current page and invites ou to take an action (e.g. select a c cle).

Icons
Tank warning
The clean water tank needs to be filled, or the used water tank has to be drained, or a message about the water
qualit is present.
General warning
One or more messages require our attention, or an action is required (e.g. maintenance).
Printer
An external device (printer, PC, etc.) is not working properl , or is OFF, or is disconnected from the sterilizer.
17
Door locked
The door is locked. During a sterilization c cle this does not indicate an anomal .
If one or more icons of the displa are preceded b the cursor, please take the actions as outlined below:
If an icon is preceded b the cursor, this means that an information message is present in the MESSAGES menu.
Follow the instructions provided in Chapter 8 to read the relevant messages.

Control buttons
18
UP button
Moves to the upper item in the list.
Increases a number or a parameter.
BACK button
Aborts the action/function.
Moves to the previous screen
without confirming/making an
changes nor saving an parameters.
DOWN button
Moves to the lower item in the list.
Reduces/decreases a number or a parameter.
The control panel shows four buttons:
OK button (confirmation button)
Confirms the active option.
Confirms a number or a date.
Saves a configuration or a parameter.

19
5. Programming
Initial setup
Before using the sterilizer please program important parameters such as date, time, language, displa backlight and contrast.
This is done b means of the SETUP functions.
Menu
Confirm (OK) the MENU option to access all sub-menus and navigate through
sub-menus with the UP and DOWN buttons.
See the following pages for a complete description of the options available and
how to use them.
Setup
Scroll (DOWN) to SETUP and confirm (OK) to access and set the main parameters
of the sterilizer.
See the following pages for a complete description of the parameters ou can set
and how to do it.
Start screen and menu options
When the sterilizer is switched ON, or when exiting from SLEEP mode, the default
c cle program is displa ed, preceded b the cursor.
B pressing DOWN the other available c cle programs are displa ed.
Continuousl press DOWN until the MENU option appears.

20
Table 1: list of the MENU options
MENU SUB-MENU WHAT IT DOES
(continues
on next
page)
-Displa s pending messages. Refer to Chapter 8 for a detailed list of messages.
Select a previousl recorded c cle. Press OK and then scroll the list of the recorded c cles with
UP /DOWN. Press OK to select the c cle to be viewed or printed.
Displa s the selected c cle. Press UP/DOWN to scroll the c cle report.
(*) Prints the selected c cle. Press OK and scroll UP and DOWN to change the number of copies to
be printed. Once the value is displa ed, press OK to print.
(*) Prints traceabilit labels for the selected c cle. Press OK and scroll UP and DOWN to change the
number of copies to be printed. Once the value is displa ed, press OK to print.
(*) Saves a c cle data file on a memor storage device (memor card or PC).
Displa s all the alarms that have occurred during sterilization c cles.
(*) Prints all the alarms that have occurred of the sterilization c cles stored in memor .
Sets important parameters of the sterilizer such as date, time, language, etc.
Confirm (OK) to access all available options. Refer to TABLE 2 for a detailed list of options and related programming.
(*) Enables the automatic water feed Press UP/DOWN to scroll the YES/NO options,
then press OK to enable/disable the function
(warning), or BACK to exit without saving.
(*) Enables water qualit warnings based
on the external/internal sensor
(*)
Allows the user to change the current user level. Access to advanced level or service level is
password-protected.
See “How to log in as an advanced user” in the following pages.
Allows the user to enter the activation code in order to enable some optional features.
(*) available/effective onl if an endorsed device (printer, logger, PC, water suppl , etc.) is connected and enabled in the SETUP menu.
Table of contents
Other W&H Laboratory Equipment manuals
Popular Laboratory Equipment manuals by other brands

IAI
IAI SW-4000T-10GE user manual

THORLABS
THORLABS MFF101 user guide

Thermo Scientific
Thermo Scientific Orion Versa Star instruction sheet

Waters
Waters Vion IMS QTof Overview and maintenance guide

Labnet
Labnet Orbit S2030-LS-B instruction manual

Thermo Scientific
Thermo Scientific Orbitrap Fusion Lumos MS Getting connected guide