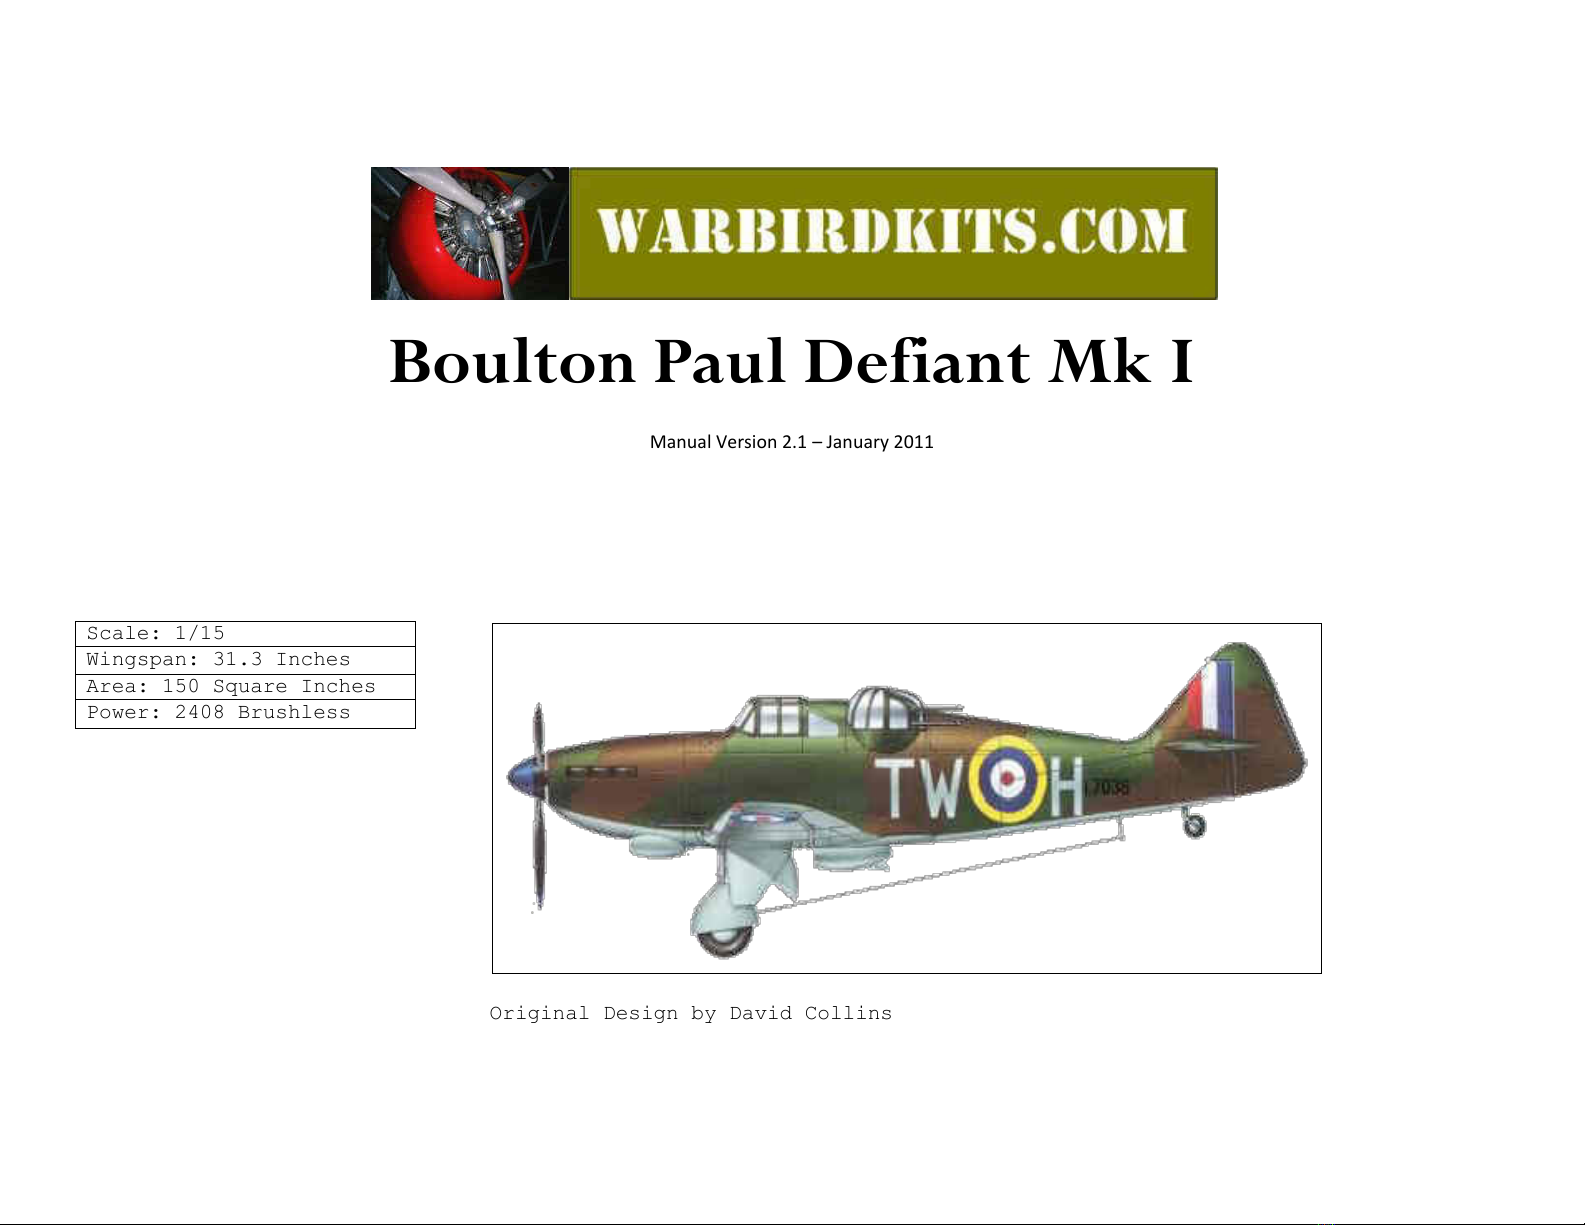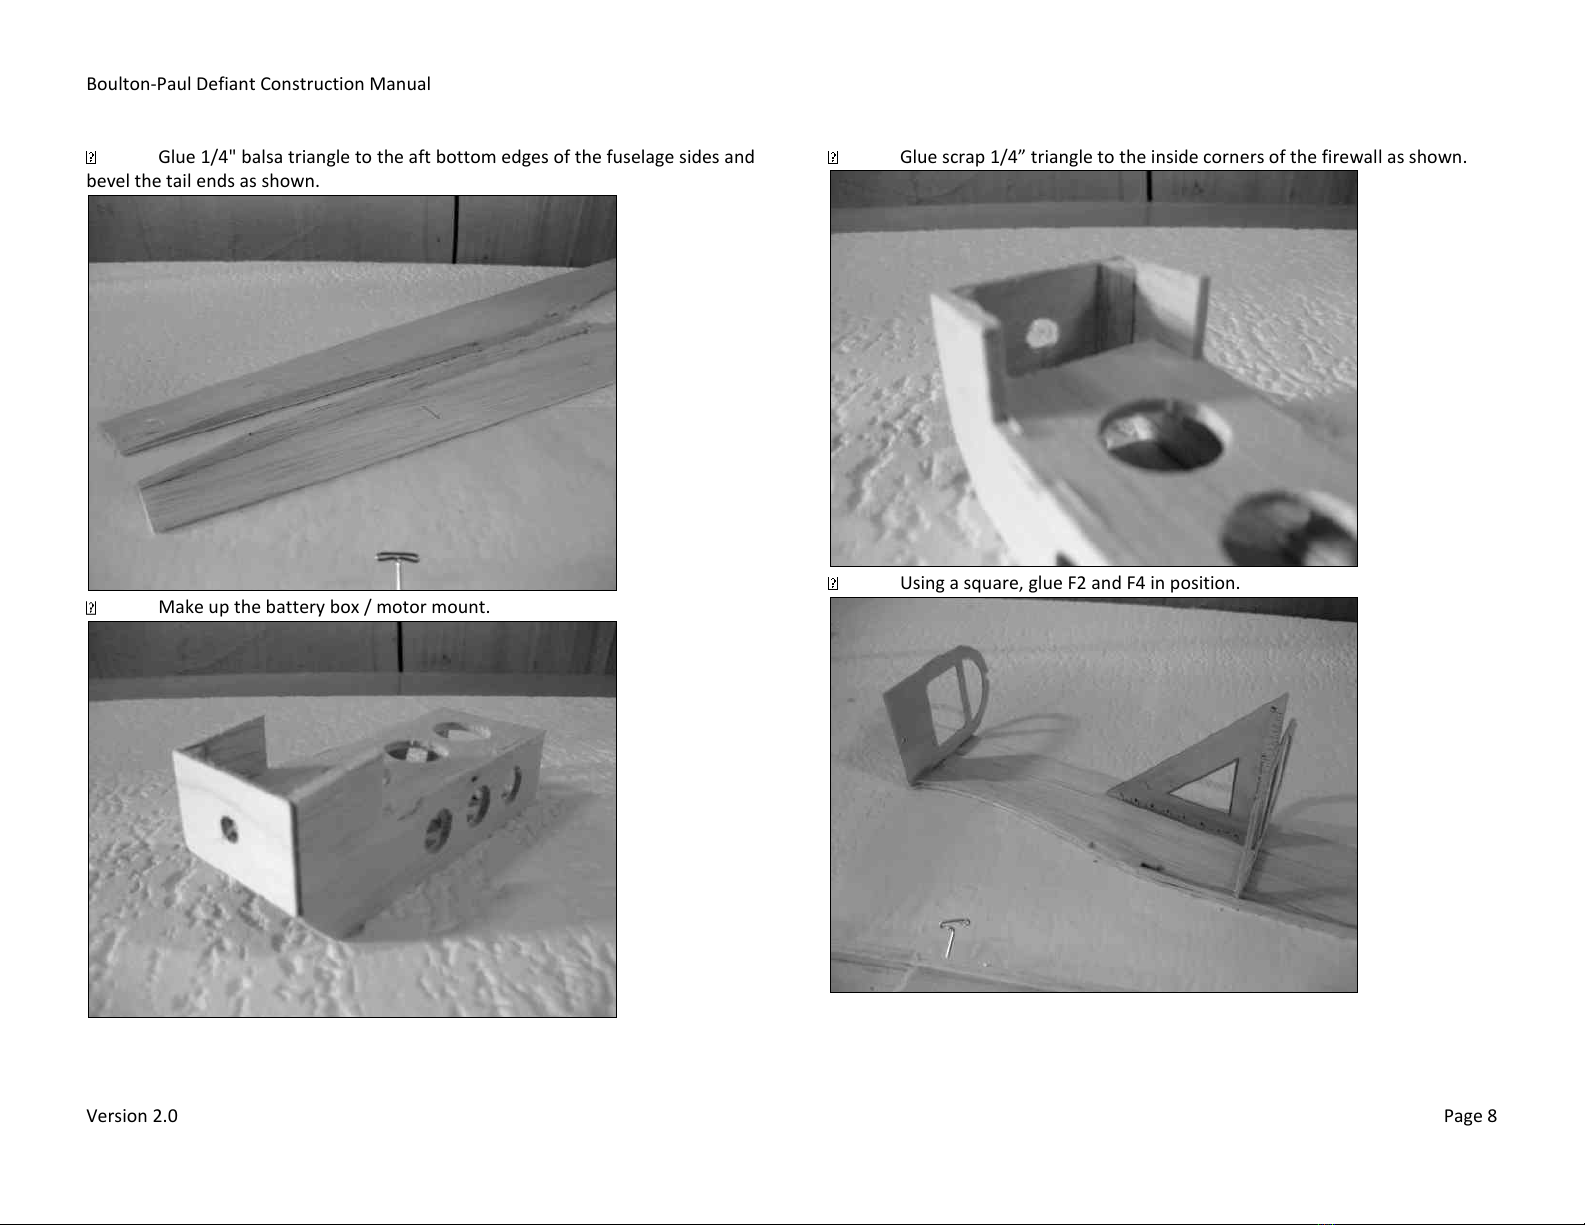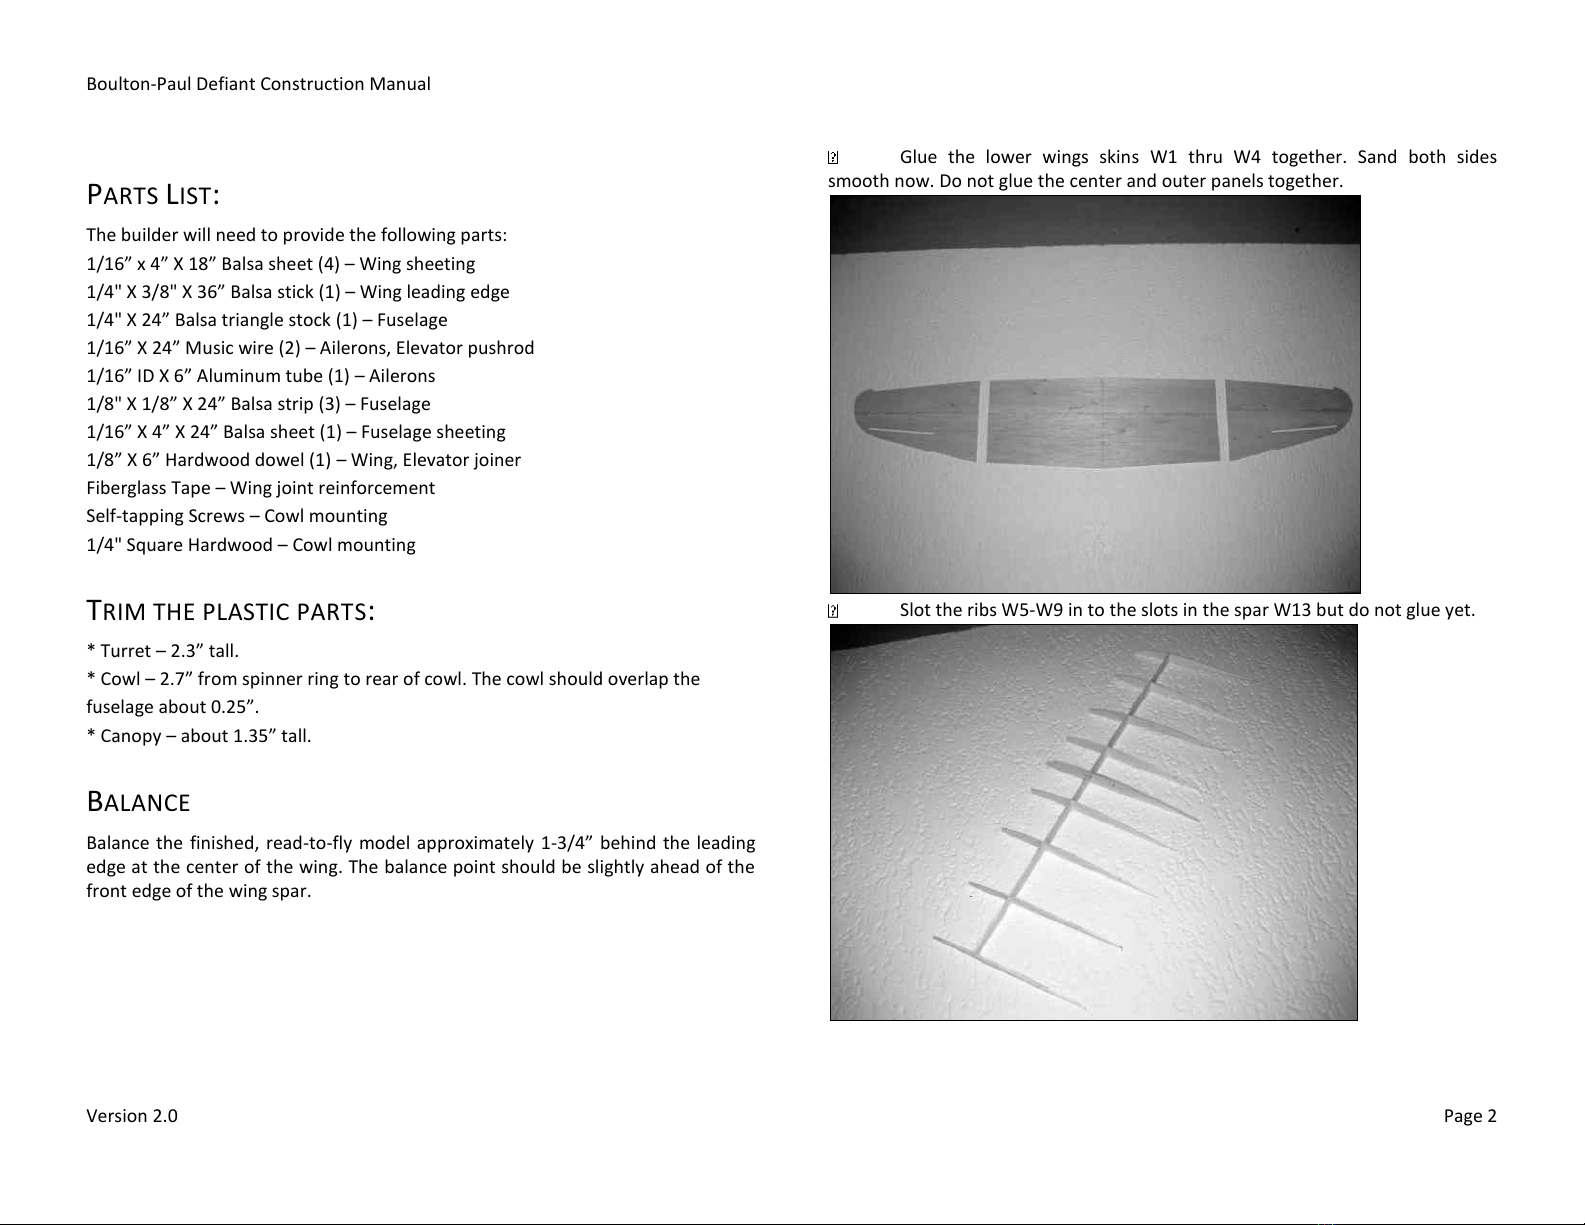
Boulton-Paul Defiant Construction Manual
Version 2.0 Page 2
PARTS LIST:
The builder will need to provide the following parts:
/” ” X ” Balsa sheet – Wing sheeting
/" X /" X ” Balsa stick (1) –Wing leading edge
/" X ” Balsa tiagle stok – Fuselage
/” X ” Musi ie – Ailerons, Elevator pushrod
/” ID X ” Aluiu tue – Ailerons
/" X /” X ” Balsa stip – Fuselage
/” X ” X ” Balsa sheet (1) –Fuselage sheeting
/” X ” Hadood doel – Wing, Elevator joiner
Fiberglass Tape –Wing joint reinforcement
Self-tapping Screws –Cowl mounting
1/4" Square Hardwood –Cowl mounting
TRIM THE PLASTIC PARTS:
* Turret –.” tall.
* Cowl –.” fom spinner ring to rear of cowl. The cowl should overlap the
fuselage aout .”.
* Canopy –aout .” tall.
BALANCE
Balance the finished, read-to-fly model approximately 1-/” ehid the leadig
edge at the center of the wing. The balance point should be slightly ahead of the
front edge of the wing spar.
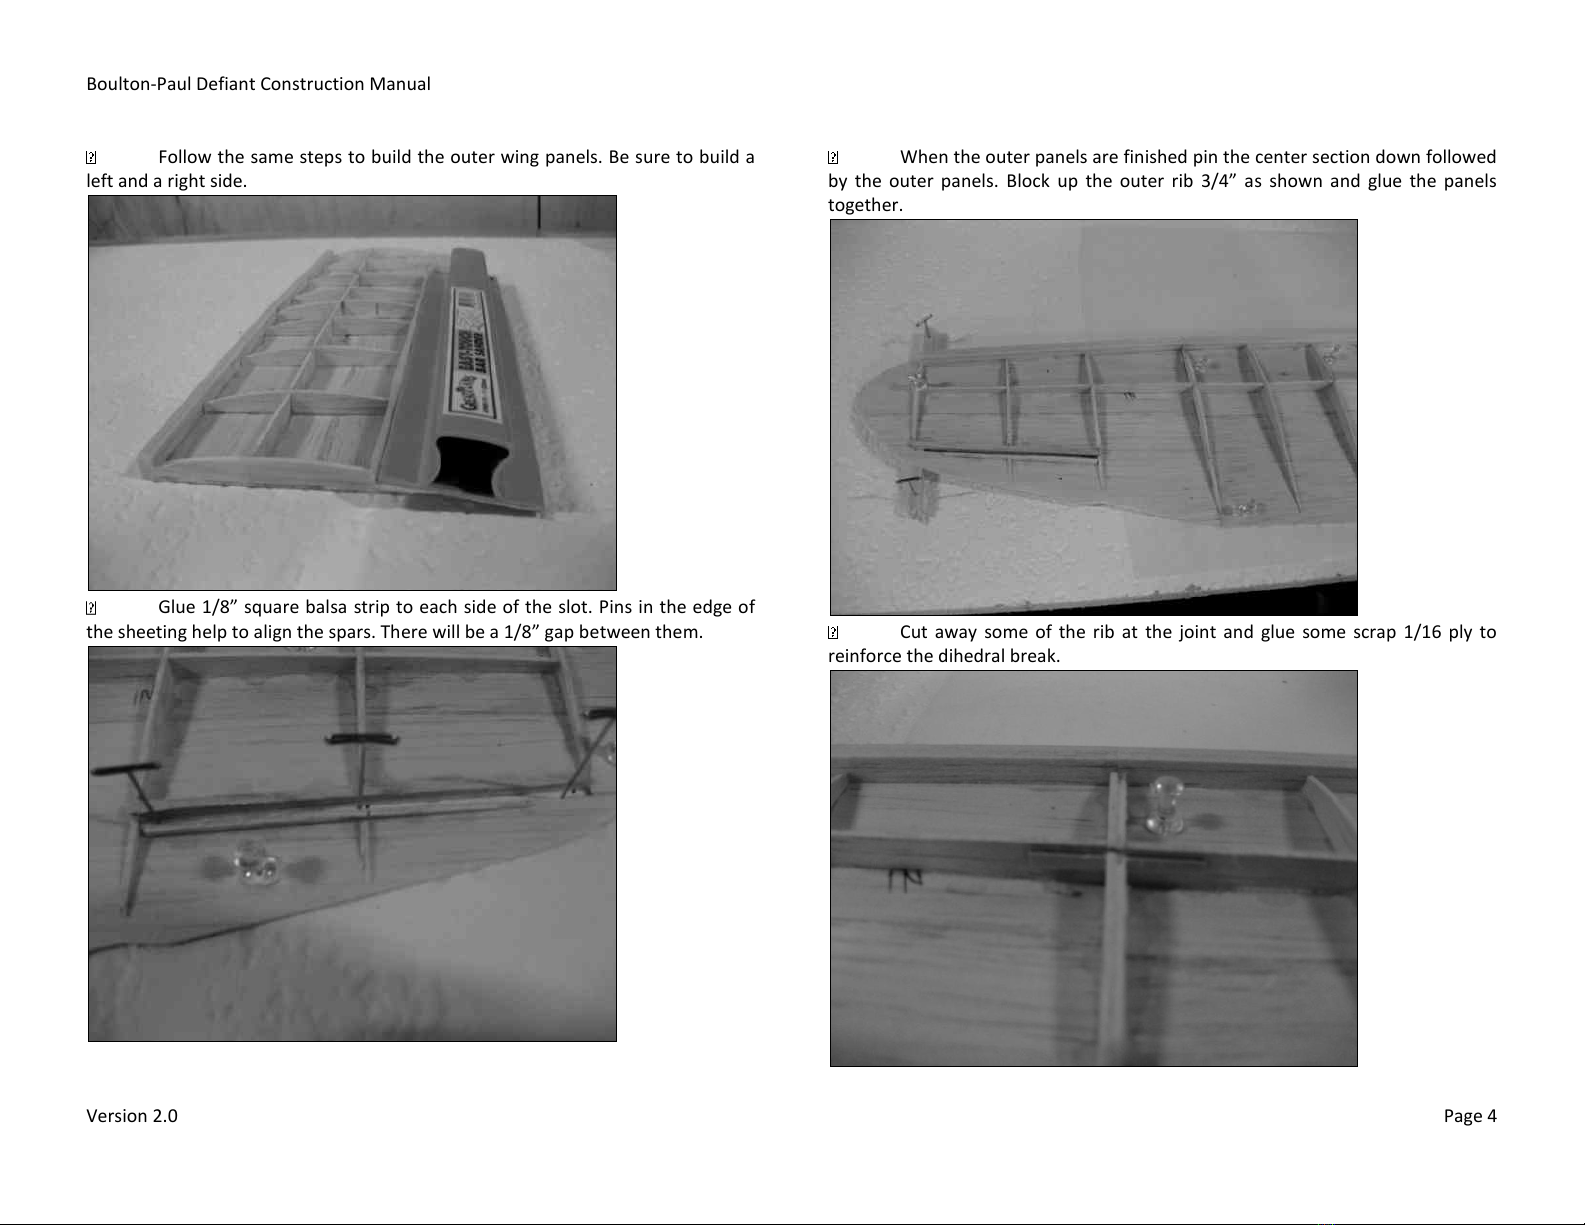
Glue the lower wings skins W1 thru W4 together. Sand both sides
smooth now. Do not glue the center and outer panels together.
Slot the ribs W5-W9 in to the slots in the spar W13 but do not glue yet.