Assembly Manual for T-34A/B
Copyright 2008 Thomas A. Jacoby and WarbirdKits.com 2
Materials
This kit contains the following materials:
This manual (via download)
Plan sheet
Laser-cut wood pack
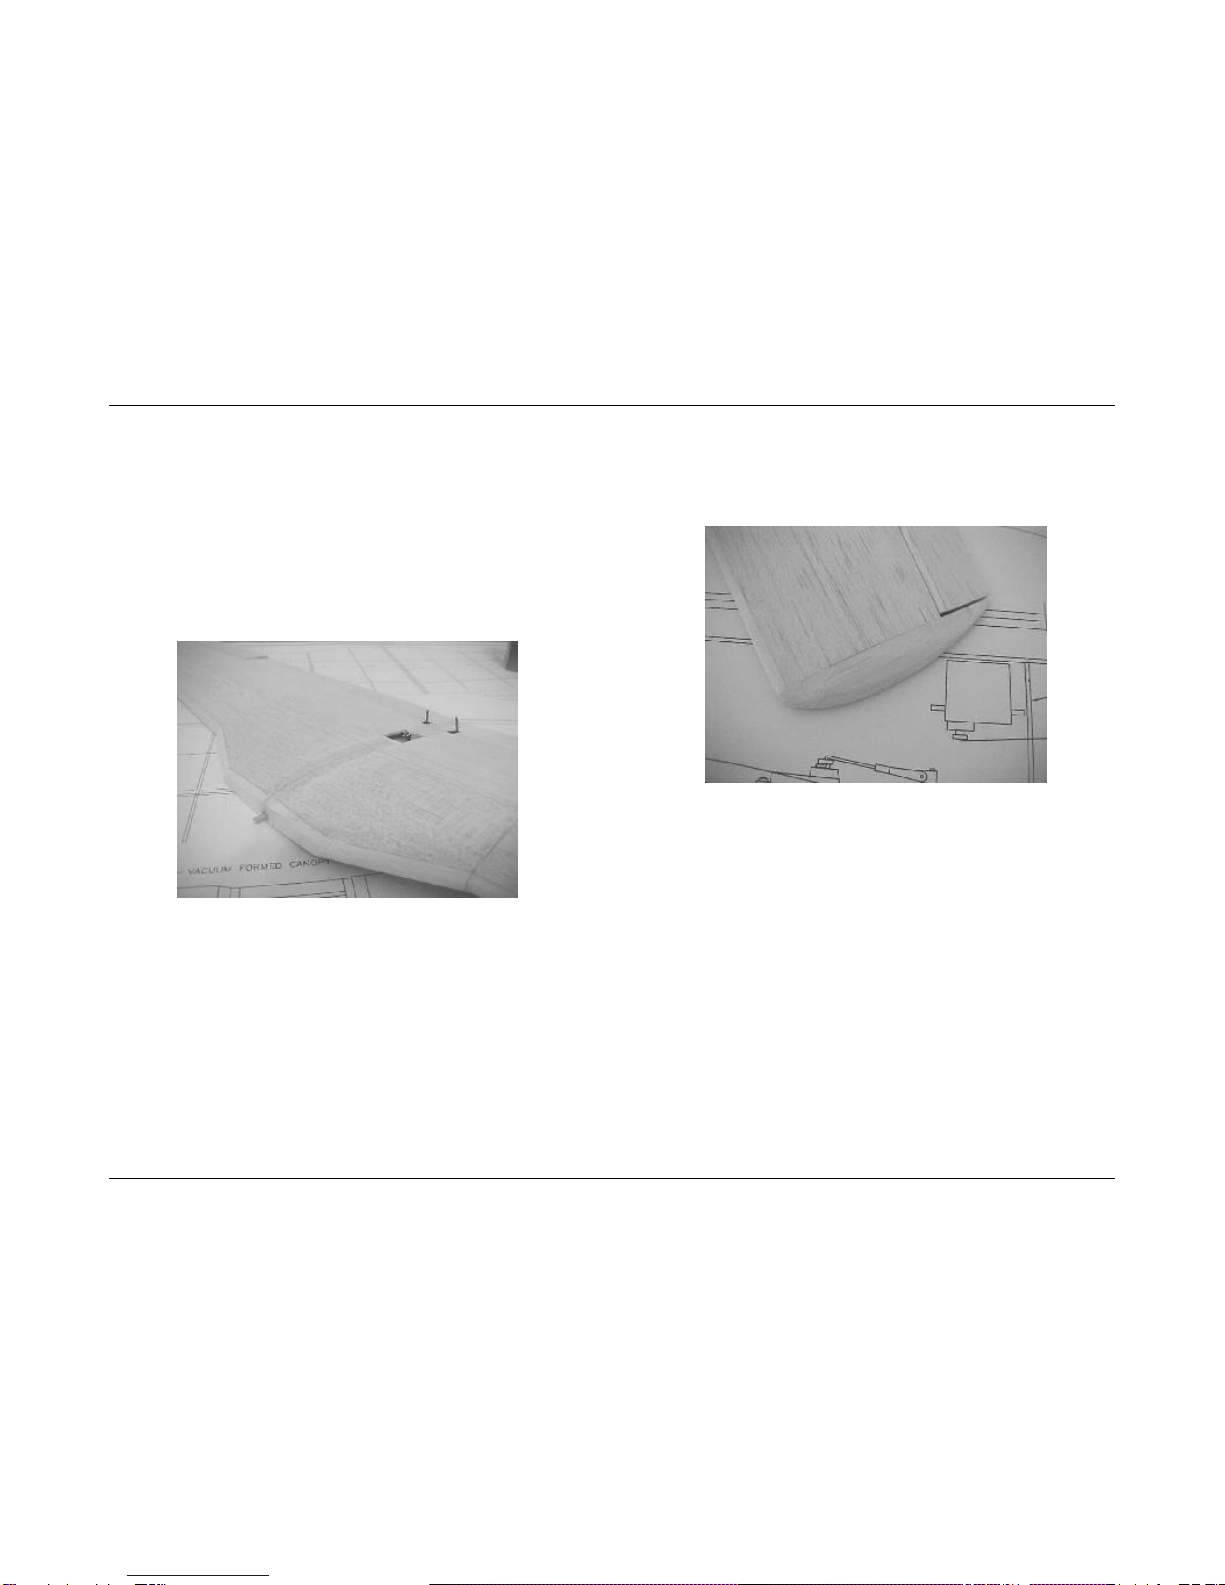
Plastic canopy
Plastic cowl (two pieces)
To complete this kit, you will need the following additional
materials:
3/32” Aluminum tubing, 3”
1/16” Music wire, 20”
1/16” x 4” x 36” Balsa sheet, 4 each
3/16” x 3/8” x 36” Balsa stick, 1 each
1/8” x 2” Hardwood dowel
1/8” Square balsa stick, 1 each
1/8” x 1/4" Balsa stick, 1 each
1/4" Balsa triangle, 1 each
1ea Wing mounting bolt
Hinges (ailerons, elevator)
Miscellaneous servo mounting materials and pushrods
Covering materials, paint and glue
Electric power system –BP 21 CD-ROM Outrunner
NOTE: We recommend that you read this entire
manual before beginning construction.
Please note that this manual is laid out in two columns. All
steps are in order from top to bottom, left column first, then
right column.
Construction
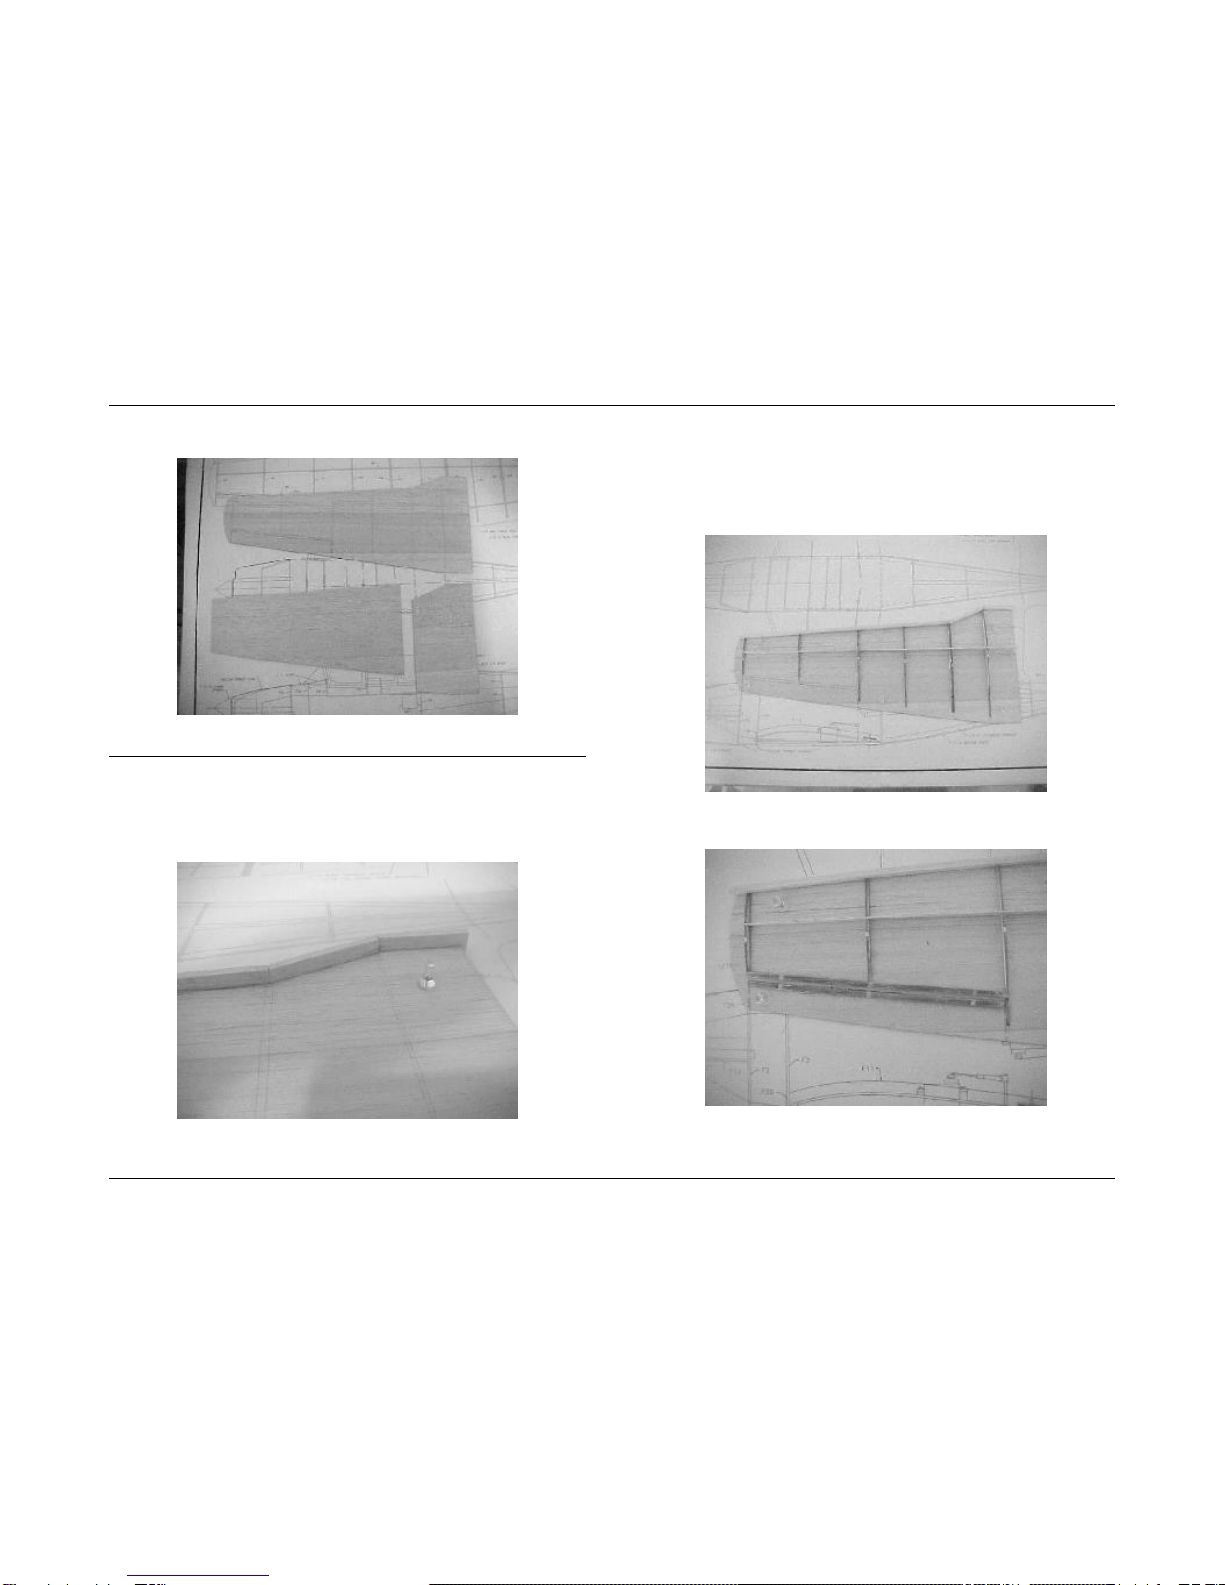
Wing Skins
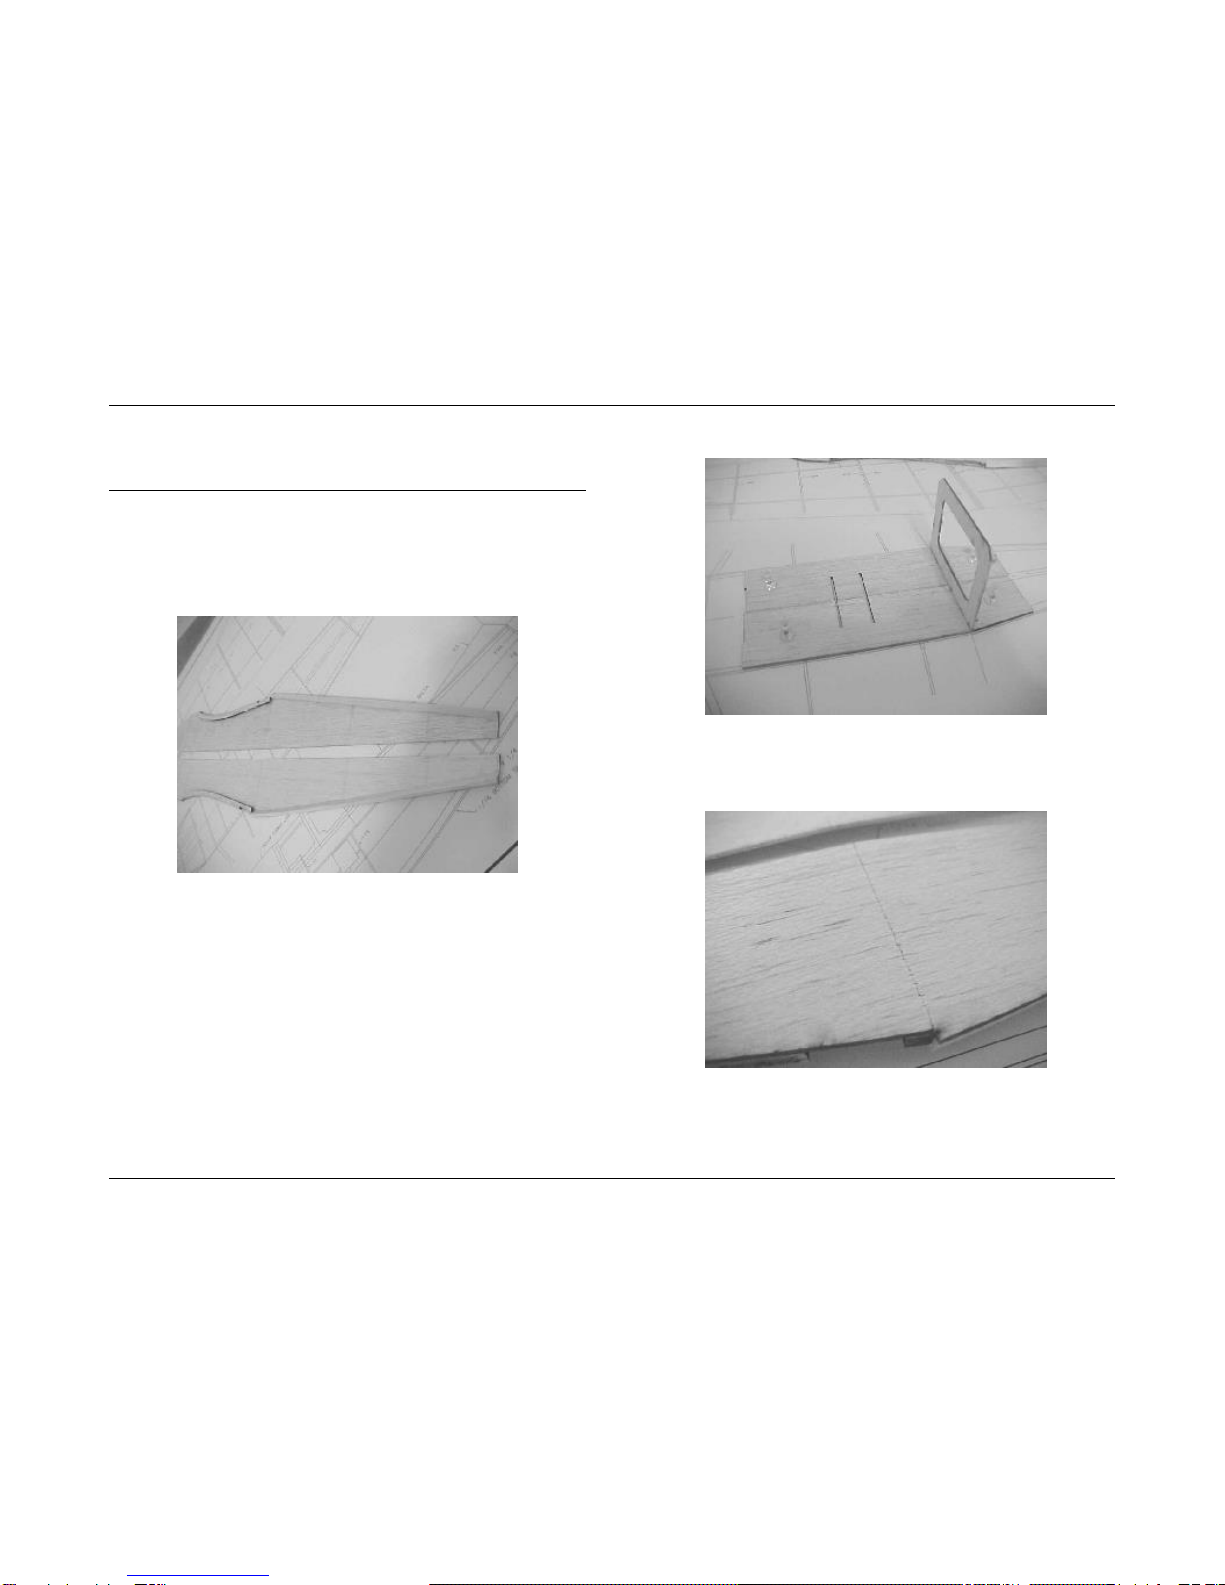
Each wing bottom skin consists of two laser-cut pieces:
forward and aft.
Lay the pieces of a wing skin on a flat board or table,
with the outer surface up. Run a length of masking tape
along the join lines. Turn the assembled skin over,
bend the joints open, and run a bead of aliphatic resin
or wood glue down the joints.
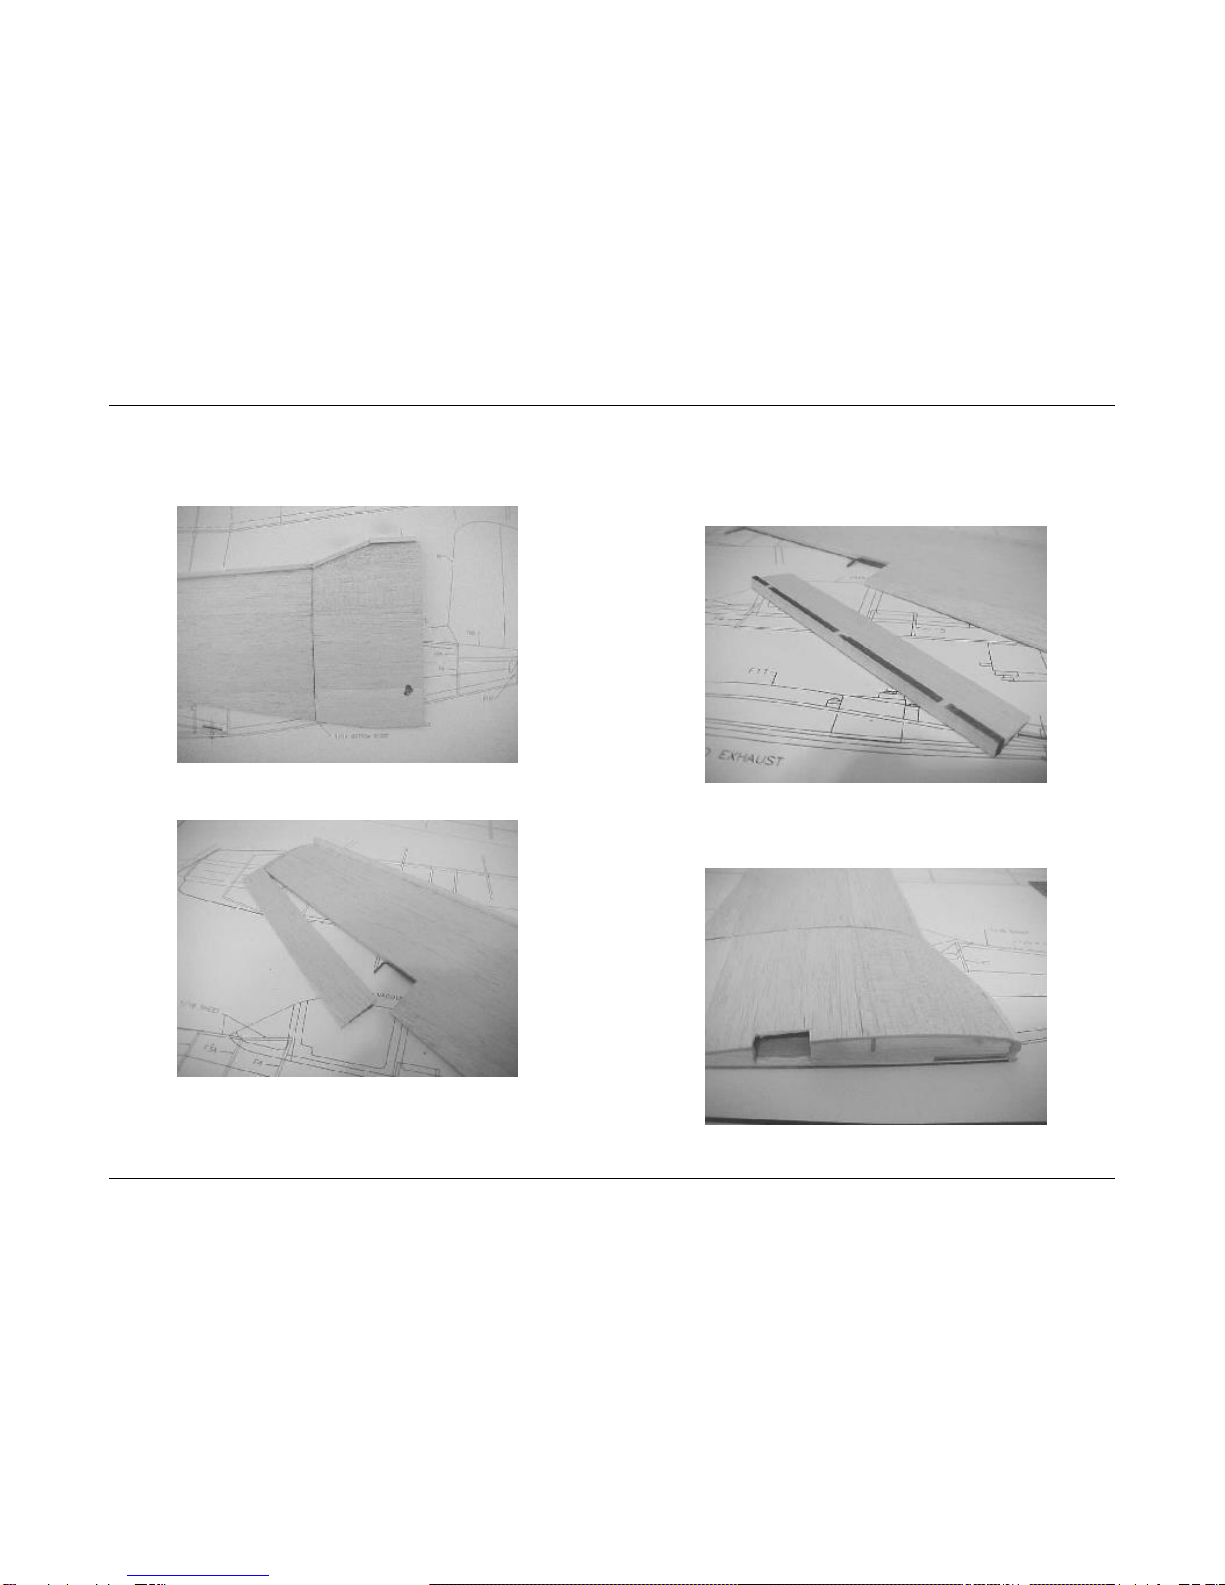
Lay the assembled skin back down on the board –
masking tape side down. Then weight it down and
keep the weight on the skin until it is completely dry.
When the skin is dry, remove the masking tape. Sand
the skin smooth.
Follow the same steps to assemble two wing top skins,
using your 1/16” x 4” x 36” balsa sheets.
Lay a bottom skin on a top skin. Trace the shape of the
bottom skin onto the top skin, adding a 1/4” margin at
the trailing edge. Cut out the top skin.
Cut each top skin into two pieces along the line
between the two W3 ribs.