3yr
Guarantee
Dual Sensor
3
1
4
2
5
8
7
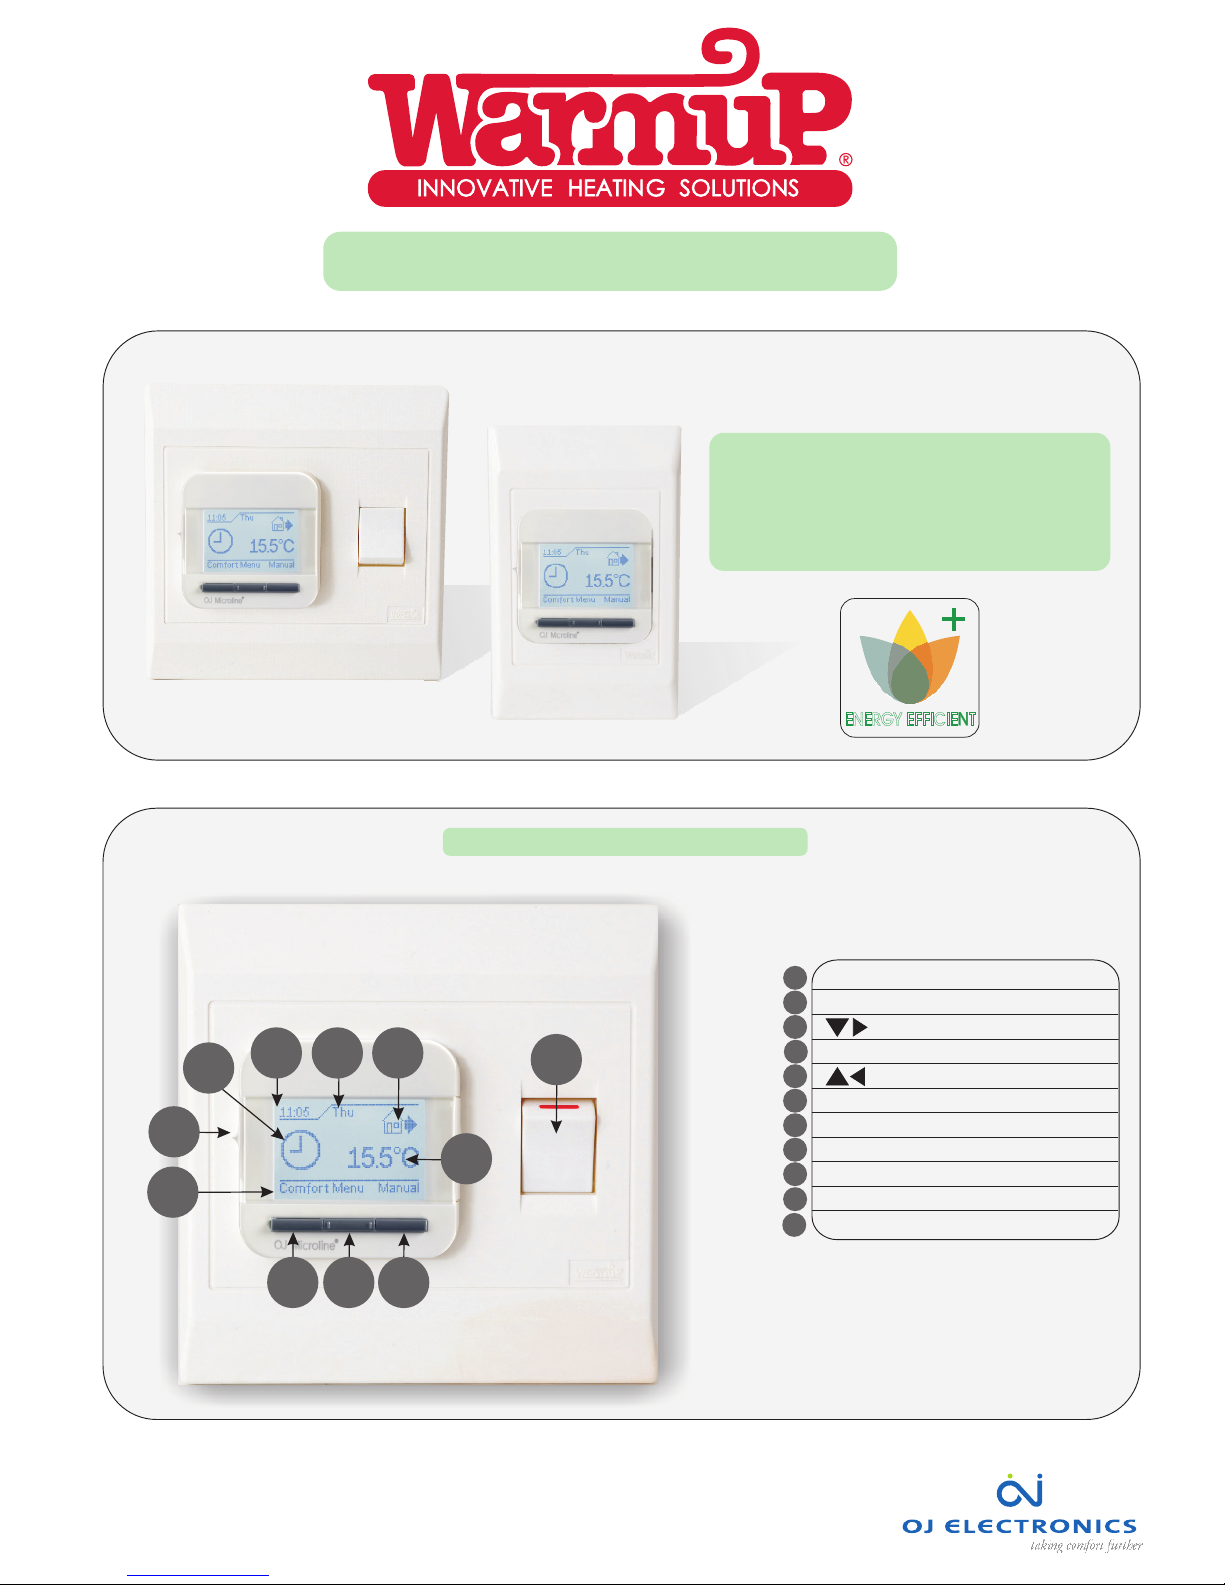
The LUXURY 2
Quick Reference Guide:
4- Event Programmable Clock Thermostat
STOCK CODE: LUXY2D44
STOCK CODE: LUXY2D24
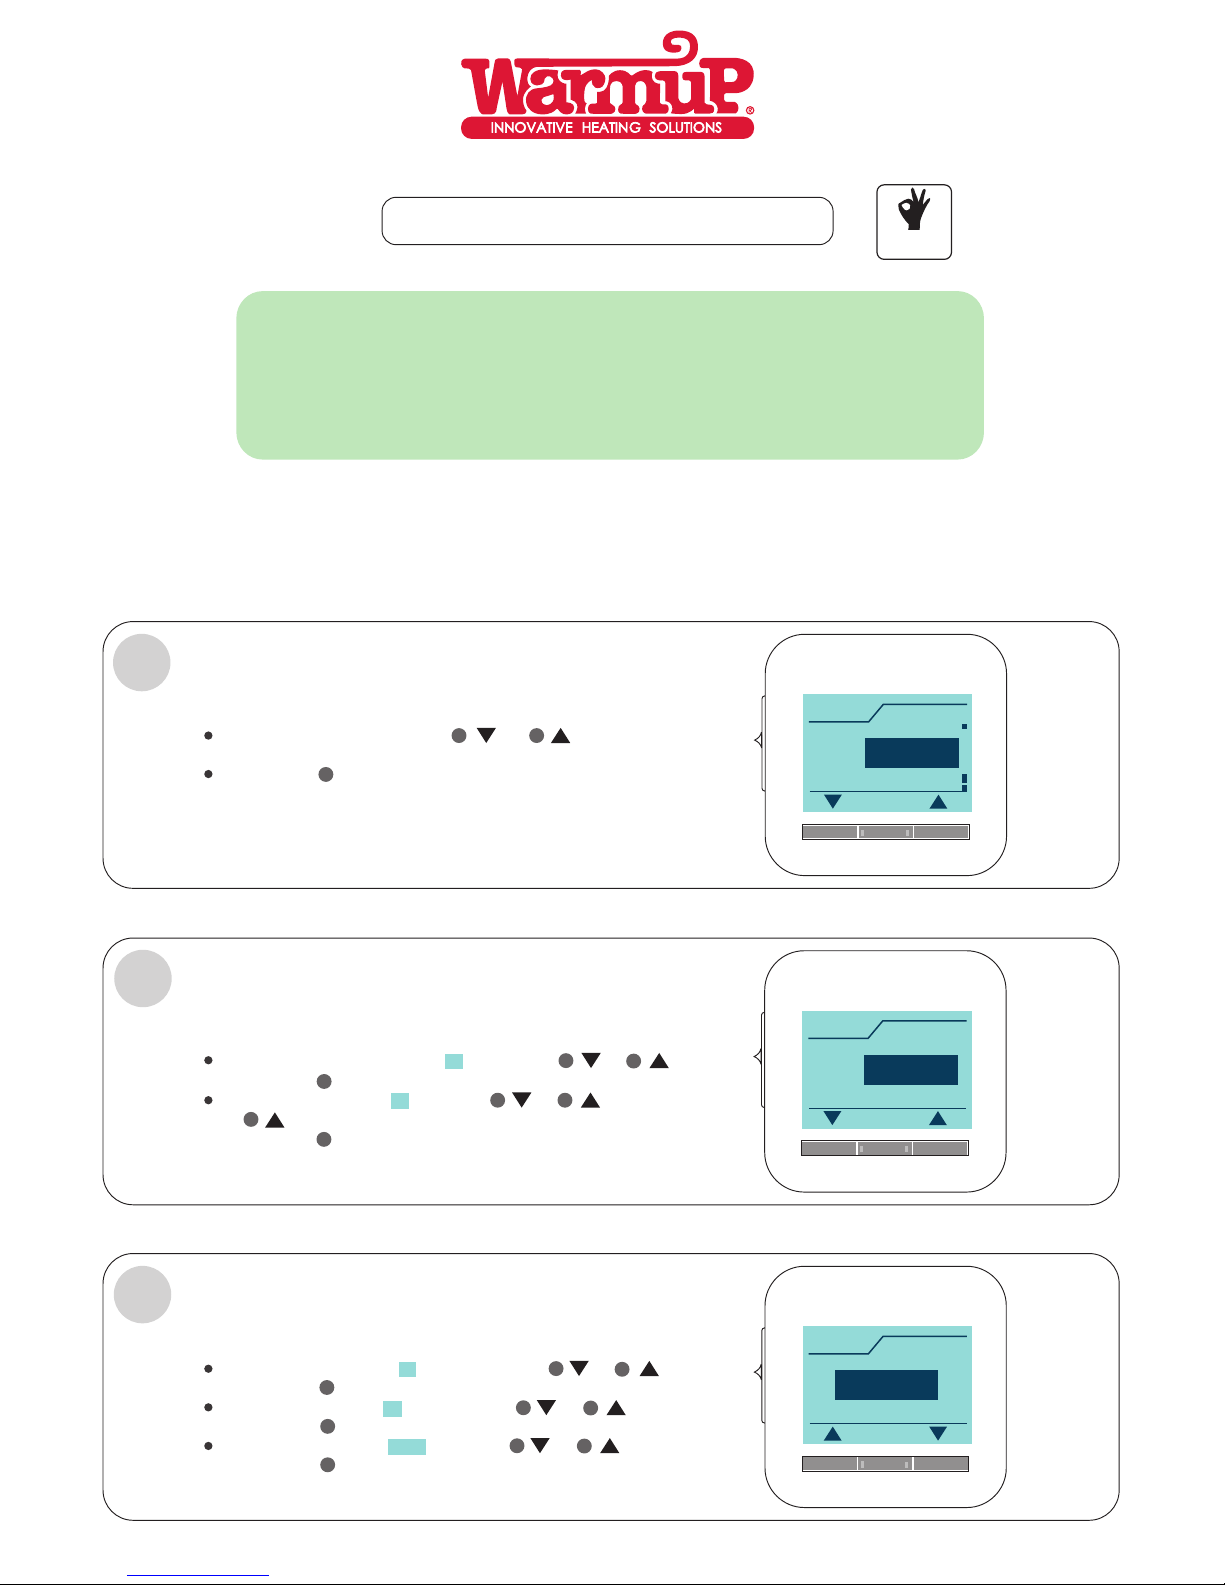
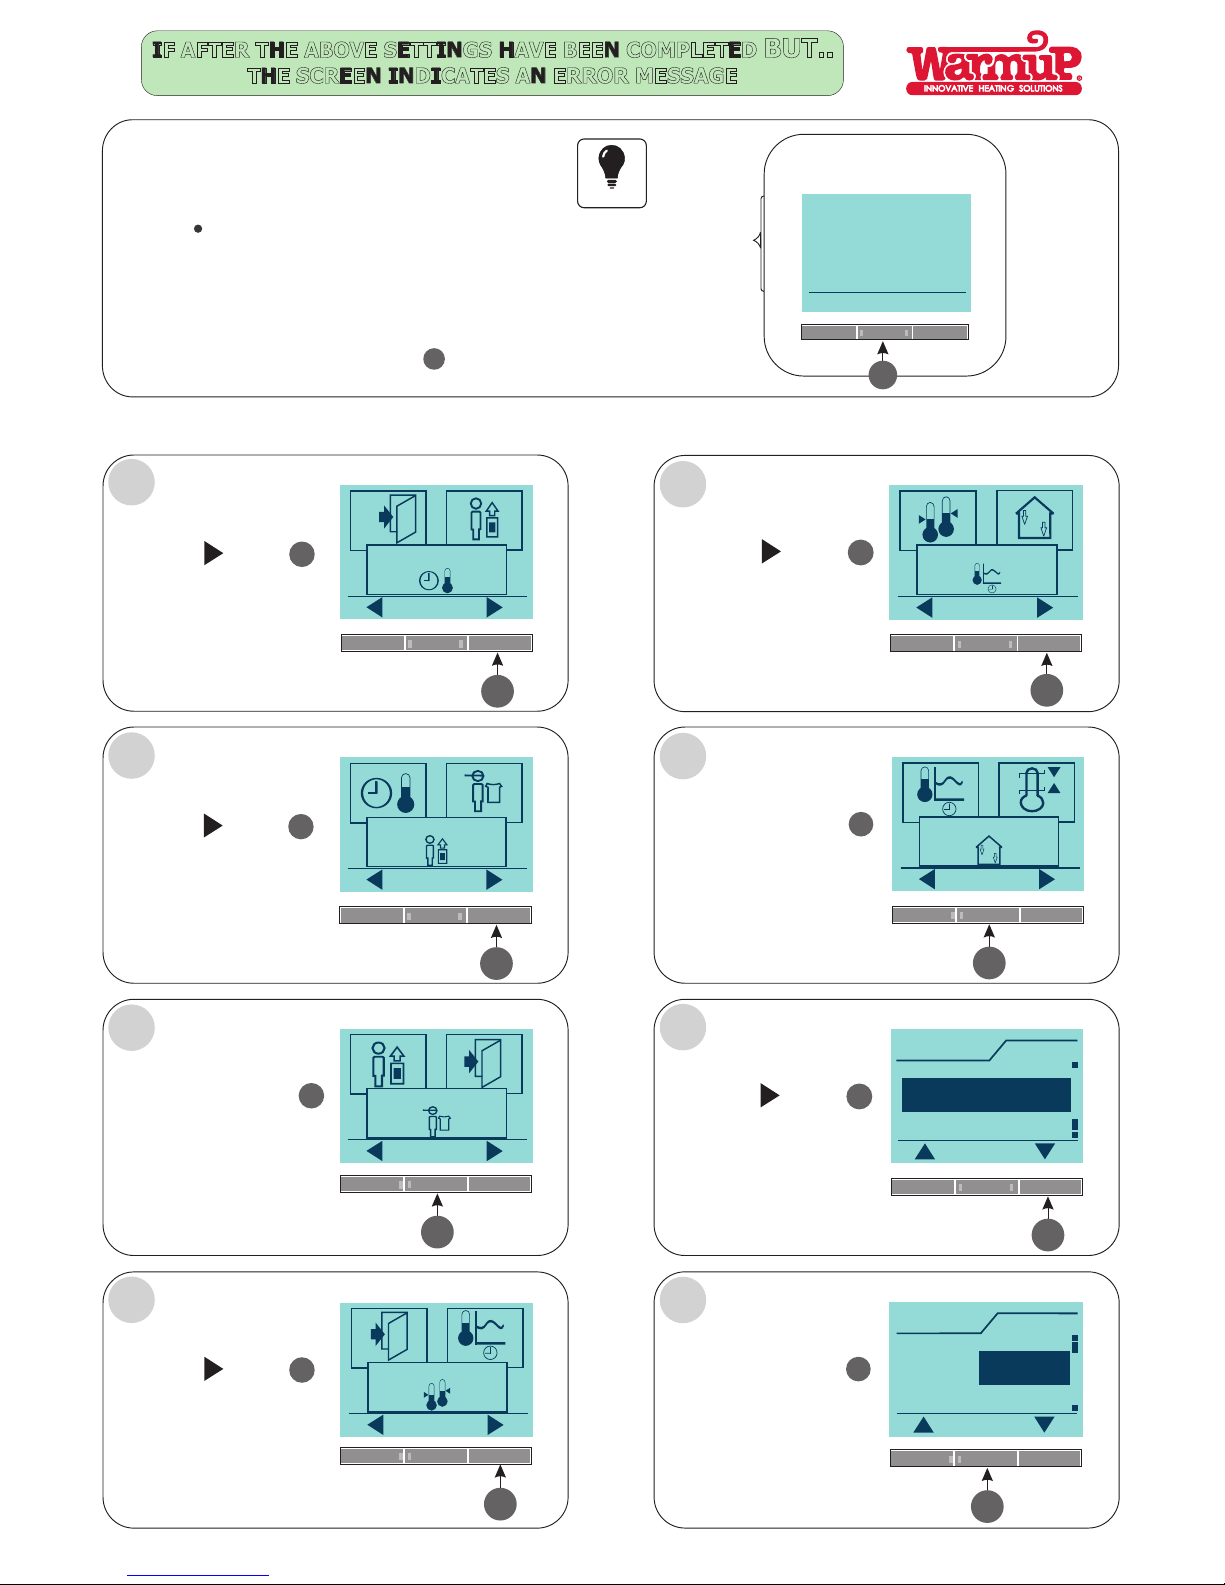
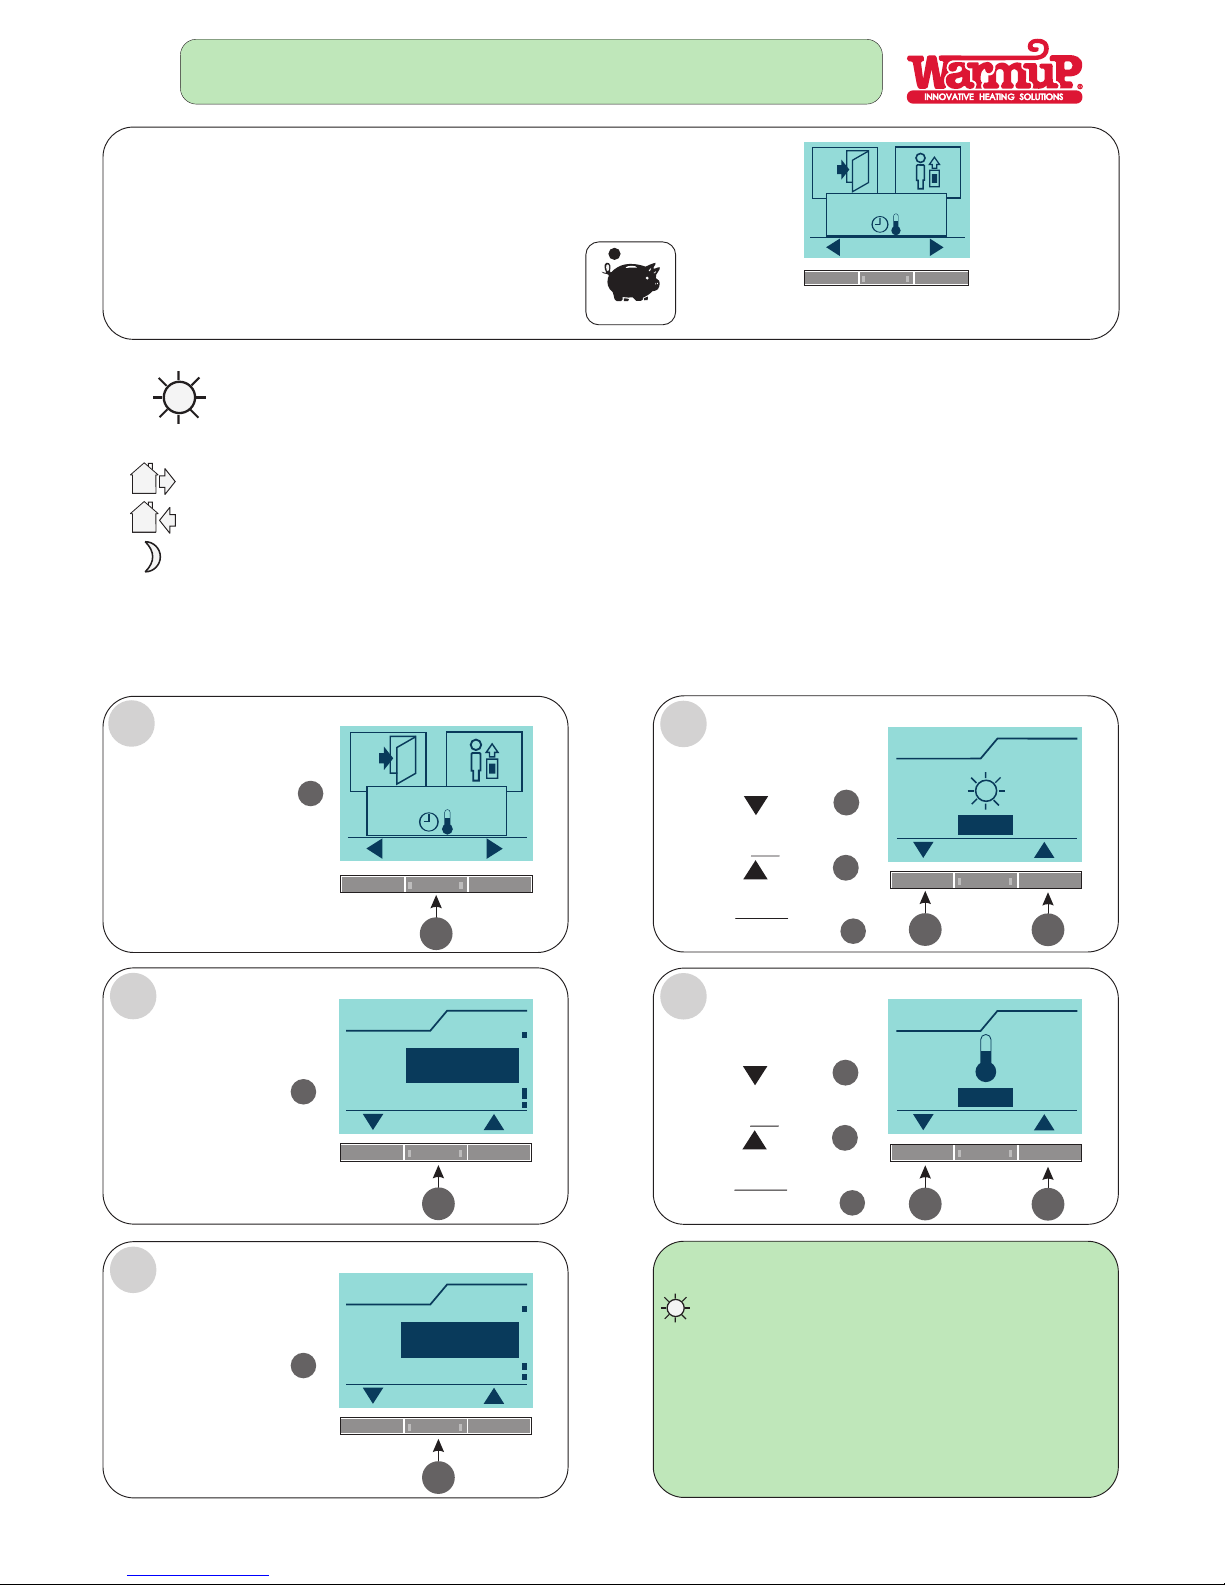
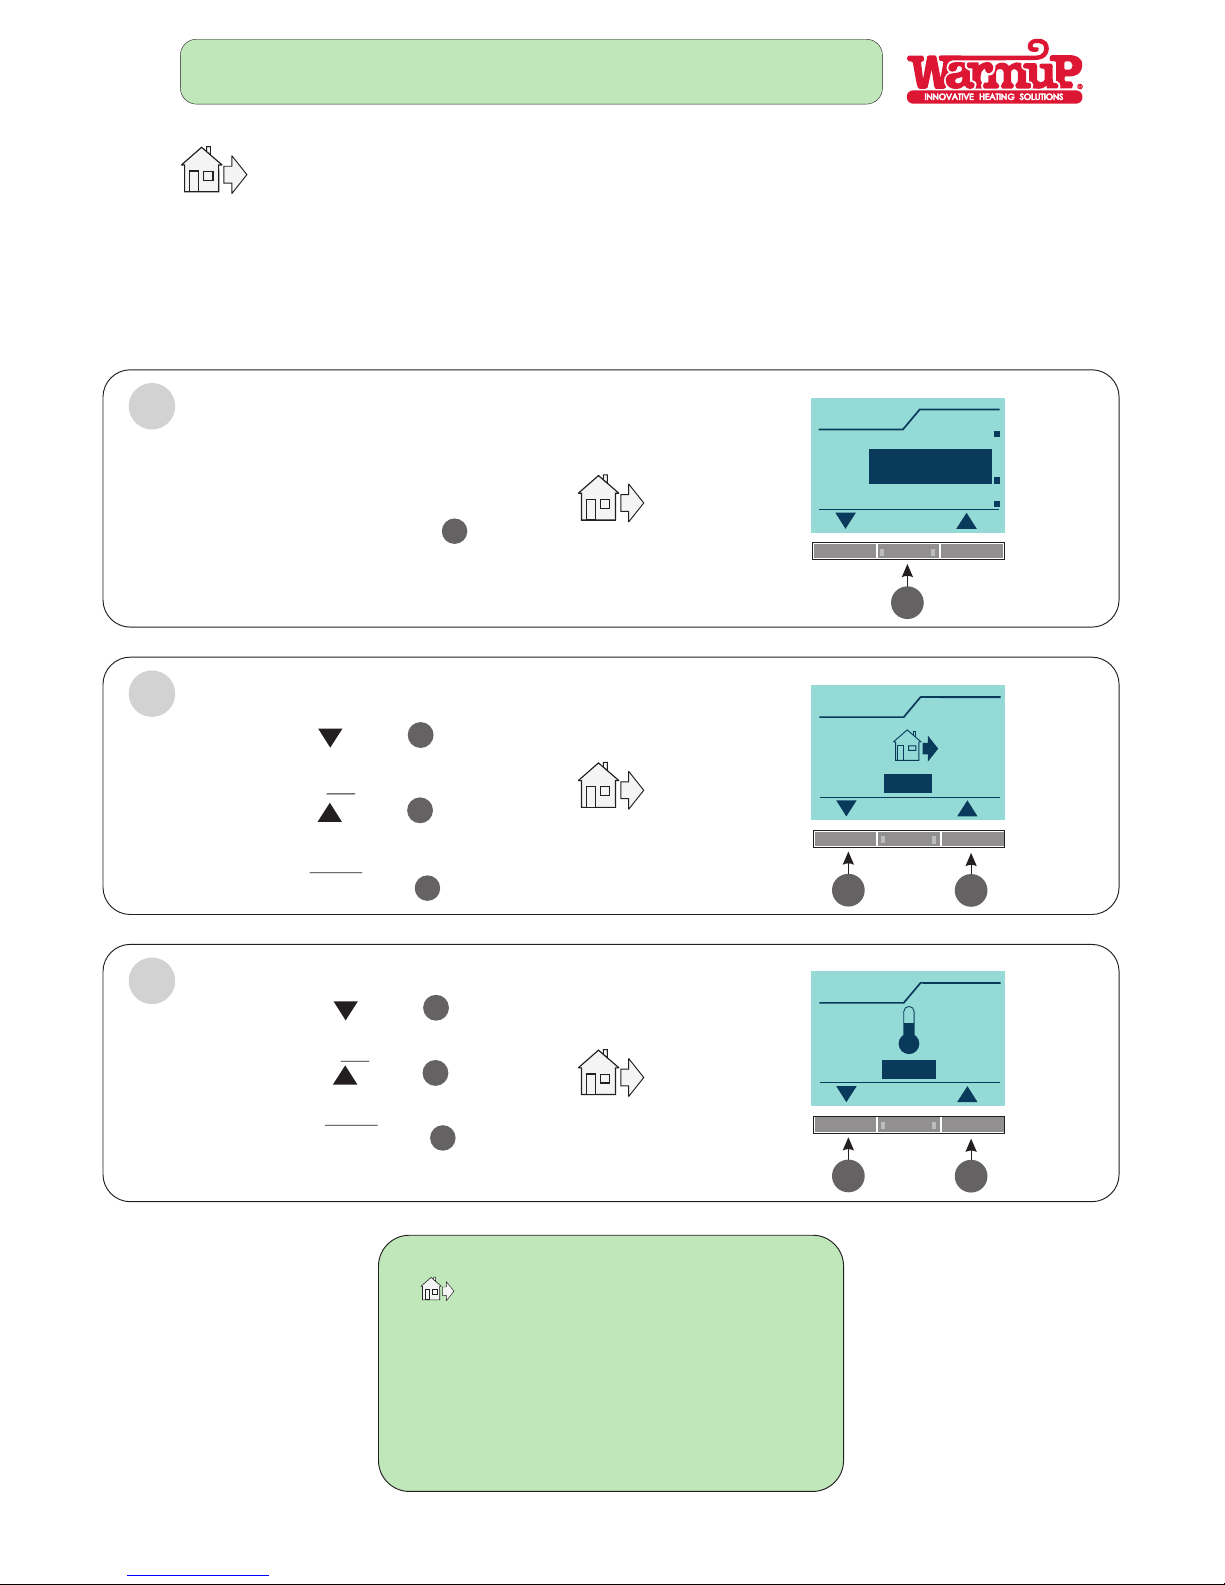
An intuitive menu guides you
through the setting process:
1. On/Off
2. Current time
3. Day of the week
4. 4-Event schedule
5. Current set temperature
6. Menu guides
7. Navigation buttons
8. Auto or manual mode symbol
18 Important facts about the
Luxury 2 thermostat:
1. Easy to install.
2. Simple to use.
3. Intuitive menu guides you through the setting process.
4. Comfortable floor temperature at required time.
5. Modern and attractive.
6. 10 year battery backup.
7. You never need to reset after power interruption.
8. Child lock.
9. Built-in clock and calendar.
10. Dual sensor (Air/Floor or use as regulator).
11. Full compatibility with existing floor sensors.
12. Factory pre-set events.
13. Events can be changed to suit ones lifestyle.
14. The room temperature can be temporarily changed.
15. Safe and reliable, international approvals.
16. 3 year warranty.
17. Energy efficient +.
18. Saving money.
6
4 Richard Road, Industria North, Roodepoort, Gauteng, Tel: 011 673 5063, Fax: 011 673 4827, Toll Free: 0800 00 65 65
3 Thor Circle, Viking Place, Thornton, Cape Town, Tel: 021 531 1896, Fax: 021 532 0741
Technical data:
Supply Voltage: 230 V AC +-10% 50/60 Hz
Output relay: 16A
Interrupter: 2 Pole isolator 16A (4x4 only)
Temperature range: +5/+40 C
Floor limit range: +5/+40 C
Clock function: 4-event program
Battery backup: 10 Years
Ambient temperature: 0/+40 C during operation
On/Off differential: 0.4 C
Protective housing: IP 21 (ingress protection)
Housing: Flush mount, total depth 40mm
Dimensions: 4X4 (127mm x 127mm)
2x4 (80mm x 127mm)
Display: Size 100 x 64 with backlight
Electronic: Programmable
Sensor: Floor
or Air
or Dual (Air & Floor)
or Regulator