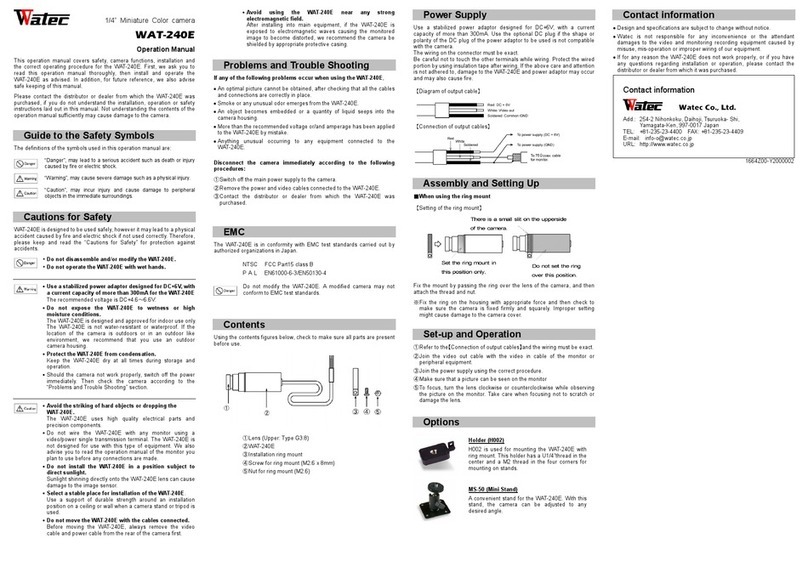
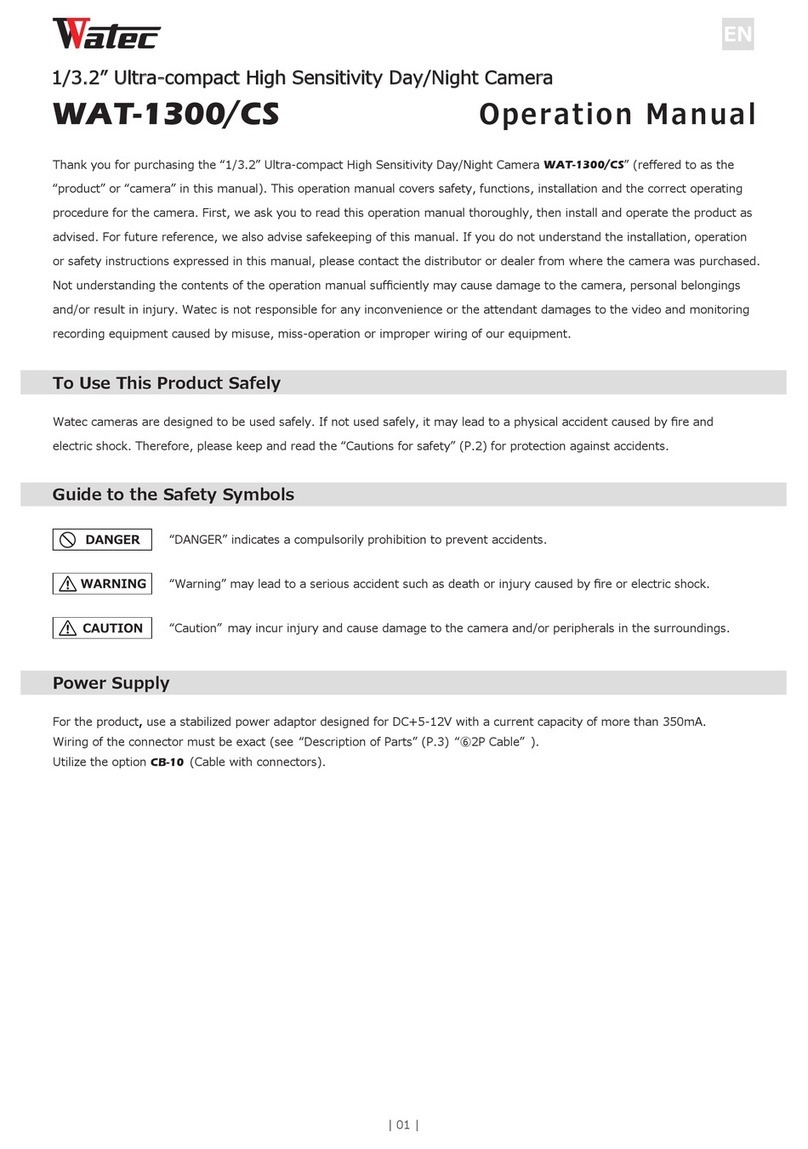
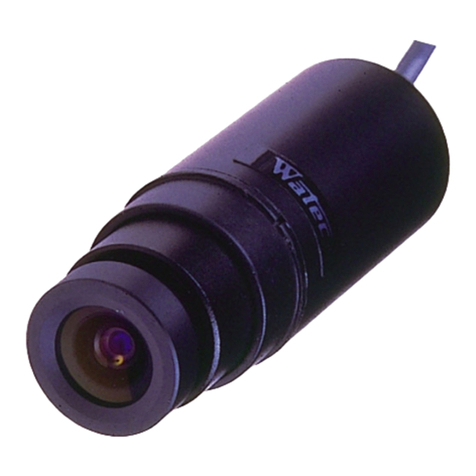
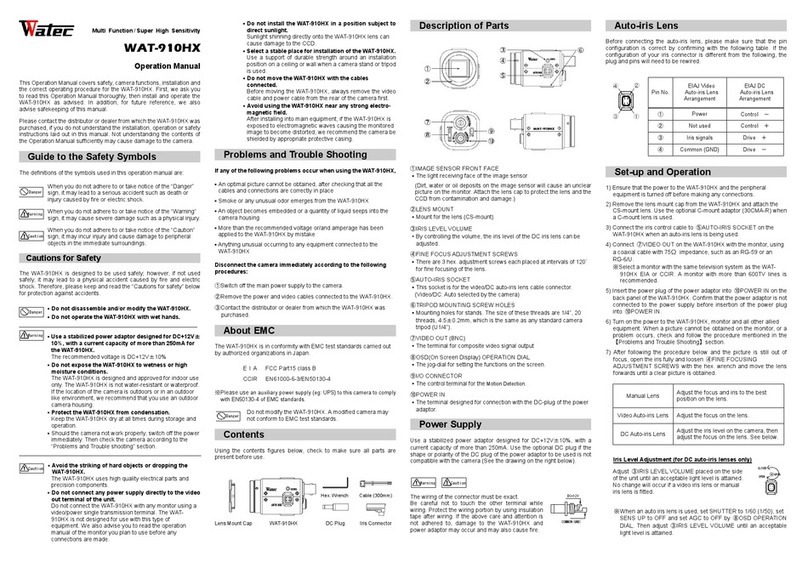
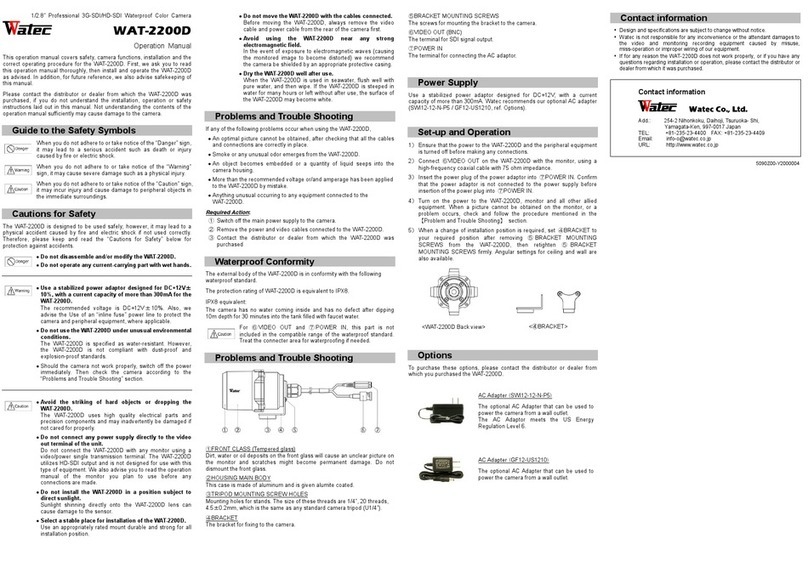
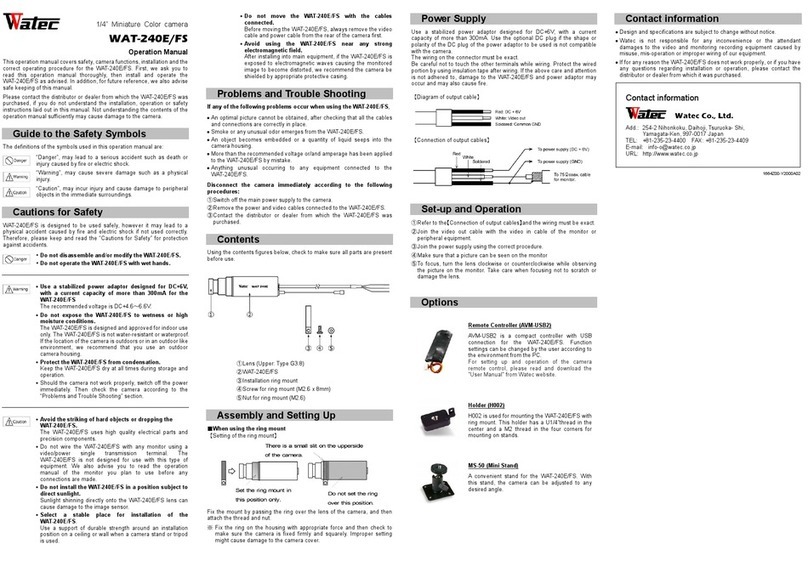
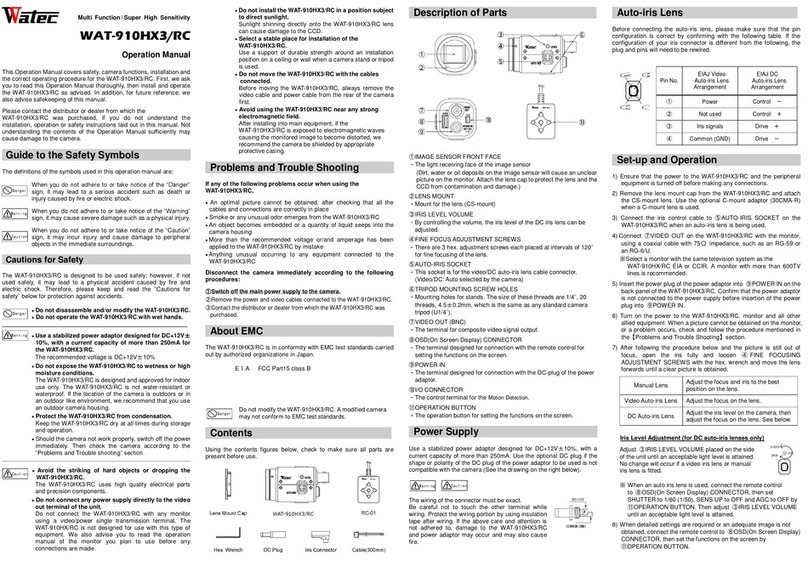
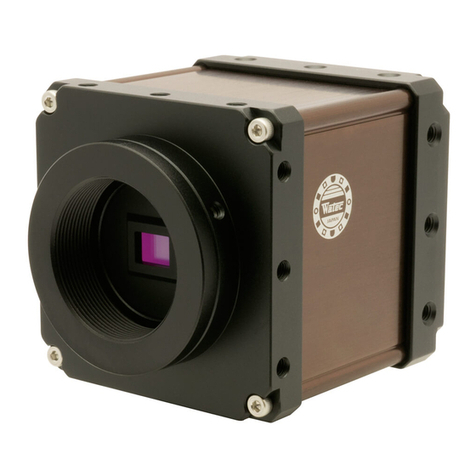
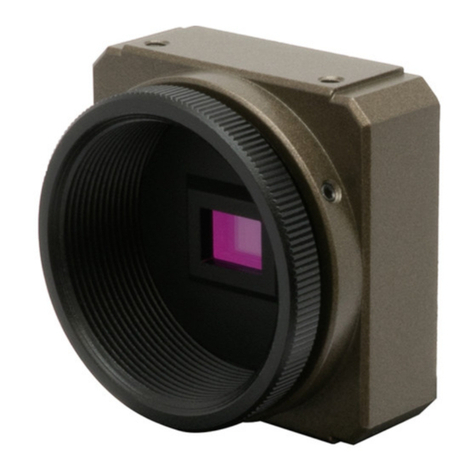
Watec WAT-233 User manual

WAT-233
Rev. 1.10
OSD User's Manual
2014/2/3
Watec Co., Ltd.
1

Change History
1.00
2014/1/23
Second Release
*Add an adjustment procedure for auto iris lens
2014/2/3
1.10
Remarks
Initial Release
Rev. No.
Date
Changes
2

1. Introduction ・・・・・・・・・・・・・・・・・・・・・・・・・・・・・・・・・・・・ 5
2. OSD Menu Operation ・・・・・・・・・・・・・・・・・・・・・・・・・・・・・ 6
3. MAIN MENU/SETUP MENU ・・・・・・・・・・・・・・・・・・・・・・・・ 8
OSD Menu ・・・・・・・・・・・・・・・・・・・・・・・・・・・・・・・・・・・ 8
Auto Iris Lens Control Settings (LENS) ・・・・・・・・・・・・・・・・・・・・・ 9
3.2.1 Auto Iris Lens Control Mode (MODE) ・・・・・・・・・・・・・・・・・・・・・・ 9
3.2.2 Auto Iris Lens Speed Control (SPEED) ・・・・・・・・・・・・・・・・・・・・・・ 10
Shutter/Gain Settings
・・・・・・・・・・・・・・・・・・・・・・・・・・・・ 12
3.3.1 Automatic Exposure Control (AUTO) ・・・・・・・・・・・・・・・・・・・・・・・ 13
Shutter Speed (SHUTTER) ・・・・・・・・・・・・・・・・・・・・・・・ 13
Brightness Settings, High Luminance Side (BRIGHTNESS) ・・・・・・・・・・ 13
Low Luminance Side Exposure Control (MODE) ・・・・・・・・・・・・・ 14
Auto Gain Control (AGC HI/LO) ・・・・・・・・・・・・・・・・・・・・ 15
Brightness Settings, Low Luminance Side (BRIGHTNESS) ・・・・・・・・・・ 16
3.3.2 Manual Exposure Control (MANUAL) ・・・・・・・・・・・・・・・・・・・・・ 17
Manual Exposure Control Mode (MODE) ・・・・・・・・・・・・・・・・ 17
Shutter Speed (LSHUT/SSHUT) ・・・・・・・・・・・・・・・・・・・・ 18
Manual Gain (MGC)
・・・・・・・・・・・・・・・・・・・・・・・・・ 19
Picture Adjustment (ADJUST) ・・・・・・・・・・・・・・・・・・・・・・・・・ 20
3.4.1 Image Flip (MIRROR) ・・・・・・・・・・・・・・・・・・・・・・・・・・・・・ 20
3.4.2 Contrast (CONTRAST)
・・・・・・・・・・・・・・・・・・・・・・・・・・・・・ 20
3.4.3 Edge Enhancement (SHARPNESS) ・・・・・・・・・・・・・・・・・・・・・・・ 21
3.4.4 Chroma Settings (B-HUE/R-HUE/R-GAIN/B-GAIN) ・・・・・・・・・・・・・・・・ 22
3.4.5 γ (GAMMA) ・・・・・・・・・・・・・・・・・・・・・・・・・・・・・・・・・・ 23
White Balance (WB)
・・・・・・・・・・・・・・・・・・・・・・・・・・・・・・ 24
3.5.1
Auto Trace White Balance (ATW)
・・・・・・・・・・・・・・・・・・・・・・ 25
3.5.2 Auto White Balance (AWB) ・・・・・・・・・・・・・・・・・・・・・・・・・ 25
3.5.3 Preset White Balance (3200K/4300K/5100K/6300K)
・・・・・・・・・・・・・ 26
3.5.4 Anti Chroma Rolling White Balance (ACR) ・・・・・・・・・・・・・・・・・・・ 26
3.5.5 Push White Balance (PWB) ・・・・・・・・・・・・・・・・・・・・・・・・・・・ 27
Wide Dynamic Range/Back Light Compensation (WDR/BLC) ・・・・・・・・ 28
3.6.1 Wide Dynamic Range (WDR)
・・・・・・・・・・・・・・・・・・・・・・・・・ 29
3.6.2 Highlight Suppressed Backlight Compensation (HSBLC) ・・・・・・・・・・・・・・ 30
3.6.3 Back Light Compensation (BLC) ・・・・・・・・・・・・・・・・・・・・・・・・ 31
3D Noise Reduction (3DNR) ・・・・・・・・・・・・・・・・・・・・・・・・・ 32
Day/Night Function (DAY/NIGHT) ・・・・・・・・・・・・・・・・・・・・・・・ 33
3.8.1 Day Mode (DAY) ・・・・・・・・・・・・・・・・・・・・・・・・・・・・・・・ 33
3.8.2 Night Mode (NIGHT) ・・・・・・・・・・・・・・・・・・・・・・・・・・・・・・ 33
3.8.3 Automatic Switching Mode (AUTO) ・・・・・・・・・・・・・・・・・・・・・・・ 34
Day⇔Night Switching Control (DAY→NIGHT/NIGHT→DAY/DELAY CTL) ・・・・ 34
Burst Setting (BURST) ・・・・・・・・・・・・・・・・・・・・・・・・・ 36
IR Mode (IR MODE) ・・・・・・・・・・・・・・・・・・・・・・・・・ 37
Day/Night State Output Mode (D/N STATE OUT) ・・・・・・・・・・・・・・ 40
Day/Night function External Control Mode (D/N EXT CTL) ・・・・・・・・・ 40
Digital Zoom (ZOOM)
・・・・・・・・・・・・・・・・・・・・・・・・・・・・・・ 41
3.3
3.4
3.5
【Contents】
3.1
3.2
3.3.1.1
3.3.1.2
3.3.1.3
3.8
3.9
3.6
3.7
3.3.1.4
3.3.1.5
3.3.2.1
3.3.2.2
3.3.2.3
3.8.3.1
3.8.3.2
3.8.3.3
3.8.3.4
3.8.3.5
3

Defog (DEFOG)
・・・・・・・・・・・・・・・・・・・・・・・・・・・・・・・・・・ 42
Privacy Masking (PRIVACY) ・・・・・・・・・・・・・・・・・・・・・・・・・・ 43
Motion Detection (MOTION) ・・・・・・・・・・・・・・・・・・・・・・・・・ 47
Blemish Pixel Compensation (BPC) ・・・・・・・・・・・・・・・・・・・・・・ 50
Synchronization Method Display (SYNC) ・・・・・・・・・・・・・・・・・・・ 52
Camera ID (CAMERA ID) ・・・・・・・・・・・・・・・・・・・・・・・・・・・・ 52
RS485 Communication (RS485) ・・・・・・・・・・・・・・・・・・・・・・・・・ 55
Factory Reset (CAMERA RESET) ・・・・・・・・・・・・・・・・・・・・・・・・ 58
Save Settings (SAVE ALL) ・・・・・・・・・・・・・・・・・・・・・・・・・・・ 58
EXIT Menu (EXIT)
・・・・・・・・・・・・・・・・・・・・・・・・・・・・・・・・ 58
4. OSD Menu Tree ・・・・・・・・・・・・・・・・・・・・・・・・・・・・・・・・・ 59
3.10
3.11
3.12
3.13
3.14
3.15
3.16
3.19
3.17
3.18
4

1. Introduction
・The WAT-233 user's manual describes the functions and the adjustment methods using the On Screen
Display (OSD).
・When the settings of the WAT-233 is changed according to the WAT-233 user's manual, check to see
that the operation and the effects of the changes made to the camera are acceptable.
・The WAT-233 user's manual is subject to change by design and the specifications of the product without notice.
・The copyright of the WAT-233 user's manual shall belong to Watec Co., Ltd. Copying in whole,
or in part without the authorization of the holders permission is prohibited.
5

2. OSD Menu Operation
The functions and parameter settings of WAT-233 can be changed by OSD (On Screen Display).
When operating OSD, Controller is used.
a)When using the Controller,vertically insert the connector fully until it clicks.
b)When disconnecting the Controller, pull the connector while pinching the Lock.
Controller has five buttons: UP/DOWN/LEFT/RIGHT/ENTER.
1)UP
3)LEFT 4)RIGHT
2)DOWN 5)ENTER
Use 5 buttons above to operate OSD Menu.
1)UP / 2)DOWN : Mainly to move the cursor up and down to select an item on the lists on OSD Menu.
3)LEFT / 4)RIGHT : Mainly to adjust and change the functions on each list on OSD Menu.
5)ENTER : Mainly to execute the selected list and function on OSD Menu.
The symbol "↵" will be on some lists on OSD Menu to indicate that there are Sub Menus or selectable options by pressing 5)Enter.
The operation portion of the Controller
How to Connect a Controller
Controller Overview
Lock
a)
b)
6

Please refer to the following model operation pictures on the basic Controller usage.
The below pictures show the OSD operation when WB (ATW) is selected as default position.
*Default Setting
↑
Switching the Menu
* From the next page, each button is written as follows.
1)UP is written as "UP key", and 2)DOWN is written as "DOWN key".
In addition, 3)LEFT is written as "LEFT key", and 4)RIGHT is written as "RIGHT key".
ENTER to be used for execution / decision is written as "ENTER key".
LEFT
RIGHT
RIGHT
LEFT
Next Page
Previous Page
Sub Menu
Going to
Going to
UP
DOWN
UP
DOWN
ENTER
ENTER
ENTER
7

3. MAIN MENU/SETUP MENU
3.1 OSD Menu
When pressing ENTER key, SETUP menu will appear on the screen.
OSD Menu is consist of 3 pages (SETUP MENU1/3, SETUP MENU2/3 and SETUP MENU3/3).
*
SETUP MENU 3/3
SETUP MENU 1/3
SETUP MENU 2/3
OSD = ON
OSD = OFF
When you change the camera setting through the OSD, you can save the changed
setting by executing "SAVE ALL". Please make sure to save the setting before
turning off the power when you set the opyimum function in customer's
environment. When you turn off the power without saving, please be careful as it
will return to the state before the setting change.
Please refer to "3.18 Save Settings (SAVE ALL)" when saving the settings.
ENTER
8

3.2 Auto Iris Lens Control Settings (LENS)
Set the mode when using auto iris lens. Move the cursor to LENS with UP/DOWN key and press the ENTER and AUTO IRIS menu will be displayed.
Move the cursor up and down and adjust using LEFT / RIGHT key for the item you want to adjust.
3.2.1 Auto Iris Lens Control Mode (MODE)
Set auto iris lens control mode (MODE). Use LEFT / RIGHT key to select the lens aperture control mode.
*Default : "AUTO"
* This function will be the following control state by combining with SHUTTER/AGC of "3.3 Shutter/Gain Settings (SHUTTER/AGC)".
CLOSE
LENS (MODE) setting is available, but it does not work.
OPERATION
Control the lens aperture automatically.
Close the lens aperture fully.
*AUTO is recommended for standard operation.
CLOSE
Open the lens aperture fully.
CLOSE
OPEN
AUTO
LENS
OPEN
AUTO
Lens in use
MODE
OPERATION
(LENS)
LEFT/RIGHT
ENTER
Auto Iris
AUTO
MANUAL
Manual
Open the lens aperture fully.
OPEN
AUTO
Control the lens aperture automatically.
Close the lens aperture fully.
CLOSE
SHUTTER/AGC
OPEN
The setting is available, but it does not work. The lens aperture opens fully.
Open the lens aperture fully.
CLOSE
Close the lens aperture fully.
AUTO
*AUTO is recommended for using auto iris lens.
MANUAL
OPEN
AUTO
AUTO
9

3.2.2 Auto Iris Lens Speed Control (SPEED)
Set the diaphragm control speed of auto iris lens (SPEED). Use LEFT/RIGHT key to adjust the control speed of the lens diaphragm by moving the cursor.
*Default : 55
○Auto iris lens adjustment procedure
When installing the DC iris lens, adjust the lens apperture according to the following procedure.
Please note, for DC iris lens and video iris lens, adjustment method is different each other.
○DC iris lens adjustment procedure
The procedure for adjusting the DC iris lens is as follows.
(1) Mount the DC iris lens to the WAT-233.
(2) Set the OSD settings as follows;
・Set "3.3 Shutter/Gain Settings (SHUTTER/AGC)" setting to AUTO.
・Set "3.3.1.1 Shutter Speed (SHUT)" setting to 1/60s.
(3) When hunting occurs in which the screen continually brightens or darkens in the actual
usage environment, proceed to step(4). When you get the image properly please proceed to step(5).
(4) When hunting occurs, the control speed of the lens aperture might be too fast, reduce
OK
the set value of "3.2.2 Auto Iris Lens Speed Control (SPEED)" until hunting stops.
(5) Adjust the lens aperture. Adjust the lens aperture with "3.3.1.2 Brightness Setting (BRIGHTNESS)".
While checking the monitor, adjust "3.3.1.2 Brightness Setting (BRIGHTNESS)" to have the optimum
NG
brightness image.
(6) The adjustment is completed. Save the setting.
(1)Mount the DC iris lens
(4) Lens Aperture Control
Speed Setting
(2) Camera
Configuration
(3) Hunting
(6) Adjustment
Completed
SPEED
OPERATION
000-255
*When the set value is too large, the control speed will be faster, but it will cause hunting and overshoot.
And please note that when the set value is too small, the operation will be delayed and it may stop.
(5)Lens Aperture
Setting
speed.
The smaller the set value, the slower the control speed, and the larger the set value, the faster the control
10

○Video iris lens adjustment procedure
The procedure for adjusting the Video iris lens is as follows.
(1) Mount the Video iris lens to the WAT-233.
(2) Set the OSD settings as follows;
・Set "3.3 Shutter/Gain Settings (SHUTTER/AGC)" setting to AUTO.
・Set "3.3.1.1 Shutter Speed (SHUT)" setting to 1/60s.
・Set "3.3.1.2 Brightness Settings, High Luminance Side (BRIGHTNESS)" setting to 100IRE.
・Set "3.3.1.3 Low Luminance Side Exposure Control (MODE)" setting to OFF.
(3) Adjust the LEVEL volume of the video iris lens in the actual imaging environment.
Turn the LEVEL volume slowly from the fully open to the closing side.
(4) When hunting occurs in which the screen continually brightens or darkens during the LEVEL volume
adjustment proceed to step(5). When you get the image properly please proceed to step(6).
OK (5) When hunting occurs, the control speed of the lens aperture might be too fast, reduce
the set value of "3.2.2 Auto Iris Lens Speed Control (SPEED)" until hunting stops.
(6) Check the LEVEL volume is at the proper position. When the LEVEL volume is set to the position
NG
that makes the screen slightly brighter when switching the setting of "3.3.1.3 Low Luminance Side
Exposure Control (MODE)" from OFF to AGC. When the adjustment can be made properly,
proceed to step (7) (*Do not change the position of the LEVEL volume after Step(6).
Lens might not operate properly.) Even if it is set to AGC, the screen does not become bright,
or the screen becomes too bright, LEVEL volume may not be adjusted to the proper position.
NG
Go back to step 2 and adjust the LEVEL volume again.
(7) Adjust the lens aperture. Adjust the lens aperture with "3.3.1.2 Brightness Setting (BRIGHTNESS)"
While checking the monitor, adjust "3.3.1.2 Brightness Setting (BRIGHTNESS)" to have the optimum
OK brightness image.
(8) The adjustment is completed. Save the setting.
(8) Adjustment
Completed
(3)LEVEL Volume Setting
(4) Hunting
(5) Lens Aperture Control
Speed Setting
(6) LEVEL Volume
Position Check
(7)Lens Aperture
Setting
(1)Mount the Auto Iris
Lens
(2)OSD
Setting
11

3.3 Shutter/Gain Settings
Set the exposure control. There are two modes of exposure control: automatic exposure control (AUTO) and manual exposure control (MANUAL).
When AUTO is selected, shutter speed and gain are automatically controlled according to the imaging environment. When MANUAL is selected,
shutter speed and gain can be set to arbitrary fixed values. Move the cursor to SHUTTER/AGC with UP/DOWN key and use the LEFT/RIGHT key
to select AUTO or MANUAL. After selecting the mode, each setting submenu opens with ENTER.
ENTER
ENTER
AUTO SETUP Menu
MANUAL SETUP Menu
LEFT/RIGHT
12

3.3.1 Automatic Exposure Control (AUTO)
3.3.1.1 Shutter Speed (SHUT)
Set the shutter speed (SHUTTER). Use the LEFT/RIGHT key to select the shutter mode.
*Default : EI
3.3.1.2 Brightness Settings, High Luminance Side (BRIGHTNESS)
Set the brightness in the screen (BRIGHTNESS). Use the LEFT / RIGHT keys to adjust the brightness.
*Default :100IRE
Set the fixed shutter speed. Selectable shutter speed :
EI
Automatic exposure control by electric iris. Depending on the brightness of the shooting object,
exposure will be controlled within the range of 1/60s(1/50s) to 1/100000s for getting the appropriate
1/500s
AUTO
40-130IRE
130IRE
100IRE
*Adjust the lens aperture when mounting the auto iris lens with BRIGHTNESS.
For details, refer to "3.2.2 Auto Iris Lens Speed Control (SPEED)"
40IRE
LEFT/RIGHT
BRIGHTNESS
Brightness can be set within the range of 40 (dark) - 130 IRE (bright).
*The display of the brightness range is different when WDR is OFF and ON.
SHUTTER/AGC
(HIGH LUMINANCE)
OPERATION
WDR=OFF : 40 - 130 IRE
WDR=ON : 40 - 130
Note : When WDR is ON, the unit notation of IRE disappears and set value is not brightness according to IRE.
1/60s(1/50s), 1/100s(1/120s), 1/250s, 1/500s, 1/1000s, 1/2000s, 1/4000s, 1/10000s
*(1/50s), (1/120s) : Defalt of PAL
SHUTTER/AGC
SHUT
OPERATION
AUTO
1/60s(1/50s)
1/10000s
1/4000s
1/2000s
1/1000s
1/250s
1/100s(1/120s)
brightness *(1/50s) : Defalt of PAL
13

3.3.1.3 Low Luminance Side Exposure Control (MODE)
Set the exposure control at low luminance side (MODE). The exposure control operate with gain or slow shutter at low light condition
when the image can not be exposed by electronic shutter or auto iris lens.
Use the LEFT / RIGHT key to select from OFF, AGC, SLOW, AGC→SLOW, SLOW→AGC
*Default : AGC
AUTO
Exposure control at low luminance does not operate.
Automatic exposure control with gain at low luminance. Dynamic resolution is maintained though
Slow shutter operates for further sensitivity improvement. While swithing the AGC HI/LO setting, you can
has reached the maximum, gain control operates for further sensitivity improvement.
SLOW
LEFT/RIGHT
AGC
Automatic exposure control with slow shutter at low luminance. You can capture the subject clearly
OFF
AGC→SLOW
SLOW→AGC
SHUTTER/AGC
MODE
SLOW→AGC
"3.3.1.4 Auto Gain Control (AGC HI/LO)". The slow shutter operates in the range of 2-16 FLD.
When the camera judges the luminance as low luminance. After the accumulation time of the slow shutter
AGC
of the gain can be switched. For details, refer to "3.3.1.4 Auto Gain Control (AGC HI/LO)".
noise is conspicuous in dark subjects. While switching the AGC HI / LO setting, the maximum value
While swithing the AGC HI/LO setting, you can switch the maxmum value of the gain. For details, refer t to
switch the maxmum value of the gain. For details, refer to "3.3.1.4 Auto Gain Control (AGC HI/LO)".
though dynamic resolution decreases in dark subjects.
Automatic exposure contril with slow shutter and Gain at low luminance. Slow shutter control the exposure
The slow shutter operates in the range of 2-16 FLD.
LEFT/RIGHT
OFF
when the camera judge the luminance as low luminance. After Gain reaches to the maximum value,
Automatic exposure control with Gain and slow shutter at low luminance. Gain control the exposure
AGC→SLOW
The slow shutter operates in the range of 2-16 FLD.
OPERATION
SLOW
14

3.3.1.4 Auto Gain Control (AGC HI/LO)
Set AGC maximum gain value (AGC HI / LO). Use the LEFT / RIGHT keys to select the AGC maximum gain value.
*Default : HIGH. When "OFF" is selected in Low Luminance exposure control mode (MODE), the Gain vaue is approx. 2dB.
*You can not use the function with OFF or SLOW in "3.3.1.3 Low Luminance Side Exposure Control (MODE)"
When OFF or SLOW is selected, the operation will be as follows;
AGC HI/LO
These items are settable.
MODE
OPERATION
(LOW LUMINANCE)
AGC
AGC→SLOW
SLOW→AGC
LOW/HIGH
OFF/SLOW
-
"-" will be displayed on OSD, setting is not available.
SHUTTER/AGC
AGC HI/LO
OPERATION
(Gain range) approx. 2 - 32dB
(Gain range) approx. 2 - 44dB
HIGH
LOW
AUTO
HIGH
LOW
OFF
15

3.3.1.5 Brightness Settings, Low Luminance Side (BRIGHTNESS)
Set the brightness of exposure control at low luminance side (BRIGHTNESS). You can independently set the brightness during gain/slow shutter
operation apart from "3.3.1.2 Brightness Settings, High Luminance Side (BRIGHTNESS)" Instead of darkening the picture in dark subjects, you can
improve noise and dynamic resolution. Use the LEFT / RIGHT keys to select from x0.25, x0.5, x0.75 and x1.0.
*Default : x1.0
○AGC Operation
Small Large
Lo
w
High
○Slow Shutter Operation
Small Large
Lo
w
High
*You can not use the function with WDR in "3.6.1. Wide Dynamic Range (WDR)"
When WDR is ON, the operation will be as follows;
SHUTTER/AGC
LEFT/RIGHT
LEFT/RIGHT
x1.0
x0.75
x0.25
x0.5
x0.75
x1.0
x0.5
x0.25
BRIGHTNESS
OPERATION
(LOW LUMINANCE)
Dynamic Resolution
Sensitivity
S/N ratio
AUTO
When x 0.25 is selected, S/N and dynamic resolution improve though sensitivity decreases.
set value can not be changed.
When x1.0 is selected, S/N and dynamic resolution decrease though sensitivity improves.
Note : when WDR is ON, VIDEO LEVEL is fixed to x 1.0 irrespective of the set value and the
Sensitivity
x0.25
x1.0
ON
(WDR/BLC)
These items are settable.
WDR
OFF
changed. "-" will be displayed on OSD.
x0.75
x0.5
BRIGHTNESS
OPERATION
(LOW LUMINANCE)
When ON is selected,VIDEO LEVEL is fixed to x 1.0 irrespective of the set value and the set value can not be
x0.25/x0.5/
x0.75/x1.0
-
16

3.3.2 Manual Exposure Control (MANUAL)
3.3.2.1 Manual Exposure Control Mode (MODE)
Set manual exposure control mode (MODE). Manual exposure control has two control modes, and each shutter speed and gain value can be
set to an arbitrary fixed value. Use the LEFT / RIGHT key to select from SHUT, SLOW and WDR+SHUT.
*Default : SHUT.
*When using the above three modes, please use WDR of SETUP MENU 1/3 with the following settings.
WDR+SHUT
SLOW
SHUT
You can set the electronic shutter and gain value arbitrarily.
the visibility of the bright part with a short exposure shutter.
WDR+SHUT
to maximize the manual wide dynamic range function. When used with WDR=OFF,
Although it is possible to change the setting, please use together with WDR=ON in order
OFF
OFF
ON
MANUAL
SHUT
SLOW
WDR+SHUT
(WDR/BLC)
MODE
SHUTTER/AGC
WDR
MODE
OPERATION
Normal (Single shutter) mode.
Slow shutter mode.
You can set the accumulation time and gain value of slow shutter arbitrarily.
SHUTTER/AGC
MANUAL
Using with WDR=ON is not recommended although you can change the settings.
Manual mode of the wide dynamic function. Shutter speed and gain value for long and short exposure
can be set arbitrarily. Adjust the visibility of the dark part with a long exposure shutter, and adjust
LEFT/RIGHT
SHUT
OPERATION
there is a possibility that the low brightness part appears dark.
SLOW
WDR function may not work properly.
17

3.3.2.2 Shutter Speed (LSHUT/SSHUT)
Set the shutter speed (SHUTTER). Depending on the manual exposure control mode (MODE) setting, the selectable shutter speed varies.
Use the LEFT / RIGHT keys to select the shutter speed.
○WDR+SHUT Mode
The shutter speed for long and short exposure can be arbitrarily set for the WDR function. The slower the shutter speed for long exposure
(LSHUT) is set, the better the visibility of the dark part gets. And the faster the shutter speed for short time exposure (SSHUT) is set,
the better the visibility of the bright part gets.
*Default : 1/1351s (1/976s)
LEFT/RIGHT
SLOW
(Slow shutter)
It cannot be set.
1/60s(1/50s), 1/100s(1/120s), 1/250s, 1/500s, 1/1000s, 1/2000s,1/4000s, 1/10000s
WDR+SHUT
(Double shutter)
1/1351s(1/976s), 1/2000s, 1/4000s, 1/6000s, 1/10000s, 1/15000s, 1/20000s, 1/25000s
Selectable from;
MODE
SSHUT
LSHUT/SSHUT
LSHUT
SHUT
(Single shutter)
LSHUT
SSHUT
LSHUT
SSHUT
1/60s, 1/25000s (WDR+SHUT Mode)
1/10000s (SHUT Mode)
1/60s (SHUT Mode)
*Default : 2FLD
*(1/50s), (1/120s) : PAL
*Default : 1/60s (1/50s)
Selectable from;
*(1/976s) : PAL
1/60s(1/50s), 1/100s(1/120s), 1/250s, 1/500s, 1/1000s, 1/2000s, 1/4000s, 1/10000s
*Default : 1/60s (1/50s)
Selectable from; 2, 4, 8, 16, 32, 64, 128, 256FLD
Selectable from;
OPERATION
It cannot be set.
18

3.3.2.3 Manual Gain Control (MGC)
Set manual gain value (MGC). You can set the gain value to an arbitrary value. Use the LEFT / RIGHT keys to set the manual gain value.
*Default : 2dB
2-44dB
Fixes the gain value to an arbitrary value regardless of the brightness of the subject. The higher the setting
value, the brighter the image becomes, and the smaller the setting value, the darker the image.
MGC = 2dB
LEFT/RIGHT
MANUAL
MGC = 44dB
MGC = 22dB
OPERATION
SHUTTER/AGC
MGC
19

3.4 Picture Adjustment (ADJUST)
Adjust image quality. Move the cursor to ADJUST and press the ENTER key to display the ADJUST menu. Move the cursor up or down with UP / DOWN key
and select the item you want to adjust.
3.4.1 Image Flip (MIRROR)
Set the image flip processing (MIRROR) Use the LEFT / RIGHT key to select from normal (OFF), left / right inversion (H - FLIP), upside down (V - FLIP),
left / right up - down (HV - FLIP).
*Default : OFF
3.4.2 Contrast (CONTRAST)
Set the contrast (CONTRAST) settings. Use the LEFT/RIGHT key to adjust the contrast.
*The factory default value may vary.
CONTRAST = 50
CONTRAST = 32
000-063
CONTRAST
OPERATION
The smaller the setting value, the lower the contrast. The larger the setting value, the higher the contrast.
OFF
OFF
HV-FLIP
V-FLIP
H-FLIP
Vertical image flip
CONTRAST = 10
Horizontal and vertical image flip. Rotating the image by 180 degrees.
LEFT/RIGHT
H-FLIP
Normal image
Horizontal image flip
LEFT/RIGHT
MIRROR
OPERATION
HV-FLIP
ENTER
V-FLIP
20
Other manuals for WAT-233
2
Table of contents
Other Watec Digital Camera manuals

Watec
Watec WAT-910HX3/RC User manual

Watec
Watec WAT-2300 User manual

Watec
Watec WAT-910BD Use and care manual

Watec
Watec WAT-01U2 User manual

Watec
Watec WAT-3200 User manual

Watec
Watec WAT- 1903XH3/RC User manual

Watec
Watec WAT-240E User manual

Watec
Watec WAT-704R Series User manual

Watec
Watec WAT-910BD User manual

Watec
Watec WAT-240E/FS User manual