manuals.online logo
Brands
  1. Home
  2. •
  3. Brands
  4. •
  5. Waterpik
  6. •
  7. Accessories
  8. •
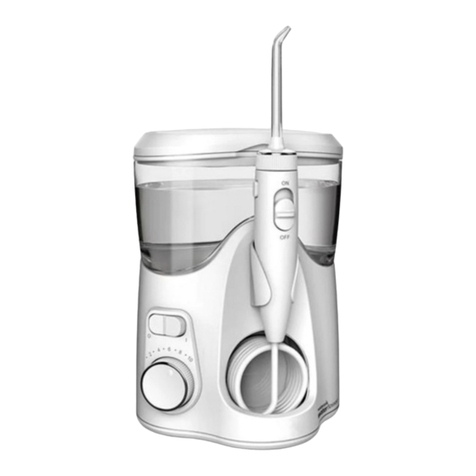
  9. Waterpik WP-650 User manual

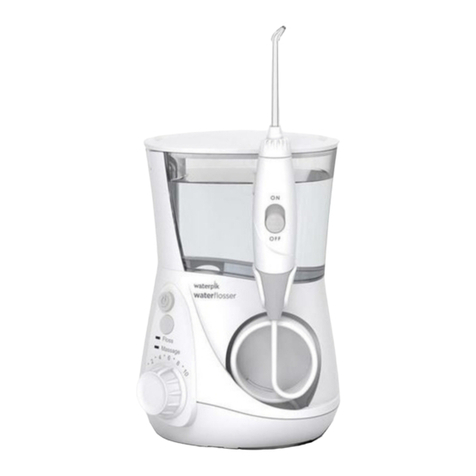
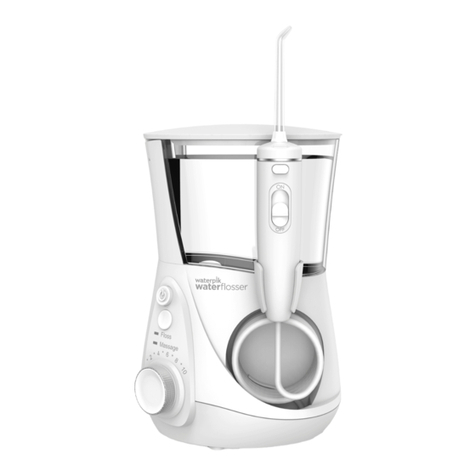
Waterpik WP-650 User manual

21
43
Floss
Massage
•
2
•
4
•
6
•
8
•
1
0
LOW
BASSE
WATER ON
EAU-MARCHE
Floss
Massage
•
2
•
4
•
6
•
8
•
1
0
HIGH
ÉLEVÉE
POWER ON
MISE SOUS
TENSION
ON
OFF
•
2
•
4
•
6
•
8
•
1
0
ON
OFF
•
2
•
4
•
6
•
8
•
1
0
NO GAP
PAS
D’ÉCART
REPLACE
REPLACEZ
ON
OFF
FILL
REMPLISSAGE
INSERT
CLICK
INSÉRER
CLIC
ON
OFF
TIP EJECT BUTTON
BOUTON D’ÉJECTION
D’EMBOUT
WATER ON/OFF SWITCH
INTERRUPTEUR ON/OFF
(MARCHE/ARRÊT)
D’ALIMENTATION EN EAU
TIP ROTATOR
ANNEAU CIRCULAIRE
À EMBOUT
Floss
Massage
•
2
•
4
•
6
•
8
•
1
0
FLOSS
SOIE DENTAIRE
Select and Insert Tip
Sélection et insertion de l’embout
Model WP-650/655/660
Modèle WP-650/655/660
Caution: Do not slide tip eject
button while unit is running.
Mise en garde : Ne manœuvrez pas
le bouton d’éjection d’embout
lorsque l’appareil est en marche.
QUICK START GUIDE / GUIDE DE DÉMARRAGE RAPIDE
Review full instruction book prior to first use / Lire l’intégralité du manuel d’instructions avant une première utilisation
Prepare the Reservoir
Préparation du réservoir
Remove the reservoir and fill
with lukewarm water.
Retirez le réservoir et
remplissez-le d’eau tiède.
Replace the reservoir
onto the base. There
should be no gap
between the reservoir
and the base.
Remettez le réservoir
en place sur la base.
Il ne doit pas y avoir
d’espace entre le
réservoir et la base.
Prior to Very First Use of Unit:
Set pressure control dial to highest
position, point the tip into sink. Turn
power on. Slide water switch ON
until water flows from the tip with
substantial force. Turn power OFF.
Avant une première utilisation :
Placez la commande de contrôle à la
position la plus élevée et orientez
l’embout vers le lavabo. Mettez
l’appareil sous tension. Faites glisser
l’interrupteur d’alimentation en eau à
ON (marche) jusqu’à ce que l’eau
s’écoule par l’embout avec une force
substantielle. ÉTEIGNEZ l’appareil.
Prime Unit (First Time Use Only)
Préparation de l’appareil
(première utilisation uniquement)
Adjust Pressure and Mode Selection
Réglez la pression et la sélection du mode
For first time users, adjust pressure control
to lowest position. Gradually increase
pressure to your liking.
Lors de la première utilisation, réglez la
pression de façon à ce qu’elle soit la plus
basse possible. Augmentez graduellement
la pression en fonction de vos préférences.
Press the mode button once and one LED
will display current mode. Press mode
button again to change modes. Floss
Mode is suggested for first time use.
Appuyez sur le bouton Mode une fois; une
DEL affiche le mode actuellement utilisé.
Appuyez de nouveau sur le bouton Mode
pour changer de mode. Il est conseillé
d’utiliser le mode Floss (soie dentaire) lors
de la première utilisation.
This device is only compatible with a voltage system of 120VAC, 60Hz. Do not plug this device into a voltage system that is different.
Cet appareil est uniquement compatible avec un système de tension de 120 VCA, 60 Hz. Ne le branchez pas dans un système de tension différent.
continued on back / voir suite au dos
6
5
7
WATER ON
EAU-MARCHE
WATER OFF
EAU-ARRÊT
Floss
Massage
•
2
•
4
•
6
•
8
•
1
0
POWER ON
MISE SOUS
TENSION
Massage
Floss
•
2
•
4
•
6
•
8
•
1
0
20017669-F AB
Water Pik, Inc.
1.800.525.2774 (USA/É.-U.) 1.888.226.3042 (Canada/Canada) www.waterpik.com
1730 East Prospect Road, Fort Collins, CO 80553-0001 USA ©2013 Water Pik, Inc.
Using your Waterpik® Water Flosser
Utilisation de votre hydropropulseur Waterpik®
Always place tip in mouth before turning water ON.
Placez toujours l’embout dans la bouche avant de faire
glisser l’interrupteur d’alimentation en eau à ON (marche).
Technique Tips for Best Results
Conseils d’utilisation pour un
résultat optimal
Aim the water stream just above the gumline at a 90
degree angle.
Dirigez le jet d’eau juste au-dessus de la ligne gingivale
à un angle de 90 degrés.
Starting with the back
teeth, follow the
gumline and pause
briefly between teeth.
Continue until all
areas around and
between teeth have
been cleaned.
Suivez la ligne gingivale en faisant une courte pause
entre chaque dent. Commencez par les dents du fond.
Continuez ainsi jusqu’à ce que les zones entre et autour
de chaque dent aient été nettoyées.
Timer and Massage Mode
Minuterie et mode Massage
With water switch on handle in OFF position, turn
power on. Lean over sink and close lips enough to
prevent splashing, while still allowing water to flow
from mouth into the sink. Turn water switch ON.
When finished, turn water switch and power OFF.
Alors que l’interrupteur sur la poignée est à la
position OFF (arrêt), mettez l’appareil sous
tension. Penchez-vous au-dessus du lavabo et pincez
suffisamment les lèvres pour éviter toute éclaboussure,
tout en permettant à l’eau de s’écouler de la
bouche dans le lavabo. Faites glisser
l’interrupteur d’alimentation en eau à ON
(marche). Lorsque vous avez terminé,
placez l’interrupteur d’alimentation en
eau à OFF (arrêt) et éteignez l’appareil.
During use, you can stop
water flow by sliding
water switch on handle
to the OFF position.
Note: Motor will
continue to run.
Au cours de l’utilisation,
vous pouvez interrompre
le débit d’eau en faisant
glisser l’interrupteur sur
la poignée à la position
OFF (arrêt).
Remarque : Le
moteur continue
à fonctionner.
Timer: In Floss Mode the timer
will provide a short pause at
30 seconds for pacing and
at 1-minute to indicate
recommended cleaning
time is complete.
Note: Timer may be deactivated
if desired. See instruction book
for details.
Minuterie : Au mode Floss (soie
dentaire), la minuterie fait faire
à l’utilisateur une courte pause à
30 secondes pour assurer un
rythme adéquat et à 1 minute
pour indiquer que la fin de la
durée de nettoyage
recommandée a été atteinte.
Remarque : Il est possible de
désactiver la minuterie. Voir le
manuel d’instructions pour plus
de détails.
Massage Mode: For best results,
use the Floss Mode as instructed.
Switch to Massage Mode, adjust
pressure as desired, and aim the
water stream at your gums and
massage throughout your mouth.
Note:
See instruction book for
full details.
Mode Massage : Pour des résultats
optimaux, utilisez le mode Floss
(soie dentaire) tel qu’indiqué. Faites
hpasser l’appareil au mode
Massage, ajustez la pression
comme désiré, orientez le jet d’eau
vers les gencives et massez
l’intérieur de la bouche avec
l’appareil.
Remarque : Voir le
manuel d’instructions
pour des détails
complets.
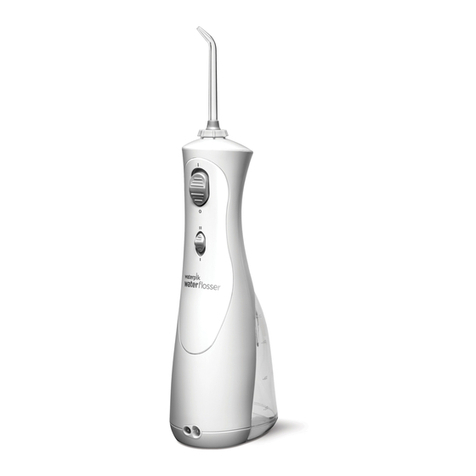
Other manuals for WP-650

1

This manual suits for next models

2

Other Waterpik Accessories manuals

Waterpik Complete Care CC-01 User manual

Waterpik

Waterpik Complete Care CC-01 User manual

Waterpik WP-440 User manual

Waterpik

Waterpik WP-440 User manual

Waterpik Waterflosser WF-02 User manual

Waterpik

Waterpik Waterflosser WF-02 User manual

Waterpik Pearl User manual

Waterpik

Waterpik Pearl User manual

Waterpik Waterflosser WF-02 User manual

Waterpik

Waterpik Waterflosser WF-02 User manual

Waterpik Waterflosser WP-950 Series User manual

Waterpik

Waterpik Waterflosser WP-950 Series User manual

Waterpik WF 02A User manual

Waterpik

Waterpik WF 02A User manual

Waterpik WP-400 Series User manual

Waterpik

Waterpik WP-400 Series User manual

Waterpik WP-360 User manual

Waterpik

Waterpik WP-360 User manual

Waterpik WP-400 Series User manual

Waterpik

Waterpik WP-400 Series User manual

Waterpik WP-100 Series User manual

Waterpik

Waterpik WP-100 Series User manual

Waterpik WF-10 Series User manual

Waterpik

Waterpik WF-10 Series User manual

Waterpik WP-562 User manual

Waterpik

Waterpik WP-562 User manual

Waterpik WP-112 User manual

Waterpik

Waterpik WP-112 User manual

Waterpik WP-250 User manual

Waterpik

Waterpik WP-250 User manual

Waterpik Water Flosser WP-560 User manual

Waterpik

Waterpik Water Flosser WP-560 User manual

Waterpik Waterflosser WP-150 Series User manual

Waterpik

Waterpik Waterflosser WP-150 Series User manual

Waterpik WP-72 User manual

Waterpik

Waterpik WP-72 User manual

Waterpik WF-20 Series User manual

Waterpik

Waterpik WF-20 Series User manual

Waterpik waterflosser WP-861 User manual

Waterpik

Waterpik waterflosser WP-861 User manual

Waterpik WF-16 User manual

Waterpik

Waterpik WF-16 User manual

Waterpik Waterflosser WF-02 User manual

Waterpik

Waterpik Waterflosser WF-02 User manual

Waterpik WF-09 User manual

Waterpik

Waterpik WF-09 User manual

Waterpik Water Flosser WF-03 User manual

Waterpik

Waterpik Water Flosser WF-03 User manual

Popular Accessories manuals by other brands

A&D AD-1671 instruction manual

A&D

A&D AD-1671 instruction manual

Homelite 16017 instruction sheet

Homelite

Homelite 16017 instruction sheet

Night Owl WDB-20 user manual

Night Owl

Night Owl WDB-20 user manual

REV Ritter Funk-Gong QH-863A manual

REV Ritter

REV Ritter Funk-Gong QH-863A manual

Niles C5-DA installation guide

Niles

Niles C5-DA installation guide

Manitowoc E-0600 installation instructions

Manitowoc

Manitowoc E-0600 installation instructions

Intersam ITC-ITP Series Installation and maintenance instructions

Intersam

Intersam ITC-ITP Series Installation and maintenance instructions

Dorner 2200 series Installation, maintenance & parts manual

Dorner

Dorner 2200 series Installation, maintenance & parts manual

maxill u-test manual

maxill

maxill u-test manual

NeuLog NUL-212 Guide

NeuLog

NeuLog NUL-212 Guide

Freeloader PICO PC1005 user manual

Freeloader

Freeloader PICO PC1005 user manual

Choetech B634 user manual

Choetech

Choetech B634 user manual

EVAPCO ESW4 Rigging and Assembly Instructions

EVAPCO

EVAPCO ESW4 Rigging and Assembly Instructions

Festo SBSI-EN user manual

Festo

Festo SBSI-EN user manual

Aroma360 VanGogh360 troubleshooting guide

Aroma360

Aroma360 VanGogh360 troubleshooting guide

Emos EMT757-F manual

Emos

Emos EMT757-F manual

Niigata seiki WTI-2030S user manual

Niigata seiki

Niigata seiki WTI-2030S user manual

Ingenium SRKNX Programming manual

Ingenium

Ingenium SRKNX Programming manual

manuals.online logo
manuals.online logoBrands
  • About & Mission
  • Contact us
  • Privacy Policy
  • Terms and Conditions

Copyright 2025 Manuals.Online. All Rights Reserved.