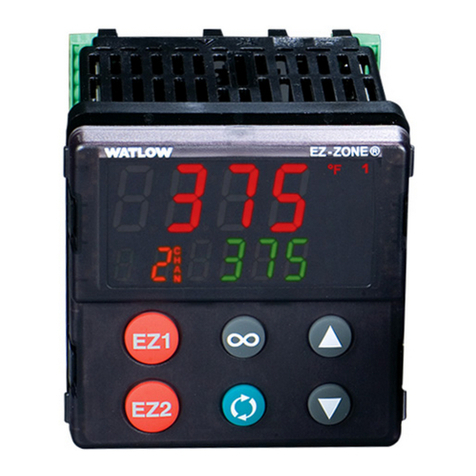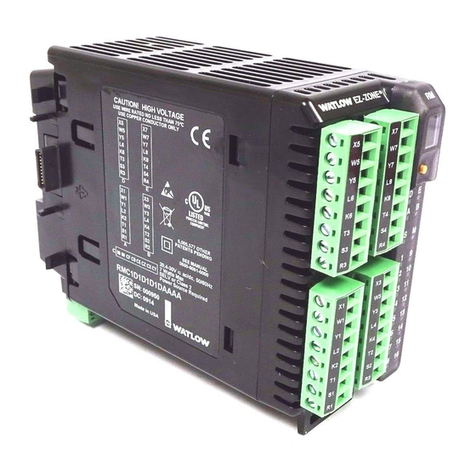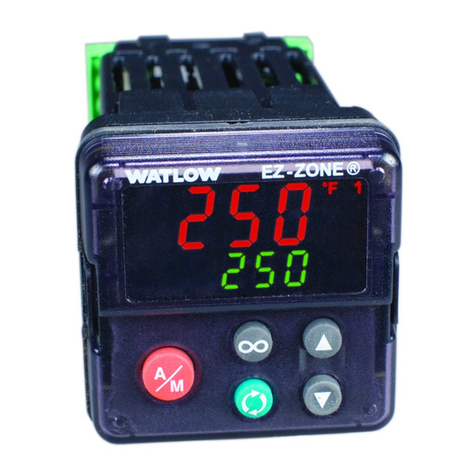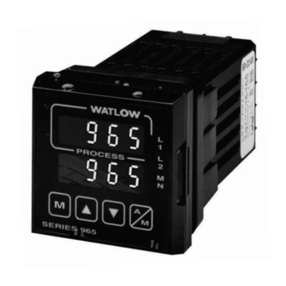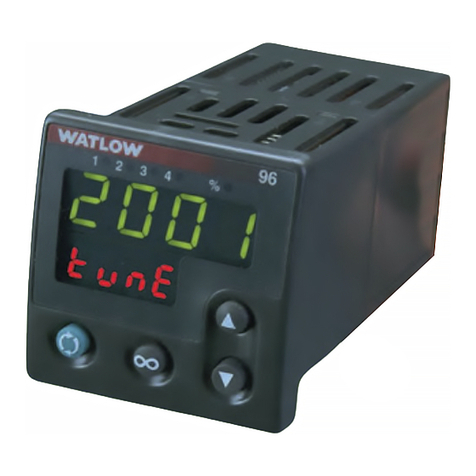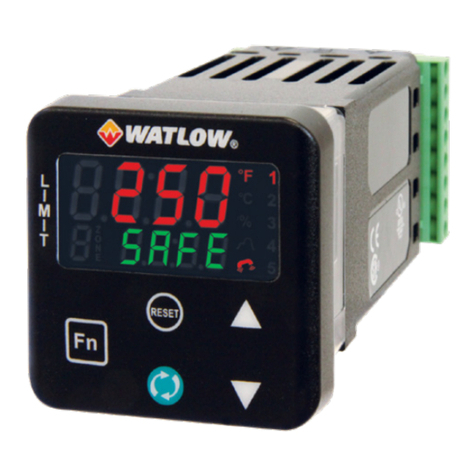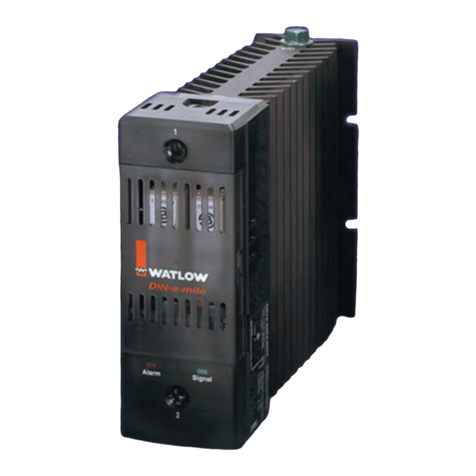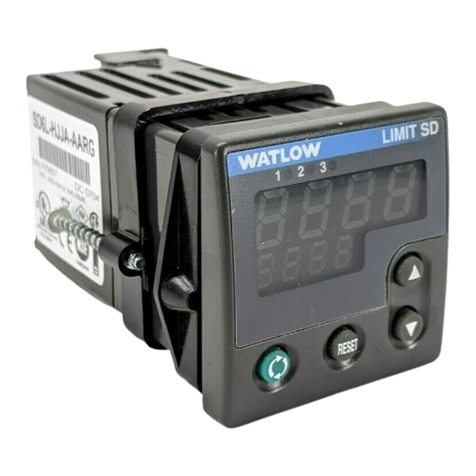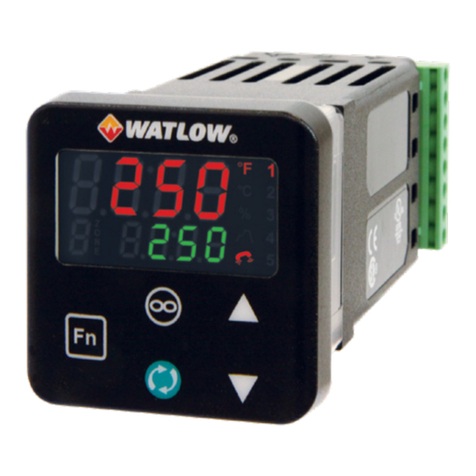
PM Plustm 8 Shown
CAUTION
Do not connect high voltage to a controller that
requires low voltage.
5 - CONNECT POWER
Connect the power source for your
configuration code:
PM8,9 _ [1,2,3,4] _ _ - _ _ _ _ _ _ _
1 or 2:120-240 V (ac)
3 or 4: 24 V (ac or dc)
Control Mode
1. Press the Home Key to return to the home screen.
2. From Home, tap the Forward Arrow Key to go to
Operations.
3. Scroll
to Setup using the +/- keys, then press the
Forward Arrow Key to select it.
4. Scroll to and select Control Loop using the +/-
keys, then press the Forward Arrow Key to select it.
5. Scroll to and select Control Mode using the +/-
keys, then press the Forward Arrow Key to select it.
6. Select Off, Auto, or Manual.
9 - CONTROL LOOP MODE, SET POINT, AUTOTUNE
NOTES: By default
the control loop Heat
algorithim is enabled
for PID control and
the Cool algorithim is
OFF. To enable, go to
Control Loop.
CAUTION: Autotune
turns on the loop’s
heat output until the
process value exceeds
90% of the set point,
then turns the output
off and repeats this.
When finished the loop
controls at the set
point. Before starting
Autotune, consider if it
is safe to do so.
The system must
be operational for
autotuning to select
PID settings.
A
larm Types
Process: alarm
set points are set
directly
Deviation: alarm
set points are
relative to the
control loop’s set
point.
Off: no alarm
occurs
Alarm Sides
High: alarm when
process is above
high alarm set
point.
Low: alarm when
process is below
low alarm set
point.
Both: high and
low alarms are
active.
Alarm sides allow
you to set a high
alarm, a low
alarm, or both.
8 - SET UP ALARM TYPES / SIDES
Repeat for remaining alarms.
Alarm Type
1. Press the Home Key to return to the home screen.
2. From Home, tap the Forward Arrow Key to go to
Operations.
3. Scroll
to Setup using the +/- keys then press Forward
Arrow Key to select it.
4. Scroll to and select Alarm using the +/- keys then press
the Forward Arrow Key to select it.
5. Scroll to and select Alarm 1, 2, 3, or 4. Then press the
Forward Arrow Key to select it.
6. Scroll to and select Type. Then press the Forward Arrow
Key to select it.
7. Scroll to and select the type: Off, Process Alarm, or
Process Deviation, then press Forward Arrow Key to
select it.
Sensor
Types
thermocouple
millivolts
volts
milliamp
100Ω RTD
1000Ω RTD
potentiometer
1. Press the Home Key to return to the home screen.
2. From Home, tap the Forward Arrow Key to go to Operations.
3. Scroll
to Setup using the +/- keys, then press the Forward Arrow Key
to select it.
4. Scroll
to Analog Input using +/- keys, then press the Forward Arrow
Key to select it.
5. Scroll to Analog Input 1 using the +/- keys, press the Forward Arrow
Key to select it.
6. Scroll to Sensor Type and select it using the Forward Arrow Key .
7. If you select Thermocouple, a TC Linearization list opens. Using
the +/- keys to find the correct type: J, K, N, R, S, or T, then press
Forward Arrow Key to select it.
8. If you select 100Ω or 1000Ω RTD, press Back Arrow Key to return
to Sensor Type, scroll to and select RTD Leads, then select 2or
3, as needed for your sensor.
6 - SET UP THE SENSOR INPUT
1. Press the Home Key to return to the home screen.
2. From Home, tap the Forward Arrow Key to go to Operations.
3. Scroll
to Setup using the +/- keys then press Forward Arrow Key to
select it.
4. Scroll
to Output using +/- keys, then press the Forward Arrow Key
to select it.
5. Scroll
to Output 1 then press the Forward Arrow Key to select it.
6. Scroll and select Output 1 Function and press the Forward Arrow Key
to select it.
7. Scroll up or down the list then press to select the output function, then
Output
Functions
heat control
cool control
event a
event b
alarm
output off
7 - SET UP OUTPUTS
use the Back Arrow Key to return to the Output list and select the
settings for that Output function:
• For alarm outputs, select Output Function Instance, then select
Alarm Instance 1 - 4.
When the Function is Set to Heat
• If you have a Relay Output, a Switched DC Output, or a Process
Output with a 0 to 10 V signal; then there is no need to change any
settings, since the default settings should apply.
• If you have a Process Output, and want a 4-20 ma, set Output
Type to Milliamps, set Function to “Heat”, Output Function
Instance to “1”, Scale Low to 4.00, Scale High to 20.00, Range
Low to 0.0 and Range High to 100.0.
Repeat for all outputs
Auto: loop adjusts output so process matches set point.
Manual: user sets control loop output in percent power. Off:no
control loop output
Control Loop Set Point
1. Press
the Home button to return to the Home
screen.
2. Use
the numeric slider or the +/-keys to choose the set
point.
Autotune
1. From Setup, scroll to and select Control Loop.
2. Scroll to and select AutoTune.
3. Select Yes.
PM8 Plus
Shown
PM8 PLUS Shown
PM8 PLUS
Shown
Alarm Sides
1. Use
the back arrow to return to Alarm 1,2,3, or 4. Use the +/- keys to
select the Alarm 1, 2, 3, or 4. Press the Forward Arrow Key to select it.
2. Scroll to and select Alarm Sides.
3. Scroll to and select the desired sides option: high, low, or both.
4. Use
the Back Arrow Key to return to the Alarm list.
5. Scroll to the Alarm High Set Point or Alarm Low Set Point, as
necessary for your sides selection.
10-CE DECLARATION OF CONFORMITY
Series EZ-ZONE®PM
WATLOW Electric Manufacturing Company
1241 Bundy Blvd.
Winona, MN 55987 USA
Series EZ-ZONE®PM (Panel Mount)
Model Numbers: PM (3, 6, 8, 9 or 4)(Any Letter or number)(1, 2, 3 or 4)(A, C, E, F or K)
(A, C, H, J or K) – (Any letter or number)(Any letter or number)(A, C, E,
F or K)(A, C, H, J or K) (Any three letters or numbers)
Classification: Temperature control, Installation Category II, Pollution degree 2, IP65
Rated Voltage and Frequency: 100 to 240 V~ (ac 50/60 Hz) or 15 to 36 V dc/ 24 V~ac 50/60 Hz
Rated Power Consumption: 10 VA maximum PM3, PM6 Models.
14 VA maximum PM8, PM9, PM4 Models
Meets the essential requirements of the following European Union Directives by using the relevant standards show
below to indicate compliance.
2014/30/EU Electromagnetic Compatibility Directive
EN 61326-1:2013 Electrical equipment for measurement, control and laboratory use – EMC
requirements (Industrial Immunity, Class A Emissions).
IEC 61000-4-2:2008 Electrostatic discharge immunity
IEC 61000-4-3:2007
+A1/2008, A2/2010
Radiated, radio-frequency electromagnetic field immunity 10V/M 80–1000
MHz, 3 V/M 1.4–2.7 GHz
IEC 61000-4-4:2012 Electrical fast-transient / burst immunity
IEC 61000-4-5:2014
+A1/2017
Surge immunity
IEC 61000-4-6:2013 +
Corrigendum 2015
Immunity to conducted disturbances induced by radio-frequency fields
IEC 61000-4-11:2020 Voltage dips, short interruptions and voltage variations immunity
IEC 61000-3-2:2014 Limits for harmonic current emissions for equipment 16 Amps per phase
EN 61000-3-31:2013 +
A1/2017
Voltage fluctuations and flicker 16 Amps per phase
SEMI F47-0812 Specification for semiconductor sag immunity Figure R1-1
1For mechanical relay loads, cycle time may need to be extended up to 160 seconds to meet flicker requirements
depending on load switched and source impedance.
Use in commercial or residential applications may require additional filtering to pass Class B emissions levels,
system testing should be done to confirm.
2014/35/EU Low-Voltage Directive
EN 61010-1:20102
+A1:2019
Safety Requirements of electrical equipment for measurement, control
and laboratory use. Part 1: General requirements
2 Compliance with 3rd Edition requirements with use of external surge suppressor installed on 230 Vac~ power line units. Recommend minimum
1000 V peak to maximum 2000 V peak, 70 joules or better part be used.
Compliant with 2015/863/EU “RoHS3” Directive
Per 2012/19/EU W.E.E.E Directive Please Recycle Properly.
Models PM(4, 8 or 9)E contain a type BR1225 coin cell battery which shall be recycled at end of life
per 2006/66/EC Battery Directive as amended by 2013/56/EU Directive.
Models PM6XXXX – (B, E, F, G, H, J, K)XXXXXX
where (X = any letter or number allowed above)
Include Bluetooth®wireless technology and have been reviewed to the following additional requirements.
2014/53/EU Radio Equipment DirecƟve (RED)
EN 61010-1:2010 Safety Requirements of electrical equipment for measurement, control and laboratory use.
Part 1: General requirements Covering the essential requirements of article 3.1(a) or
Directive 2014/53/EU
EN 61326-1:2013 +A1,
2019
Electrical equipment for measurement, control and laboratory use – EMC requirements
(Industrial Immunity, Class A Emissions).
CAUTION: This equipment not intended for use in residential environments and may not
provide adequate protection to radio reception in such environments.
EN 301 489-1 V2.1.1 ElectroMagnetic Compatibility (EMC) standard for radio equipment and services; Part 1:
Common technical requirements; Harmonized Standard covering the essential
requirements of article 3.1(b) of Directive 2014/53/EU and the essential requirements of
article 6 of Directive 2014/30/EU
EN 301 489-17 V3.1.1 ElectroMagnetic Compatibility (EMC) standard for radio equipment and services; Part 17:
Specific conditions for Broadband Data Transmission Systems; Harmonized Standard
covering the essential requirements of article 3.1(b) of Directive 2014/53/EU
EN 300 328 V1.9.1 Electromagnetic compatibility and Radio spectrum Matters (ERM); Wideband transmission
systems; Data transmission equipment operating in the 2,4 GHz ISM band and using wide
band modulation techniques; Harmon ized EN covering the essential requirements of article
3.2 of the R&TTE Directive NVLAP Test Report 10928545H-A
EN 300 328 V2.1.1 Additional Receiver blocking test for to cover requirements for 2014/53/EU. NVLAP Test
Report 11649468H-E
Contains Module FCC ID: VPYLBZY Part 15C 2.
Contains Module IC: 772C-LBZY RSS 210
Output Power: Frequency Range 2402.0 - 2480.0 Output Power 0.001 WaƩs
Antenna gain: -0.6 dBi PCB antenna
Doug Kuchta Winona, Minnesota, USA
Name of Authorized Representative Place of Issue
Director of Operations October 2021
Title of Authorized Representative Date of Issue
Signature of Authorized Representative CE DOC EZ-ZONE PM-10-21
'HFODUHVWKDWWKHIROORZLQJSURGXFW
'HVLJQDWLRQ
&(/HWWHURI&RQIRUPLW\
