manuals.online logo
Brands
  1. Home
  2. •
  3. Brands
  4. •
  5. wattstopper
  6. •
  7. Accessories
  8. •
  9. wattstopper FM-105 User manual

wattstopper FM-105 User manual






The FM-105 high frequency occupancy sensor uses ultra-
high-frequency radio waves, also known as “microwaves”
and the principle of the Doppler Effect to detect motion.
The sensor sends out radio waves that bounce off of nearby
surfaces and return to the sensor. Motion in the area
changes the speed of the waves returning to the sensor. The
sensor detects the change and interprets it as occupancy.
This causes the sensor to turn ON the load.
High freqency radio waves can penetrate certain materials,
therefore, the FM-105 can be installed behind a luminaries’
plastic or glass lens.
The FM-105 can be used in a water-tight non-metallic
box or water-tight luminaire for wet or damp location
applications.

The FM-105 also has daylighting control capability. The
daylight control on the FM-105 is a “HOLD-OFF” type. The
sensor stops the load from turning ON if the ambient light
is greater than the daylighting setpoint. If the load is already
ON, the sensor will not turn OFF the load due to high
ambient daylight.

The coverage pattern may vary based on sensor location
and characteristics of surrounding material. Shield
placement, or the use of the second shield may alter the
coverage pattern.

6’ (2m)
12’ (4m)
18’ (5.5m)
MAX.
20’ (6m)
MIN.
3’ (1m)

6’ (2m)
12’ (4m)
18’ (5.5m)
MAX.
MIN.
FM-105
inside
ceiling mount
fixture
at 8’ (2.5m)
height




Voltages.......................................... 120/277VAC, 50/60Hz
Load Requirements
@ 120VAC, 60Hz.................0-800W ballast or tungsten
@ 277VAC, 60Hz...................................0-1200W ballast
Trimpot Adjustments
Light Level.........................................................2-200fc
Range/Sensitivity ...........................3’ to 20’ (1m to 6m)
Time Delay ...........................10 seconds to 30 minutes
Power Output ... 1 mW (similar or less than a cell phone)
Frequency.............................................................. 5.8GHz





1. Determine the mounting location inside the luminaire or other
suitable enclosure. If the daylight feature will be used, be sure
to locate the sensor where daylight is not completely obscured
from the sensor.
2. Attach a metal shield to the FM-105 so that the shield is
located between the FM-105 and the lamp. If additional
shielding is needed, attach the second optional shield to the
other side of the FM-105. Make sure that the wiring terminals
on the FM-105 are accessible.
3. Put the plastic mounting foot onto the base of the FM-105 to
secure the metal shield(s) in place.
4. Secure the FM-105 assembly in place using screws through
the plastic mounting foot.
5. Connect the line voltage and load wires to the FM-105
terminals as shown in the wiring diagram.
 • Donotallowbarewiretoshow.
 • Make sure all connections are secure.
6. Restore power from the circuit breaker.

10
sec 30 min
1200
Time Delay
Light Level
(footcandles)
LOAD
NEUT
LINE
Plastic mounting foot
Lighting
Load Metal
shield
Hot/Line
Neutral
FM-105
Microwave
(5.8 GHz)
Occupancy Sensor
120/277VAC, 50/60 Hz
@120VAC: 0-800W Ballast
or Tungsten
@277VAC: 0-1200W Ballast
FCC ID: Q4BFM105
APPLIANCE
CONTROL
88T9
Sensitivity
-+

Position metal shield between the FM-105 and lamp. Second op-
tional shield may be mounted to the opposite side of the FM-105.
FM-105
Microwave
(5.8 GHz)
Occupancy Sensor
100-277VAC, 50/60 Hz
@120VAC: 0-600W Ballast,
0-600W Tungsten,
1/6 hp
@277VAC: 0-1000W Ballast,
1/4 hp
FCC ID: Q4BFM105
10
sec 30 min
1200
Time Delay
Light Level
(footcandles)
LOAD
NEUT
LINE
FM-105
Microwave
(5.8 GHz)
Occupancy Sensor
120/277VAC, 50/60 Hz
@120VAC: 0-800W Ballast
or Tungsten
@277VAC: 0-1200W Ballast
FCC ID: Q4BFM105
APPLIANCE
CONTROL
88T9
Sensitivity
-+
 Align studs on the
bottom of the FM-105 with the holes on
the metal shield flanges. Do not block
wiring terminals on the FM-105 with the
shield.
The mounting foot provides 4 different
mounting positions for use with a single
shield. Only 2 mounting positions can be used with the 2 shields.
FM-105
Microwave
(5.8 GHz)
Occupancy Sensor
100-277VAC, 50/60 Hz
@120VAC: 0-600W Ballast,
0-600W Tungsten,
1/6 hp
@277VAC: 0-1000W Ballast,
1/4 hp
FCC ID: Q4BFM105
FM-105
Microwave
(5.8 GHz)
Occupancy Sensor
100-277VAC, 50/60 Hz
@120VAC: 0-600W Ballast,
0-600W Tungsten,
1/6 hp
@277VAC: 0-1000W Ballast,
1/4 hp
FCC ID: Q4BFM105
FM-105
Microwave
(5.8 GHz)
Occupancy Sensor
100-277VAC, 50/60 Hz
@120VAC: 0-600W Ballast,
0-600W Tungsten,
1/6 hp
@277VAC: 0-1000W Ballast,
1/4 hp
FCC ID: Q4BFM105
FM-105
Microwave
(5.8 GHz)
Occupancy Sensor
100-277VAC, 50/60 Hz
@120VAC: 0-600W Ballast,
0-600W Tungsten,
1/6 hp
@277VAC: 0-1000W Ballast,
1/4 hp
FCC ID: Q4BFM105
10
sec 30 min
1200
Time Delay
Light Level
(footcandles)
LOAD
NEUT
LINE
FM-105
Microwave
(5.8 GHz)
Occupancy Sensor
120/277VAC, 50/60 Hz
@120VAC: 0-800W Ballast
or Tungsten
@277VAC: 0-1200W Ballast
FCC ID: Q4BFM105
APPLIANCE
CONTROL
88T9
10
sec 30 min
1200
Time Delay
Light Level
(footcandles)
LOAD
NEUT
LINE
FM-105
Microwave
(5.8 GHz)
Occupancy Sensor
120/277VAC, 50/60 Hz
@120VAC: 0-800W Ballast
or Tungsten
@277VAC: 0-1200W Ballast
FCC ID: Q4BFM105
APPLIANCE
CONTROL
88T9
10
sec 30 min
1200
Time Delay
Light Level
(footcandles)
LOAD
NEUT
LINE
FM-105
Microwave
(5.8 GHz)
Occupancy Sensor
120/277VAC, 50/60 Hz
@120VAC: 0-800W Ballast
or Tungsten
@277VAC: 0-1200W Ballast
FCC ID: Q4BFM105
APPLIANCE
CONTROL
88T9
10
sec 30 min
1200
Time Delay
Light Level
(footcandles)
LOAD
NEUT
LINE
FM-105
Microwave
(5.8 GHz)
Occupancy Sensor
120/277VAC, 50/60 Hz
@120VAC: 0-800W Ballast
or Tungsten
@277VAC: 0-1200W Ballast
FCC ID: Q4BFM105
APPLIANCE
CONTROL
88T9
Sensitivity
-+Sensitivity
-+
Sensitivity
-+
Sensitivity
-+
 Align 4 corner studs on the bottom of the
FM-105 with 4 corner slots on mounting foot. Twist to secure.

Three trimpots on the FM-105 allow you to
adjust the time delay, sensitivity/range, and
light level setpoint. To reduce a setting, turn
the associated trimpot counter-clockwise
toward the minimum setting. To increase a
setting, turn the trimpot clockwise toward the maximum setting.


The FM-105 automatically turns OFF the load after the coverage
area has been vacant for the amount of time set in the time delay.
The minimum setting is 10 seconds, maximum is 30 minutes.


|
|
|
|
|
It is possible for a high frequency sensor to “see” through solid
objects and detect motion if the sensitivity is set too high. If you
are getting detections and the load will not turn OFF, reduce the
sensitivity slightly and see if that corrects the situation.

Adjust the daylighting setpoint when ambient light is sufficient
to keep the lights OFF. Set the time delay to minimum. Adjust
the light level trimpot in small increments. Wait 1 to 2 minutes
between adjustments. After the time delay expires and the load
turns OFF, move within the detection area of the sensor. If the
load comes back ON, you need to repeat the procedure.

The first time the sensor is powered-up the load will flash ON
then OFF once, then there will be 10 seconds while the sensor
warms-up. After that time the sensor will work normally.

To quickly test the unit, turn the time delay to minimum. Move
out of the sensor’s view. Lights should turn OFF after 10 seconds.
Move into the sensor’s view. The lights should turn ON.

1. Cover the sensor to simulate darkness then move in the
coverage area. If the load turns ON, adjust the light level.
2. Check all wire connections. Verify all wires are secure.

1. If there is no motion in the desired coverage area, the
sensor may be picking up movement on the other side of
a wall, partition, window or door. Reduce the sensitivity.
2. Verify time delay and that there is no movement
within the sensor’s view for that time period.
 
This device complies with part 15 of the FCC Rules. Operation
is subject to the following two conditions: (1) This device may
not cause harmful interference, and (2) this device must accept
any interference received, including interference that may cause
undesired operation.
Caution: Any changes or modifications to this device not
explicitly approved by Watt Stopper could void your authority to
operate this equipment.
Notice: The FM-105 may cause interference to a nearby WIreless
Network operating at a similar frequency around 5.8 GHZ.
OR

Watt Stopper warranties its products to be free of defects in
materials and workmanship for a period of five (5) years. There
are no obligations or liabilities on the part of Watt Stopper for
consequential damages arising out of, or in connection with, the
use or performance of this product or other indirect damages
with respect to loss of property, revenue or profit, or cost of
removal, installation or reinstallation.
2800 De La Cruz Boulevard, Santa Clara, CA 95050
08745r4 2/2013
Please
Recycle

Other wattstopper Accessories manuals

wattstopper Legrand FM-105 User manual

wattstopper

wattstopper Legrand FM-105 User manual

wattstopper CI-24 User manual

wattstopper

wattstopper CI-24 User manual

wattstopper DT-200 User manual

wattstopper

wattstopper DT-200 User manual

wattstopper LMDC-100 User manual

wattstopper

wattstopper LMDC-100 User manual

wattstopper W-500A User manual

wattstopper

wattstopper W-500A User manual

wattstopper CI-305 User manual

wattstopper

wattstopper CI-305 User manual

wattstopper CX-100 User manual

wattstopper

wattstopper CX-100 User manual

wattstopper PW-100 User manual

wattstopper

wattstopper PW-100 User manual

wattstopper CH-250 User manual

wattstopper

wattstopper CH-250 User manual

wattstopper CI-200 User manual

wattstopper

wattstopper CI-200 User manual

wattstopper RH-250-W User manual

wattstopper

wattstopper RH-250-W User manual

wattstopper DW-200 User manual

wattstopper

wattstopper DW-200 User manual

wattstopper DSW-301 User manual

wattstopper

wattstopper DSW-301 User manual

wattstopper PW-301 User manual

wattstopper

wattstopper PW-301 User manual

wattstopper LMLS-400 User manual

wattstopper

wattstopper LMLS-400 User manual

wattstopper EW-205-24 User manual

wattstopper

wattstopper EW-205-24 User manual

wattstopper CI-200 Series User manual

wattstopper

wattstopper CI-200 Series User manual

wattstopper LMPW-102 User manual

wattstopper

wattstopper LMPW-102 User manual

wattstopper LMDX-100 User manual

wattstopper

wattstopper LMDX-100 User manual

wattstopper DSW-301 User manual

wattstopper

wattstopper DSW-301 User manual

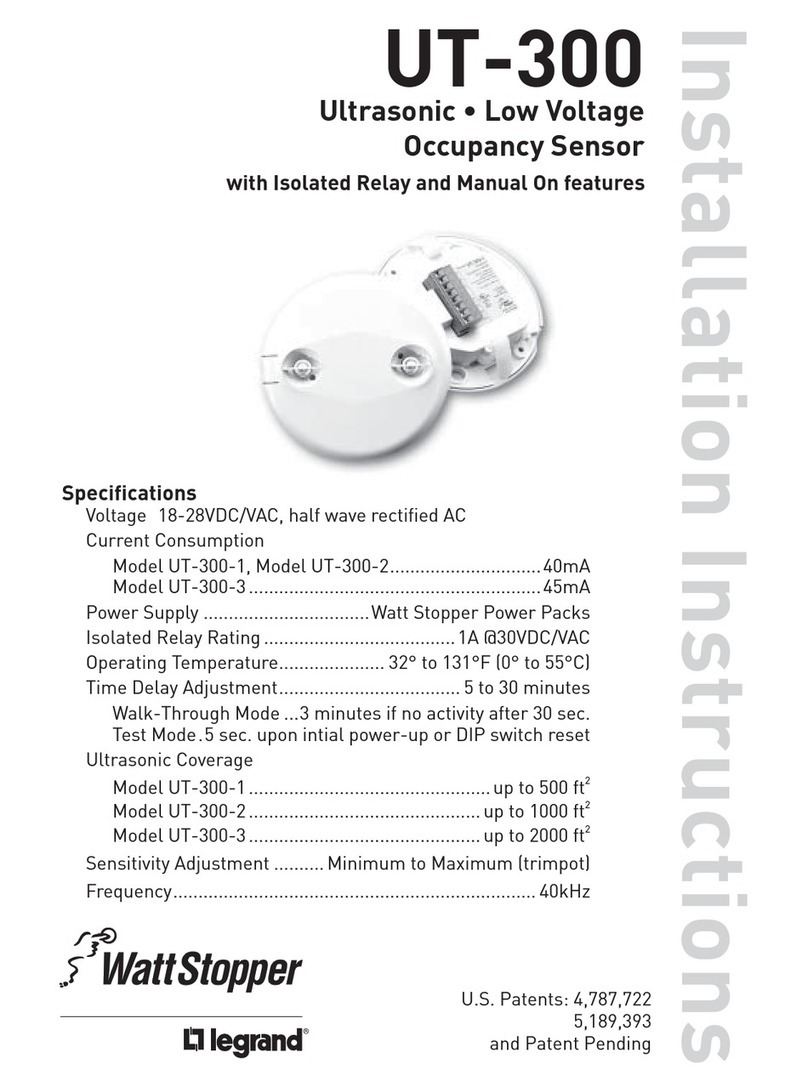
wattstopper UT-300-1 User manual

wattstopper

wattstopper UT-300-1 User manual

wattstopper RD‑250 User manual

wattstopper

wattstopper RD‑250 User manual

wattstopper LMPX-100-4 User manual

wattstopper

wattstopper LMPX-100-4 User manual

wattstopper UT-305 User manual

wattstopper

wattstopper UT-305 User manual

Popular Accessories manuals by other brands

NextGen VIPER SC+ BASE quick start guide

NextGen

NextGen VIPER SC+ BASE quick start guide

Yamaha SYSTEM45 Service manual

Yamaha

Yamaha SYSTEM45 Service manual

Kistler 9143B Series instruction manual

Kistler

Kistler 9143B Series instruction manual

Door Controls DC10326 manual

Door Controls

Door Controls DC10326 manual

Leviton ODP10-I1I instructions

Leviton

Leviton ODP10-I1I instructions

nedis DOORB220CWT quick start guide

nedis

nedis DOORB220CWT quick start guide

Intelbras XAS 4010 SMART user manual

Intelbras

Intelbras XAS 4010 SMART user manual

Cooluli CONCORD-20LDX instruction manual

Cooluli

Cooluli CONCORD-20LDX instruction manual

ROSE DISPLAYS FISH CLIP instruction sheet

ROSE DISPLAYS

ROSE DISPLAYS FISH CLIP instruction sheet

ROSE DISPLAYS BUTTERFLY CLIPS WITH BALL CHAIN manual

ROSE DISPLAYS

ROSE DISPLAYS BUTTERFLY CLIPS WITH BALL CHAIN manual

Osram LEDVANCE 4058075814677 operating instructions

Osram

Osram LEDVANCE 4058075814677 operating instructions

Summit Treestands 82072 manual

Summit Treestands

Summit Treestands 82072 manual

PCB Piezotronics ICP M109C12 Installation and operating manual

PCB Piezotronics

PCB Piezotronics ICP M109C12 Installation and operating manual

Panasonic LS-H Series instruction manual

Panasonic

Panasonic LS-H Series instruction manual

Eurotronic Air Quality Sensor quick start guide

Eurotronic

Eurotronic Air Quality Sensor quick start guide

QOLSYS IQ PANEL installation manual

QOLSYS

QOLSYS IQ PANEL installation manual

SENSIRION SHT4x user guide

SENSIRION

SENSIRION SHT4x user guide

ELRO DVC04C manual

ELRO

ELRO DVC04C manual

manuals.online logo
manuals.online logoBrands
  • About & Mission
  • Contact us
  • Privacy Policy
  • Terms and Conditions

Copyright 2025 Manuals.Online. All Rights Reserved.