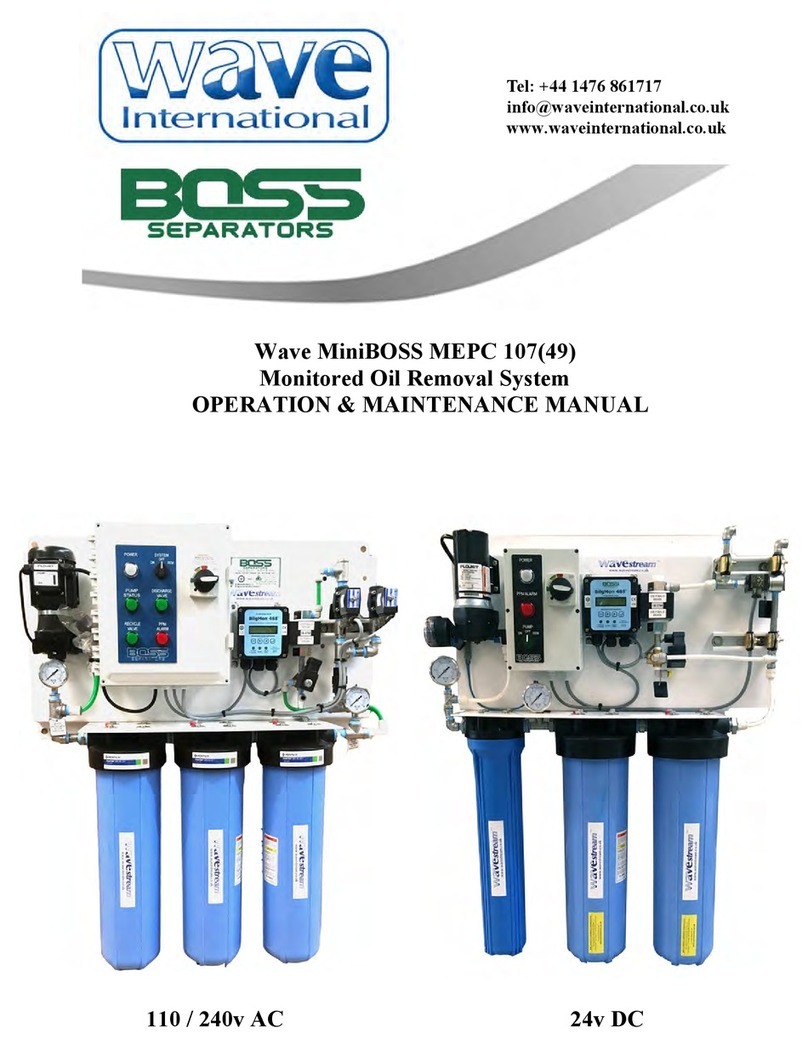
Wave Flostream Manual

INSTALLATION & OPERATING INSTRUCTIONS
Drinking and Food Application Water Filter Systems
www.waveinternational.co.uk

FLO19.rev00
2
ContentsFlostream Installation and Cartridge
Replacement Instructions
Section Page
1. Introduction 2
1.1 Important 2
1.2 What it does 2
1.3 Before you begin 3
2. Tools and Fasteners 3
3. Basic Components 3
4. Flostream Filter System Specifications 4
5. Fitting Flostream (flexi hose installation) 5
6. Cartridge Replacement 5
7. Functional Checks 5
7.1 Installation check 5
7.2 Operational / Maintenance check 5
8. Approvals 6
Section 1.Introduction
1.1 Important
It is important to us that this product works as advertised and that you enjoy the extra peace of
mind that Flostream offers. If you have any queries that can not be answered by your supplier
or engineer, please contact us direct on +44 (0) 1476 861717 or e-mail
info@waveinternational.co.uk
1.2 What it does
•The Flostream drinking water filter systems produce premium quality, healthy water at point of
use, in cabins and galleys, for all food service applications.
•Importantly Flostream eliminates the need for disposable water bottles onboard.
oRemoves Chlorine, improving taste and odour.
oCyst reduction, removes contaminants that cause health issues.
oLime-scale and KDFinhibition (Flostream), KDF successfully extends filter life and
increases the performance of the media and helps maintain its efficiency.
oBacteriostatic control to inhibit microbial growth in the water system.
oCartridge easy connect/release with a quarter turn, replace after 6 months or sooner if
required.
oInstall in vertical position with cartridge hanging below for easy replacement.
oSimple installation with push fit connections for standard 10mm flexi pipe, other
optional size connections available
oRecommended flow rate 1.90 L/min..
oPressure range 0.7 - 8.5 bar. / Temperature range 2 - 38 degress centigrade.

FLO19.rev00
3
1.3 Before you begin
•Before you start, please read through these instructions carefully. Fitting the Flostream may
involve:
oCutting into a section of flexible hose or water supply pipe. Ensure plastic pipe cuts are
square and no burrs are left on the cut end as this may damage the seal.
oMounting the Flostream filter by bolting or screwing the Twist Lock Head or mounting
bracket to a solid fixing point.
oThe position you mount the Flostream in must allow for the bowl to be removed for
cartridge replacement. Leave a minimum of 25 mm below the filter
housing to allow cartridge removal. Do not mount in direct sunlight.
Section 2. Tools and Fasteners
The Flostream can be installed using the average DIY toolkit. You will also need:
•A sharp knife or plastic pipe cutter to cut existing water supply pipe / hose.
•A screwdriver for the head / bracket screws (screws not supplied)
Section 3. Basic Components
•Before you start, please check that you have the following components. If you think you are
short of any items, please call us immediately. The Flostream and Flostream HiFlo use the
same Twist Lock Head which is supplied separately to the cartridge or cartridge housing.
Flostream
Twist Lock Head - FLOWPHD
o1 x Flostream Twist Lock head unit.
Flostream Cartridge –FLOW2
o1 x Flostream FLOW2 –Flostream 216 Cartridge
OR
Flostream Cartridge –FLOW4
o1 x Flostream FLOW4 –Flostream 324 Cartridge
CAUTION
If you have any
doubts at any time
about installing this
equipment, please
consult a qualified
person or call Wave
International for
advice.
NOTE
Take care if using a
sharp knife to cut
flexible hose.

FLO19.rev00
4
Flostream HiFlo
Twist Lock Head - FLOWPHD
o1 x Flostream Twist Lock head unit.
Flostream HiFlo - FLOHFSG
o1 x Flostream HiFlo Housing complete with top cap.
o1 x Flostream HiFlo Cartridge. FLOHFC
Flostream HiFlo10
Flostream HiFlo –FLOHF10
o1 x Flostream HiFlo10 Housing complete.
o1 x Flostream HiFlo10 Cartridge. FLOHFC10
Section 4. Flostream Filter System Specifications
Flostream System
FLOW RATE: 1.90 Liters per min.
PRESS. RANGE: 0.7 - 8.5 bar.
MAX. TEMP: 38 deg. C.
MIN. TEMP: 2 deg. C.
CONNECTIONS: 10mm (15mm option)
CARTRIDGE: FLOW2 –3800L
OR CARTRIDGE: FLOW4 –7600L
DIMENSIONS: 264mm + HEAD –FLOW2
DIMENSIONS: 372mm + HEAD –FLOW4
Flostream HiFlo System –FLOHFHSG
FLOW RATE: 6 Liters per min.
PRESS. RANGE: 0.7 - 8 bar.
MAX. TEMP: 38 deg. C.
MIN. TEMP: 2 deg. C.
CONNECTIONS: 10mm (15mm option)
CARTRIDGE: FLOHFC
DIMENSIONS: 390mm + HEAD
Flostream HiFlo10 System –FLOHF10
FLOW RATE: 10 Liters per min.
PRESS. RANGE: 0.7 –8.6 bar.
MAX. TEMP: 51.7 deg. C.
MIN. TEMP: 4 deg. C.
CONNECTIONS: ¾”BSP (15mm option)
CARTRIDGE: FLOHF10C
DIMENSIONS: 337mm

FLO19.rev00
5
Section 5. Installing the Components
5.1 Fitting Flostream (flexible pipe installation).
•Locate a suitable position and fix the Twist Lock Head securely this is for the Flostream and
Flostream HiFlo, for the Flostream HiFlo10 securely mount the housing top cap which has an
has an integral bracket. Note the direction of flow arrows on the tops.
•Flostream and Flostream HiFlo then install the filter cartridge (FLOW2 or FLOW4) by insert into
the head and twisting ¾ of a turn to lock in position, this action also opens a valve within the
head which closes on removing the cartridge.
•Cut the flexible water supply pipe immediately before and after the filter, square with no burrs.
•Slide the two ends of the flexible supply hose into the push fit connections.
•It is preferential the Flostream filters are vertical and it is required to have enough space below
the filter units to allow for changing the cartridges, minimum 25mm.
•For the Flostream HiFlo and HiFlo10 check the bowl ‘O’ ring is in position and the filter cartridge
in place, tighten the bowl firmly by hand.
•Run the water pump and bleed any air out of the nearest tap. On the Flostream HiFlo10 there is
also a bleed screw or button on the top of the unit for this
Section 6. Cartridge Replacement
•Make the cartridge replacement part of a regular maintenance programme, making sure to
replace the Flostream cartridge before water quality is reduced. The period between cartridge
replacements will depend on the condition of the water and the values in the specifications at
Section 4.0 are a guideline only.
•Ensure you have the correct cartridge for your system.
•Ensure the water supply pump is switched off.
•Flostream and Flostream HiFlo, a ¾ counter clockwise twist will remove the cartridge or
housing, closing the internal valve in the head, for the HiFlo then remove the housing top cap to
remove cartridge.
•Flostream HiFlo10 - Unscrew the filter bowl and pour the excess bilge water away.
•Remove the saturated cartridge placing it in a suitable receptacle for onward responsible
disposal.
•Check the ‘O’ ring is in the top of the HiFlo and HiFlo10 bowl and it is in good condition and the
seals on top and bottom of the new cartridge are also in place.
•Flostream and Flostream HiFlo, install the filter cartridge or housing (FLOW2 or FLOW4) by
insert into the head and twisting ¾ of a turn to lock in position, this action also opens a valve
within the head.
•Flostream HiFlo10, locate the new cartridge in the centre of the bowl and then tighten the bowl
firmly by hand.
•Run the water pump and bleed any air out of the nearest tap. On the Flostream HiFlo10 there is
also a bleed screw or button on the top of the unit for this
Section 7. Functional Checks
7.1 Installation Check
•Go over all your work one last time, ensuring that:.
oThe filter units are secure and all connections are good.
oMake sure any other components you disturbed or removed during the fitting
process have been refitted correctly.
WARNING
Before fitting the
filter ensure the
water supply pump
is not running and
turned off.
NOTE
If installing in a hard
piped system refer
to the BSP thread
data in Section 4
WARNING
Before fitting the
filter ensure the
water supply pump
is not running and
turned off.
.

FLO19.rev00
6
7.2 Operational / Maintenance Check
•Make cartridge replacement part of a regular maintenance programme and change at least
once every 6 months.
•The period between cartridge replacements will depend on the condition of the water and
the values in the specifications at Section 4.0 are a guideline only.
Section 8. Approvals
•The Flostream FLOW2 & FLOW4 are NSF 42 & 53 certified to meet health and aesthetic
standards.
•The Flostream HiFlo and HiFlo10 systems are constructed with WRAS and NSF certified
components and filter medias.
Wave International limited makes no representations or warranties with respect to the contents or use of this manual and specifically disclaims
any express or implied warranties of merchantability or fitness for any particular purpose. Further, Wave International Limited reserves the right
to revise this publication and make changes to its content, at any time and to make changes to any and all parts of Wave International products
without obligation to notify any person or entity of such revisions or changes.
Wave International Limited Your Local Agent Is:
Axholme
Newton Way
Colsterworth
Grantham NG33 5NP
UK
tel.: +44 1476 861717
email: info@wavestream.co.uk
web: www.wavestream.co.uk
This manual suits for next models
2
Table of contents
Other Wave Water Filtration System manuals
Popular Water Filtration System manuals by other brands

WaterSoft
WaterSoft ISOBAR II Installation & operation manual

Parker
Parker Domnick Hunter WS Series user guide

SMC Networks
SMC Networks AMK20 Series Operation manual

Timewave
Timewave DSP-599zx operating manual

Clean Water Systems
Clean Water Systems Pro-OX 5700-E Programming guide

HAEGER
HAEGER BRIGHT WATERS WJ-24W.001A User instructions