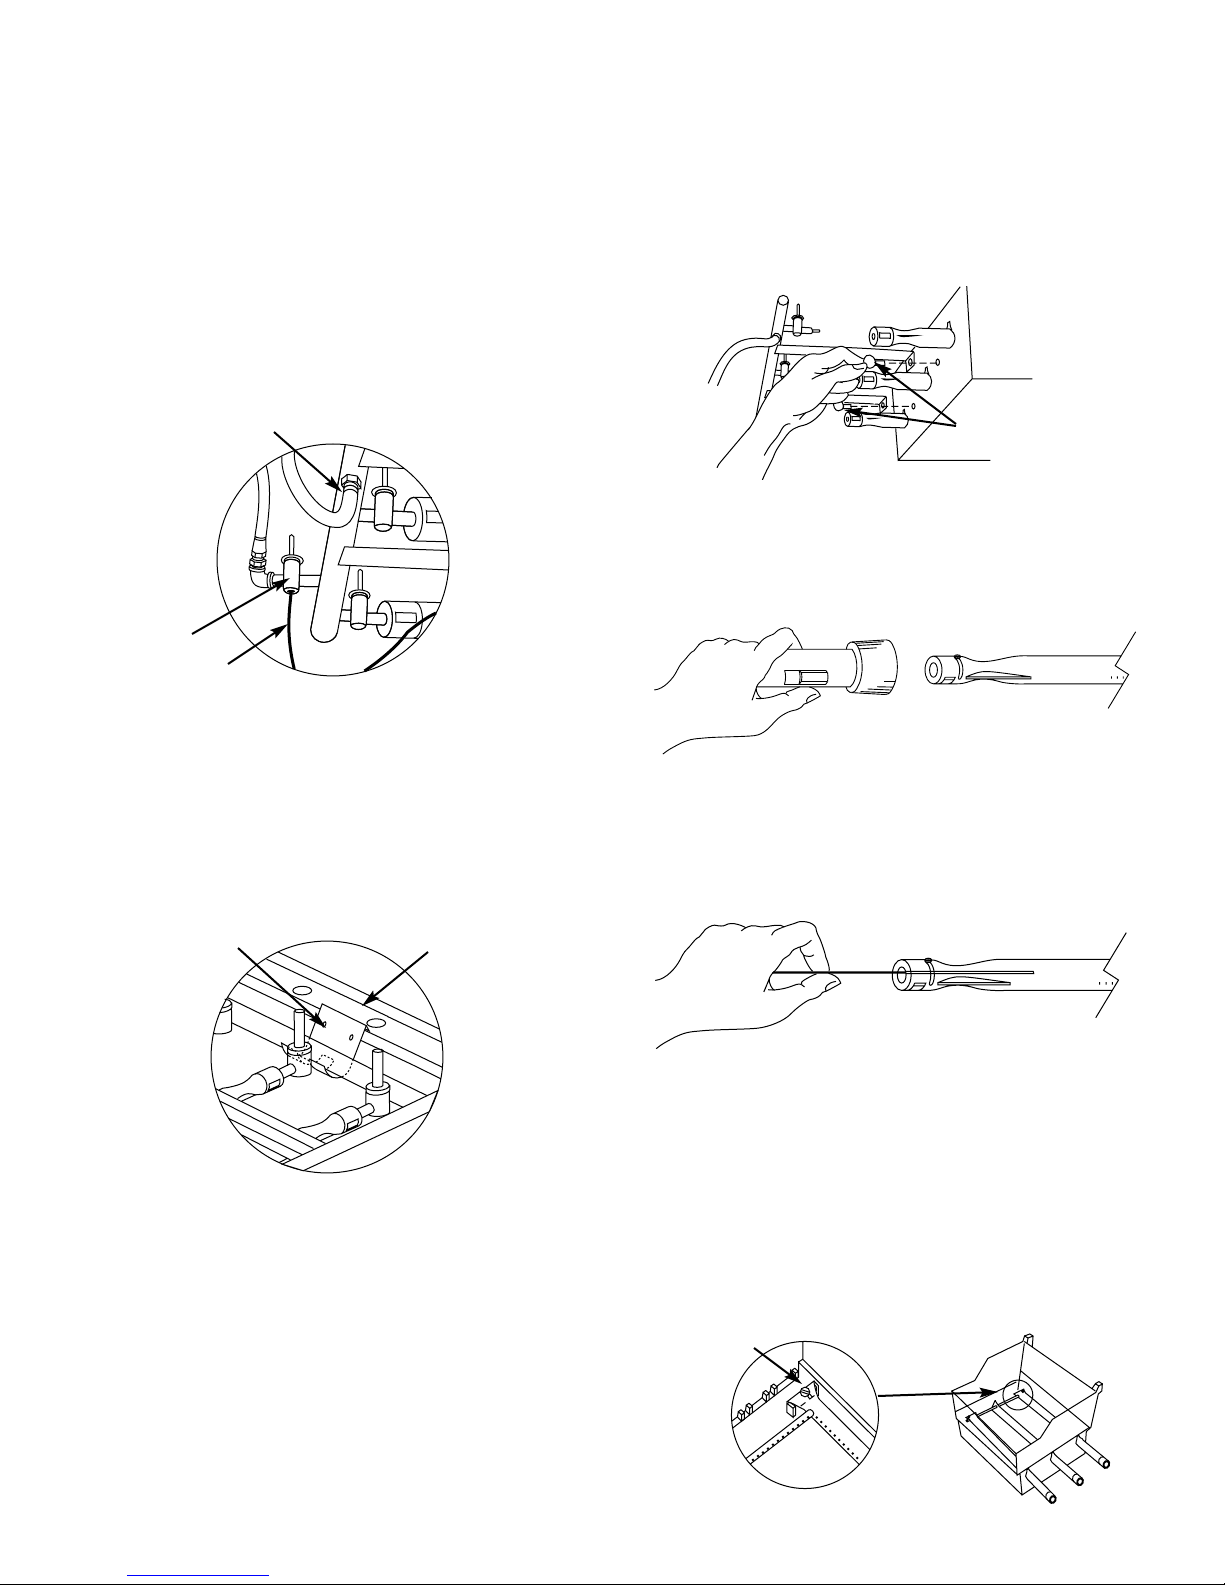
Step 10
Install the Manifold Bracket
Hook the bracket onto the manifold at the center burner
valve. Refer to page 2, Step 5, Figure 4. Place your
hand underneath the bracket, slightly lift the bracket,
manifold and cooking box as a unit, and hook the
bracket onto the frame brace.
Step 11
Check air shutter openings
The air shutters should be open approximately 1/8 to
3/16 of an inch Figure 9.
Step 12
• On units with a side burner, install the side burner
and reconnect the side burner hose to the side burner
fitting on the manifold.
•On Genesis 4, 5 and Perma-Mount Gas Barbecue
models with a FlameCheck Safety System you must
reconnect the capillary tube to the FlameCheck valve.
Do not over-tighten.
Step 13
Reinstall the igniter.
Step 14
Install Spider Stopper Guards
Fit the Spider Stopper Guards around the burner tube
and the valve. The large hole fits around the burner and
the small hole fits around the valve. Latch the guard.
Figure 10.
Turn screw
to loosen
Air shutter
Figure 9
Figure 10
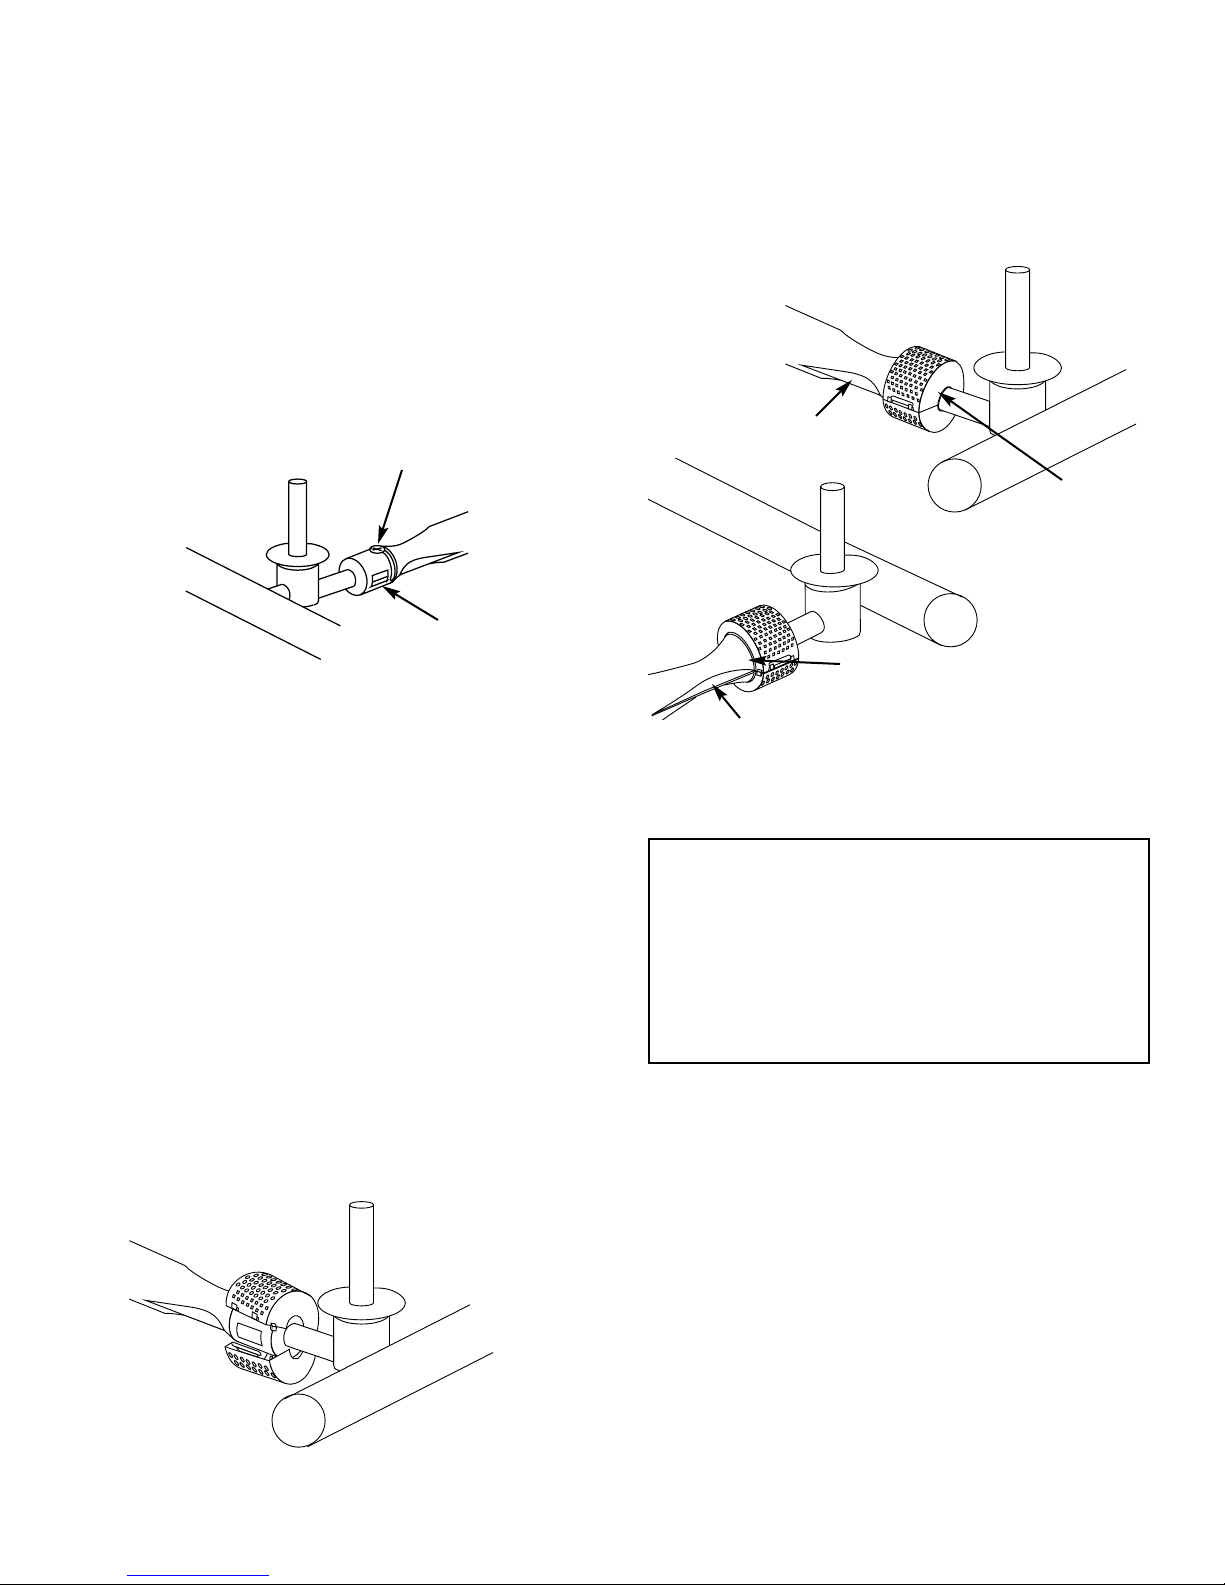
Step 15
Check the fit of the Spider Stopper Guards
Slightly rotate the Spider Stopper Guards, if necessary,
so that the seams are in line with the Venturi fins. There
should be no gaps in the seams or in the fit around the
burners and valves. Figure 11.
Step 16
Check for gas leaks at all connections
Refer to your Owner’s Manual.
WARNING: You should check for gas leaks every
time you disconnect and reconnect any gas fitting.
Step 17
Install burner control knobs and control panel.
Inspection and cleaning of the Weber Spider
Stopper Guards
To inspect the Spider Stopper Guards, remove the control
panel, and look to see if they have dust or dirt on their
outside surfaces. If dust or dirt has accumulated, brush it
off with a soft bristle brush (for example, an old tooth-
brush). Check that there are no gaps in the Spider
Stopper Guards’ seams or in the fit around the burners or
valves. See Figure 11.
Check fit
around valve
Check fit
around burner
Venturi fin
Venturi fin Figure 11
DANGER
Do not use an open flame to check for
gas leaks. Be sure there are no sparks or
open flames in the area while you check
for leaks. This may result in a fire or
explosion which can cause serious bodily
injury or death and damage to property.
3