Operating instructions Date: 08/2019
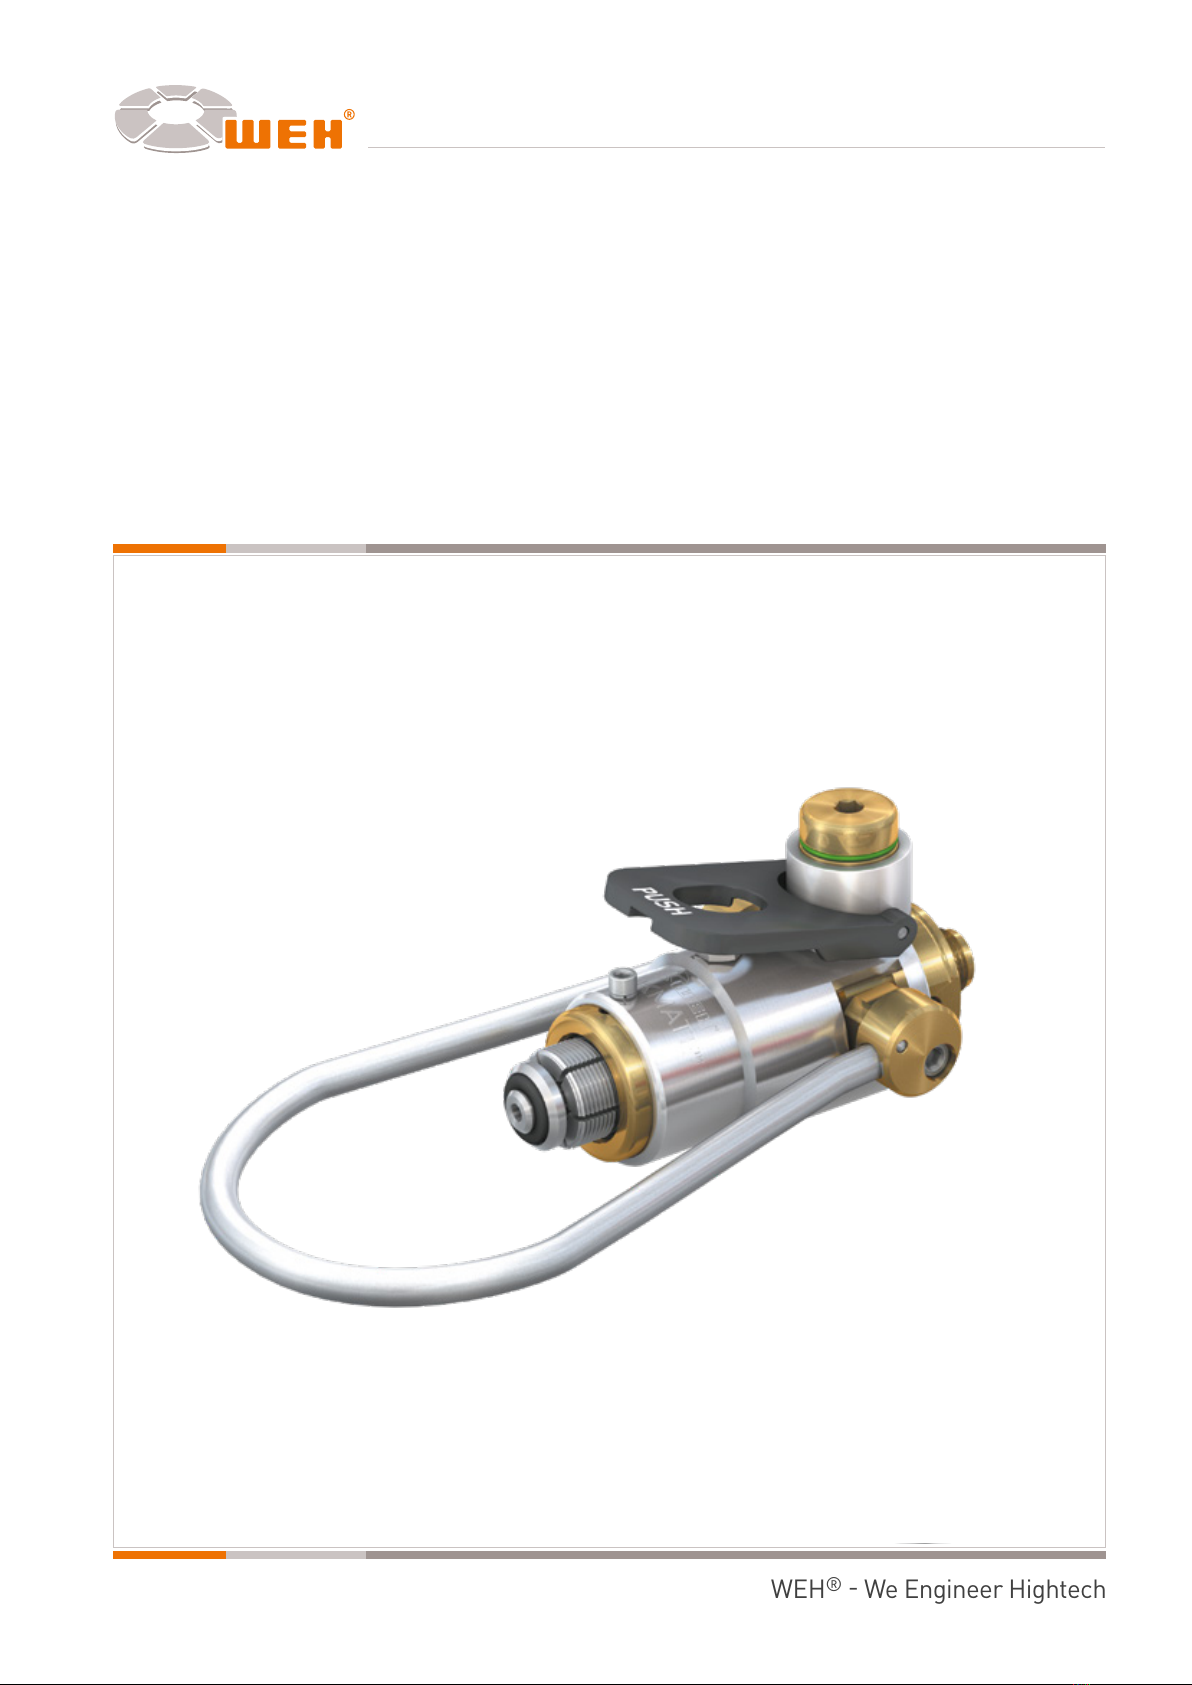
CLICKMATE™ TW154 - 200 bar
Page 6
D-2007/10/00250-8-3
4�1 Safety instructions for connection and disconnection
4�1�1 Observe the right order when connecting and disconnecting.
4�1�2 Disconnect the CLICKMATE™ TW154 200 bar only after complete pressure
venting. In case the operating loop (pos. 1) is lifted in pressurized condition, the
safety peg locks the operating loop (pos. 1) and prevents disconnection under
pressure. If force is used to actuate the loop with the safety peg extended, the
safety peg could be damaged.
4�1�3 Do not use excessive force when connecting.
4�1�4 Do only connect the CLICKMATE™ TW154 200 bar to faultless cylinder valves.
4�1�5 The cylinders to be filled have to be fixed firmly when using quick connectors with
filling hoses. When using pallets, make sure that no accumulation of escaping air
may occur.
4�1�6 For easy handling, we recommend to use the WEH®Swivel joint TD1 to prevent
twisting of the hose when connecting.
NOTE: The CLICKMATE™ TW154 200 bar is equipped with a safety peg (figure 9,
page 9) that is actuated at a pressure between 15 and 20 bar, locking the operating loop
(pos. 1) and preventing disconnection under pressure. After completion of the filling
procedure and complete pressure venting, the safety peg retracts allowing the operating
loop (pos. 1) to be lifted easily into its initial position. The safety peg can be damaged if the
operating loop (pos. 1) is forcibly actuated before the system has been completely vented
and the safety peg is still visible.
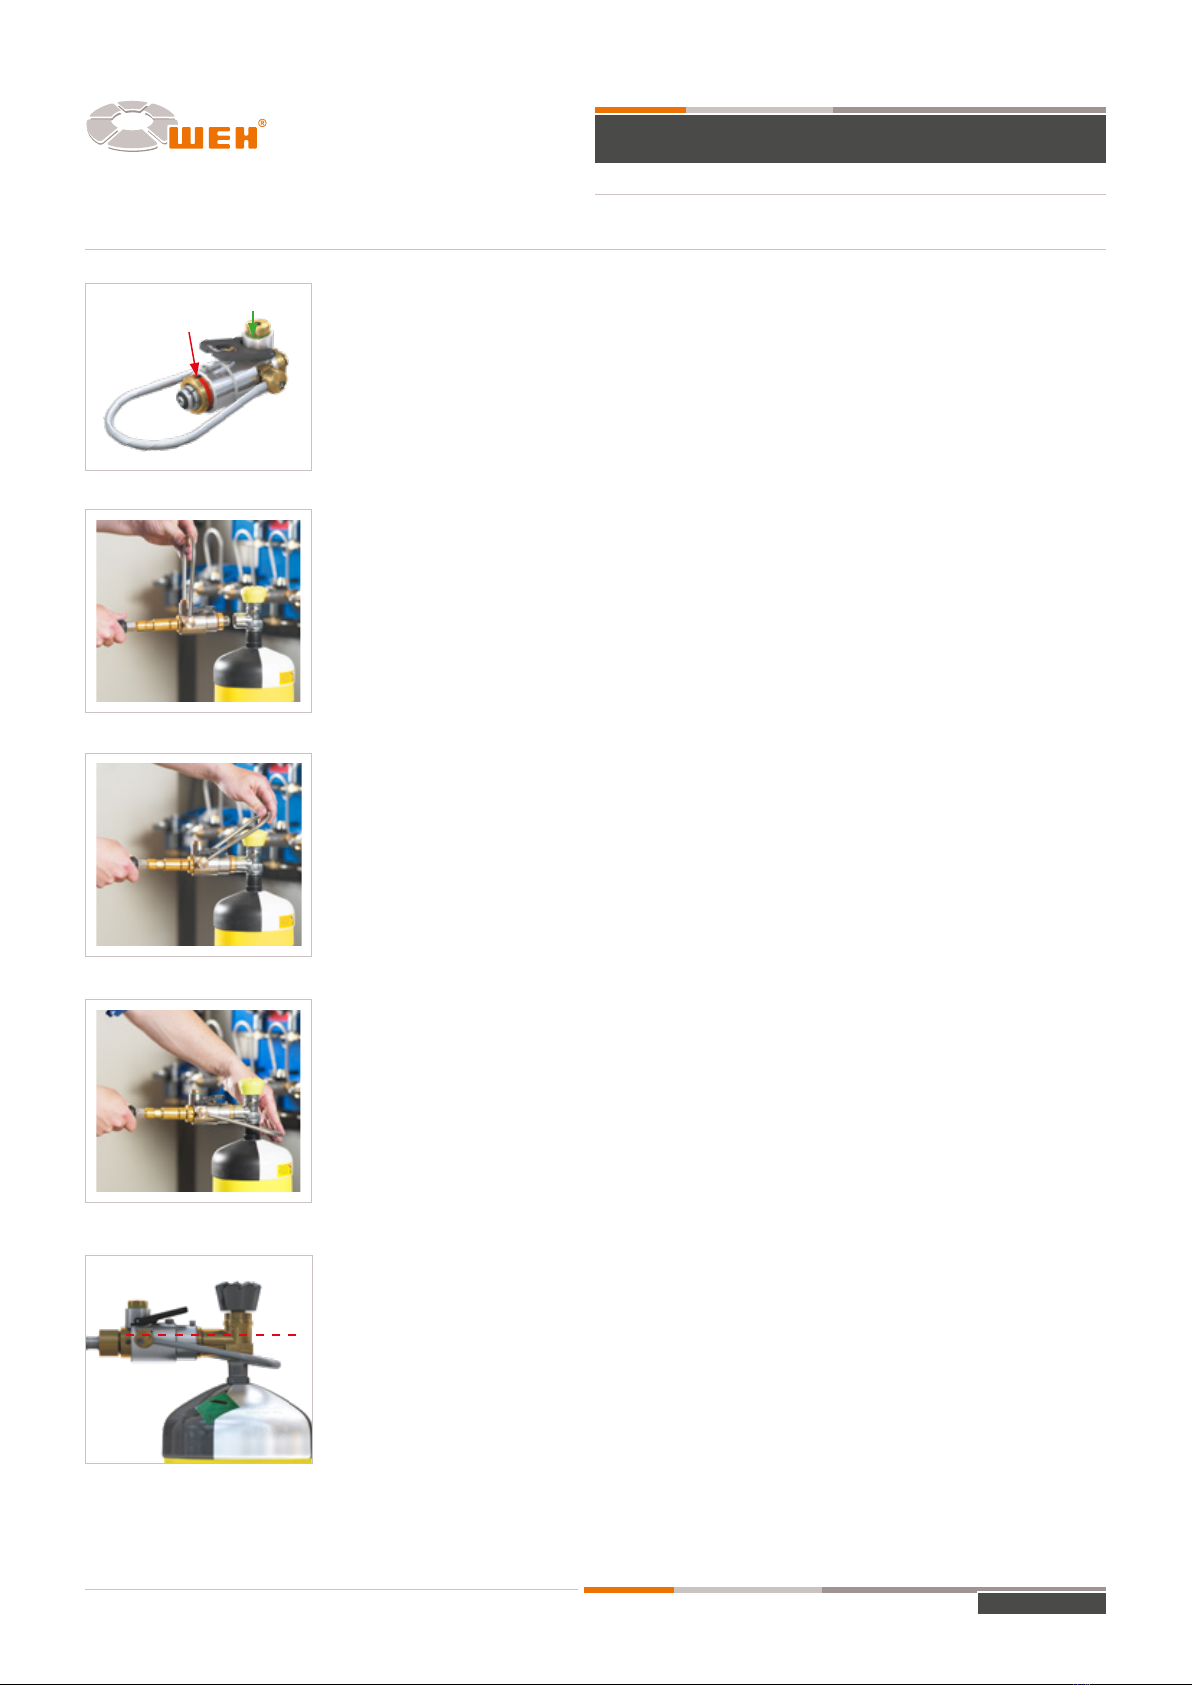
4�2 Connection
The CLICKMATE™ TW154 200 bar has a green control ring at the locking device (pos. 2) and a
red marking at the front part of the connector (figure 1) indicating the proper connection of the
CLICKMATE™ TW154 200 bar.
4�2�1 Lift the operating loop (pos� 1) until it stops (figure 2)� Align the CLICKMATE™
TW154 200 bar in a straight horizontal line to the cylinder valve thus preventing
damage to the front seal by sharp edges of the valve. Place the CLICKMATE™
TW154 200 bar into the cylinder valve until it stops. Do not use force.
4�2�2 Lower the operating loop (pos� 1) until it stops (figure 3)� The operator must be
able to lower the operating loop easily and without using force. The loop must
lock into place with an audible ‚click‘. The clamping jaws are locked, clamp into
the cylinder thread, the valve is sealed and the pressure-tight connection is made
(figure 4).
4�2�3 Check the connection. Ensure that the operating loop (pos. 1) has travelled
through its full stroke to a point below the centre line of the CLICKMATE™ TW154
200 bar (figure 5) to enable the safety peg to protrude when pressure is applied.
The jaws must fully clamp into the thread.
4 OPERATION
Figure 5
Green ring
Red marking
Figure 1
Figure 2
Figure 3
Figure 4