You’ve just taken one of your first steps to boosting your
weight loss.
By purchasing your
POINTS
Pedometer, you’ve already, you’ve already
indicated that you’re interested in reaching your goal and
becoming more active.
This
POINTS
Pedometer is designed to record the activity
POINTS
values you earn as well as the steps and thevalues you earn as well as the steps and the
distance you walk each day.
Your information will be saved for up to one week so that
you can monitor your progress.
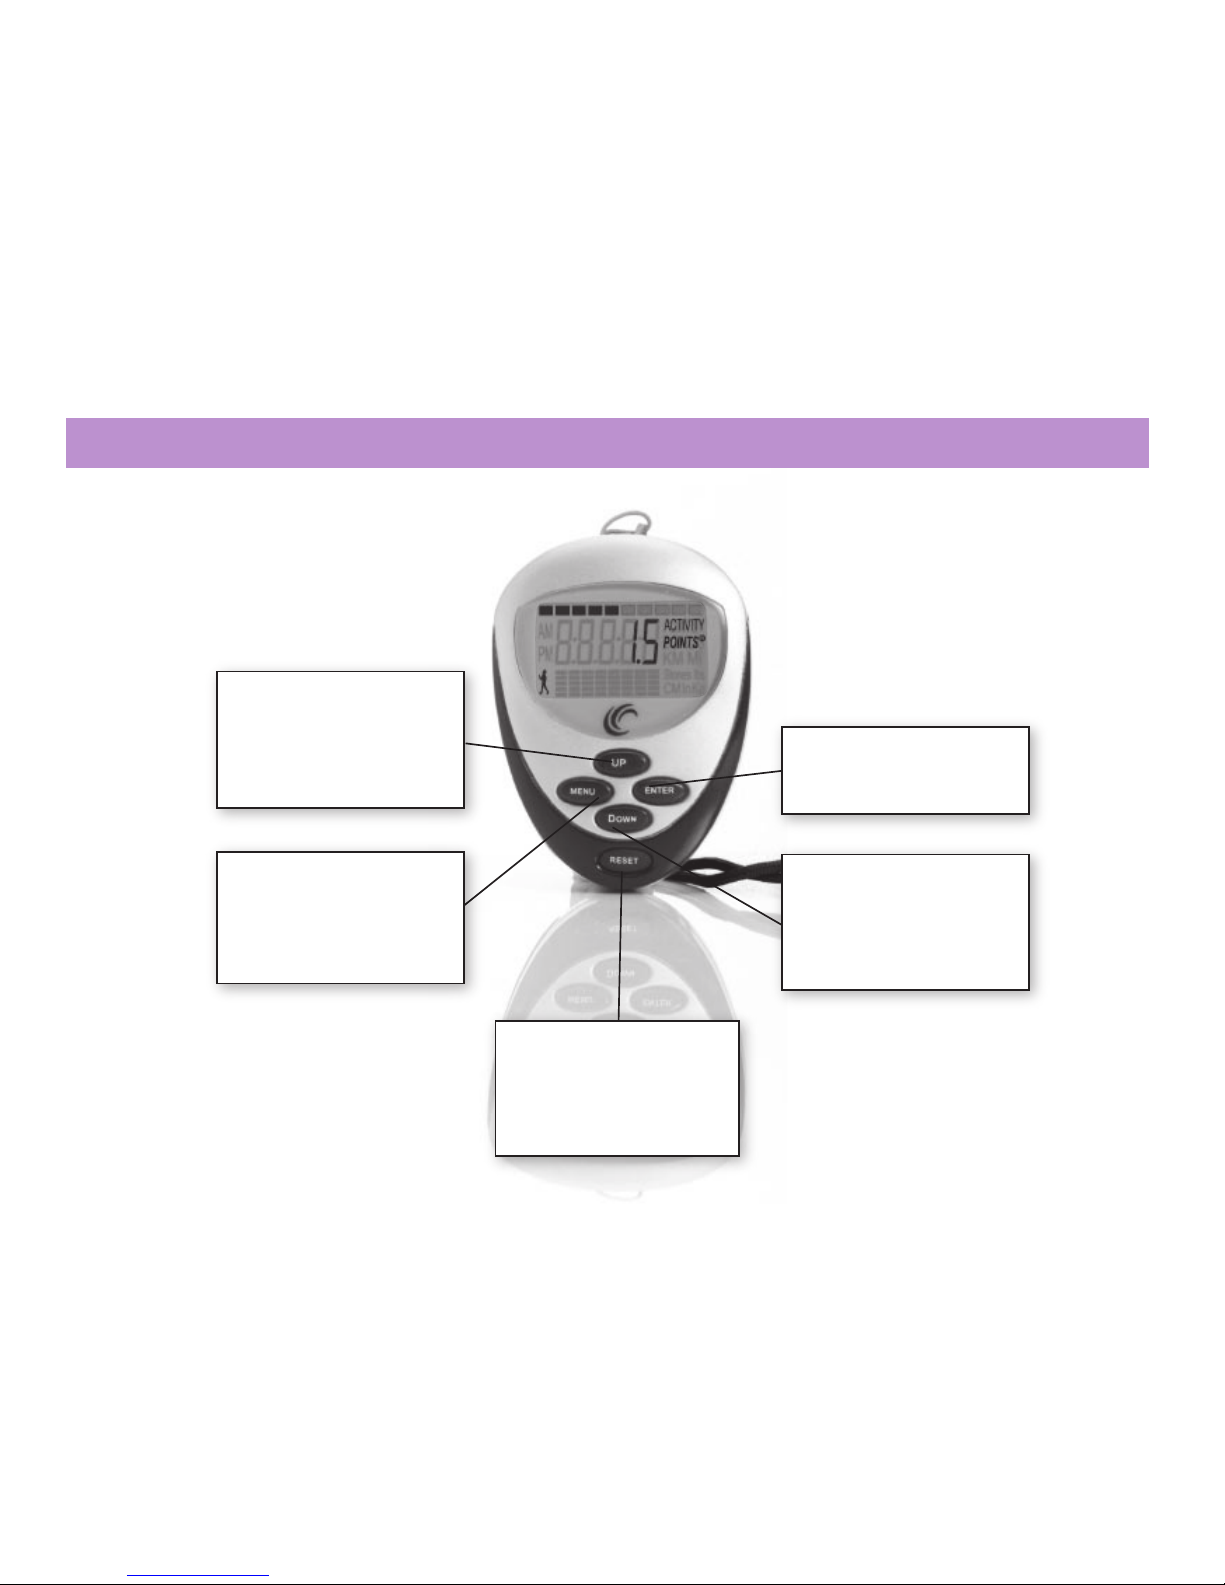
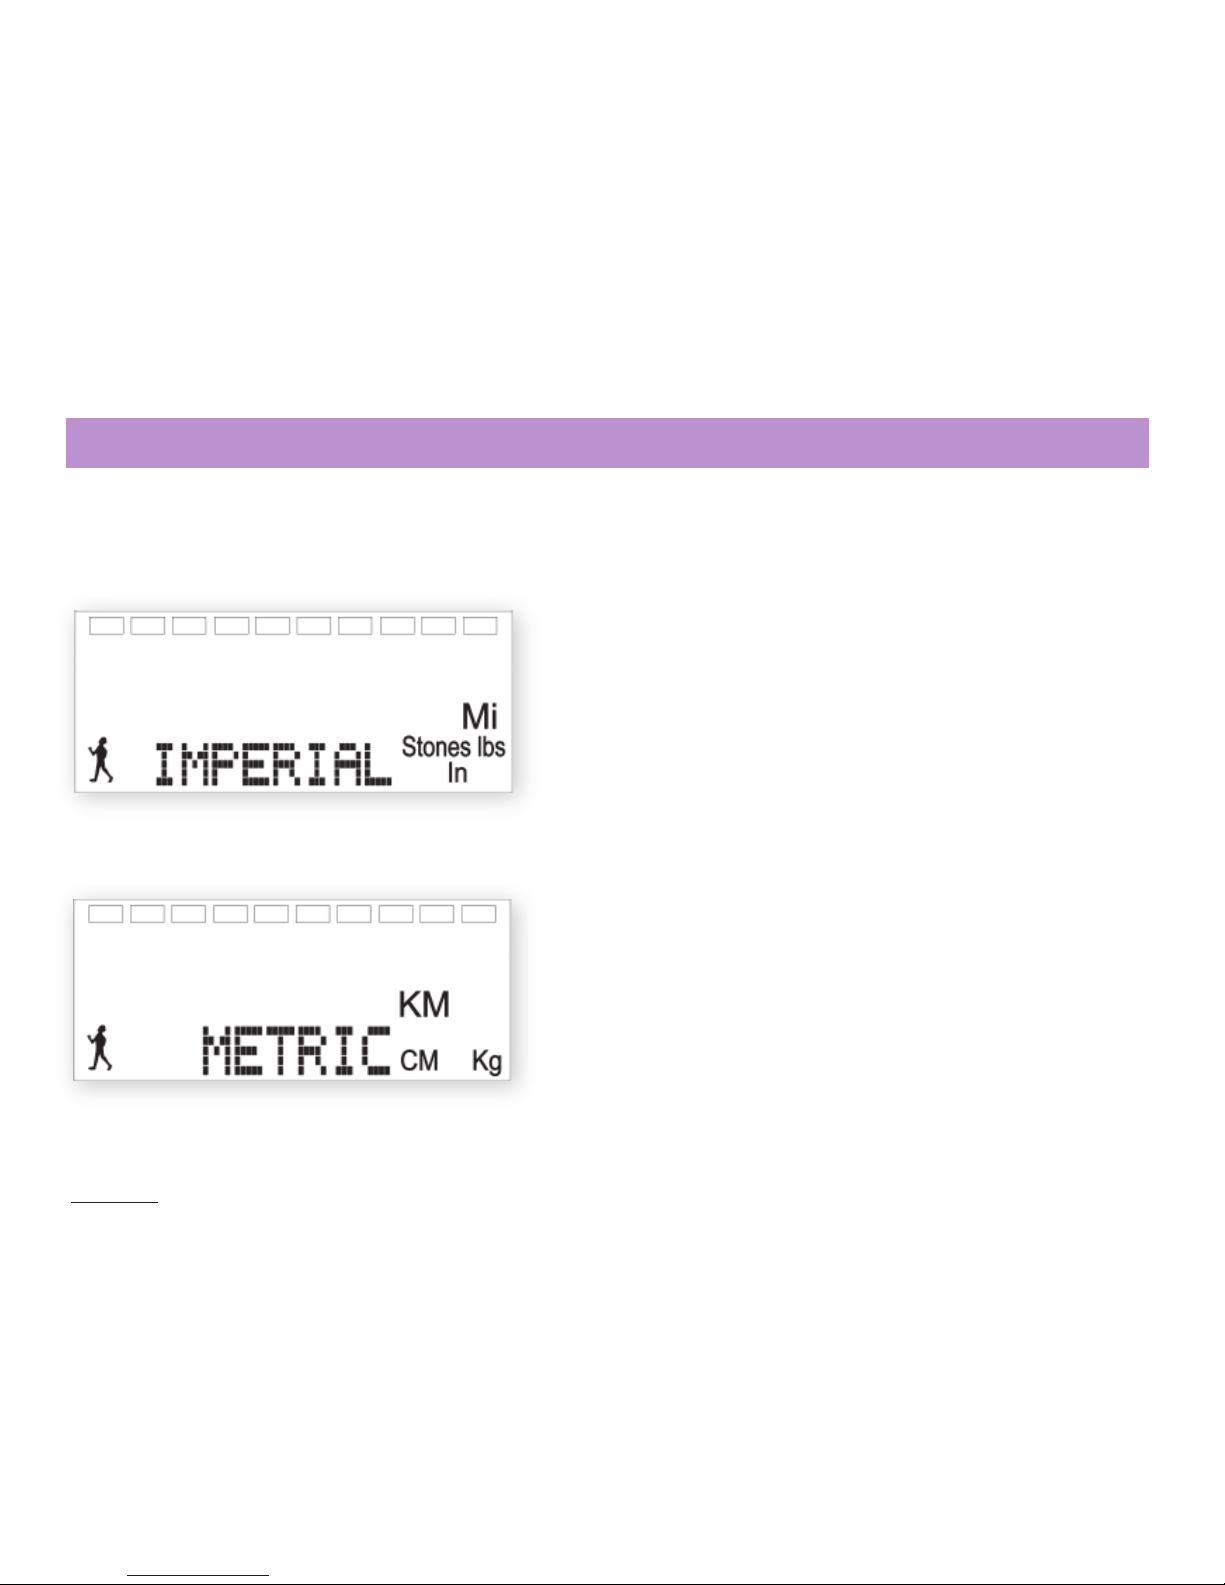
Set up your
POINTS
Pedometer before use, to
personalise it to you.
Clip your
POINTS
Pedometer securely to your
waistband (see page 14).
Store your
POINTS
Pedometer in a clean dry place
Immerse your
POINTS
Pedometer in water or
it will break, and this will not be covered by the
Guarantee.
Drop or step on your
POINTS
Pedometer.
Use solvents to clean your
POINTS
Pedometer
Do
Don’t
Important Information
3
Remove the battery tab from your
POINTS
Pedometer byby
pulling the tab outwards. This will automatically begin the
set up. The first screen that will appear will be the TIME
screen.
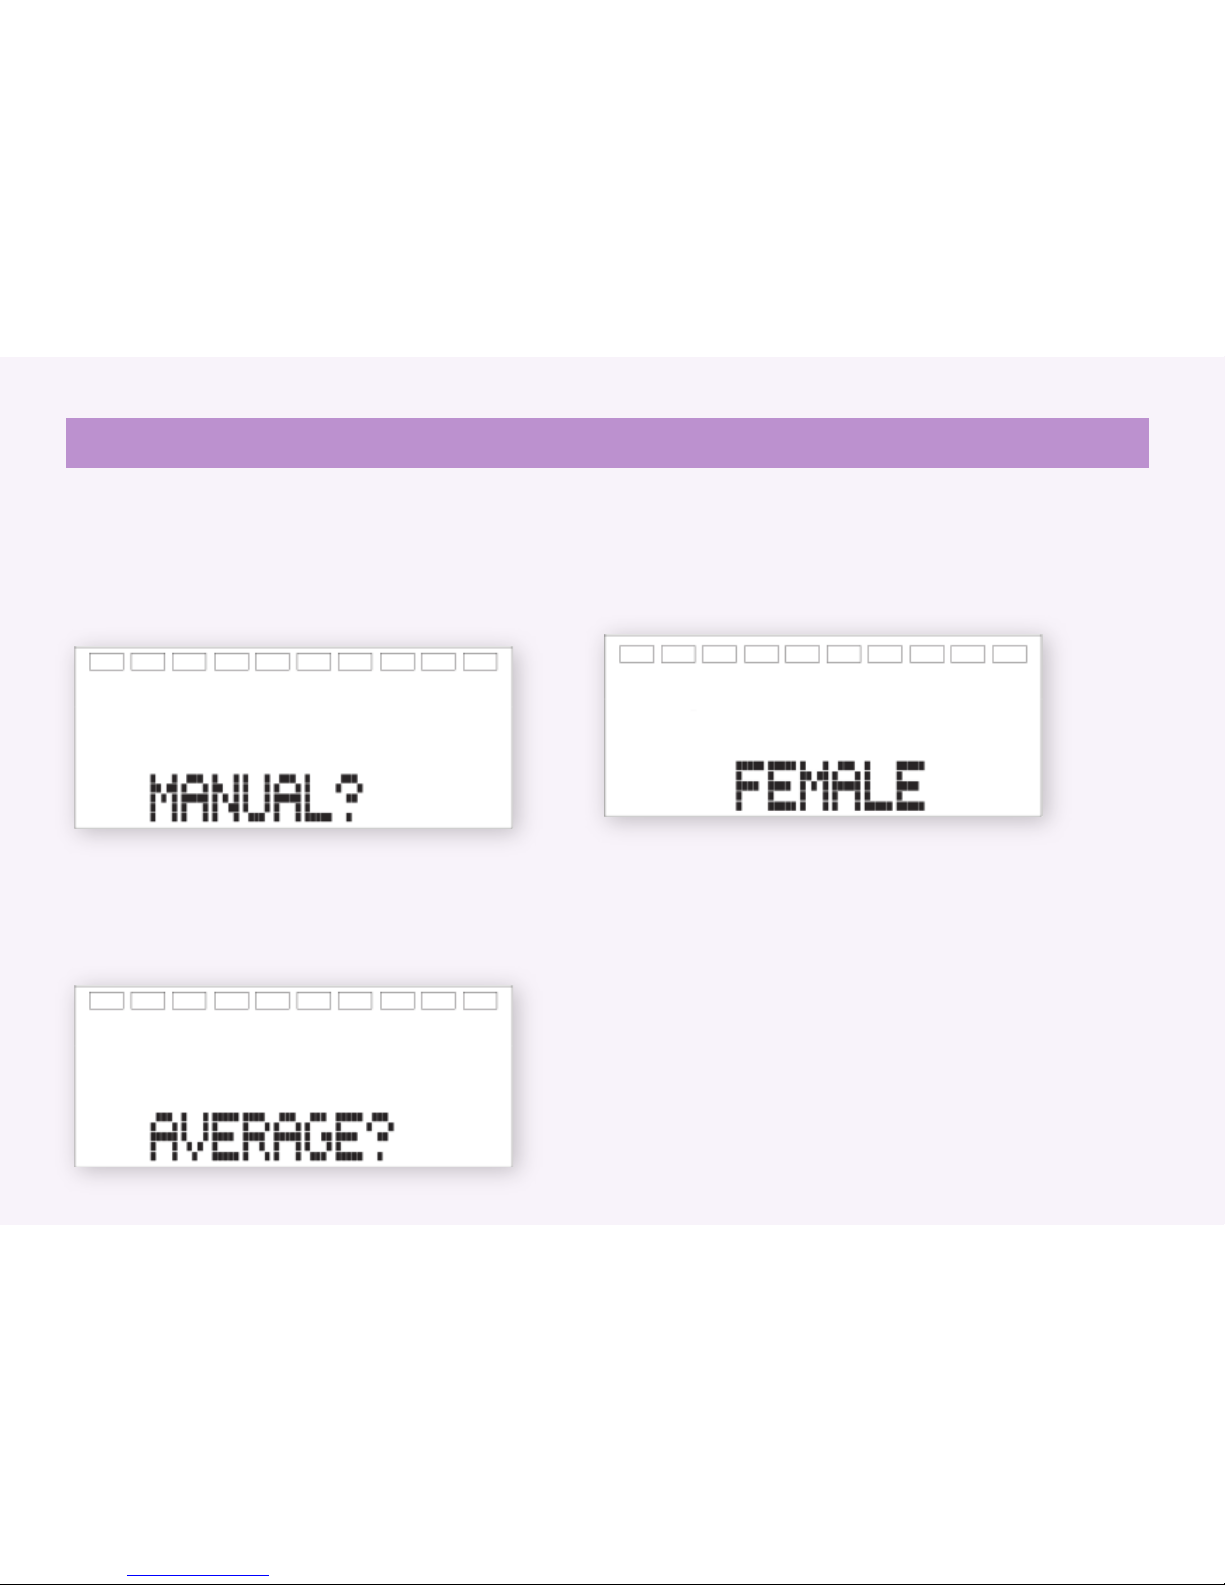
Before using your
POINTS
Pedometer for the first time,for the first time,
you will need to set it up so that it is personalised to you
by following the instructions below.