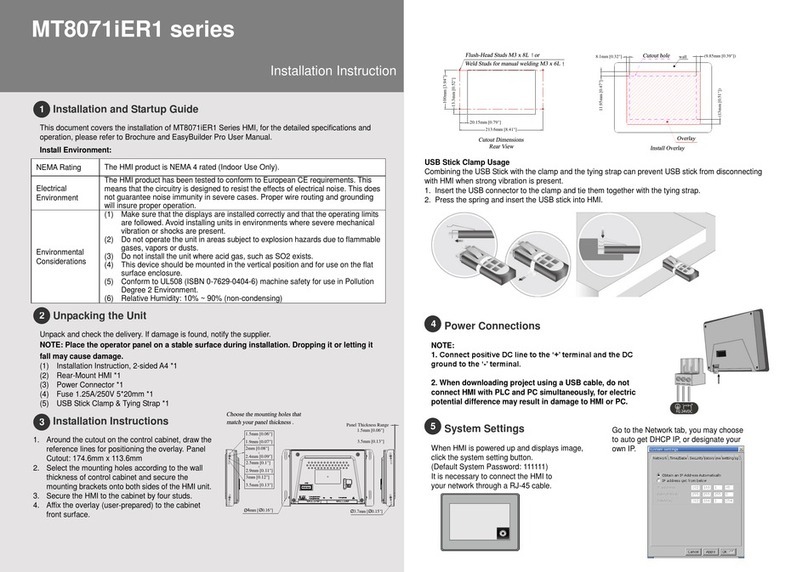
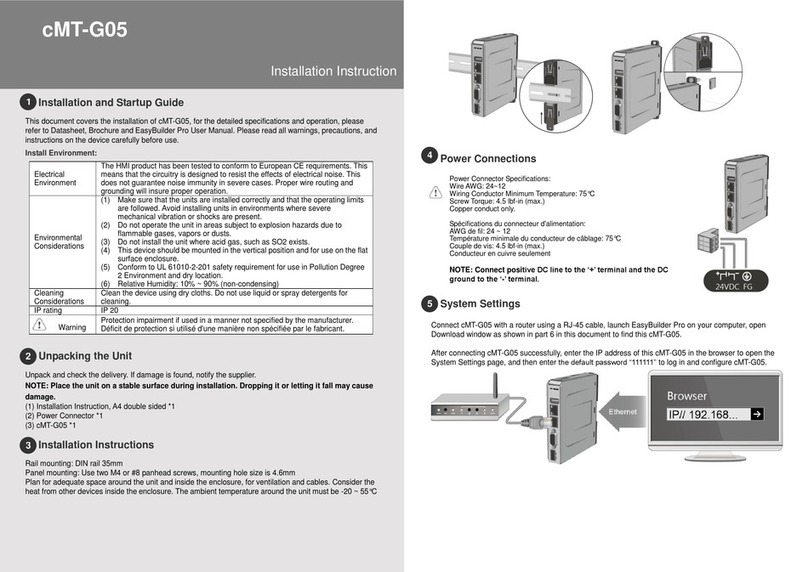
weintek cMT-SVR-100 User manual

Table of Contents
1. Network Wiring Diagram………………………………………………………………………………………………………… 3
2. Web Interface....................................................................................................……………………… 4
3. OS Upgrade................................................................................................................................. 14
4. cMT-Viewer.…………………………………………………………………………………………………………………………… 15
5. Monitor Mode………………………………………………………………………………………………………………………… 23
6. cMT-Viewer Limitations…………………………………………………………………………………………………………… 27
7. cMT Objects Introduction ……………………………………………………………………………………………………….. 29
8. cMT-SVR Gestures Operation…………………………………………………………………………………………………… 35

1. Network Wiring Diagram
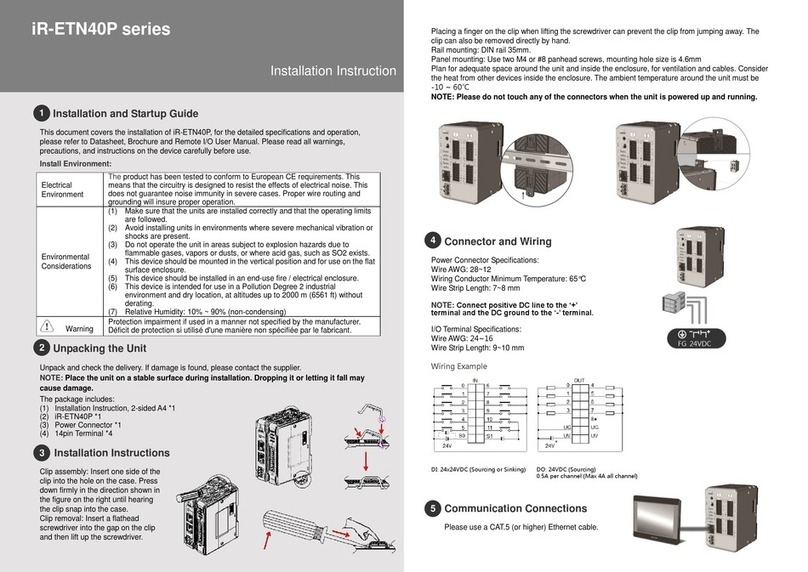
Connect a cMT-SVR to a router via an Ethernet cable as the diagram shows below.
The default IP address of LAN 1 is DHCP. The default IP address of LAN 2 is static IP 192.168.100.1. The
IP addresses of LAN 1 and LAN 2 must be configured to different subnets.
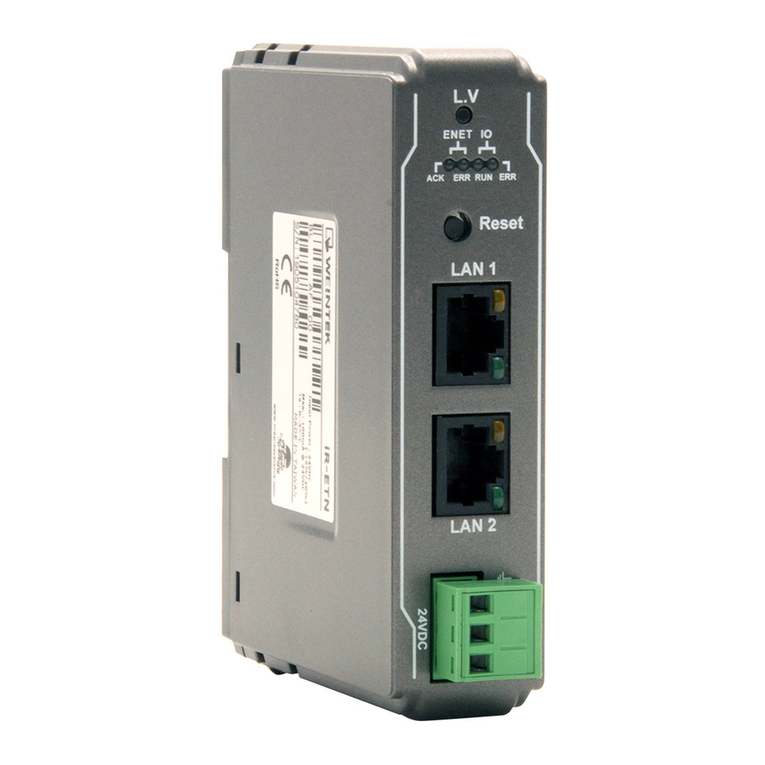
cMT-SVR LAN Ports:
cMT-SVR HMI is equipped with two independent Ethernet ports which isolate the device network
from the company/factory network. LAN1 is a WAN (Wide Area Network) port which is allowed to
connect to a public network or another network via a gateway. LAN2 is a LAN (Local Area Network)
port.

4
2. Web Interface
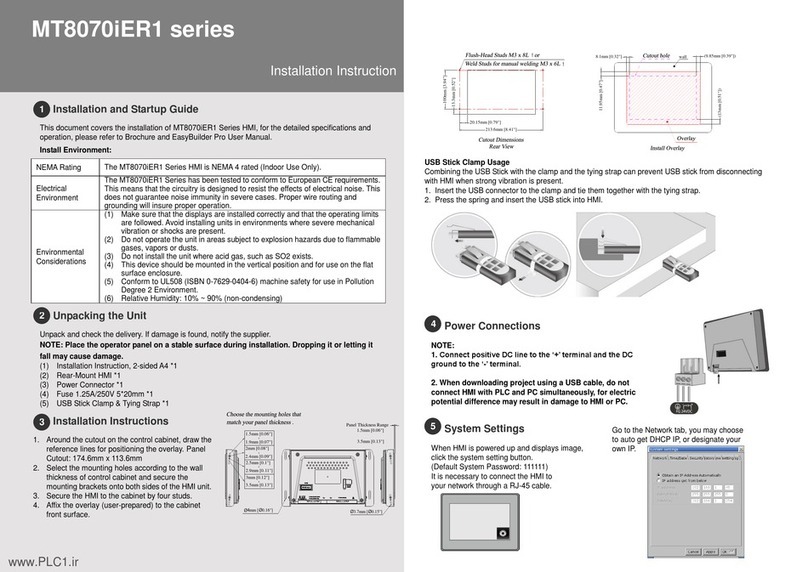
A cMT-SVR’s setting can be accessed via a web browser. Before configuration, connect cMT-SVR (LAN1) to a
router via an Ethernet cable. Open a web browser (IE, Chrome, or Firefox) and enter the IP address of the
cMT-SVR. For example, enter 192.168.1.15.
Select an identity and enter its password.
After logging in, the web interface will be displayed as shown.

5
On the top tool bar, it shows your identity and the name of the cMT-SVR.
Click logout button to exist after finishing settings.
The tabs of the web interface are displayed as shown. They are Network,
Date/Time,HMI Name,History, Email, Project Management,System
Password,Enhanced Security,EasyAccess2.0, and Misc.
Network
Set the IP addresses of Ethernet 1 (LAN 1 port) and Ethernet 2 (LAN 2 port). Choose [Obtain IP address
automatically] or [Use static IP address below]. If [Use static IP address below] is chosen, enter IP address,
mask, gateway IP, and DNS. The IP addresses of Ethernet 1 and Ethernet 2 must be on separate subnets.
[Ethernet1 (WAN/LAN)] - By default, the IP address of Ethernet 1 is DHCP.

6
[Ethernet2 (LAN)] - By default, the IP address of Ethernet 2 is 192.168.100.1. (Static IP)
Date/Time
[Sync with host.] - Synchronizes the HMI RTC with the PC RTC. To confirm the action, click on [Save].

7
HMI Name
Change the name of the cMT-SVR to identify this HMI when retrieving historical data or loading a project on
a PC. This saves time remembering the IP address of each cMT-SVR.
[Identification light] - If clicking this button, the LED on the cMT-SVR will blink.
History
This page is used to clear historical data, recipe, and database information stored in the internal memory of
a cMT-SVR.
[Clear]- It is used to clear historical data, recipe, and database information stored in the cMT-SVR. Select
boxes that need to be cleared and click on [Clear].
[Backup] - Select boxes to transfer historical data or recipe files from the cMT-SVR to the PC and click on
[Download].

8
Email
This page provides setup of the SMTP server and email contact lists. For more information, refer to section
5.11 e-Mail in the Easybuilder pro user manual.
[SMTP]- Enter your SMTP server, port number, user name, and password. Within “Sender information,”
enter your name and mail address so that the recipients can know where the email comes from.
[Contacts] - Add, update, or delete contact names and contact addresses.
[Update Email Contacts] - Email contacts can be updated via the file created by Administrator Tools.

9
Project Management
This page provides a way to restart the project of the cMT-SVR and restores it to its initial state without
cycling power.
[Restart Project] - Restarts cMT-SVR and restores it to its initial state.
[Update Project]- Loads a project and recipes from the PC to the cMT-SVR.

10
[Backup Project]- Retrieves a project from the cMT-SVR to the PC.
System Password
There are three different levels of password protection, User, Update Project, and System Setting.
This page is used to change the passwords for operating a project via cMT viewer, loading a project to the
HMI, accessing FTP server and so on. The default passwords of the three levels are 111111.
[User]- This level can operate cMT projects via cMT viewer.
[Update project]- This level can load and retrieve the HMI project, as well as retrieve historical data, such as
data sampling and event log data. In addition, it can operate cMT projects via cMT viewer.
[System Setting]- This level has access to all system settings, load and retrieve the project, retrieve historical
data, and operate cMT projects via cMT viewer. It is the highest security level.
[History]- FTP server access. The default password is 111111.

11
Open the option list to select an identity and change its password.
Password hierarchy -
Enhanced Security (Objects authorized to operators in HMI project)
This page provides user passwords and security classes to prevent unauthorized operators from accessing
objects that have the potential to cause damage or injury within your cMT-SVR HMI project. For more
information, refer to section 5.6.2 Enhanced Security Mode in the Easybuilder pro user manual.
[Accounts] -
Click on [Force Edit] to edit user accounts.
System
setting -for
administrator
Update project-
for supervisors
User- for operators

12
Add, update, or delete user accounts.
[Import User Accounts] - User accounts can be updated via the file created by Administrator Tools.
EasyAccess2.0.
EasyAccess 2.0 is a tool that allows users to access and control a cMT-SVR remotely from anywhere in the
world.
cMT-SVR-100 isNOTa pre-licensed model, so purchasing an activation card is necessary. cMT-SVR-102 isa
pre-licensed model.

14
3. OS Upgrade
This section shows you how to update the OS image of a cMT-SVR.
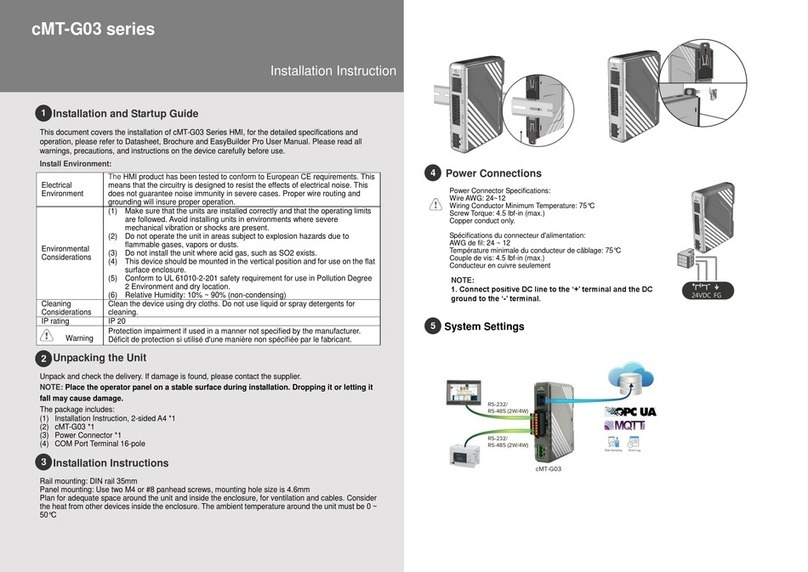
1. Copy the MTfirmware.bin file to root folder of a SD card.
2. Flip DIP Switch 2 of the cMT-SVR to ON position.
3. To monitor the update progress, run HyperTerminal software on your PC and set the parameters to
115200, 8, N, 1. Connect your computer with the cMT-SVR via COM1 RS-232 port.
4. Insert the SD card to cMT-SVR and reboot to update the OS image. The update succeeds when
HyperTerminal displays “Starting Kernel”about two minutes after reboot.
5. Power off the cMT-SVR and then flip DIP Switch 2 of the cMT-SVR back to OFF position.

15
4. cMT-Viewer
cMT-Viewer is a free client application, which can remotely access the screen of the cMT-SVR located on the
LAN (Local Area Network) via Wi-Fi connectivity or Ethernet cable connection. To use cMT-Viewer you need
to download and install the cMT-Viewer App on a mobile devices or PC. When the cMT-Viewer App runs on
a device and connects to the cMT-SVR, only data is exchanged between the device and the cMT-SVR. Three
client devices can remotely view and control the project of a cMT-SVR simultaneously by default.
Supported Operating System
Where to Download
Compatibility
Android phones or tablets
Google Play store
V4.1 or greater
iOS devices
App Store
V6 or greater
Windows PC
Weintek USA official website
(Stand-alone App. or Easybuilder pro )
Windows 7 or Windows 10
Note: cMT-Viewer is installed with Easybuilder pro package on a PC. To find it, launch Utility Manager »
Select [cMT Series] model » [Maintenance] tab » [cMT-Viewer].
Typical Application Diagram

16
cMT-Viewer App Interface
Some operation options of the cMT-Viewer App opened on different operating systems may vary. This
document discusses how to operate the cMT-Viewer App running on a PC. First, launch cMT-Viewer App.
Note: 1.In this demonstration, version 2.6.38 of cMT-Viewer App is used.
2.Edit, Auto Play, and Page Indicator icons are only present when “Monitor Mode” functionality
is enabled in the [Settings] page.
•Connect Menu- Click the Connect button and search for cMT-SVR HMIs on [Search] tab. The
available cMT-SVR HMIs will be shown as below when they exist on your local network. Tap an Add
icon on the desired cMT-SVR, and it will bring up a window requiring a password.

17
After that, the corresponding project will be loaded. If you want to go back to Connect menu,
click on the Start (Home) button at the top left corner.

18
Add a second project to cMT-viewer App to switch and view different projects. The small pictures of the
images as shown below are images of the cMT-SVR projects before leaving the projects.
On [History] tab, you can connect the recently accessed
projects. If cMT-SVR HMIs are configured to DHCP, the history
records may not be usable anymore since the IP addresses are
dynamic. Click “clear” button to delete history records if
needed. The “gear” buttons nearby each cMT-SVR will open its
web interface, allowing you to change the settings of the cMT-
SVR.

19
•Settings Menu -
[Information] tab: Displays the current version of the cMT-Viewer App.
[General] tab: Provides general settings.
Change password- Allows users to change the password of “more settings”at the bottom
left corner.
Display datetime bar - Determines if the time bar will be displayed at the top of cMT-Viewer
application.
Adjust cMT Viewer to windows size - Adjusts cMT-Viewer to fit the window when users
maximize the window of cMT Viewer App.
Portrait mode- Allows you to switch cMT Viewer to Portrait mode.

20
[Language] tab: Select a language for cMT-Viewer menus. The language selected on the project of
the cMT-SVR won’t be changed by this setting.
To enable Monitor Mode and use Password Protection functionalities, click on “more settings” icon
and log in with the password set on “Change password.”The default password is 111111.
There are more options available on the General tab and the Password Protection tab.
[Monitor mode]- Allows you to display multiple projects on cMT-Viewer and show important real-
time data for the projects of each cMT-SVR.
Other manuals for cMT-SVR-100
1
Table of contents
Other weintek Network Hardware manuals
Popular Network Hardware manuals by other brands

Intel
Intel SS4200-E - Entry Storage System NAS Server Guía de usuario de inicio rápido

Broadata
Broadata 300E Series manual

Grundfos
Grundfos IO 113 Installation and operating instructions

Keysight
Keysight 11612A Operating and service manual

Gigamon
Gigamon G-TAP M Series Hardware guide

ADC
ADC HRE-204 List 1 user manual