Technische Änderungen vorbehalten! Alle Maßangaben sind ca. Maße. Copyright HRB 3662
7
Tisztelt Vevőnk!
●A szerelési hibák vagy a sérülések elkerülése érdekében kérjük, hogy a termék felépítése előtt
figyelmesen olvassa végig ezt a szerelési utasítást.
●FONTOS !
Kérjük, hogy a csomagolási jegyzék alapján azonnal ellenőrizze, hogy a weka-termék teljes
egészében és sértetlenül érkezett-e meg Önhöz.
●Kérjük, hogy a csomagolási jegyzéket csak a garanciaidőletelte után semmisítse meg. Ez a jegyzék az
egyes alkatrészek teljességének ellenőrzésére szolgál, és a vásárlási bizonylattal együtt meg kell őrizni.
Az esetleges reklamációk ezen jegyzék segítségével problémamentesen elintézhetők. A csomagolási
jegyzék tételszámai nem egyeznek meg a következőszerelési utasítás tételszámaival.
●Javasoljuk, hogy a szerelést legalább 2 személy végezze.
●A balesetek megelőzése érdekében kerülendő, hogy a szerelés alatt gyermekek tartózkodjanak a
szerelési hely közvetlen közelében.
●A műszaki fejlődés megkövetelte továbbfejlesztés jogát fenntartjuk. Ezért a leírásokban jelentéktelen
eltérések előfordulhatnak.
●Ne dobja ki a szemétbe a csomagolóanyagokat! Azok papír, karton és hullámpapír elemeit, valamint a
műanyag alkatrészeket helyezze el a megfelelőgyűjtőtartályokban.
Javaslatok
●A fa alkatrészek sérüléseinek elkerülése érdekében kérjük, hogy minden csavarkötést fúrjon elő! A
következőjel a hasznos tudnivalók mellett még egyszer felhívja erre a figyelmét:
+
●Védje meg a faanyagokat az órák hosszat tartó közvetlen napsugárzástól vagy nedvesedéstől.
●A fa természetes termék. Különbözőjellegűszíneződések, ágcsomók és repedések előfordulása
teljesen normális jelenség, amely egyáltalán nem befolyásolja a fa statikai viselkedését.
●A talpgerendákat a 1 sz. ábrának megfelelően be kell állítani, majd az alaphoz kell rögzíteni.
●A talpgerendák és az alap összekötéséhez szükséges rögzítőanyagokat nem tartalmazza a szállítási
terjedelem.
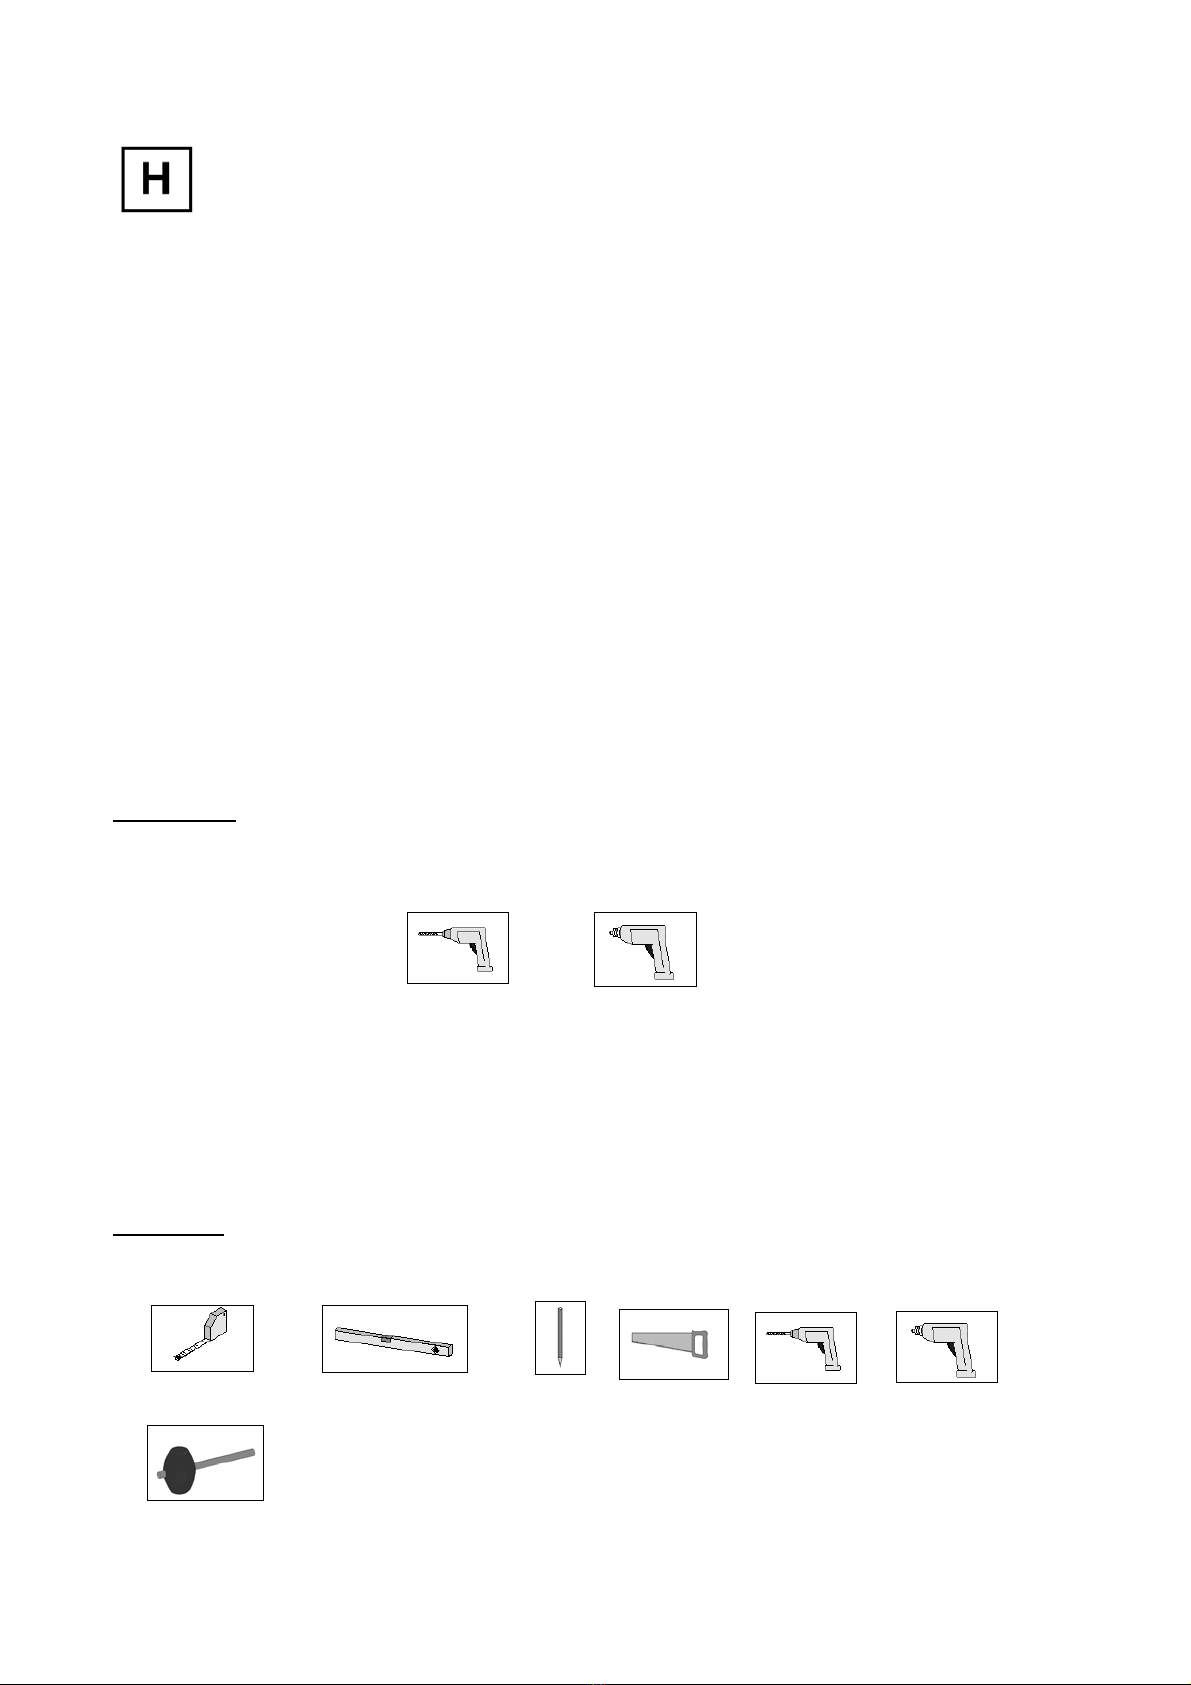
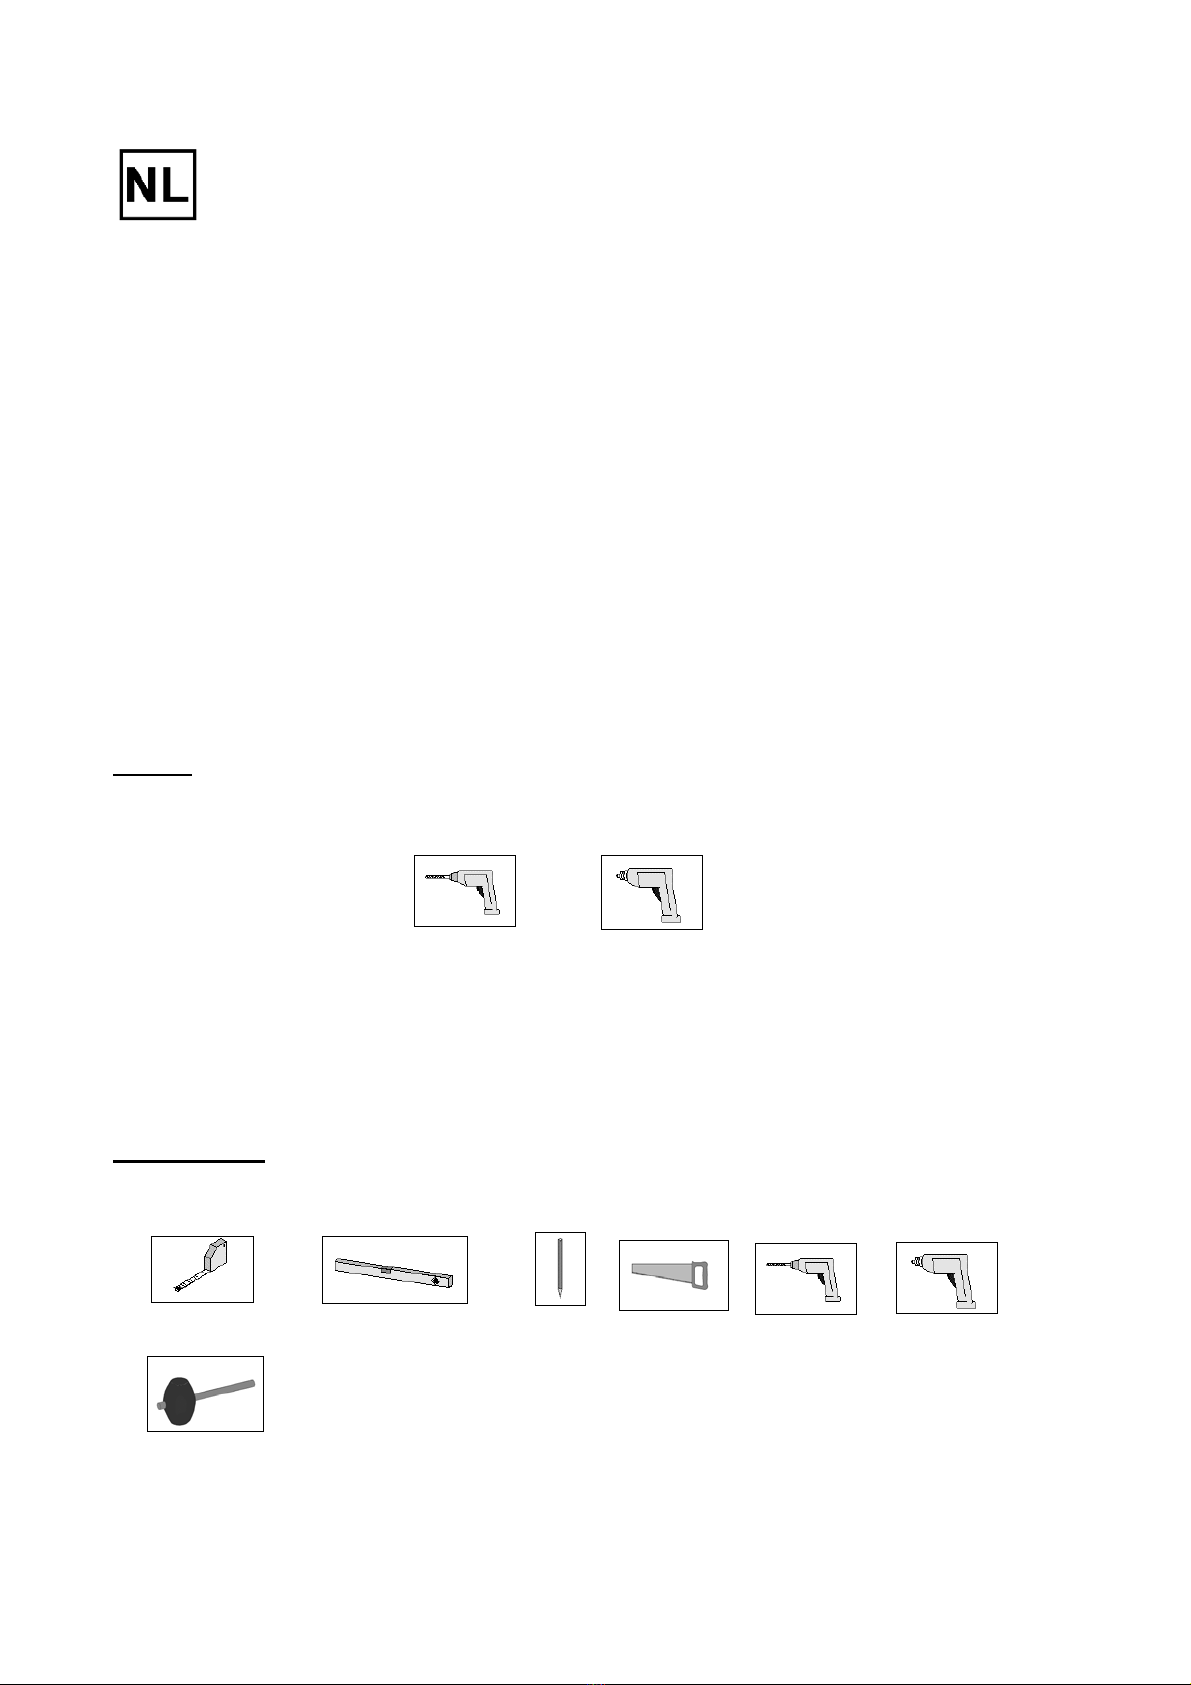
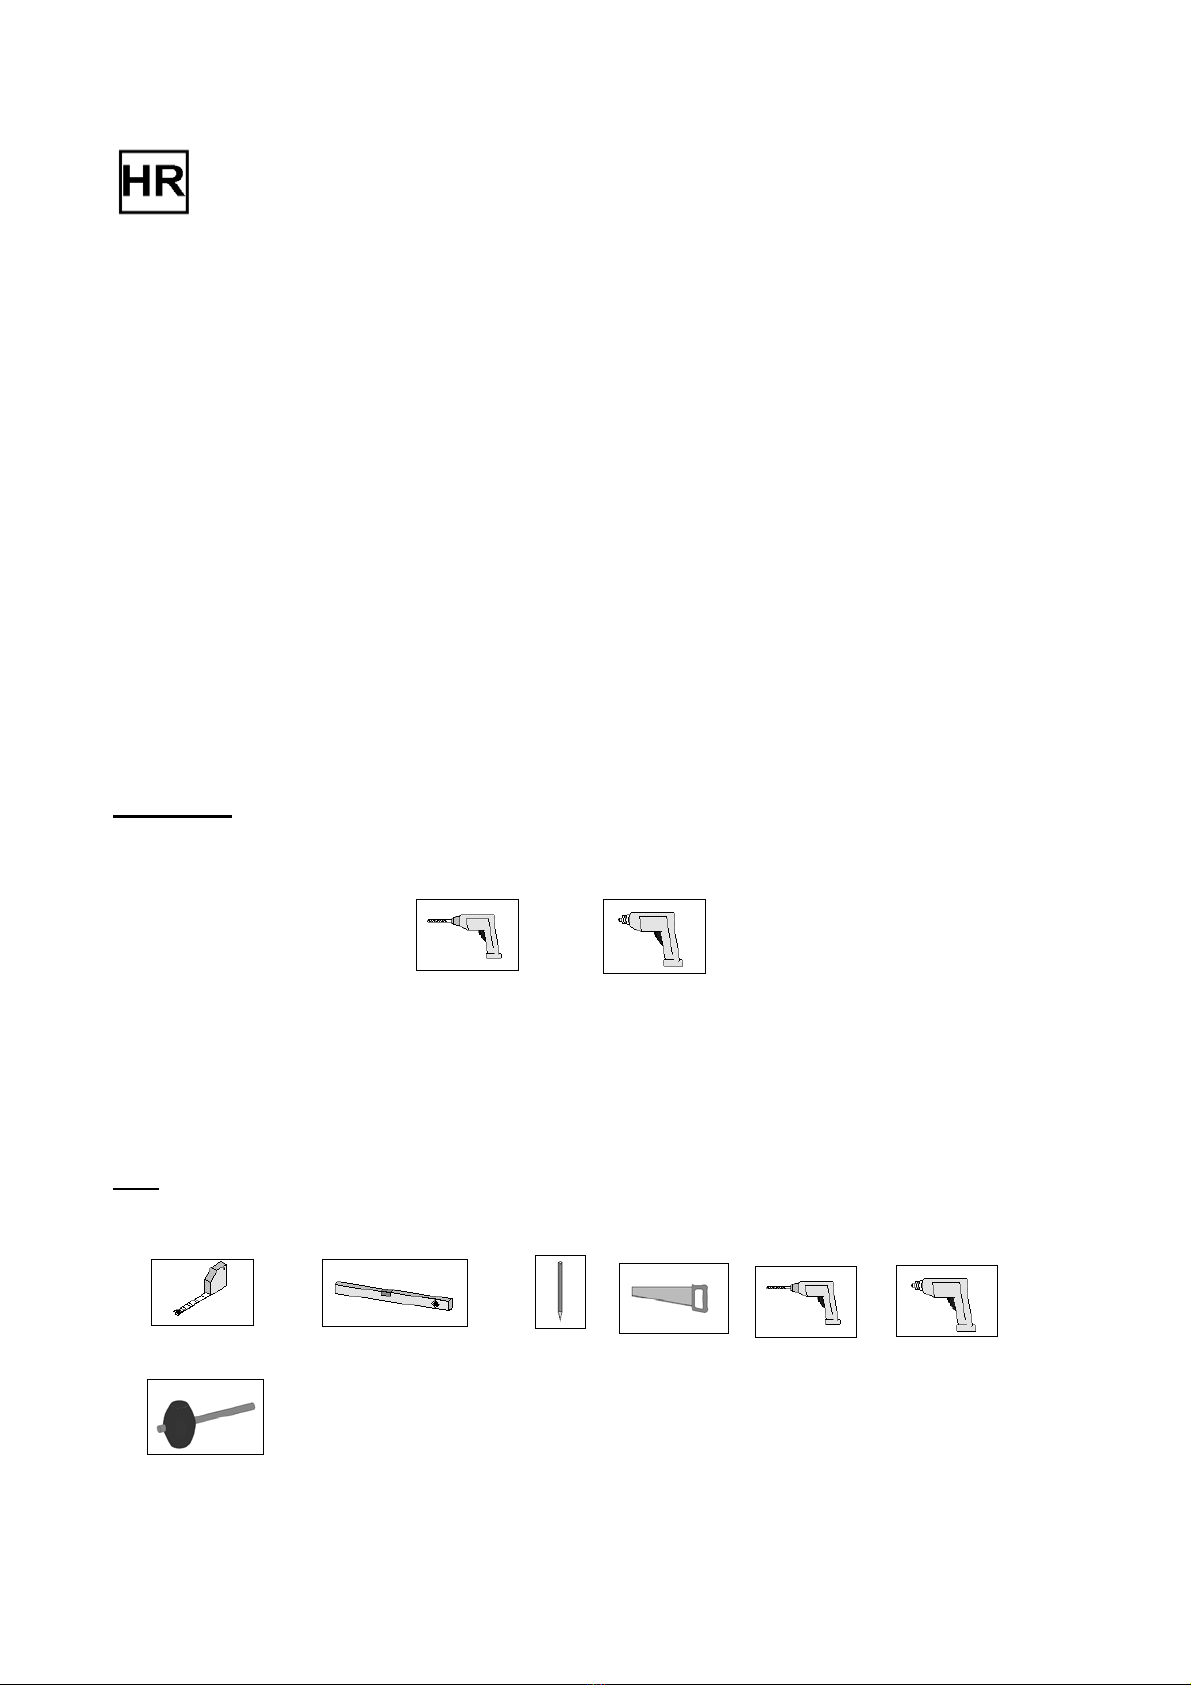
Szerszám
A szerelés megkezdése előtt készítse előa következőszerszámot.
szalagmérték vízmérték ceruza illesztőfűrész fúrógép elektromos csavarhúzó
gumikalapács
Pfosten = oszlop