manuals.online logo
Brands
  1. Home
  2. •
  3. Brands
  4. •
  5. Welbilt
  6. •
  7. Commercial Food Equipment
  8. •
  9. Welbilt Manitowoc Indigo User manual

Welbilt Manitowoc Indigo User manual

Subject: Indigo Ice Installaon Guide
SCOPE : ALL Indigo Ice Models
Introducon
Instrucon describes how to correctly install a Manitowoc Indigo Ice Maker
Objecve
To Install and Commission the Indigo Ice Maker meeng all Health and Safety
requirements
Health and Safety
Hand Protecon Eye Protecon
Note: Ensure area is well venlated when using Solvent
Cement. Use protecve gloves and keep exposure to a
minimum. Refer to direcons on container.
Refrigeraon units can be in excess of 70 kg and should be
handled / lied into posion with extreme care.
This is a 2 (two) man li
Parts Required
These parts would need to be supplied by the installer
QTY Descripon Image QTY Descripon Image
1Bent Tank Connector ¾ BSP 321.5mm x 1.5mtr overow pipe.
121.5mm tee piece
1Solvent Cement. (PVC Glue)
1¾ BSP Straight nut with loose cou-
pling. 1.5 Potable water hose
521.5mm elbows.
116amp Commando plug.
245 Degree Elbow. 1Cable Restraint.
?PVC Straight Connector
2Mains cable 1.5mm.
?Pipe Clips for 21.5mm Pipe 1PTFE Tape.
1Armaex 22mmX 12mm wall thick-
ness 1Armaex Tape
NOTE: 600mm On all sides is recommended to allow access with-
out moving the Bin / Ice Machine.
See Technical Manual for locaon of ice machine and the minimum
air gap requirement for the specic model
Pre-Install Check
Make sure you have the correct unit, verify you have the correct
Model and Serial Numbers.
Make sure power and water are ready at the machine locaon and
verify it is not HOT water.
Make sure the drainage is in correct posion for you to install the
new unit, it must be lower than the underside of the ice bin if not
you will not be able to carry out the installaon and a drain pump
will be required.
Make sure you have the correct drainage, cables and supplies to
carry out the installaon.
Installaon - Ice Bin Drain
Drain must be ed before bin is sited into posion and refrigeraon
head unit is placed on top.
Remove plug from ice bin using a 3/8”ratchet and extension bar.
Add PTFE tape to drain ng thread and t to the ice bin, ghten lock
nut into posion to give a good seal.
Drain ng thread may need to be cut down to size if it is below drain
height.
Insulate this pipe now with the Armourex sleeve, tape all visible areas
with the Armourex foam tape, this will prevent any condensaon
forming on the pipe work.
Installaon - Main Power Lead
Mains cable is ed by gaining access through the electric cover in the back panel
using an 8mm socket.
A cable gland must be ed to secure the cable in place, to prevent damage to the
cable and cause injury
NOTE: 2mtr maximum cable length.
Installaon - Posioning the Unit
Posion the ice bin and ensure the bin is level, adjust the legs to suit and ensure
the bin door seals correctly
Use a spirit level to ensure that the unit is level, checking from Front to Back
and Le to Right.
Once the bin is level the Ice Maker Head unit can be lied into place
Cauon must be taken when liing the head unit on to the bin
Make sure ice machine is ush with the sides of the bin
Installaon - Drain
Remove the front door / Panel by loosening the screws on the front
panel
Locate the User Care Manual, you nd 2 (two) brass ngs are enclosed
in the bag
The brass ngs are for the Water Inlet and Drainage outlet on the
rear of the unit.
½ BSP connected to the Drain
⅜ NPT connected to the Water Inlet
Fit the ¾ swivel nut to the Drain outlet, making sure the O-ring / Seal is
in place
Apply the Solvent Weld and place the Tee piece into posion, poinng
vercally
Now t a 500mm length of (22mm PVC pipe) overow to the top of the
Tee Piece to create a vent tube of a height level with the top of the unit.
Measure and t the rest of the drain as required to the drain point
where site specic .
All joints must be solvent welded to prevent leaks
Note: Always leave 40 mm air gap between Machine Drain
Outlet and the Site Drain, This is a Legal Requirement
Installaon - Water Connecon
Fit the potable water connecon to the Brass ng and ensure the oring / seal is in
place before ng
Mount the water lter where they are easily accessible to change
Note: All installaons must have a water lter
ed unless other arrangements are in place
Installaon - Ice Thickness Probe (ITP)
The installer will nd a label taped to the water curtain and Ice Thickness
probe
This spring clip and washer is on the Ice Thickness probe to protect it dur-
ing shipping to prevent damage from exposure to extreme condions
If the spring clip and washer are not removed before start up of the unit, it
will cause freeze ups and ITP faults / Alerts
Check and adjust if required the Ice Thickness bridge to the seng of 7mm
gap
Installaon - Pre-Start Up Check
Remove side panels and electrical box cover ensure all connecons and cables are secure and
free form obstrucon that can cause problems later on
Remove cable e that secures WLP and water pump prevenng removal
Turn on water supply and check for water leaks, repair where required
Installaon - Component Sanitaon
Remove internal parts and aend to 4 step cleaning process (Wash, Rinse,
Sanise, Rinse)
Water Curtain - Gently ex the curtain in the centre and remove it from the
right side, Do not bend the tab out it will snap
Ice Thickness Probe - Compress the hinge pin on the top of the ITP, the ITP
can be cleaned at this point without complete removal.
Water Trough - Depress tabs on right and le side of the water trough, allow
back of the water trough to drop as you pull forward to disengage the rear
pins
Water Level Probe - Pull the WLP straight down to disengage, lower the WLP
unl the wiring connector is visible, disconnect the wire lead from the WLP,
remove from ice machine
Clean and Sanise All Surface area with a clean sanised cloth
Once all the removed parts have been Cleaned and Sanised you can ret
them to the ice maker.
Ret Electrical Box cover, both side panels and the lid of the unit
Installaon - Unit Sanitaon
Plug the unit into the power supply and push the wash buon
The unit will start the wash cycle, follow the on screen instrucons
Note: The water curtain must in place to iniate the clean sequence properly.
If the curtain is not in place the dump valve will energize but nothing else will
happen, no pump, no rinse cycles
Ensure the Auto Ice ON has been enabled and the unit will resume to normal ice produc-
on when the cleaning has been completed, press the when this message appears
During this sequence, the display will indicate status with me remaining along with when
to add the Manitowoc Approved Saniser (000005164)
Failing to add the Saniser will end up with the internal component’s not being sanised!
Installaon - Start Up
Once unit has started to produce ice, allow the unit to produce three harvests cycles
Monitor each cycle for the correct Bridge Thickness and Quality of ice
Check the Date and Time are correct and in the correct format
Adjust all sengs for Customer Specics
Installaon - Complete
Complete all required paper work
Clean work area around unit

Other Welbilt Commercial Food Equipment manuals
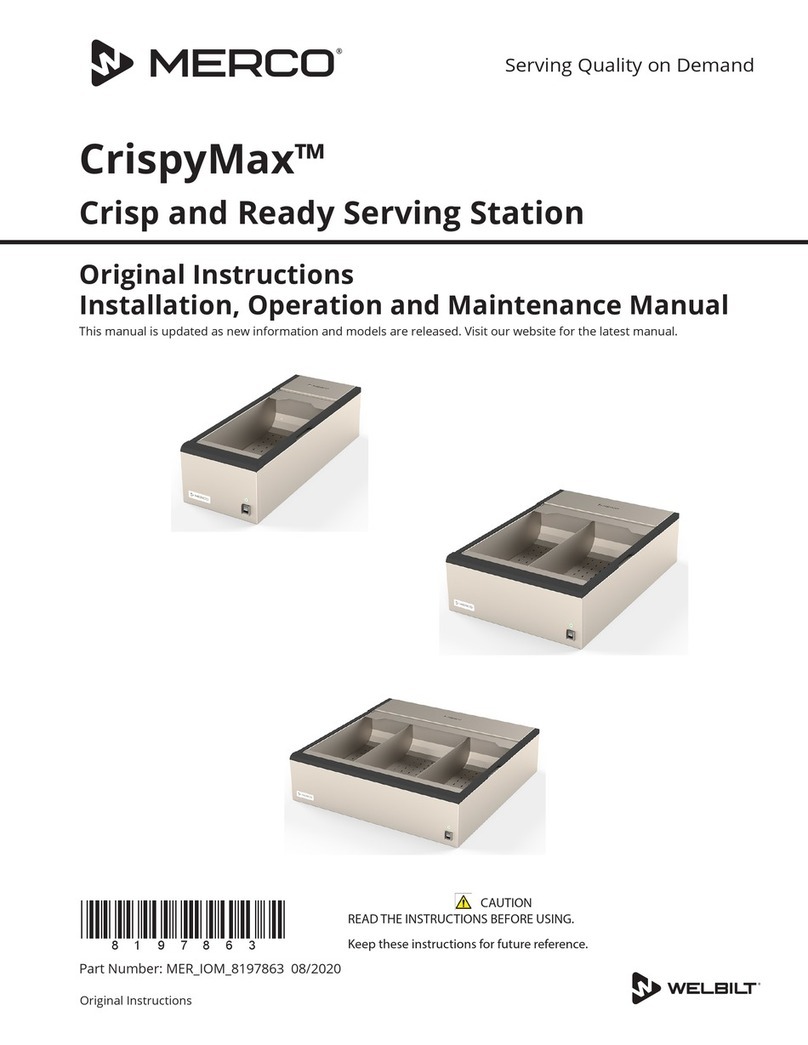
Welbilt Merco CrispyMax MCG1027NNN User manual

Welbilt

Welbilt Merco CrispyMax MCG1027NNN User manual

Welbilt Frymaster UHCTHD Programming manual

Welbilt

Welbilt Frymaster UHCTHD Programming manual

Welbilt Frymaster SDU 100 User manual

Welbilt

Welbilt Frymaster SDU 100 User manual

Welbilt Merrychef conneX Operating instructions

Welbilt

Welbilt Merrychef conneX Operating instructions

Welbilt CLEVELAND PGM Instruction manual

Welbilt

Welbilt CLEVELAND PGM Instruction manual

Welbilt Frymaster SDU 50 User manual

Welbilt

Welbilt Frymaster SDU 50 User manual

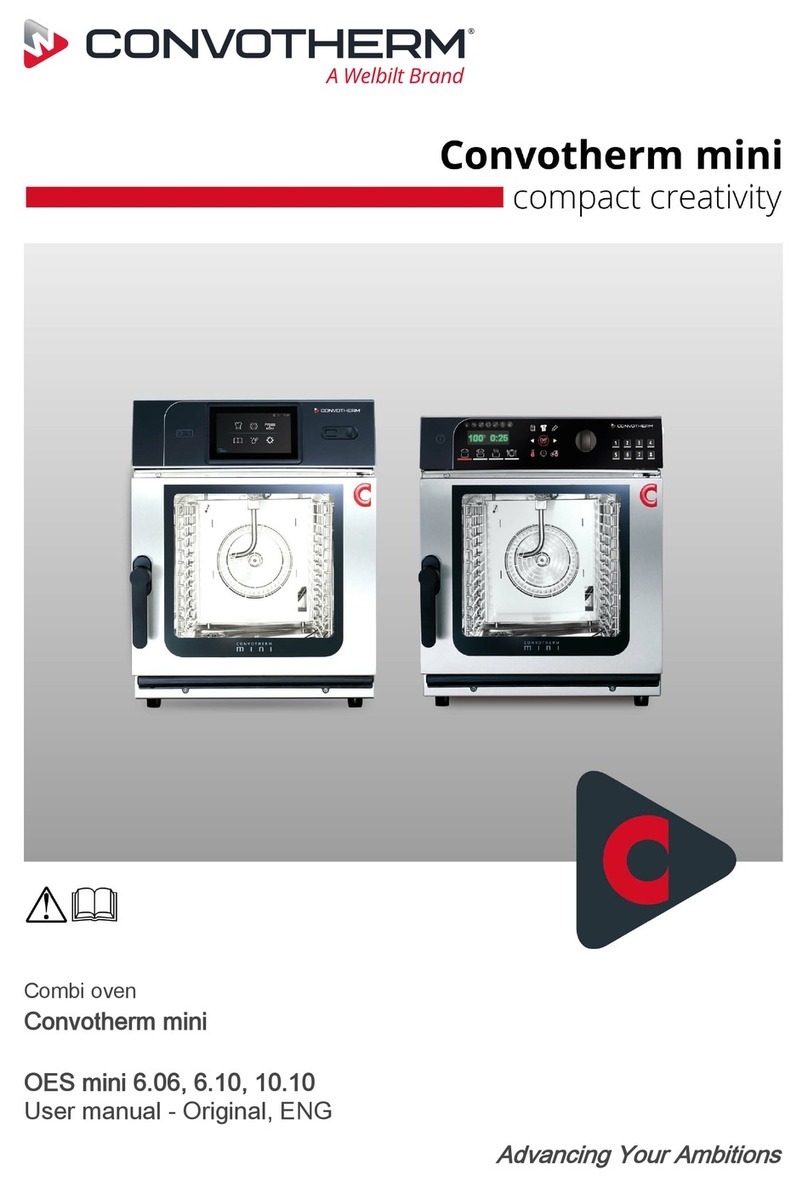
Welbilt Convotherm OES mini 6.06 User manual

Welbilt

Welbilt Convotherm OES mini 6.06 User manual

Welbilt Frymaster McDonald's Gen III LOV BIEL14... User manual

Welbilt

Welbilt Frymaster McDonald's Gen III LOV BIEL14... User manual

Welbilt Delfield ASM-P Series User manual

Welbilt

Welbilt Delfield ASM-P Series User manual

Welbilt Cleaveland KDT-1-T User manual

Welbilt

Welbilt Cleaveland KDT-1-T User manual

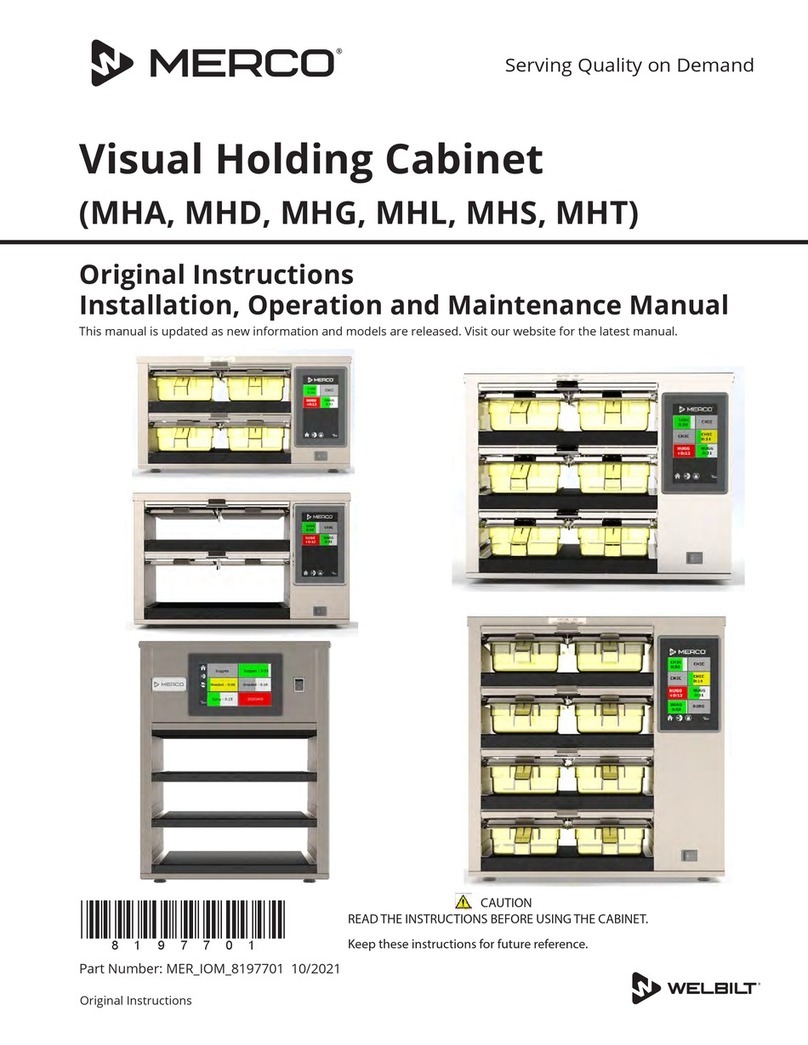
Welbilt Merco MHA Programming manual

Welbilt

Welbilt Merco MHA Programming manual

Welbilt MERRYCHEF eikon e4s User manual

Welbilt

Welbilt MERRYCHEF eikon e4s User manual

Welbilt MANITOWOC RFK User manual

Welbilt

Welbilt MANITOWOC RFK User manual
Welbilt Frymaster UHCTHD User manual

Welbilt

Welbilt Frymaster UHCTHD User manual

Welbilt Merco CrispyMax MCG1027NNN Programming manual

Welbilt

Welbilt Merco CrispyMax MCG1027NNN Programming manual

Welbilt Frymaster Dean SDU Series User manual

Welbilt

Welbilt Frymaster Dean SDU Series User manual

Welbilt FQ4000 Assembly instructions

Welbilt

Welbilt FQ4000 Assembly instructions

Welbilt THERMOKINETIC Series User manual

Welbilt

Welbilt THERMOKINETIC Series User manual

Welbilt INDUCS GARLAND INSTINCT Hob 3 User manual

Welbilt

Welbilt INDUCS GARLAND INSTINCT Hob 3 User manual

Welbilt Manitowoc K00497 User manual

Welbilt

Welbilt Manitowoc K00497 User manual

Welbilt MULTIPLEX BIC MA-8-2 Reference manual

Welbilt

Welbilt MULTIPLEX BIC MA-8-2 Reference manual

Welbilt Convotherm maxx pro C4 EB User manual

Welbilt

Welbilt Convotherm maxx pro C4 EB User manual

Welbilt Merco MHC Series User manual

Welbilt

Welbilt Merco MHC Series User manual

Welbilt Merrychef Eikon E3 User manual
Welbilt

Welbilt Merrychef Eikon E3 User manual

Popular Commercial Food Equipment manuals by other brands

Costco 5P-08WT manual

Costco

Costco 5P-08WT manual

Beper BT.651Y manual

Beper

Beper BT.651Y manual

Blue Seal EF30 Installation & operation manual

Blue Seal

Blue Seal EF30 Installation & operation manual

Tecfrigo Snelle 400 GS installation instructions

Tecfrigo

Tecfrigo Snelle 400 GS installation instructions

Follett PFT Series Operation and maintenance manual

Follett

Follett PFT Series Operation and maintenance manual

MEFE CAT 206 PTR User manual and maintenance

MEFE

MEFE CAT 206 PTR User manual and maintenance

Diamond AL1TB/H2-R2 Installation, Operating and Maintenance Instruction

Diamond

Diamond AL1TB/H2-R2 Installation, Operating and Maintenance Instruction

Salva IVERPAN FC-18 User instructions

Salva

Salva IVERPAN FC-18 User instructions

Allure Melanger JR6t Operator's manual

Allure

Allure Melanger JR6t Operator's manual

saro FKT 935 operating instructions

saro

saro FKT 935 operating instructions

Hussmann Rear Roll-in Dairy Installation & operation manual

Hussmann

Hussmann Rear Roll-in Dairy Installation & operation manual

Cornelius IDC PRO 255 Service manual

Cornelius

Cornelius IDC PRO 255 Service manual

Moduline HSH E Series Service manual

Moduline

Moduline HSH E Series Service manual

MINERVA OMEGA DERBY 270 operating instructions

MINERVA OMEGA

MINERVA OMEGA DERBY 270 operating instructions

Diamond OPTIMA 700 Installation, use and maintenance instructions

Diamond

Diamond OPTIMA 700 Installation, use and maintenance instructions

Diamond G9/PLCA4 operating instructions

Diamond

Diamond G9/PLCA4 operating instructions

Cuppone BERNINI BRN 280 Installation

Cuppone

Cuppone BERNINI BRN 280 Installation

Arneg Atlanta Direction for Installation and Use
Arneg

Arneg Atlanta Direction for Installation and Use
manuals.online logo
manuals.online logoBrands
  • About & Mission
  • Contact us
  • Privacy Policy
  • Terms and Conditions

Copyright 2025 Manuals.Online. All Rights Reserved.