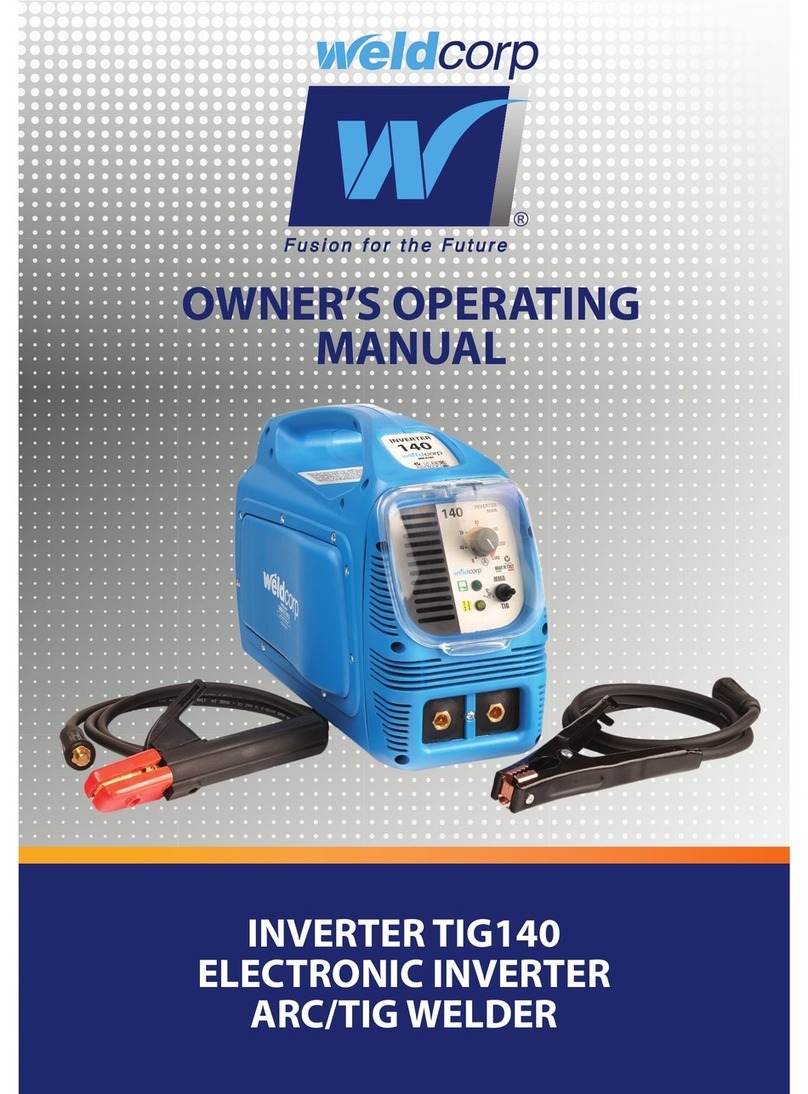
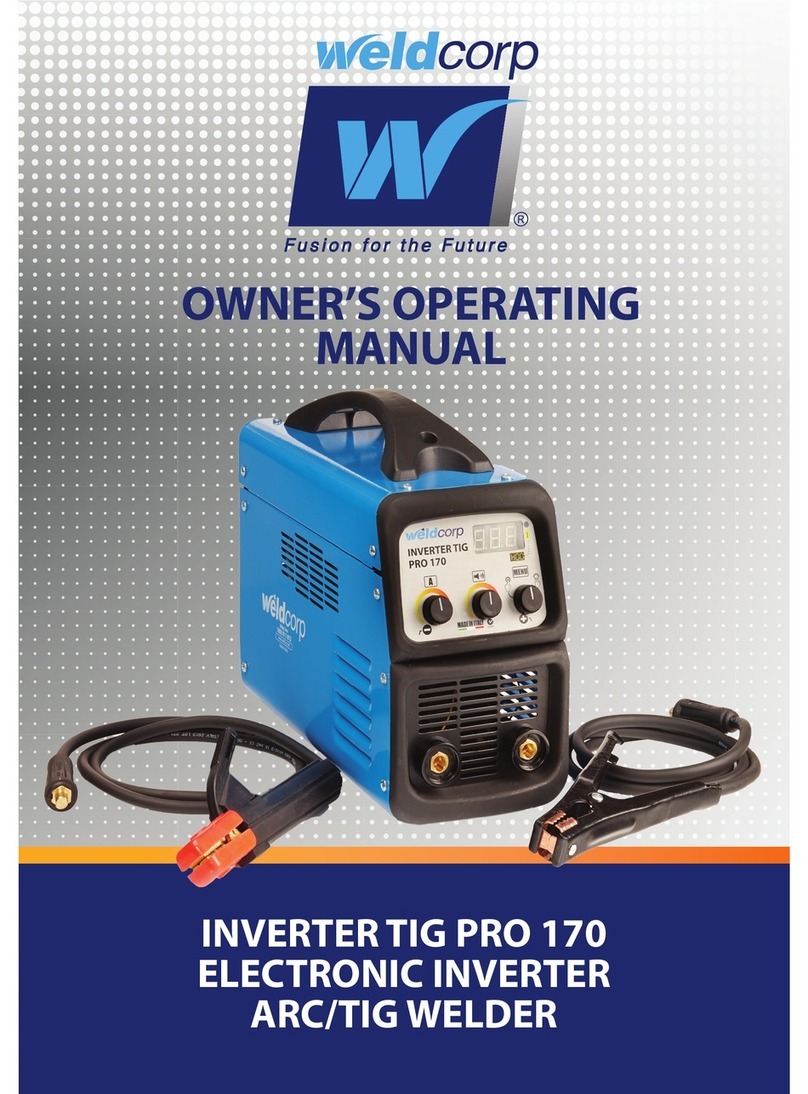
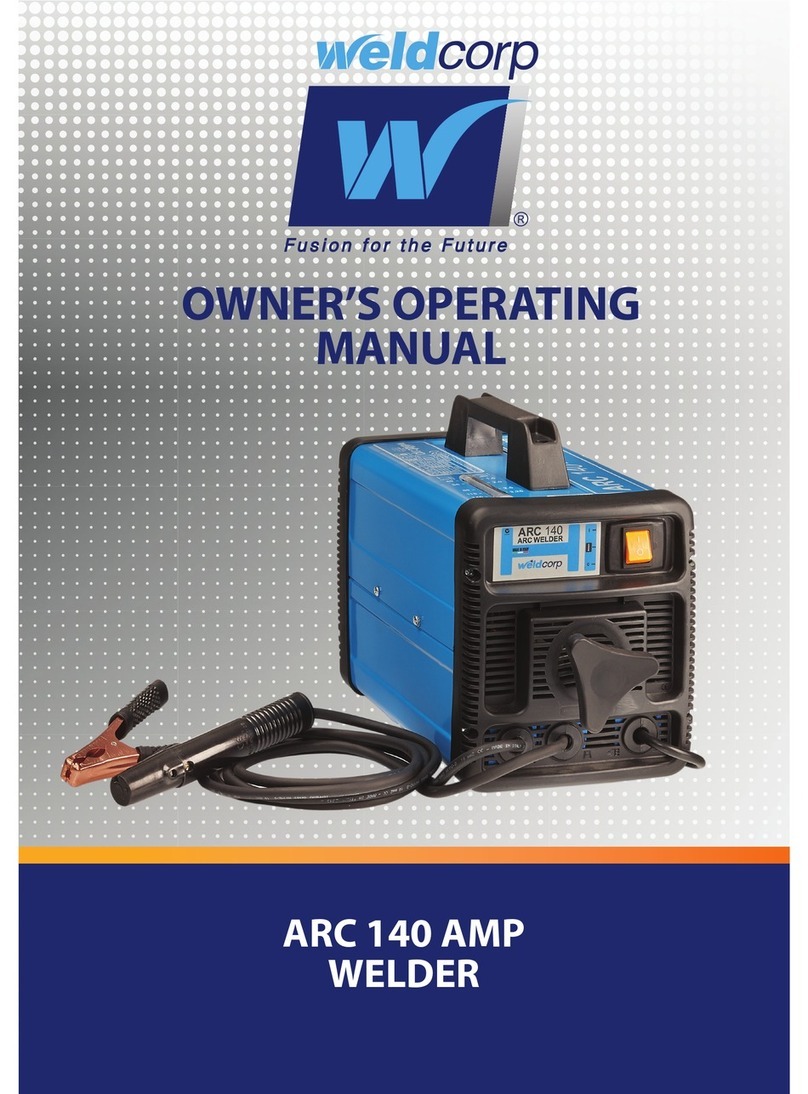
WeldCorp INVERTER 80 Operation manual

OWNERS OPERATING MANUAL
CONGRATULATIONS ON YOUR PURCHASE OF A QUALITY WELDCORP WELDER
MANUFACTURED IN ITALY, IT WILL PROVIDE YEARS OF RELIABLE OPERATION.


Page 3
SAFETY INSTRUCTIONS Page 4
INVERTER WELDERS Page 6
DESCRIPTION OF MACHINES Page 7
INVERTER 80 Page 7
INVERTER 125 Page 8
INVERTER 140 Page 9
OPERATION Page 10
WHAT IS AN INVERTER WELDER Page 11
SET UP OF THE INVERTERS Page 11
ESTABLISHING THE ARC Page 12
WELDING BASICS Page 13
WELDING SPEED AND CURRENT Page 13
WELDING INFORMATION Page 14
KEY POINTS Page 14
THERMAL OVERLOAD Page 14
WIRING DIAGRAM INVERTER 80 Page 15
WIRING DIAGRAM INVERTER 125 / 140 Page 15
TROUBLE SHOOTING GUIDE Page 16
SPARE PARTS Page 18
INVERTER 80 Page 18
INVERTER 125 / 140 Page 20
WARRANTY Page 22
WARRANTY FORM Page 23
CONTACT DETAILS Page 24
TABLE OF CONTENTS

Page 4
When using power equipment, basic safety precautions should always
be followed to reduce the risk of fire, electric shock and personal
injury, including the following. If used correctly, welders pose little
risk to the operator; however, care should always be taken to ensure
safety and proper performance. Read all owner’s operating instruc-
tions before attempting to operate any product.
WARNING: PERSONS FITTED WITH ELECTRONIC
DEVICES INCLUDING BUT NOT LIMITED TO
PACEMAKERS AND HEARING AIDS SHOULD NOT
OPERATE ELECTRONIC INVERTER WELDERS
WARNING: CONTACT LENS SHOULD BE REMOVED
BEFORE USE
FOR SAFE OPERATION:
KEEP THE WORK AREA CLEAN: Cluttered working areas (indoor
and outdoor) invite injuries.
CONSIDER THE WORK ENVIRONMENT: Don’t expose power
equipment to rain. Don’t use welding equipment in damp or wet
locations. Keep the work area well lit. Don’t use welding equip-
ment in the presence of flammable liquids or gases.
GUARD AGAINST ELECTRIC SHOCK: Avoid body contact the
grounded surfaces (e.g. pipes, radiator, and electrical appli-
ances).
KEEP CHILDREN AND VISITORS AWAY: Keep children, infirmed
persons and visitors away from the area of operation. Do not
let children, infirmed persons or visitors touch equipment or
extension cables.
STORE IDLE TOOLS: When power equipment is not in use, keep
them in a dry, high or locked area, out of reach of children.
WEAR SAFETY GLASSES: Always wear safety goggles or other
suitable eye protection when using welding equipment.
SAFETY INSTRUCTIONS

Page 5
SECURE WORK: Use clamps or a vice whenever possible to secure
work.
DON’T OVERREACH: Keep proper footing and balance at all times.
DRESS PROPERLY: DO NOT wear loose clothing or jewellery. They
can be caught in moving parts. Wear protective hair covering to
cover long hair, and gloves and non-slip footwear is recom-
mended when working outdoors.
TAKE CARE OF CABLES: Never carry welding equipment by the
cable and never pull the cable to disconnect it from a socket.
Keep cables away from heat, oil and sharp edges. Replace dam-
aged cables.
DISCONNECT TOOLS: Disconnect welding equipment when not in
use, before servicing, and when changing accessories such as
blades, bits and cutters.
AVOID UNINTENTIONAL OPERATION: Don’t carry plugged in weld-
ing equipment with a finger on the switch. Be sure that the
switch is off when plugging in.
OUTDOOR USE EXTENSION CABLES: When electric power equip-
ment is used outdoors, only use extension cables marked as suit-
able for outdoor use.
STAY ALERT: Watch what you are doing. Use common sense. Do
not operate welders when you are tired or under the influence of
alcohol or drugs.
CHECK DAMAGED PARTS: Before using welding equipment, parts
that are damaged should be carefully checked to determine that
they will operate properly and perform their intended function.
Any part that is damaged should be properly repaired or replaced
by an authorized service agent. Have defect switches replaced by
an authorized repair agent. Do not operate power equipment if it
cannot be turned off and on by the switch.
REPAIR OF POWER EQUIPMENT BY EXPERTS: Power equipment is
built in accordance with relevant safety authority requirements.
The repair of power equipment must only be carried out by ex-
perts; non-expert repairs may cause considerable danger for the
user and void warranty.
INVERTER WELDERS
OPERATING PRINCIPLE
The welding machine manages automatically various parameters that allow a good
result of the welding operation:
FEATURES
HOT START
Generally when we start welding operation we have some difficulties because the
electrode and working piece are cold. During this phase the equipment supplies (for
a small time) the starting current with a value higher than value planed. This helps
the arc ignition and makes more stable welding process.
ARC FORCE
During welding operations the electrode is guided by the operator's hand, therefore
the distance from the welding point is not always the same. To avoid that electrode
approaching the welding melt creates a short circuit, the electronic equipment auto-
matically increases the arc current value to eliminate that.
ANTI-STICK
If during welding process we have a permanent short circuit, immediately the cur-
rent value decreases until the value to allow to the electrode be removed from the
melt and welding process can proceed regularly.
THERMAL PROTECTION
When yellow led is ignited is not possible to carry out the welding. Signal light is
switch off automatically when temperature goes down, now it is possible to weld
again. When equipment is switch on, signal remains about 3 seconds switched on.
During this time there is a check of all electronic functions and it is impossible to
operate.

DESCRIPTION OF MACHINES
These models are portable Inverter Arc Welders which are compact. The robust
format makes them a versatile and efficient for a variety of uses. The welders com-
pliance to current regulations and the optimum quality of materials used will ensure
a long working life with complete safety.
INVERTER 80
FEATURES
ANTI-SHOCK CLAMP 10 AMP SINGLE PHASE
ACCESSORIES INCLUDED EUROPEAN CONFORMITY
ANTI-SCRATCH PAINT FAN
HOT START, ANTI STICK, GENERATOR SAFE
ARC FORCE DEVICE
SPECIFICATIONS
Mains Voltage 230V
Welding Current 5—80 Amps
Minimum Electrode 1.6 mm
Maximum Electrode 2.5 mm
Weight 3.4 Kg
ACCESSORIES
Electrode Holder
Work Clamp
Instructional DVD
Shoulder Strap

Page 8
INVERTER 125
SPECIFICATIONS
Mains Voltage 230 V
Welding Current 5-125 Amps
Minimum Electrode 1.6 mm
Maximum Electrode 3.25 mm
Weight 4.3 Kg
ACCESSORIES
Electrode Holder
Work Clamp
Hand Held Face Mask
Combination Chipping
Hammer with Wire Brush
Instructional DVD
Shoulder Strap
FEATURES
ANTI-SHOCK CLAMP 10 AMP SINGLE PHASE
ACCESSORIES INCLUDED EUROPEAN CONFORMITY
ANTI-SCRATCH PAINT FAN
HOT START, ANTI STICK, GENERATOR SAFE
ARC FORCE DEVICE
PORTABLE

Page 9
INVERTER 140
FEATURES
ANTI-SHOCK CLAMP 10 AMP SINGLE PHASE
ACCESSORIES INCLUDED EUROPEAN CONFORMITY
ANTI-SCRATCH PAINT FAN
HOT START, ANTI STICK, GENERATOR SAFE
ARC FORCE DEVICE
PORTABLE
SPECIFICATIONS
Mains Voltage 230 V
Welding Current 5-140 Amps
Minimum Electrode 1.6 mm
Maximum Electrode 4.0 mm
Weight 4.5 Kg
ACCESSORIES
Electrode Holder
Work Clamp
Hand Held Face Mask
Combination Chipping
Hammer with Wire Brush
Instructional DVD
Shoulder Strap

Page 10
OPERATION
For all Inverters
Select the correct diameter electrode accordingly
to the thickness of the piece that you intend to
weld. (A table is located on page 13). Press the
side lever to open the clamp, insert the electrode
into the V-groove and release side lever. Ensure
that the electrode is correctly inserted inside the
electrode holder.
For all Inverters
To ensure earth has good contact, clean the work
piece with a wire brush. Attach the earth clamp to
the clean area to ensure good contact.
For all Inverters
Insert earth lead (earth clamp).
Insert electrode lead (electrode holder).
For all Inverters
Select amperage from the guide located on page
14 choosing the correct amperage required for
the electrode and material thickness.
For all Inverters
Switch machine on to start welding.

Page 11
SET UP OF THE INVERTERS
WELDING
MACHINE
ELECTRODE LEAD
GROUND EARTH CABLE
WORK
ARC
ELECTRODE
HOLDER
ELECTRODE
WHAT IS AN INVERTER WELDER
Inverter welders are welders that transform high voltage, low amperage power into
low voltage, high amperage power which is required for welding. This is done by
using a transformer.
The difference between inverters and other types of welders is that inverter welders
increase the frequency of the primary power supply, which in turn reduces the size
of the transformer. This is done through an on/off action of high power solid state
switches that creates AC power.
By controlling the power on the primary side of the transformer and boosting the
frequency, the inverter welders are able to created light weight solution compared
to ARC and MIG welder types.

Page 12
ESTABLISHING THE ARC
STRIKING THE ARC
Strike the metal to be welded with the electrode as
pictured.
ELECTRODE TACKWELD
30—40
MAKING THE WELD
The weld is made by feeding the
electrode into the molten pool
and at the same time move the
electrode along the joint at a 30
to 40 angle at a speed needed to
deposit the required size of weld.
Pictured to the left.
WARNING: NEVER TOUCH THE ELECTRODE WHILE THE MACHINE IS
TURNED ON. IT CAN RESULT IN INJURY AND ELECTRICUTION.
WELDING TIPS FOR
BEGINNERS
The easiest welding method for beginners
is known as “Touch Welding”. This weld-
ing method is performed by lightly resting
the electrode on the work piece and draw-
ing it away slightly while welding at a 40
angle towards the direction of travel.. Refer
the pictures to the left. This forms only a
short arc. This will flatten and widen the
welding bead.
16 mm
30—40

Page 13
WELDING BASICS
The speed and the current that you weld at has an effect on what the weld will be.
Refer the pictures below:
NORMAL
WELDING SPEED
TOO
SLOW TOO
FAST
WELDING CURRENT
TOO
HIGH TOO
LOW
The welding surface should be free of rust or paint. Choose the electrode in accor-
dance with the material being welded. It is advisable to initially test the electrode
and amperage on some scrap metal.
Place the electrode at a distance of 2 cm from the work piece and place the face
shield in position to protect the eyes. Strike the arc by bringing the electrode into
contact with the work piece with a light tapping and scrapping action. Through the
face shield you will see the arc which should be in length on to one and half the
diameter of the electrode. It is important to maintain a constant length of the arc.
As the electrode melts and its length decreases, a gradual downward movement is
needed to maintain the correct distance and the arc itself.
To stop welding simply withdraw the electrode away from the work piece. It is ad-
visable to lift into the weld seam to avoid a porous crater.
Be careful—the metal and electrode tip will be hot. Remove the surface slag when
cooled by lightly tapping with a chipping hammer. Welding may be resumed from
the same spot having first ensured the removal of the slag.
WELDING SPEED AND CURRENT

Weldable Metal
Thickness Minimum
Current [A] Maximum
Current [A]
1.20—1.50 mm 30 50
1.50—2.00 mm 40 80
2.00—4.00 mm 60 100
4.00—6.00 mm 100 130
6.00—7.00 mm 120 170
TABLE FOR SELECTION OF THE WELDING CURRENT ACCORDING TO THE
ELECTRODE AND METAL THICKNESS
Diameter Electrodes
E6013 / E7018
1.6 mm
2.0 mm
2.5 mm
3.2 mm
4.0 mm
NOTE: Weldable metal thickness can be increased by multiple welds.
Page 14
THERMAL OVERLOAD
This welder is fitted with a thermal overload cut out which operates automatically to
stop the transformer overheating.
The machine will become operational again automatically once the temperature has
reduced itself to an acceptable working temperature.
WELDING INFORMATION
KEY POINTS
Get the amperage right from the charts provided.
Check you have the right electrode.
Use the correct angle, 30—40 degrees to the work piece
Arch weld from left to right.
Remember the safety aspects, preparation for welding and use the correct
equipment.

Page 15
WIRING DIAGRAM INVERTER 80
WIRING DIAGRAM INVERTER 125/140

Page 16
TROUBLE SHOOTING GUIDE
FAULT REASON REMEDY
Excessive
Electrode
Consumption
Improper size/or geometry
of electrode for current
required
Use larger electrode
Excessive heating in holder Check for proper contact
Contaminated electrode Replace electrode
Contami-
nated
Electrode
Base metal is dirty or
greasy For surface cleanliness use appropriate
chemical cleaners alcohol, wire brush or
abrasive
Contaminant elements that
our gas may exist within
the base material itself
If possible, improve base material.
Modify welding parameters to accom-
modate out gassing effect
Check for electrode con-
tamination Remove contaminated portion of elec-
trode, regrind electrode
Electrode
Dimensions Be sure electrode dimen-
sions are appropriate for
application
Electrode tip dimensions vary according
to the welding application—refer to the
guide on page 10
Cable Layout In so far as possible, try to
layout cables from power
supply to welding torch as
straight as possible
Occasionally, cables are coiled like a
garden hose. The coil becomes a giant
inductor causing resistance that re-
duces starting energy. Inductance ef-
fects can also be caused by having
welding power cables very close to
grounded steel plates.
Grounding
Problems Make sure clamps and
clamp inserts are clean of
oxidation. Make sure
ground clamp is not worn.
Oxidation and/ or worn equipment can
cause poor ground between part and
clam/ inserts which may hinder arc
starting, wander and other inconsisten-
cies.

TROUBLE SHOOTING GUIDE
NOTE: If you are still having difficulty with your welder, do not hesitate to
contact our service team on:
1800 001 1812
FAULT REASON REMEDY
Overheat
Lights Come
On
Overheating of unit Allow 3—5 minutes of “cool down” time.
If condition is not resettable, take
welder to repair agent for service.
Difficulty in
Arc Starting Damaged Electrodes Check condition of electrodes
Low voltage problem Check the AMP settings
Arc Does Not
Transfer Loose, missing cable con-
nections Check earth connection for loose or
poor ground
Power supply not recognis-
ing start signal Check all connections
Extension
Cables Ensure that any extension
cables are of adequate
capacity
Low quality/ capacity cables will result
in voltage drops and hinder starting
Check the power supply

SPARE PARTS —INVERTER 80

NUMBER DESCRIPTION PRODUCT CODE PICTURE
1 FRONT LABEL M00505SP
2 KNOB S087760SP
3 EARTH CLAMP M611020SP
4 ELECTRODE HOLDER M611520SP
5 GEM S082810SP
6 MANTLE S351400SP
7 ON-OFF SWITCH M484200SP
8 FRONTAL BACK S087316SP
9 POWER CORD M581170SP
10 BELT WITH CLIPS M389920SP
11 FERRITE + CABLE M708250SP
12 CABLE STOPPER S074350SP
13 ROUE A AUBUES M500251SP
14 BOTTOM S331400SP
15 PCB SUPPORT S089250SP
16 CARD AW5679SP

SPARE PARTS —INVERTER 125 / 140
This manual suits for next models
2
Table of contents
Other WeldCorp Welding System manuals

WeldCorp
WeldCorp MULTI PULSE PRO 240 Operation manual

WeldCorp
WeldCorp TIG PRO 170 Operation manual

WeldCorp
WeldCorp MIG 100 Operation manual

WeldCorp
WeldCorp ARC 140 Operation manual

WeldCorp
WeldCorp WCPC001 Operation manual

WeldCorp
WeldCorp MIG 100 Operation manual

WeldCorp
WeldCorp INVERTER TIG140 Operation manual

WeldCorp
WeldCorp ARC 140 AMP Operation manual

WeldCorp
WeldCorp Mig 160 Operation manual