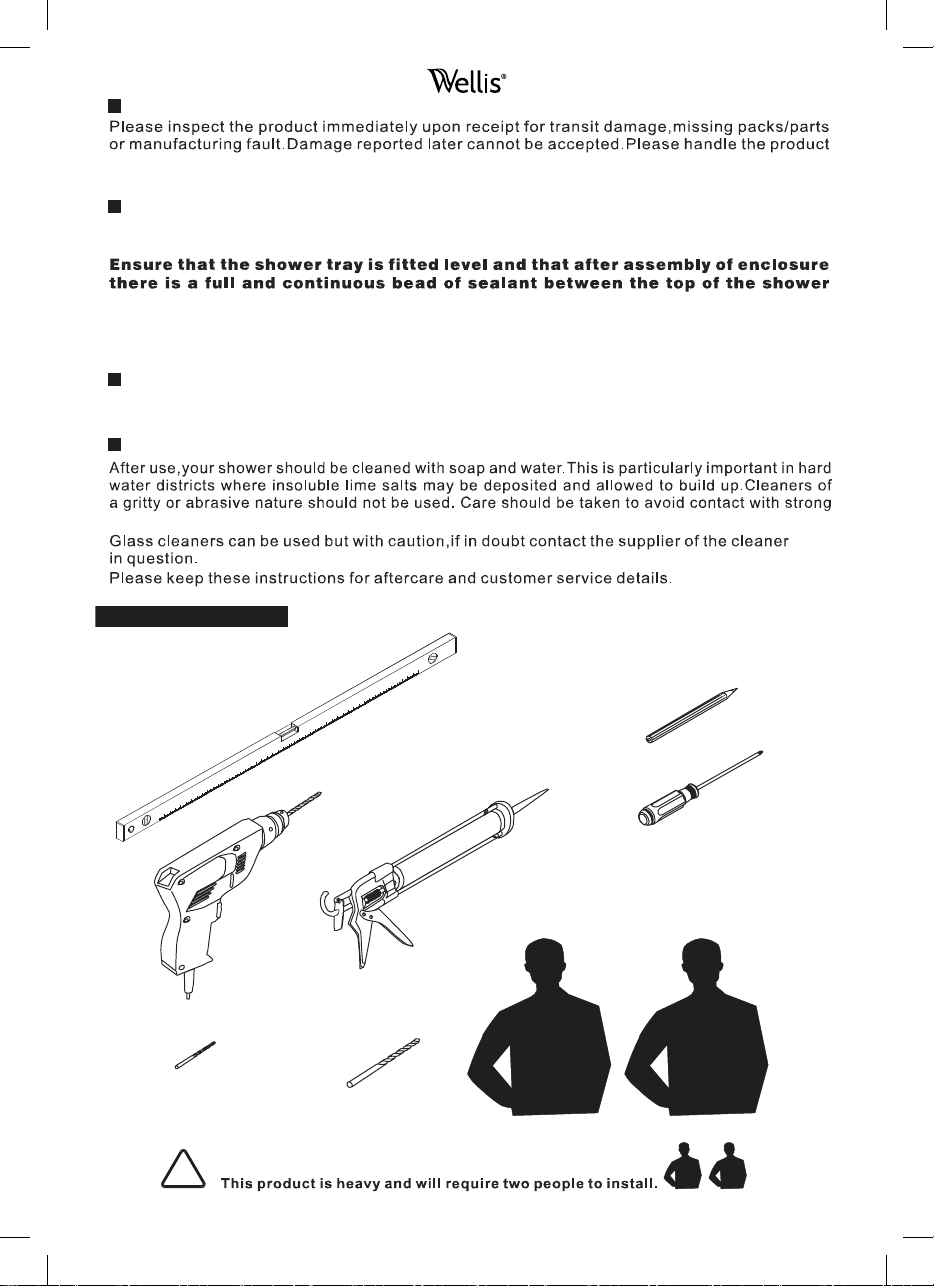
G e n e ra l I n fo r m a t io n
with care avoiding knocks and shock loading to all sides and edges of the glass.
N o t e : S a f e t y gl a s s c a n n o t b e r e - w or k e d .
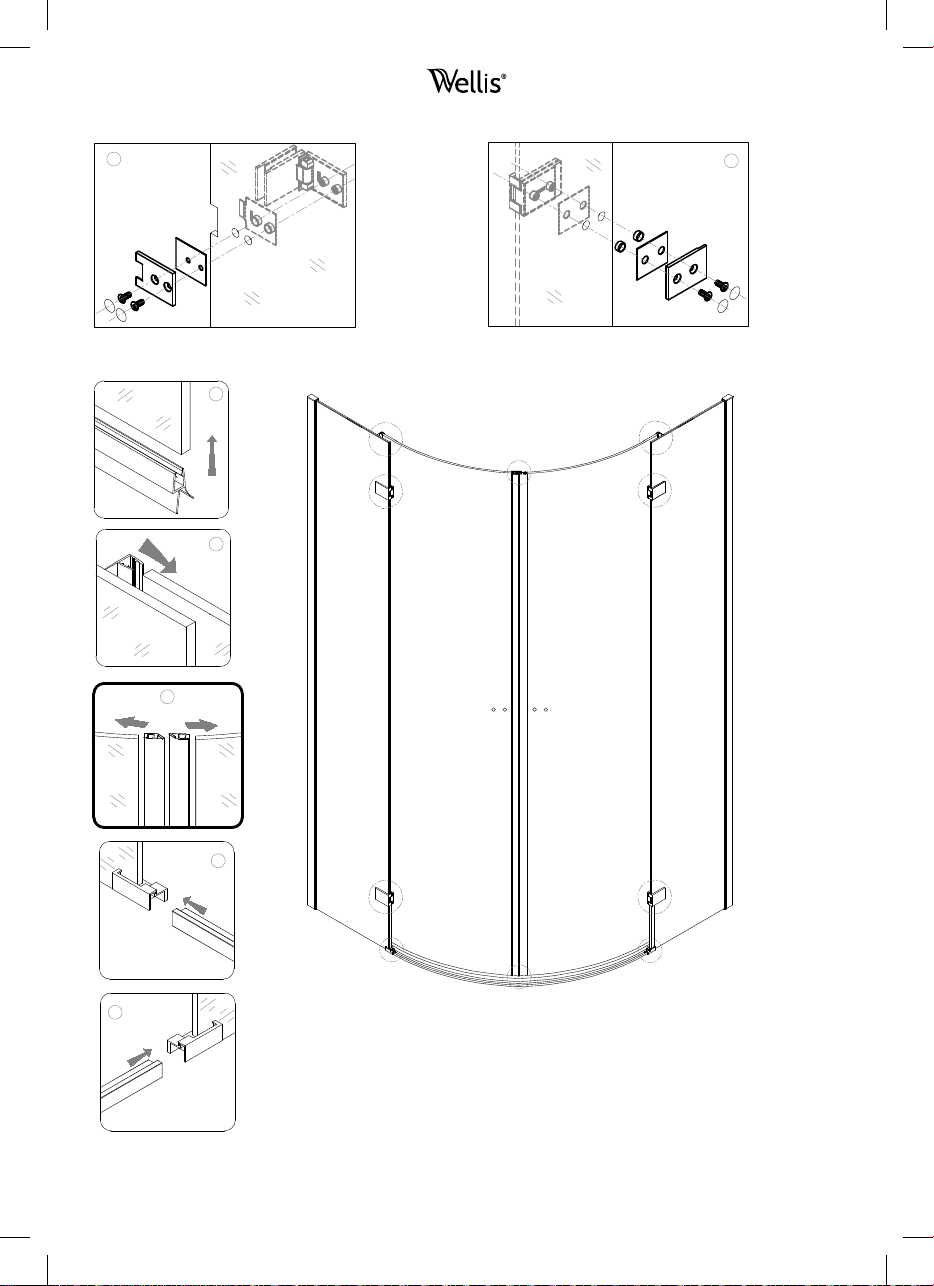
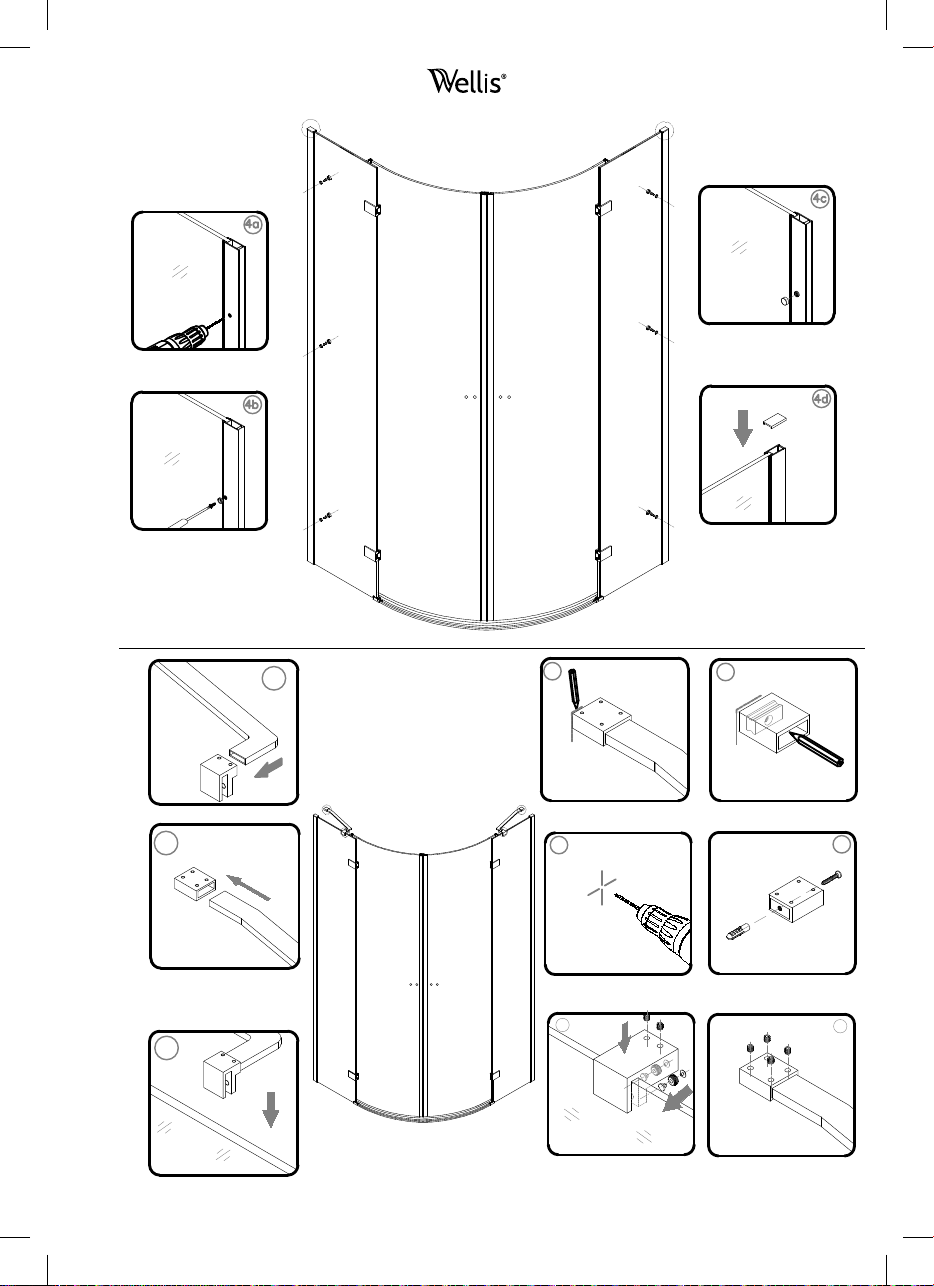
I n s t a l l a t i o n
Please read these instructions carefully before start of installation.
The wall post has up to 20mm of adjustment for out of true wall situations.
tr a y a n d th e t i l e j o i n t .
Special care should be taken when drilling walls to avoid hidden pipes or electrical cables.
Note:This product is heavy and will require two people to install.
Please remove protective film from aluminium profiles before installation.
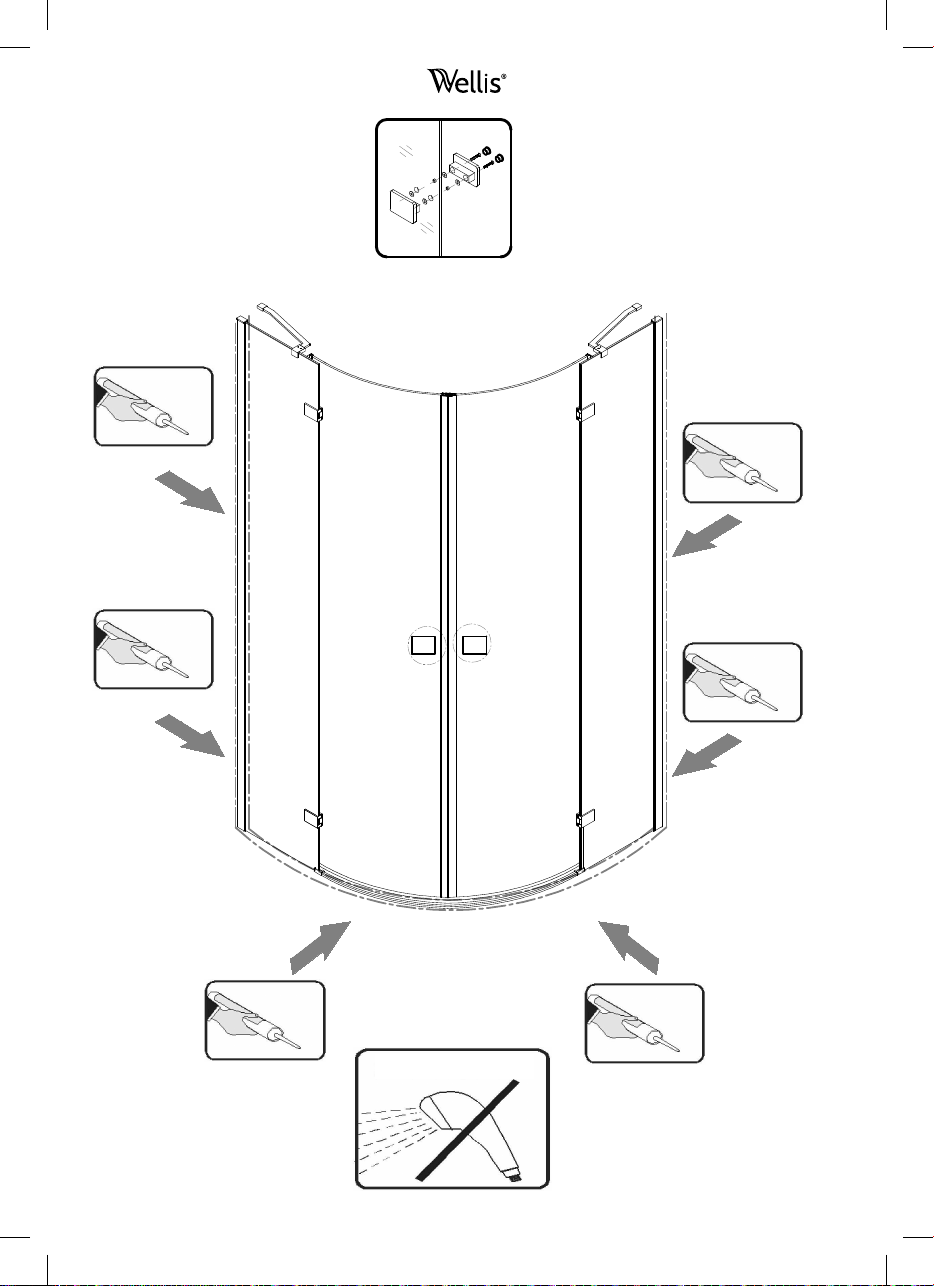
S h o w e r T r a y I n s t all a t i o n
The shower tray must be sited against a structural wall.
Water proof walling or tiling should be fitted so that it sits on the top of the tray rim.
A f t e rc a r e I n s t r u c t i o n s
chemicals such as organic solvents and strippers.
!
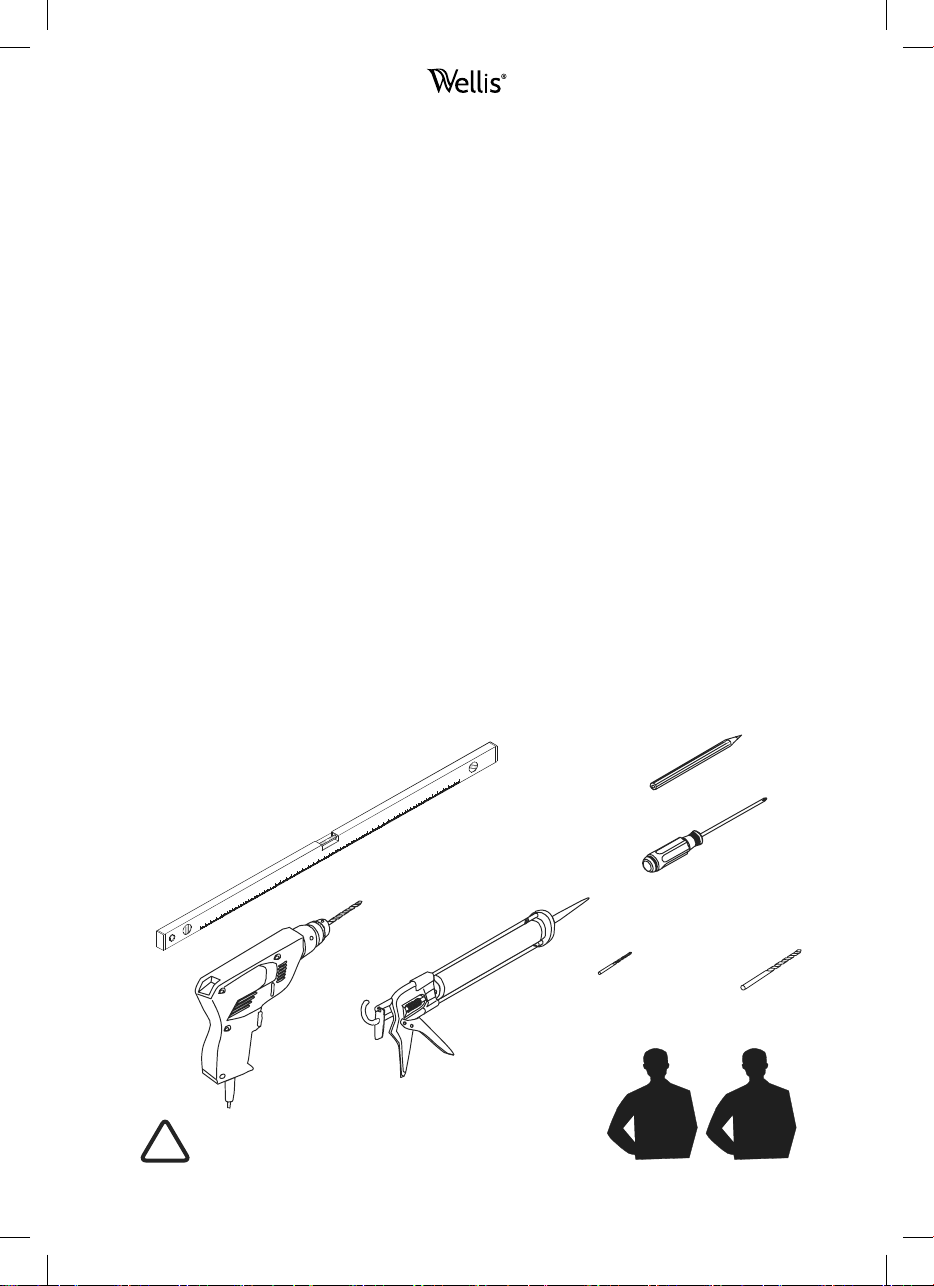
T o o l s r e q u i r e d
φ
3m m
φ
8mm
G e n e ra l I n fo r m a t io n
with care avoiding knocks and shock loading to all sides and edges of the glass.
N o t e : S a f e t y gl a s s c a n n o t b e r e - w or k e d .
I n s t a l l a t i o n
Please read these instructions carefully before start of installation.
The wall post has up to 20mm of adjustment for out of true wall situations.
tr a y a n d th e t i l e j o i n t .
Special care should be taken when drilling walls to avoid hidden pipes or electrical cables.
Note:This product is heavy and will require two people to install.
Please remove protective film from aluminium profiles before installation.
S h o w e r T r a y I n s t all a t i o n
The shower tray must be sited against a structural wall.
Water proof walling or tiling should be fitted so that it sits on the top of the tray rim.
A f t e rc a r e I n s t r u c t i o n s
chemicals such as organic solvents and strippers.
!
T o o l s r e q u i r e d
φ
3m m
φ
8mm
G e n e ra l I n fo r m a t io n
with care avoiding knocks and shock loading to all sides and edges of the glass.
N o t e : S a f e t y gl a s s c a n n o t b e r e -w or k e d .
I n s t a l l a t i o n
Please read these instructions carefully before start of installation.
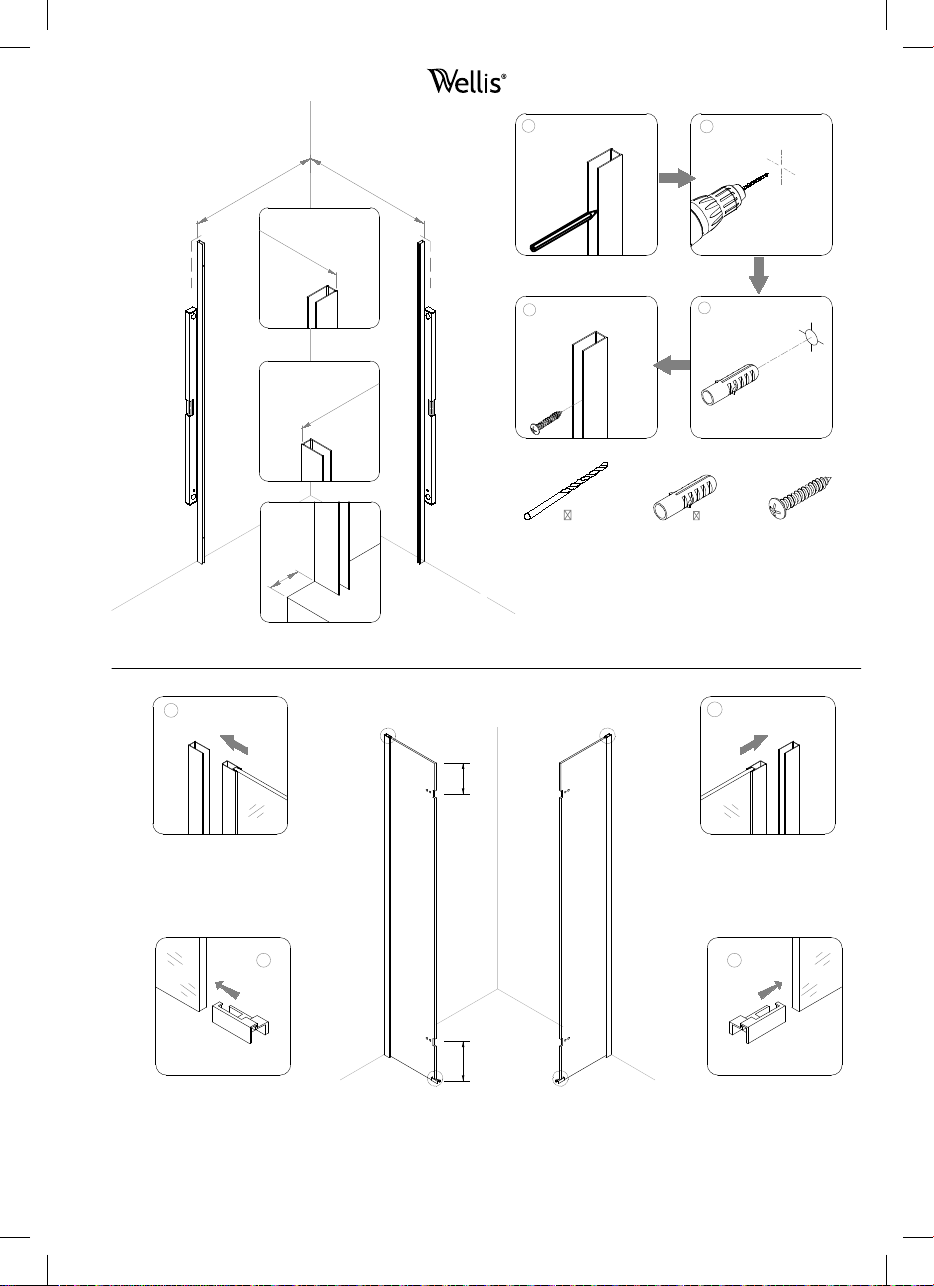
The wall post has up to 20mm of adjustment for out of true wall situations.
tr a y a n d th e t i l e j o i n t .
Special care should be taken when drilling walls to avoid hidden pipes or electrical cables.
Note:This product is heavy and will require two people to install.
Please remove protective film from aluminium profiles before installation.
S h o w e r T r a y I n s t all a t i o n
The shower tray must be sited against a structural wall.
Water proof walling or tiling should be fitted so that it sits on the top of the tray rim.
A f t e rc a r e I n s t r u c t i o n s
chemicals such as organic solvents and strippers.
!
T o o l s r e q u i r e d
φ
3m m
φ
8mm
G e n e ra l I n fo r m a t io n
with care avoiding knocks and shock loading to all sides and edges of the glass.
N o t e : S a f e t y gl a s s c a n n o t b e r e - w or k e d .
I n s t a l l a t i o n
Please read these instructions carefully before start of installation.
The wall post has up to 20mm of adjustment for out of true wall situations.
tr a y a n d th e t i le j o i n t .
Special care should be taken when drilling walls to avoid hidden pipes or electrical cables.
Note:This product is heavy and will require two people to install.
Please remove protective film from aluminium profiles before installation.
S h o w e r T r a y I n s t all a t i o n
The shower tray must be sited against a structural wall.
Water proof walling or tiling should be fitted so that it sits on the top of the tray rim.
A f t e rc a r e I n s t r u c t i o n s
chemicals such as organic solvents and strippers.
!
T o o l s r e q u i r e d
φ
3mm
φ
8mm
Allgemeine Information
Bitte überprüfen Sie das Produkt sofort nach Erhalt nach Transportschäden, fehlenden Packungen/
Teilen oder Herstellerfehlern. Schäden, die später gemel det w erden können nicht akzeptiert werden.
Bitte behandeln Sie dieses Produkt mit Vorsicht, vermeiden Sie Stöße und Er schütterungen an allen
Seiten un d Kanten des Glas.
Achtung: Sicherheitsglas kann nicht erneut bearbeitet werden.
Installation:
Bitte lesen Sie diese Anleitung sorgfältig, ehe Sie mit dem Aufbauen beginnen. Die Stützwand bietet
bis zu 20mm Anpassung für komplizierte Wandsituationen.
Vergewissern Sie sich, dass die Duschwanne eben ist und es nach der Montage des Gehäuses eine
vollständige und kontinuierliche Silikon Dichtstoffschicht gibt, zwischen der Spitze der Duschwanne
und dem Fliesengelenk.
Besondere Sorgfalt sollte gewährt sein wenn Wände angebohrt werden, um versteckte Leitungen oder
elektrische Kabel zu vermeiden.
Achtung: Dieses Produkt ist schwer und es werden zwei Personen zum Aufbauen benötigt.
Bitte entfernen Sie den Überzug vor dem Aufbau.
Duschwanne Aufbau
Die Duschwanne muss gegen eine strukturelle Wand gelehnt sein. Wasserdichte Wande oder
Fliesen sollten so angebracht sein, dass sie auf der Oberseite des Wannenrandes sitzen.
Anleitung zur Pflege
Nach der Benutzung sollte di e Dusche mit Wasser und Seife gesäubert werd en. Das ist besonders
wichtig, bei Bezirken mit hartem Wasser, wo unlösliche Kal ksalze sich festsetzen un d sich
ansammeln können. Reiniger die kiesig und scheuernd sind, sollten nicht benutzt werden. Der Kontakt
mit starken Chemikalien wie organische Lösungsmittel und Beize sollte vermieden werden,
Glasreiniger können mit Vorsicht benutzt werden, bei Frage kontaktieren Sie den Lieferer oder den
infrage kommenden Reiniger.
Bitte bewahren Sie diese Anleitung zur Nachpflege und Kundenservicedetails auf.
Benötigte Werkzeuge
Achtung: Dieses Produkt ist schwer und es werden
zwei Personen zum Aufbauen benötigt.
!