Proprietary Cryo Chill Applicator (Optional):
Technology Spec: Thermoelectric effect (Peltier effect) controls and provides constant cold
temperature as low as -5 C (23F) on a stainless steel plate handpiece reinforced with blue
LEDs (415 nm).
Handpiece Diameter: 58 mm (2.28 inches)
Benefits: Skin tightening, soothing, diminish the appearance of pores and puffiness.
Operation: Connect the handpiece into the back of the AquaGlo Plus and turn ON by simply
pushing button. Blue lights turn ON and handpiece is ready.
When done, push button again to turn it OFF.
Note: If blue LED lights are OFF, then cryo handpiece is OFF.
Protocol: Apply Cryogel mask from Oxygen Ceuticals onto skin (or any other gel type
product) and massage onto skin in circular motions for about 5 minutes. Can be used after
exfoliation to calm and tighten the skin, after extraction to soothe and close pores and at the
end of any facial to provide extra glow to the skin. Always follow strokes in an upward
motion and/or from the inside out of the face. Always keep moving the handpiece onto the
skin.
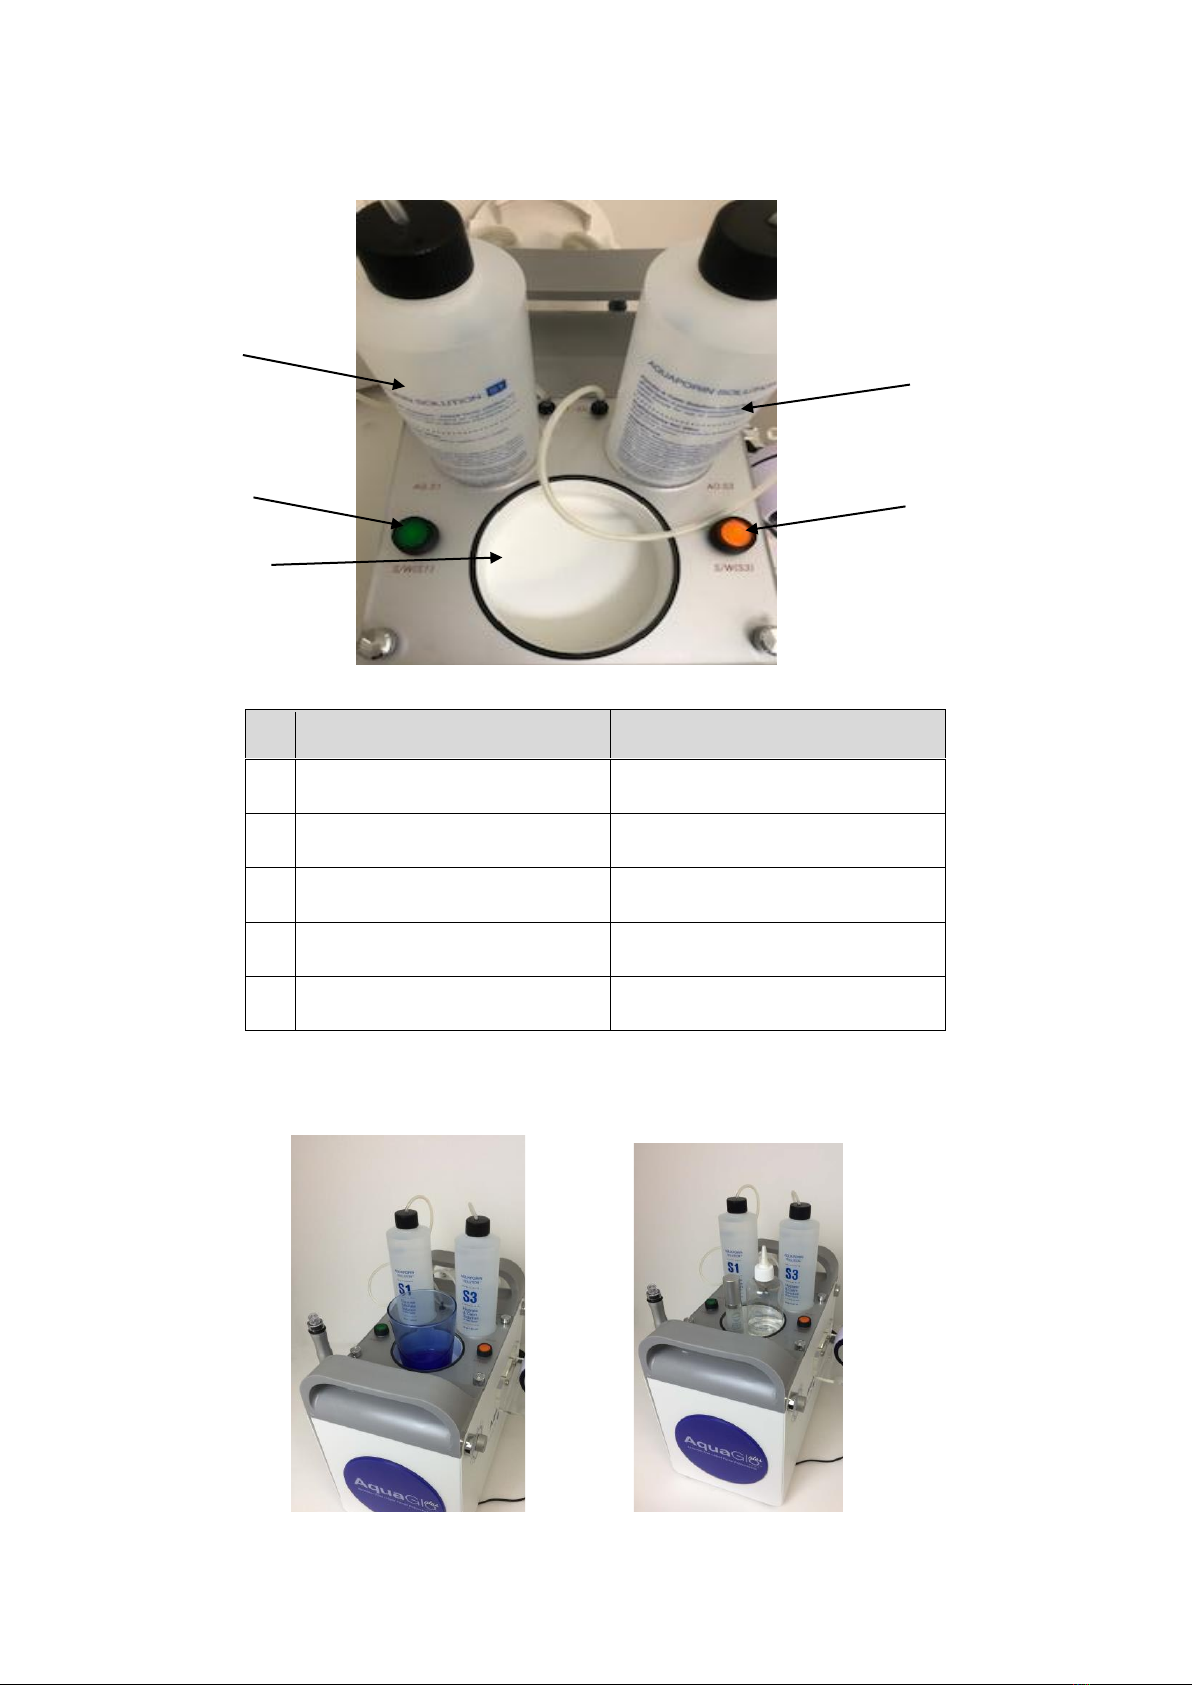
4. Specifications
1) Size: 350 (W) x 200 (D) x 323 (H)
2) Weight: 13kg/28.66 lbs.
3) Vacuum: 550mmHg
5. Components