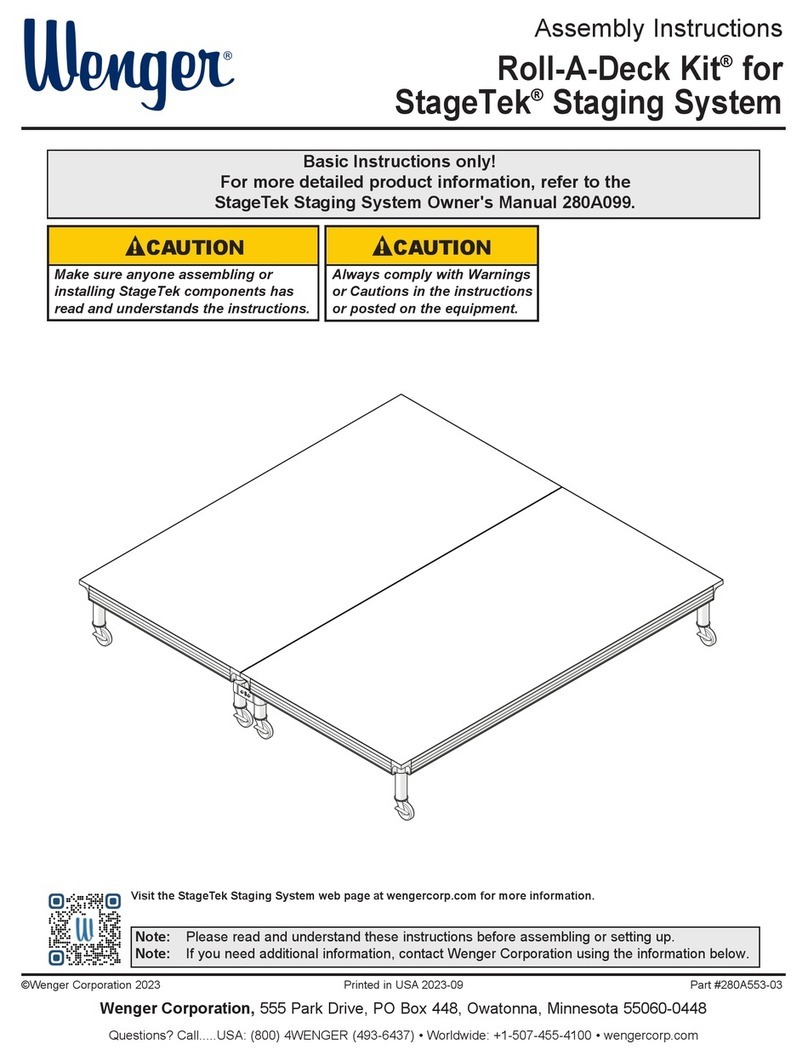
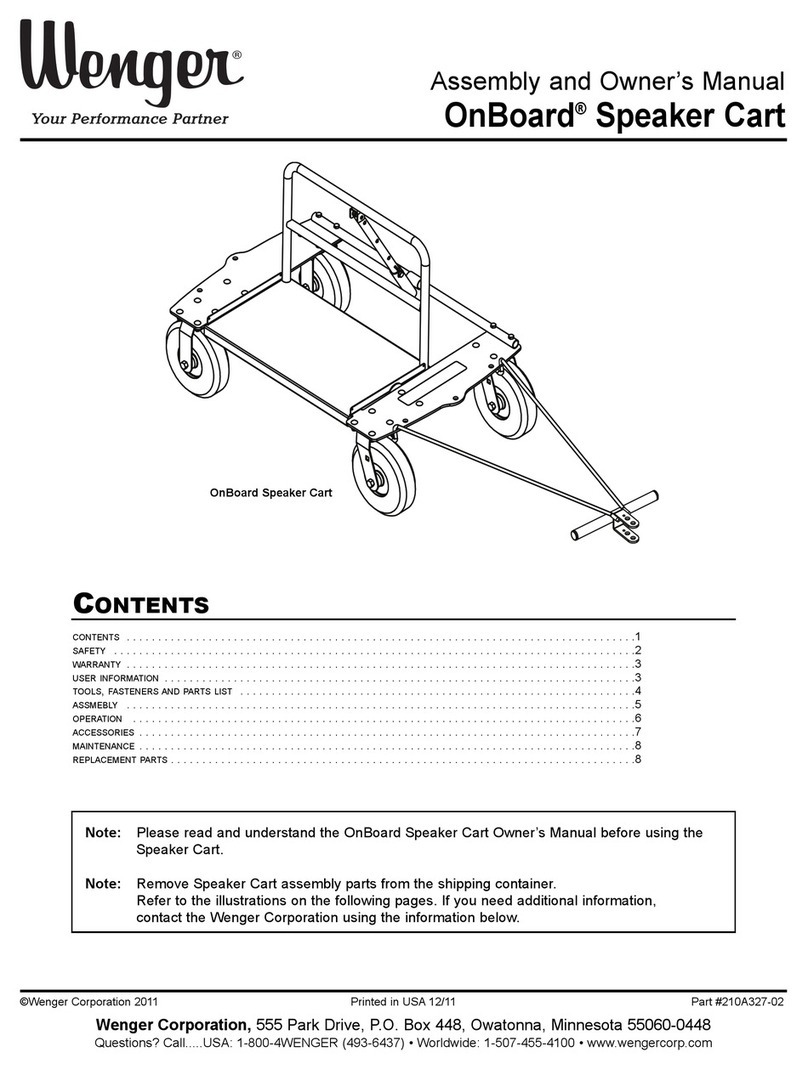
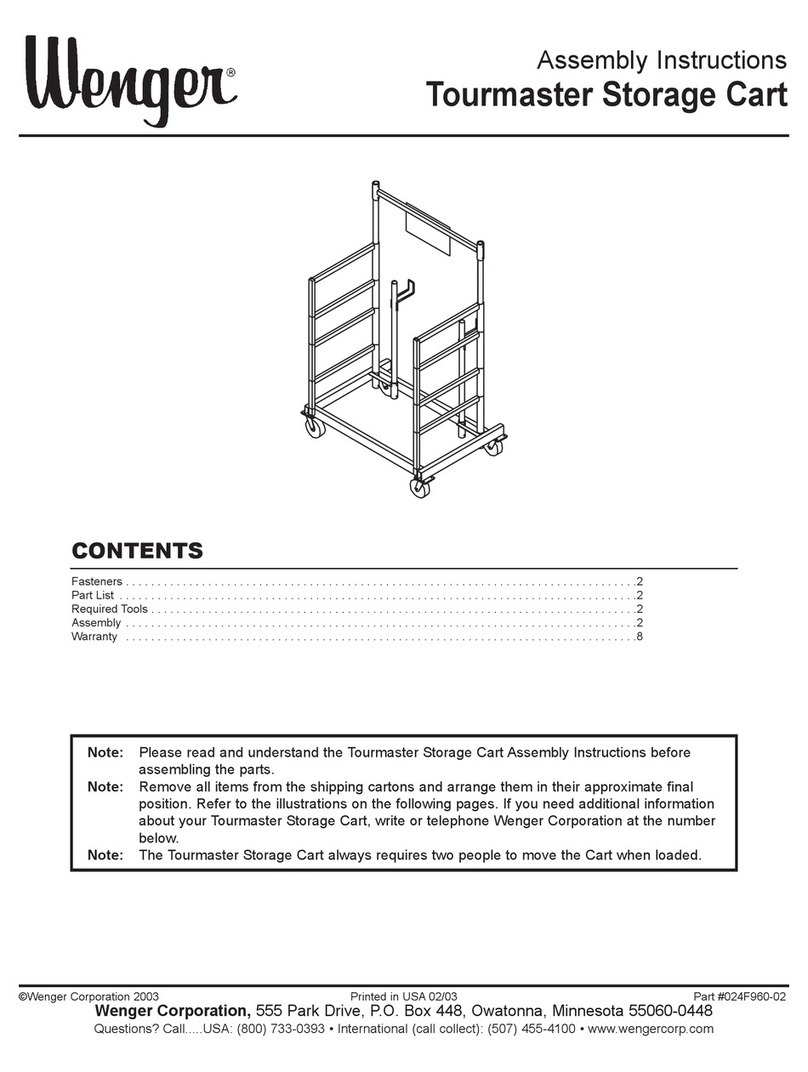
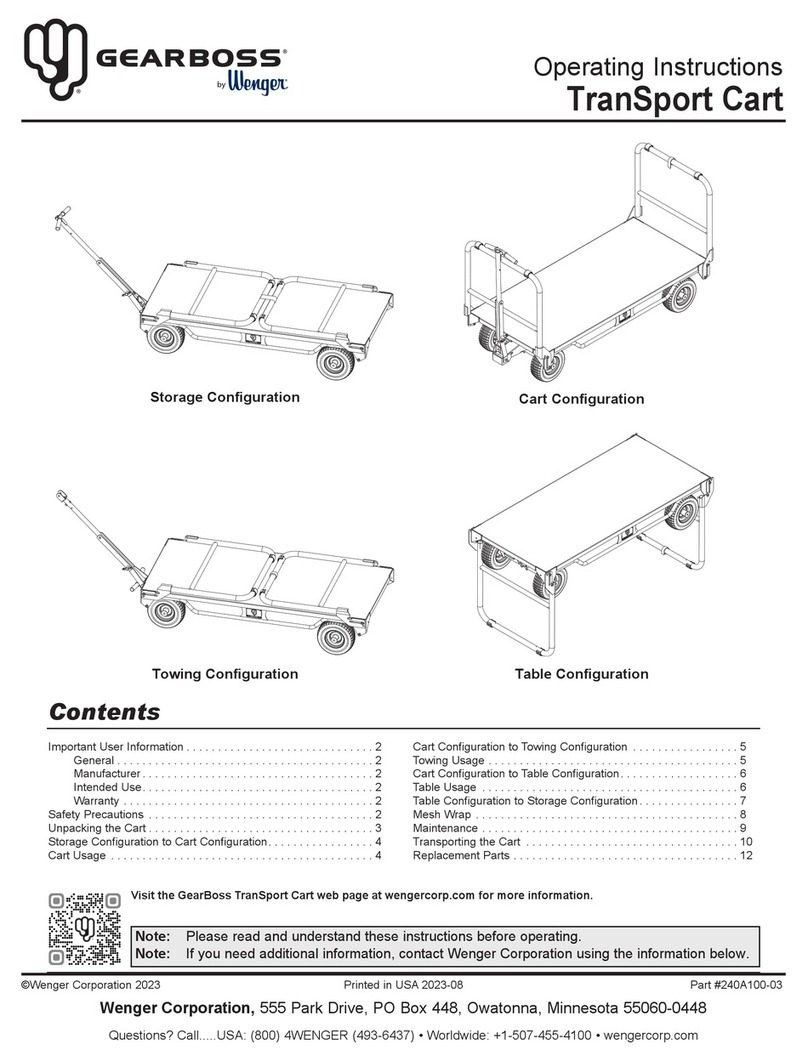
Wenger Gearboss User manual

Owner’s Manual
High Density Sports Storage
Side Closure Accessory
©Wenger Corporation 2006 Printed in USA 06/06 Part #240A096-02
Wenger Corporation, 555 Park Drive, P.O. Box 448, Owatonna, Minnesota 55060-0448
Questions? Call.....USA: (800) 733-0393 • International (call collect): (507) 455-4100 • www.wengercorp.com
CONTENTS
Note: Please read and understand the High Density Sports Storage Side Closure Accessory Owner’s
Manual before attempting installation, assembly, or use.
Note: Remove all items from the shipping containers and sort the components by type, size, etc.
Refer to the illustrations on the following pages. If you need additional information about your
High Density Sports Storage Side Closure Accessory, write, email, or telephone Wenger
Corporation at the number or address below.
X-Cart with Side Closure
Safety . . . . . . . . . . . . . . . . . . . . . . . . . . . . . . . . . . . . . . . . . . .2
General . . . . . . . . . . . . . . . . . . . . . . . . . . . . . . . . . . . . . .2
Installation . . . . . . . . . . . . . . . . . . . . . . . . . . . . . . . . . . .2
Warranty . . . . . . . . . . . . . . . . . . . . . . . . . . . . . . . . . . . . . . . . .2
Important User Information . . . . . . . . . . . . . . . . . . . . . . . . . . .3
Intended Use . . . . . . . . . . . . . . . . . . . . . . . . . . . . . . . . .3
Installation . . . . . . . . . . . . . . . . . . . . . . . . . . . . . . . . . . .3
Required Tools . . . . . . . . . . . . . . . . . . . . . . . . . . . . . . . . . . . .3
Parts List and Fasteners . . . . . . . . . . . . . . . . . . . . . . . . . . . .4
Fasteners . . . . . . . . . . . . . . . . . . . . . . . . . . . . . . . . . . . .4
Side Closure Parts and Hardware List . . . . . . . . . . . . . .4
Side Closure Installation . . . . . . . . . . . . . . . . . . . . . . . . . . . . .5
Before Starting the Side Closure Installation . . . . . . . . .5
Attach the Top Brackets . . . . . . . . . . . . . . . . . . . . . . . . .5
Attach the Outer Brackets . . . . . . . . . . . . . . . . . . . . . . .6
Attach Velcro Tape to the Cart . . . . . . . . . . . . . . . . . . . .7
Attach the Side Closure Panels to the Cart . . . . . . . . . .8
Attach the Connector Plates . . . . . . . . . . . . . . . . . . . . . .10
Attach the Outer Brackets to the Cart . . . . . . . . . . . . . .11
Insert Dome Plugs . . . . . . . . . . . . . . . . . . . . . . . . . . . . .11
Replacement Parts . . . . . . . . . . . . . . . . . . . . . . . . . . . . . . . . .12
Side Closure . . . . . . . . . . . . . . . . . . . . . . . . . . . . . . . . . .12

2
SAFETY
Throughout this manual you will find Cautions and Warnings which are defined as follows.
• Warning means that failure to follow the instruction may result in serious injury or death.
• Caution means that failure to follow the instruction may result in injury or damage to property.
Note: Read all of these safety instructions before using or installing the High Density Sports Storage
System.
GENERAL
Warning! Installation and use of the Wenger High Density Sports Storage System Accessories
must always comply with the information in the section Important End User
Information, Intended Use on page 3 of this manual. Failure to observe this warning
can result in damage to property or serious injury.
Warning! People using the Wenger High Density Sports Storage System Accessories must
always observe and comply with warnings and cautions posted on the System
equipment. Failure to observe this warning can result in damage to property or
serious injury.
INSTALLATION
Warning! Always wear safety glasses and safety shoes when assembling the Wenger High
Density Sports Storage System Accessories. Failure to observe this warning can
result in damage to property or serious injury.
Warning! Make sure that anyone who helps assemble the Wenger High Density Sports Storage
System Side Closure Accessory has read and understands this manual. Failure to
observe this warning can result in damage to property or serious injury.
Warning! Never stand on a Cart when working on it. Failure to observe this warning can result
in serious injury or damage to property.
The High Density Sports Storage System Side Closure Accessory is guaranteed free of defects in
materials and workmanship for five full years.
Our guarantee assures you of either a full refund or repair or replacement of the defective materials or
workmanship without charge, at the discretion of our Customer Service Department. Just call a
Customer Service Representative at 1-800-887-7145 and state the reason you are dissatisfied. If a
product return is necessary, your representative will issue a return authorization. This is your sole
remedy for breach of this warranty.
Should you have a question or problem with any Wenger product, don’t hesitate to call, even if the
product is past warranty. It’s important to us that all our customers be satisfied.
This is the sole warranty made by Wenger. Wenger disclaims all other warranties, including the
warranties of merchantability and fitness for a particular purpose, as well as all liability for incidental,
consequential, special, and indirect damage. Wenger liability for direct damages shall be limited to the
amount you paid for the product involved. Wenger reserves the right to make product changes without
obligation to incorporate such changes into products previously sold.
Some states do not allow the exclusion or limitation of damages or warranties, so the above may not
apply to you. This warranty gives you specific legal rights. You may also have other rights which vary
from state to state.
WARRANTY

3
IMPORTANT USER INFORMATION
INSTALLATION
•The Wenger High Density Sports Storage Side Closure Accessory installation must comply with local
building regulations and codes.
•All personnel (including all temporary workers) installing the Wenger High Density Sports Storage
Side Closure Accessory must read and understand this entire manual.
•Personnel installing the Wenger High Density Sports Storage System Side Closure Accessory must
comply with the warnings and cautions in the Safety Section.
INTENDED USE
•The Wenger High Density Sports Storage System Side Closure Accessory is intended for indoor use
in normal ambient temperature and humidity conditions — it must not be exposed to prolonged
outside weather conditions.
•The Wenger High Density Sports Storage System Side Closure Accessory is intended to be
permanently installed only as described in this manual.
REQUIRED TOOLS
High Density Sports Storage Accessory installation requires the installer to supply the tools shown
below.
Cordless Drill 9/16-inch Combination Wrench

4
PARTS LIST AND FASTENERS
FASTENERS
(7) Screw, Self-drill,
1/4-14x3/4-inch
The full scale fasteners shown below are contained in the Side Closure Accessory Hardware Pack. Any
fasteners remaining when the installation is complete should be discarded.
(10) Hex Nut Insert Bit, 3/8-inch
(8) Carriage Bolt, 3/8-16x1-1/4-inch (9) Acorn Nut, 3/8-16
(6) Flat Washer, 3/8x1-1/4-inch
SIDE CLOSURE PARTS AND HARDWARE LIST
Note: Parts list is for the parts contained in the
Side Closure Carton.
Item Qty Description
1 3 Side Closure Panel
2 3 Dome Plug
3 3 Side Closure Top Bracket
4 6 Side Closure Outer Bracket
5 2 Side Closure Connector Plate
617 Flat Washer, 3/8x1-1/4-inch**
7 7 Screw, Self-drill, 1/4-14x3/4-inch**
823 Carriage Bolt, 3/8-16x1-1/4-inch**
923 Acorn Nut, 3/8-16**
10 13/8-inch Hex Nut Drive Bit**
11 1Velcro Tape, 1-inch x 73-inch
** Item is not show, refer to Fasteners**
(2) Dome Plug
1
11
3
5
4

SIDE CLOSURE INSTALLATION
The following Installation Instructions are the same for the Side Closure Installation to a 32-inch X-Cart,
a 48-inch X-Cart, or a Team Cart.
BEFORE STARTING THE SIDE CLOSURE INSTALLATION
Warning: Personal injury or damage to property can happen if the instructions in this manual
are not followed.
Warning: Always wear safety glasses and safety shoes when installing the High Density Sports
Storage System. Failure to observe this precaution can result in serious injury.
Warning! Never stand on a Cart when working on it. Failure to observe this warning can result
in serious injury or damage to property.
Note: Not all hardware items packed in the carton may be needed. When the assembly is complete,
discard any hardware items not used.
1. Move the Side Closure Carton to the work area (it is best to use a work table).
2. Open the Carton and inventory the contents. Make sure that all of the required items listed on page
4 are present including the Hardware items. Discard the packing materials and corrugated carton.
ATTACH THE TOP BRACKETS
1. Place one of the Side Closure Panels onto the work surface with the two Top Bracket Mounting
Holes at the top as shown below. The four Outer Bracket Mounting Holes will be at the bottom.
Note: The Side Closure Panel surface facing upward
will be the outside surface after installation. If
the Connector Plate Mounting Hole is on the
right, the second Side Closure Panel to be
assembled in step 3 must be placed onto the
work surface with the Connector Plate
Mounting Hole on the left side.
2. Attach the Top Bracket to the Side Closure Panel.
a. Insert the Side Closure Panel Top Edge into
the Side Closure Top Bracket Lower Channel
with the flat side of the Top Bracket facing
downward (refer to the illustrations below
and at the right).
b. Insert a Carriage Bolt, 3/8-16x1-1/4-inch, into
each Side Closure Top Bracket Mounting Hole
as shown at the right.
c. Using a 9/16-inch combination wrench, attach an
Acorn Nut, 3/8-16, to each Carriage Bolt.
3. Repeat steps 1 to 2 with the other two Side Closure
Panels.
Side Closure Top Bracket
Carriage Bolt,
3/8-16x1-1/4-inch
Side Closure Panel
Acorn Nut, 3/8-16
Side Closure Top Bracket
Inside Surface of the Side
Closure Panel
Note: The flat surface of the Side Closure Top Bracket must
rest on the work surface when assembled.
Side Closure Top
Bracket Lower
Channel
Top Edge
Top Bracket
Mounting Holes
Side Closure Top
Bracket Mounting Hole
Outer Bracket
Mounting Holes
5

6
SIDE CLOSURE INSTALLATION CONTINUED
ATTACH THE OUTER BRACKETS
1. Place one of the Side Closure Panels onto the work surface with flat side of the
Top Bracket facing downward as shown at the right.
2. Insert two Carriage Bolts, 3/8-16x1-1/4-inches, through the two clearance holes
in the Outer Bracket and Side Closure Panel.
3. Using a 9/16-inch combination wrench, attach two Acorn Nuts, 3/8-16,
and two Flat Washers, 3/8x1-1/4-inch, to the two Carriage Bolts
as shown at the right.
4. Attach a second Outer Bracket to the other side of the Side Closure Panel
in the same manner.
5. Repeat steps 1 to 4 with the other two Side Closure Panels.
Note: The flat surface of the
Side Closure Top
Bracket must face
downward when
attaching the Outer
Bracket.
Carriage Bolt,
3/8-16x1-1/4-inch
Acorn Nut, 3/8-16
Outer Bracket
Flat Washer,
3/8x1-1/4-inch

7
SIDE CLOSURE INSTALLATION CONTINUED
ATTACH VELCRO TAPE TO THE CART
1. Attach the Velcro Tape to the Top Panel Extrusion on the side that the Side Closure Panels will be
installed.
a. Peel about 12-inches of the Protective Liner from one end of the Velcro Tape.
b. Press the end of the Velcro Tape with the exposed adhesive onto the Top Panel Extrusion Outer
Leg with about one-half of the Tape width hanging below the Outer Leg edge as shown below.
c. Continue to peel the Protective Liner from the Velcro Tape and attach the Velcro Tape to the
entire length of the Top Panel Extrusion.
Top Panel Extrusion
Outer Leg
Velcro Tape
Velcro Tape
Protective Liner
Top Panel Extrusion
Outer Leg
Velcro Tape
Note: Only attach about one-half of the width of the
Tape to the Top Panel Extrusion Outer Leg.
2. Fold the Velcro Tape around the Top Panel Extrusion Outer Leg so that
the Tape is attached to the inside and outside surface of the Outer Leg.
Make sure that the Velcro Tape is firmly attached to the entire length of
both sides of the Top Panel Extrusion Outer Leg.
Note: Make sure that the Velcro Tape is firmly attached to the entire
length of both sides of the Top Panel Extrusion Outer Leg.
Velcro
Tape
Top Panel Extrusion
Outer Leg

8
SIDE CLOSURE INSTALLATION CONTINUED
ATTACH THE SIDE CLOSURE PANELS TO THE CART
1. Place the Side Closure Panel into position in the Cart.
a. Fit the Top Bracket Upper Channel onto the Top Panel Extrusion Outer Leg as shown
in the illustration below.
b. Place the bottom surface of the two Outer Brackets onto the top surface of the
Chassis Side Rail. Make sure that the vertical inside surface of the two Outer Brackets
is pushed against the inside of the Chassis Side Rail.
Side Closure
Panel
Outside View
Inside View Chassis Side Rail Outer Bracket
Note: Make sure that the Outer
Bracket vertical and
horizontal surfaces rest on
the Chassis Side Rail.
Top Panel Extrusion
Outer Leg
Top Bracket
Upper Channel
Note: Make sure that the outside leg of the
Top Bracket is visible from the outside
of the Cart.
Side Closure
Panel
Chassis
Side Rail

9
SIDE CLOSURE INSTALLATION CONTINUED
ATTACH THE SIDE CLOSURE PANELS TO THE CART CONTINUED
2. Place the Side Closure Panel into the Cart.
a. Fit the Top Bracket Upper Channel onto the Top Panel Extrusion Outer Leg.
b. Place the bottom surface of the two Outer Brackets onto the top surface of the
Chassis Side Rail. Make sure that the vertical inside surface of the two Outer Brackets
is pushed against the inside of the Chassis Side Rail.
Side Closure
Panels
3. Place the Side Closure Panel into the Cart between the Side Closure Panels in the same way as
done in steps 1 and 2. It may be necessary to adjust the Edge Closure End Panel positions to allow
room for the Middle Side Closure.
Middle Closure
Panel

10
SIDE CLOSURE INSTALLATION CONTINUED
ATTACH THE CONNECTOR PLATES
1. Assemble a Connector Plate to the Right Side Closure Panel and the Middle Side Closure Panel.
a. Align the Connector Plate Clearance Holes (square) to the Connector Plate Mounting Holes
on the Right Side Closure Panel and the right side of the Middle Side Closure Panel.
b. Insert two Carriage Bolts, 3/8-16x1-1/4-inch, through the Clearance and Mounting Holes.
Push the square shoulder of each Carriage Bolt fully into the two Connector Plate Clearance
Holes (square). It may be necessary to adjust the horizontal position of the two Side Closure
Panels to achieve alignment.
c. Using a 9/16-inch combination wrench, attach a Flat Washer and an Acorn Nut, 3/8-16,
to each Carriage Bolt. It may be necessary for two people to work together to prevent the
Carriage Bolt from being pushed out of the Holes.
2. Attach a second Connector Plate to the Left Side Closure Panel and the Middle Side Closure Panel
in the same way as done steps 1a, 1b, and 1c.
Left Side
Closure Panel
Right Side
Closure Panel
Middle Side
Closure Panel
Flat Washer, 3/8x1-1/4-inch
Carriage Bolt, 3/8-16x1-1/4-inch
Connector Plate Mounting Holes
Acorn Nut, 3/8-16
Connector Plate

11
SIDE CLOSURE INSTALLATION CONTINUED
ATTACH THE OUTER BRACKETS TO THE CART
Note: Make sure that the Side Closure Panel Assembly is centered (left-to-right) on the Cart.
1. Using a cordless drill with a 3/8-inch hex nut drive bit, attach each of the six Outer Brackets to the
Chassis Side Rail with six Self-drive Screws, 1/4-14x3/4-inch, as shown below. Use the Outer
Bracket Pilot Hole as pilot when driving the Screw into the Chassis Side Rail.
Self-drill Screw, 1/4-14x3/4-inch
Outer Bracket Pilot Hole
Outer Bracket
Chassis Side Rail
Chassis
Side Rail
Inside View — End Frame not shown for clarity
INSERT DOME PLUGS
1. Insert a Dome Plug into each open hole on the outside surface
of both the Left and Right Side Closure Panels.
Dome
Plug

12
SIDE CLOSURE
REPLACEMENT PARTS
Item Description
1Side Closure Panel
3Side Closure Outer Bracket
4Side Closure Connector Plate
5Side Closure Top Bracket
6Acorn Nut, 3/8-16
7Flat Washer, 3/8x1-1/4-inch
8Screw, Self-drill, 1/4-14x3/4-inch
9Carriage Bolt, 3/8-16x1-1/4-inch
10 Dome Plug
3
5
6
4
8
1
7
9
10
Table of contents
Other Wenger Outdoor Cart manuals

Wenger
Wenger Tourmaster Storage Cart User manual

Wenger
Wenger OnBoard 210A327-02 User manual

Wenger
Wenger Roll-A-Deck Kit User manual

Wenger
Wenger Diva User manual

Wenger
Wenger teacherTAXI Assembly instructions

Wenger
Wenger Tourmaster Storage Cart User manual

Wenger
Wenger OnBoard Percussion Cart User manual

Wenger
Wenger OnBoard Timpani Cart User manual

Wenger
Wenger teacherTAXI User manual

Wenger
Wenger GEARBOSS TranSport Cart User manual