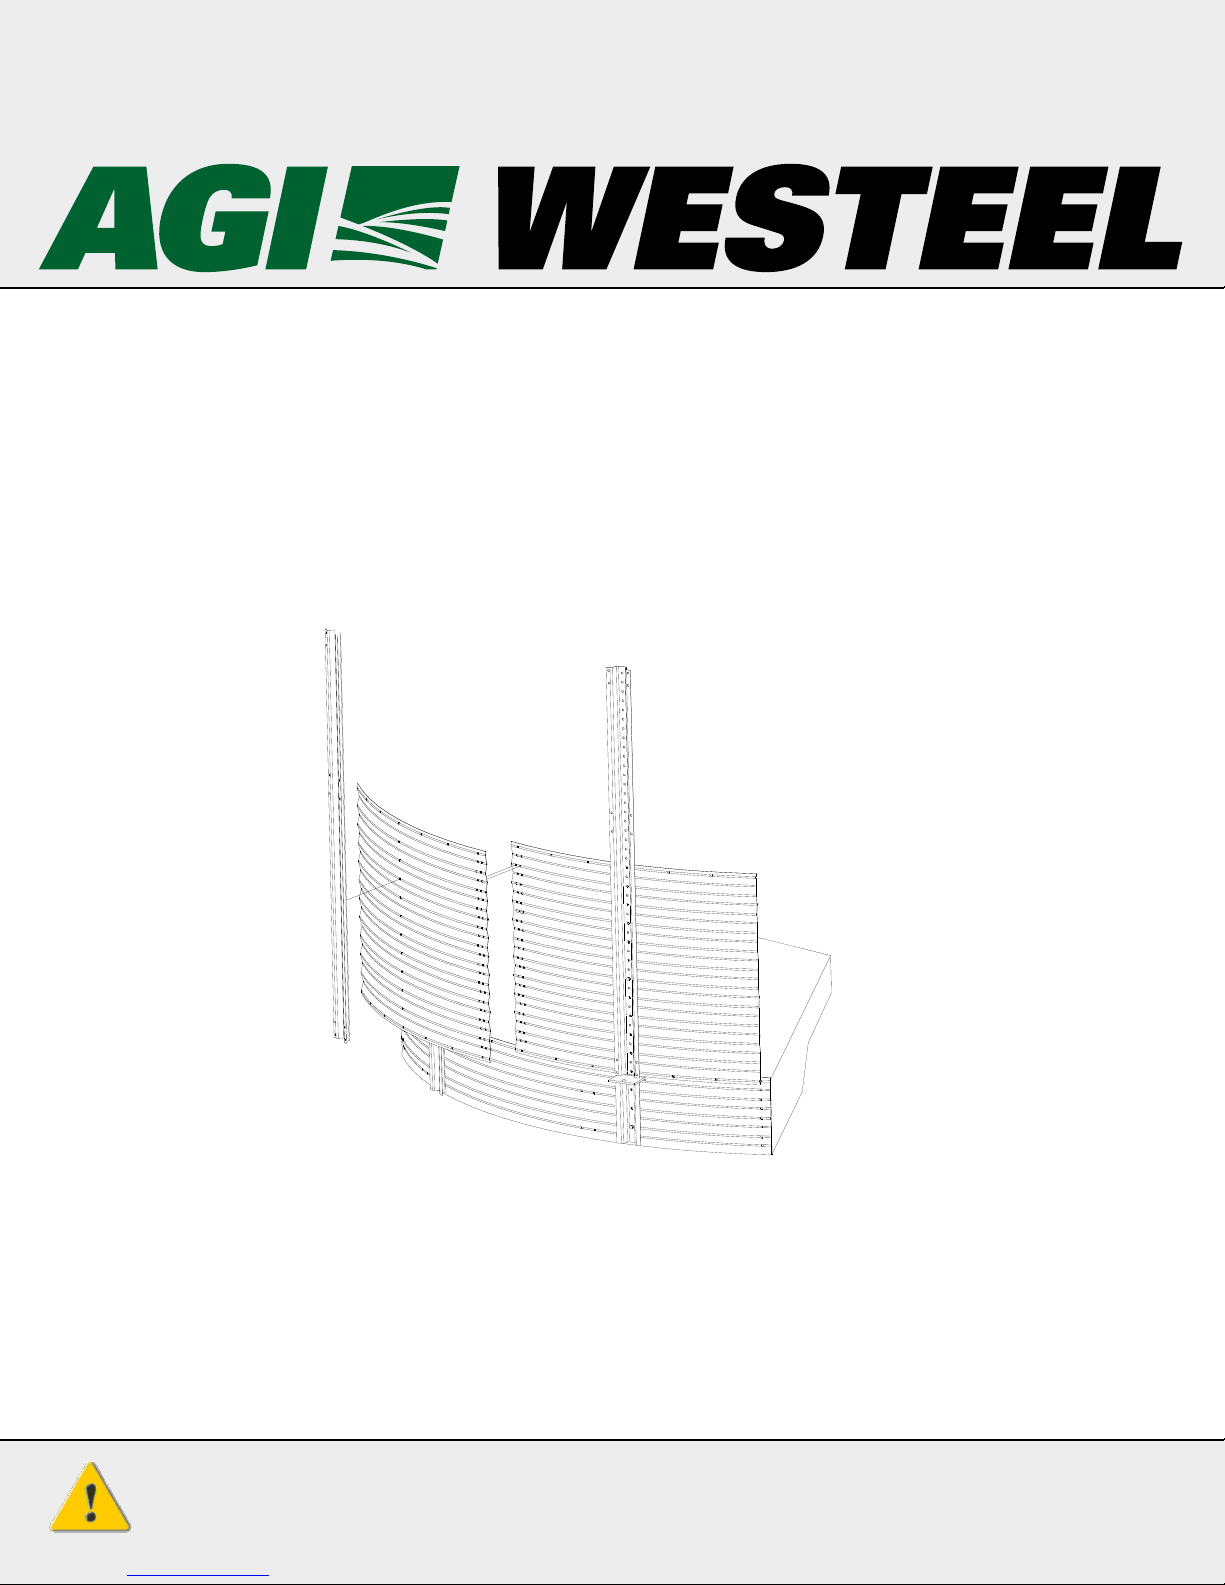
CEW SEALFORM – WIDE-CORR® GRAIN BIN
194543 R8 3
CONTENTS
1. Introduction ............................................................................................................................................ 4
2. Safety....................................................................................................................................................... 5
2.1. Safety Alert Symbol and Signal Words..................................................................................... 5
2.2. General Product Safety ............................................................................................................ 5
2.3. Personal Protective Equipment................................................................................................ 5
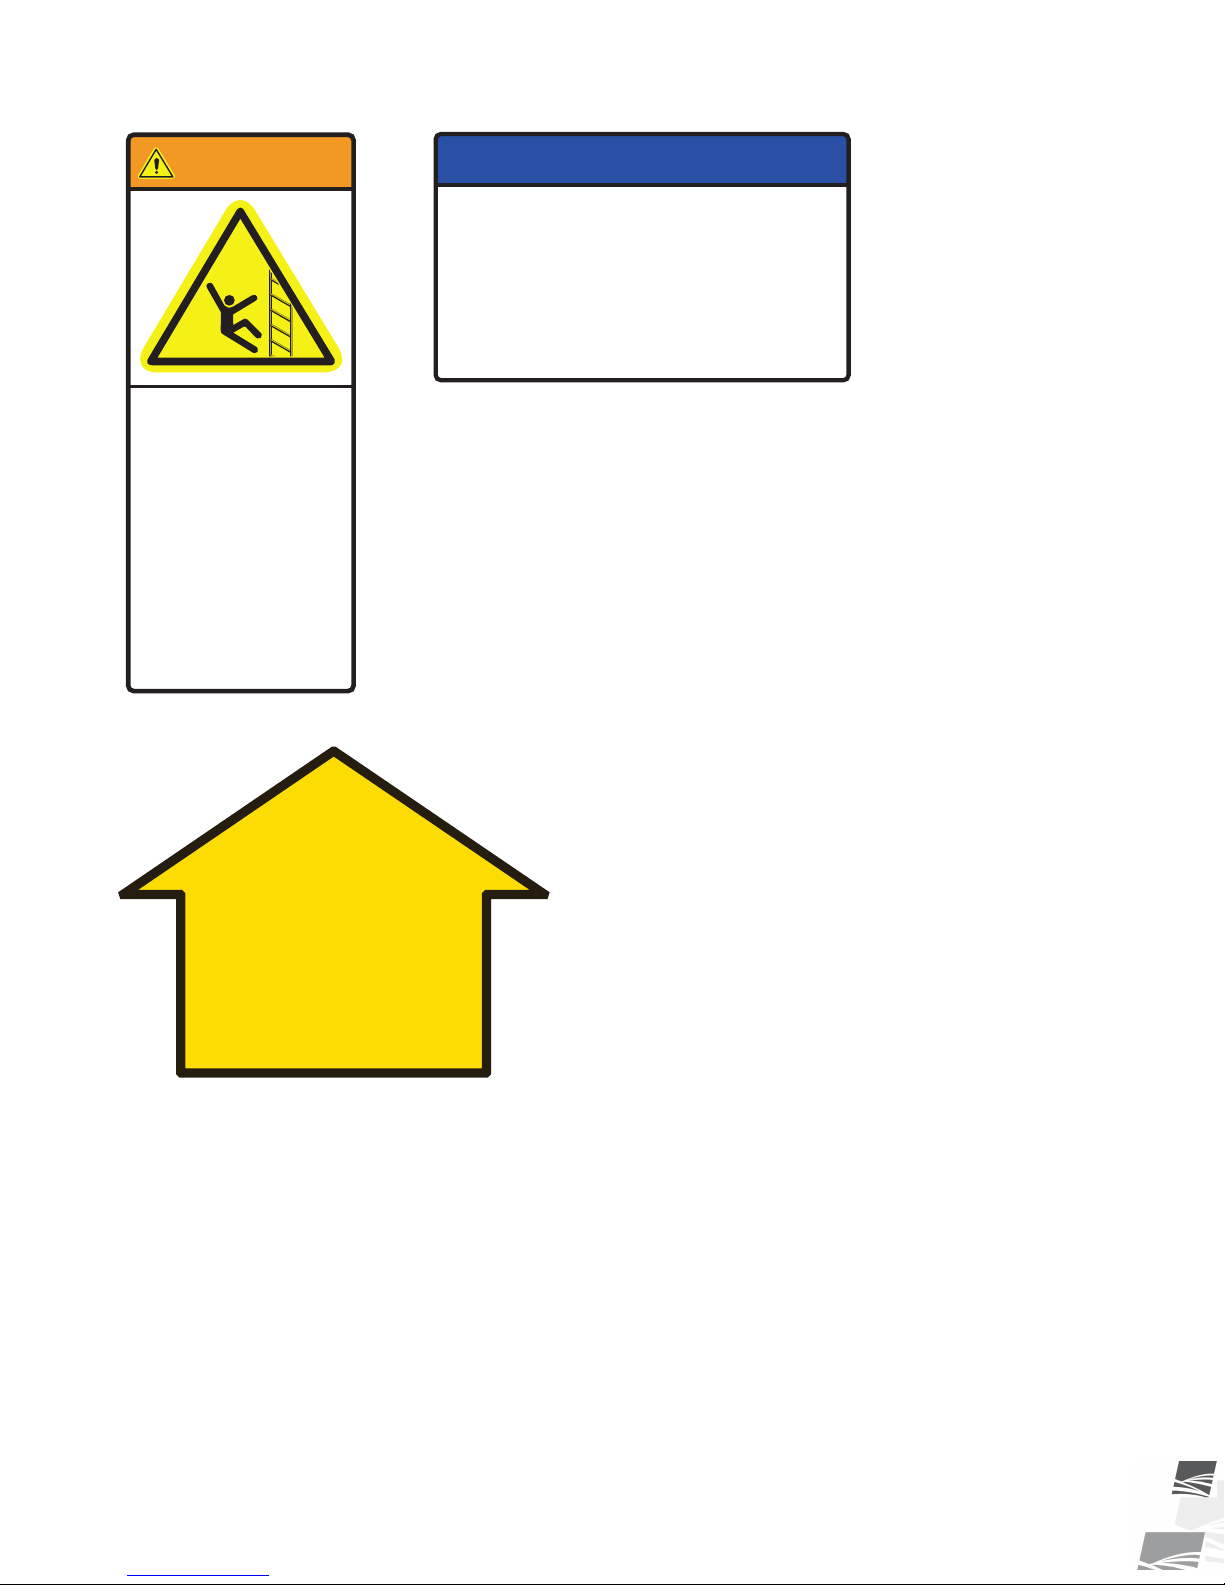
2.4. Safety Decals ............................................................................................................................ 6
2.5. Decal Installation/Replacement ............................................................................................... 6
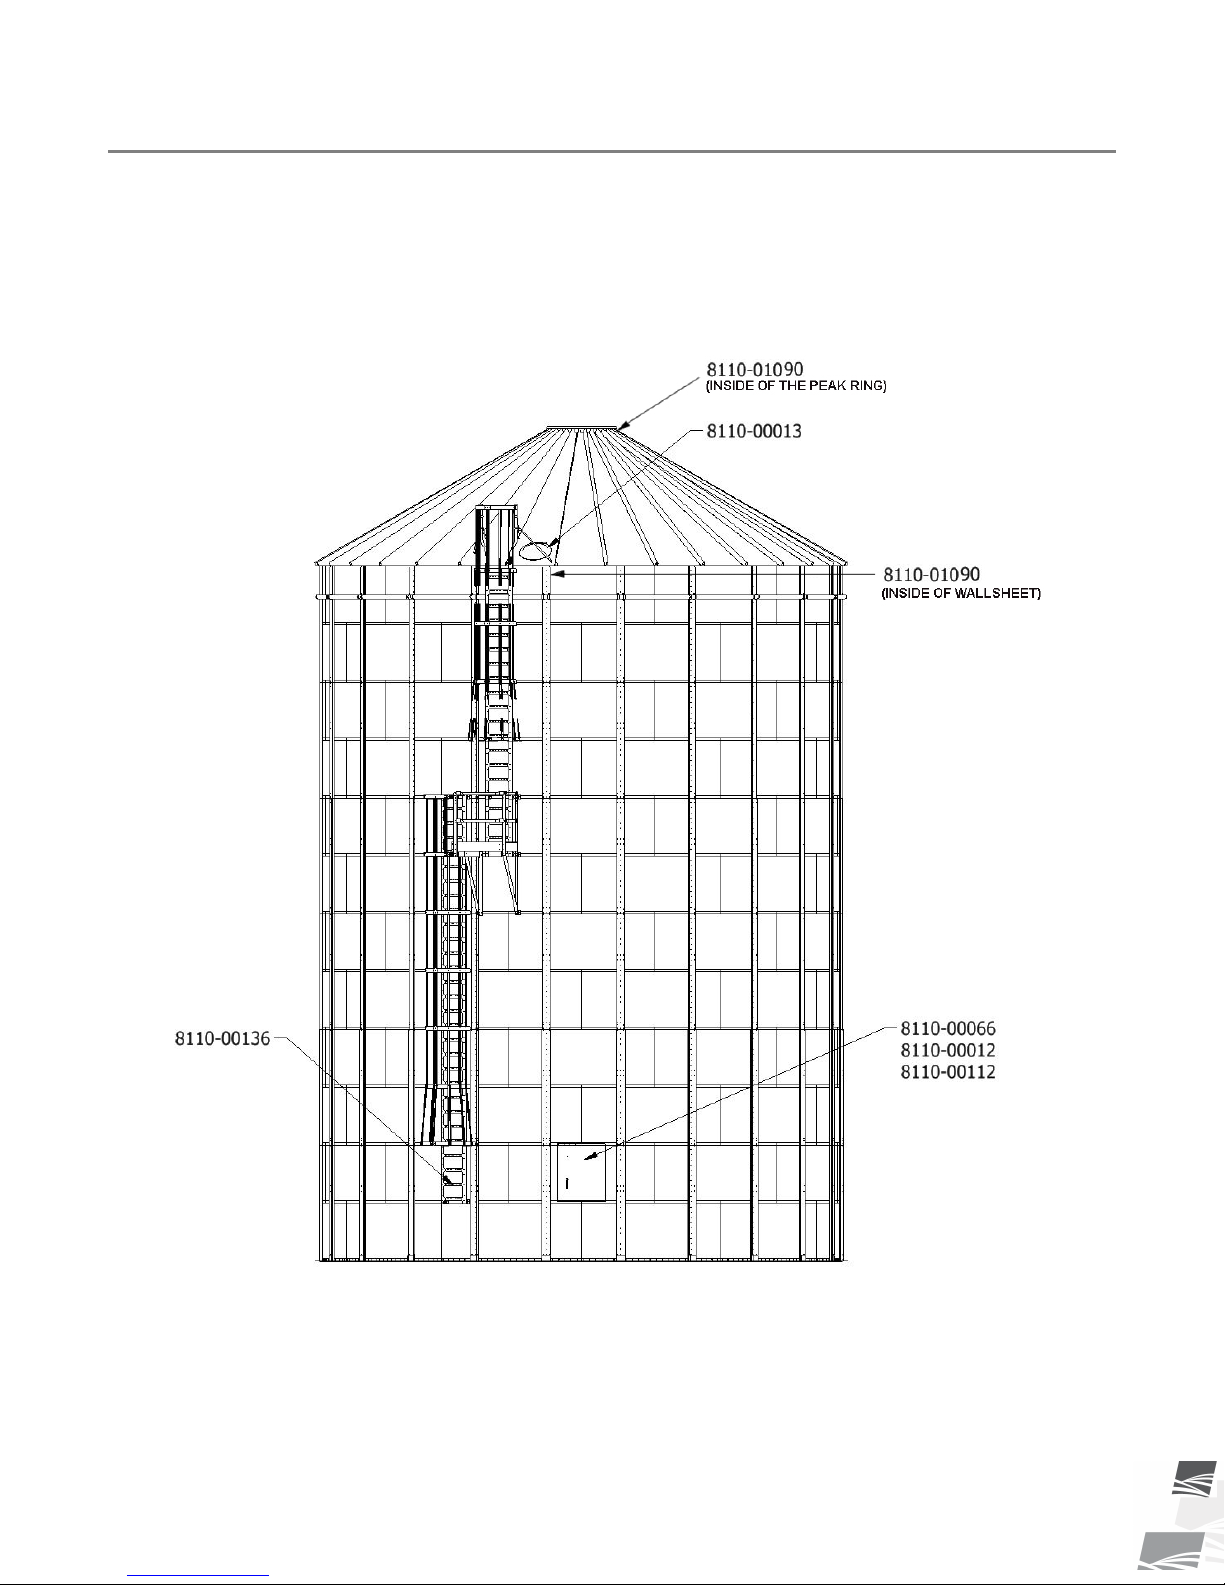
2.6. Safety Decal Locations and Details .......................................................................................... 7
3. Before You Begin .................................................................................................................................. 10
3.1. Bin Design and Capacity......................................................................................................... 10
3.2. Foundation Design and Loads ................................................................................................ 10
3.3. Site and Assembly .................................................................................................................. 10
3.4. Methods of Installation .......................................................................................................... 11
3.5. Cutting Openings in Wide-Corr® Grain Bins .......................................................................... 11
3.6. Critical Assembly Requirements ............................................................................................ 12
3.7. Product Storage...................................................................................................................... 13
3.8. Grain Bin Use.......................................................................................................................... 14
3.9. Important Notes ..................................................................................................................... 14
4. Preparation ........................................................................................................................................... 16
4.1. Check Shipment...................................................................................................................... 16
4.2. List of Tools and Equipment................................................................................................... 16
4.3. Order Optional Equipment..................................................................................................... 16
5. Assembly ............................................................................................................................................... 17
5.1. Assembly Safety ..................................................................................................................... 17
5.2. CEW Sealform Disclaimer....................................................................................................... 17
5.3. Foundation Specifications ...................................................................................................... 17
5.4. Foundation Diagrams ............................................................................................................. 19
5.5. Concrete Form Assembly ....................................................................................................... 19
6. Appendix ............................................................................................................................................... 23
6.1. CEW Sealform Kit Contents.................................................................................................... 23
6.2. CEW Sealform Hardware Pail Contents ................................................................................. 23
7. Limited Warranty: Westeel Grain Bin Products .................................................................................. 24