Westermann Cleanmeleon 800 Elektro User manual

1
Westermann Cleanmeleon 800 Elektro
Operating Instructions

2
Contents Page
General Information ................................................................... 3
Safety .......................................................................................... 4
Technical Data ............................................................................ 5
Start Preparation ........................................................................ 6
Adjustment of the guide bar ...................................................... 6
Commissioning the device ..……………………………………….7
Installation of the add-on head ................................................ 8
Adjustment of the head ............................................................ 8
Charging the CME 800 Elektro …………………………………… 9
Drive axle and parking brake …………………………………… ... 9
Trouble Shooting ...................................................................... 10
Exploded drawings ................................................................... 11
Plug-in diagrams control unit & speed switch ……………… .11
EC Declaration of Conformity ................................................. 12
Warranty guidelines for Westermann sweepers .................... 13

3
General information
•The Cleanmeleon 800 Elektro is a battery-operated column cleaning machine.
•The powerful DC motor and the high-quality batteries guarantee powerful and
long-term work with the device.
•Various column systems can be cleaned of faecal residues in the shortest
possible time thanks to the double column slide.
•Compliance with the instructions for use specified by the manufacturer is
imperative for proper use.
•Only correct operation, compliance with the safety instructions and the
appropriate maintenance and care guarantee the long-term benefits of yournewly
acquired device.
•Please note that only the operations required for the Cleanmeleon 800 Elektro
are explained. For further information on the charger, please refer to the enclosed
operating instructions for the charger.
•Store the machine in a dry place and protect it from moisture.
•Do not aim the handlebars at high pressure when cleaning the device, otherwise
the water-sensitive controls in the upper area of the handlebars could be
damaged.

4
Safety
Always check the Cleanmeleon 800 Elektro for any damage or wear. Only a
flawless machine may be used.
When repairing and replacing, please only use original spare parts or parts approved
by the manufacturer.
The operator must be 18 years old and is responsible for people and animals that
may be in the work area.
The surface to be cleaned must first be cleaned of larger foreign objects. Also
stones, wires, pieces of wood, etc. Under certain circumstances, the machine can
move it in an uncontrolled manner.
Please remove the child lock / plug lock after each use!
After each work process, the device must be connected to the supplied charger. This
prevents deep discharge of the batteries and the device is ready for use at any time.
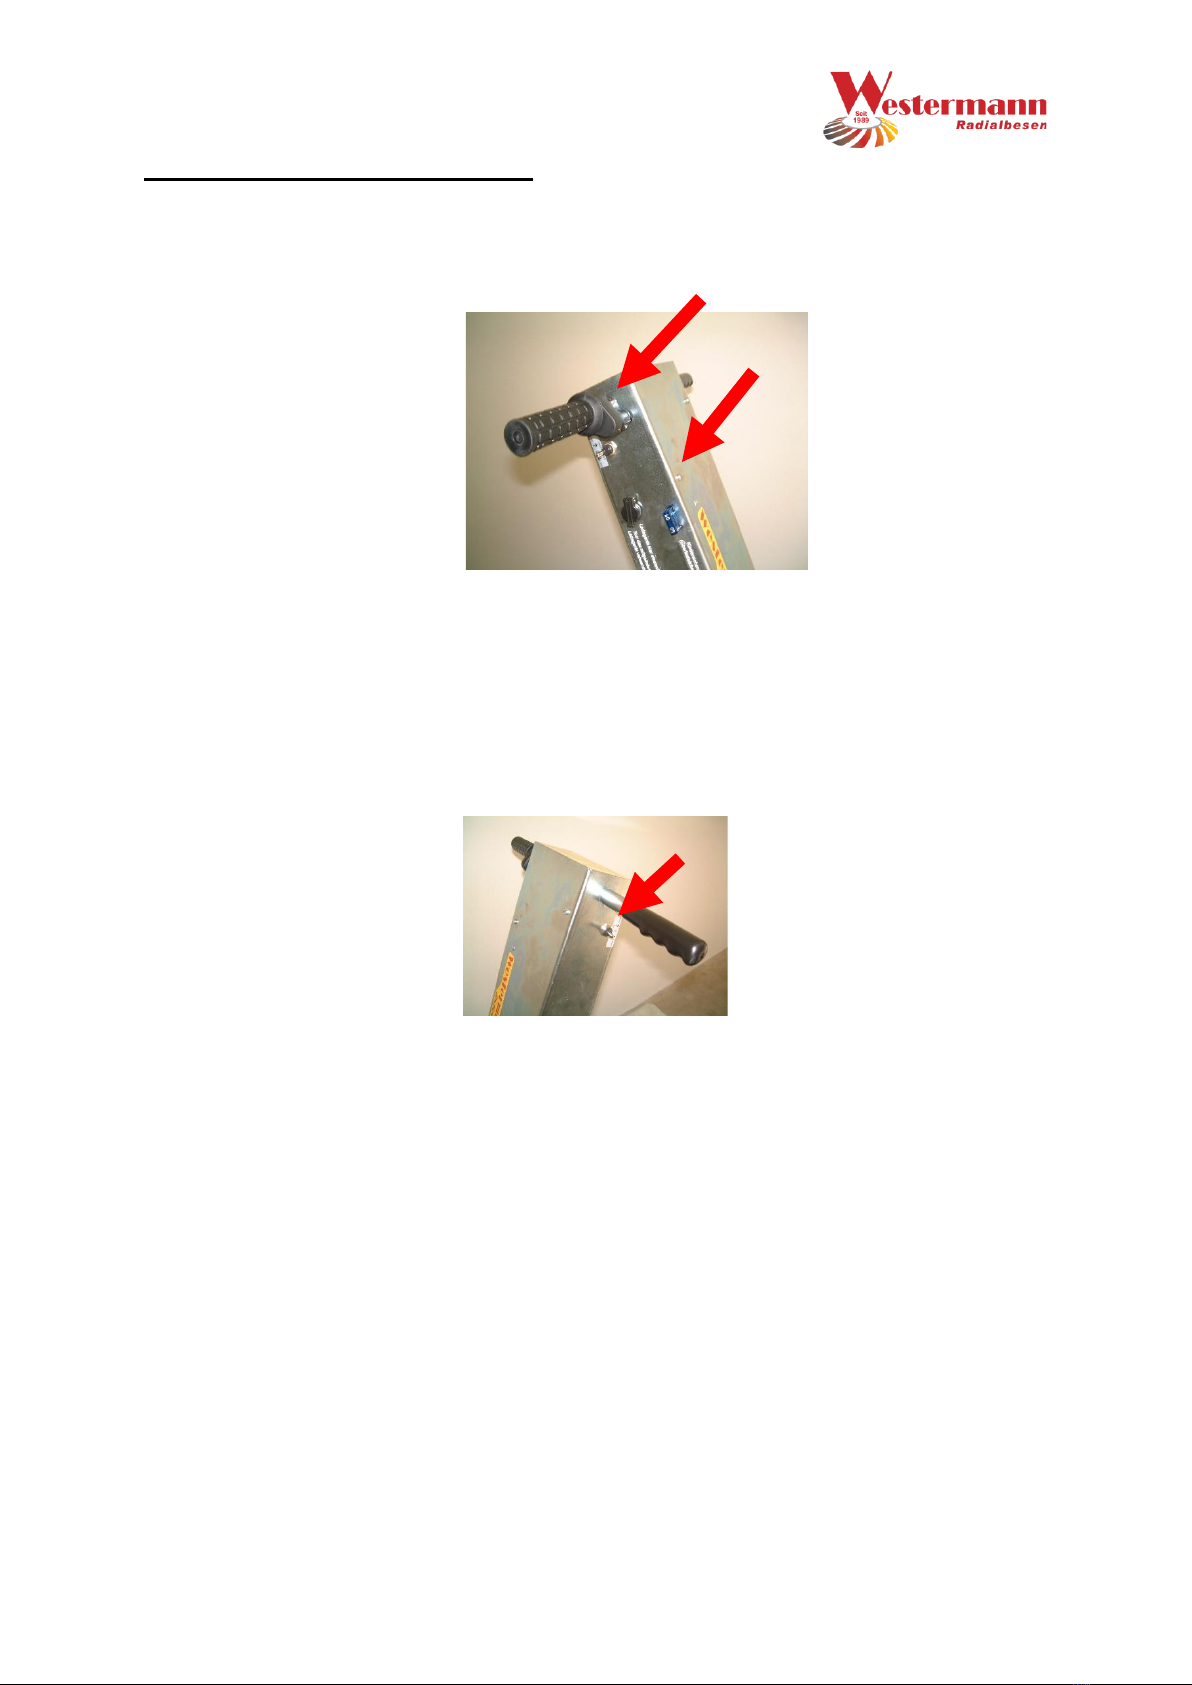
Familiarize yourself with the handling of the device. Make a note of how to turn off
the device in an emergency.
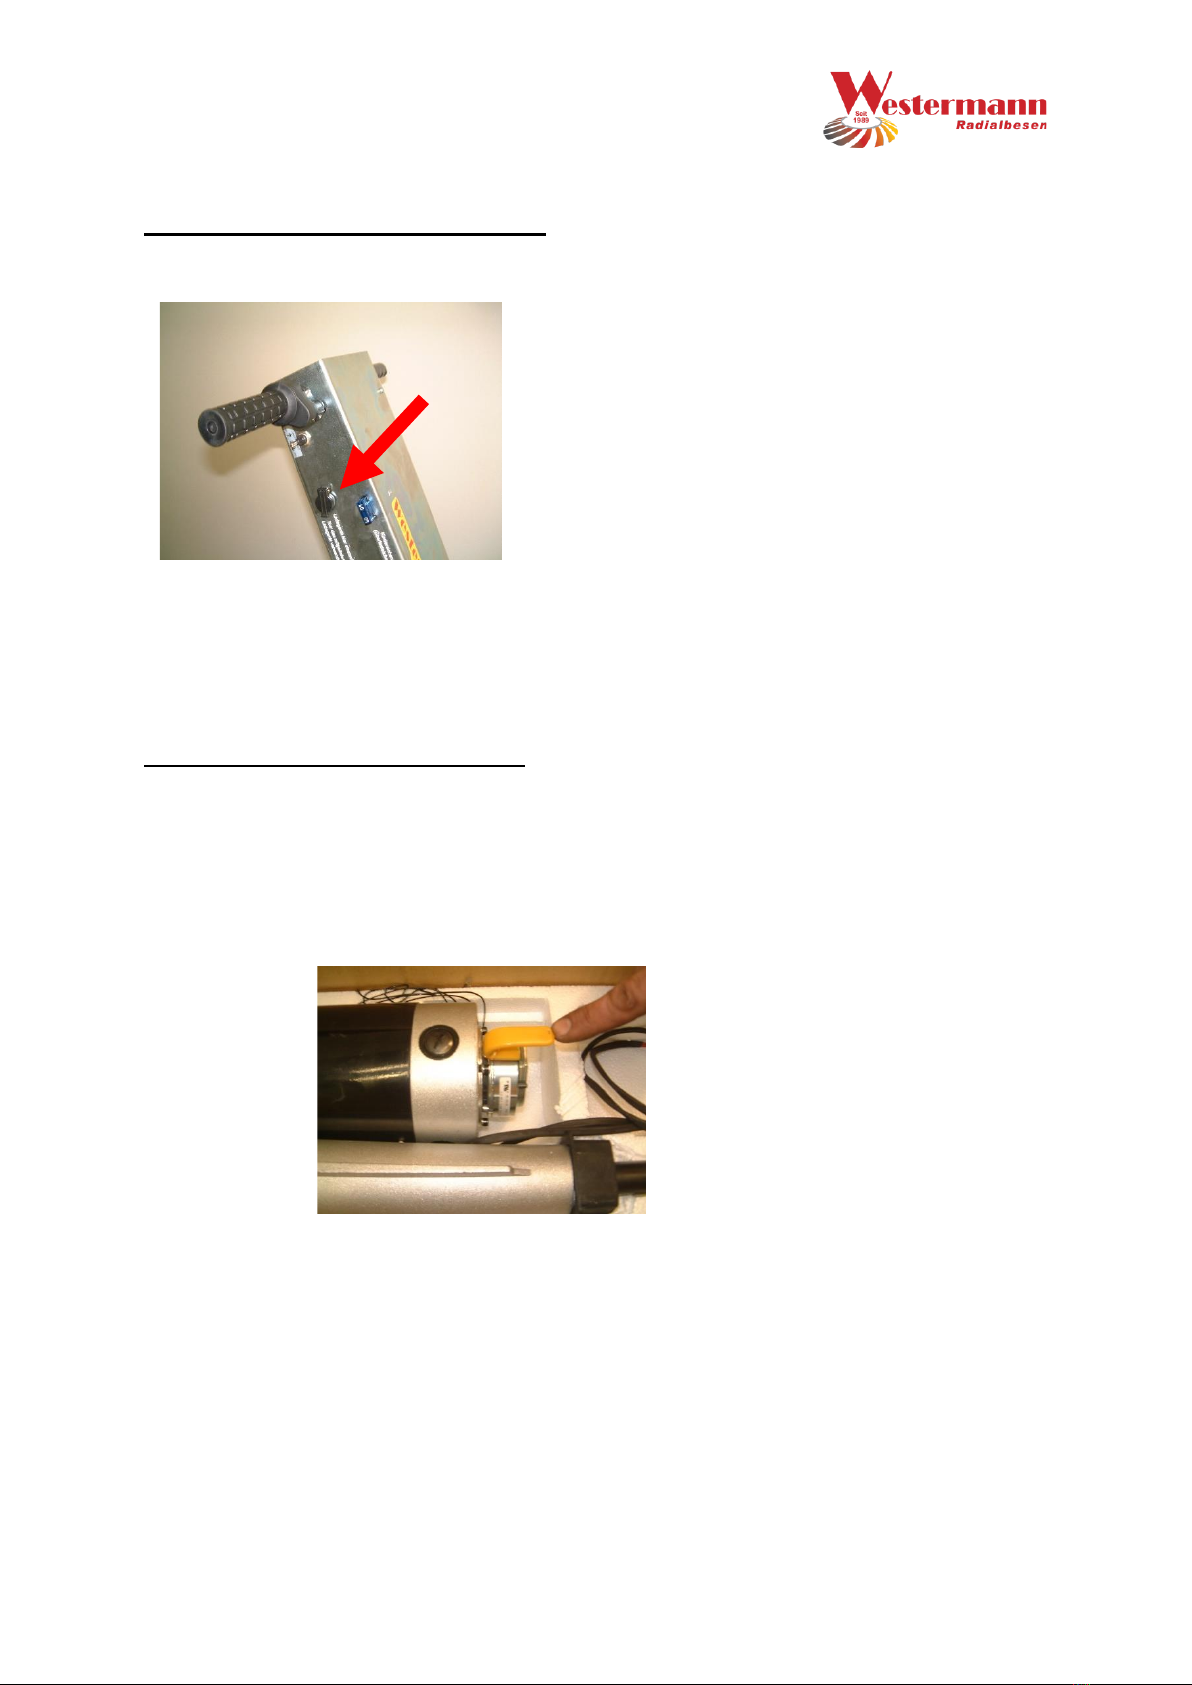
The fuse must be removed before the following work:
• Checking, cleaning or other work on the device
• Unusual noises or operating behavior
• With all settings of the device.
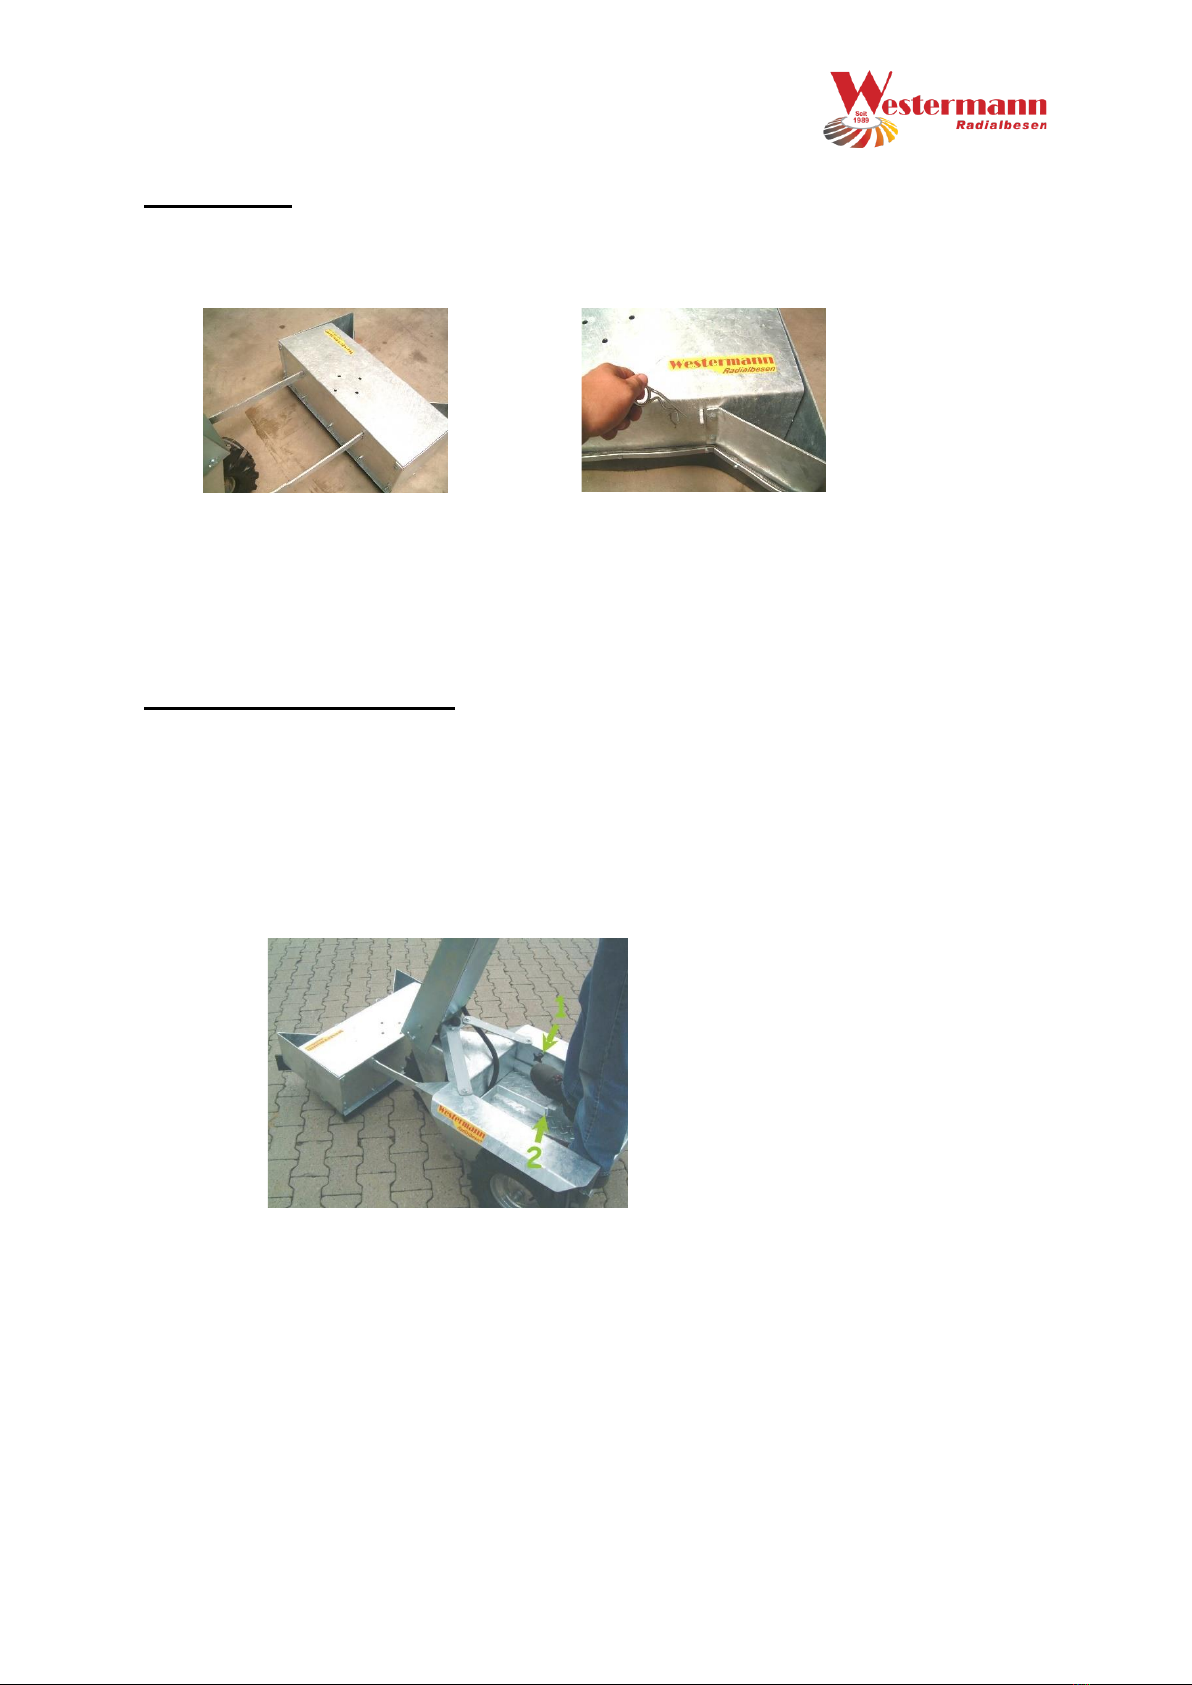
Only remove the add-on head (column slider) from the basic unit for cleaning. Do not
drive the device without this attachment head!
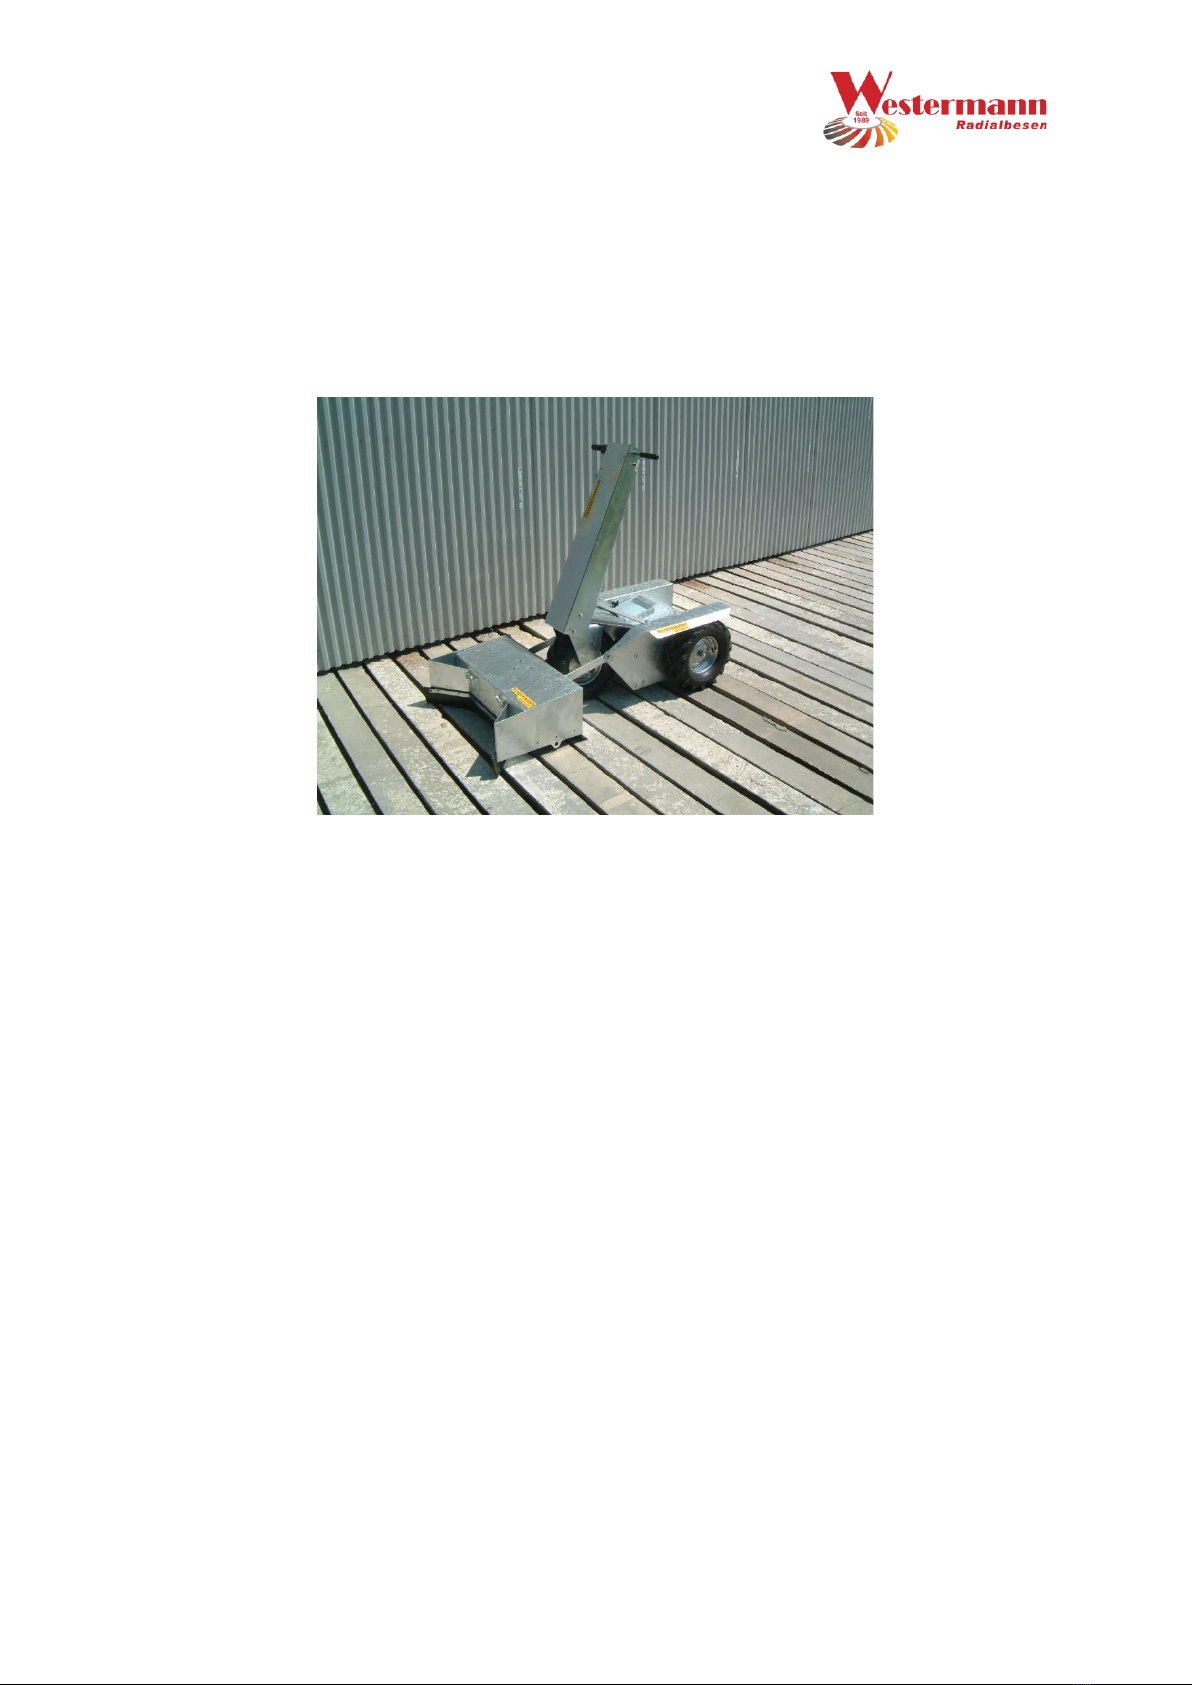
The Cleanmeleon 800 Elektro is used only for grooming in dairy farms and can
therefore only be used on flat surfaces!
Possible during use in the barn
Watch out for animal kicks!
Warranty guidelines for Westermann sweepers

5
Technical specifications
DC motor:
• 24 V, 800 watts
Batteries / Battery:
• 2 x 12V, 44 Ah
Working width:
• about 800mm
Basic unit:
• Total weight (including slider) approx. 134 kg
• 3-wheel carrier vehicle, steering via front axle
• AS tires (16 x 6.50-8)
• 24 V 3.5 Ah electronic charger
• Operating time approx. 1 hour
• robust, galvanized frame
• Forward / reverse run via switch
• Stepless speed control
• adjustable handlebar
Extension head "Double column slider ASS 800":
• Lifting the add-on head using the pedal
• Height adjustment via adjusting screw
• 2 flexible rubber strips one behind the other
• V-shaped front bar

6
Start Preparation
Please check the completeness of the slider
Please read the operating instructions and the associated setting instructions before
commissioning!
Adjustment of the guide bar
After delivery, mount the handlebar by attaching it to the screws (see simple arrow,
large picture). The black cable must be attached to the shaft of the steering with the
supplied cable tie with play for the steering locks (see arrow, small picture).
On both lower sides of the guide bar (see simple arrow) it is possible to loosen the
screws in order to adjust the bar further forward or backward. Then tighten the
screws again.

7
Commissioning of the device
Before the device can be used, the supplied blue 60 amp fuse must be inserted on
the right side of the handlebar.
Insert the fuse (see No. 1). Thereon make sure that fuse
just plugged in will and contact with Metal housing of the Avoided handlebars becomes
Select speed level (min./max .; see No. 2) The machine has more power in the max.
Speed level. Min. Setting is for novice drivers and first time use.
Driving direction is forward/backward, see arrow
1.
2.

8
Installation
This is the same process as when removing. Simply slide the slide in and insert the
cotter pin.
Adjustment of the head
The add-on head can be lifted out using the foot pedal (No. 2). The pedal and the
slider can be locked with an adjusting screw.
Again, the screw can be loosened and the slide can be used.
The depth can be adjusted with the adjusting screw (No. 1).
2) Nun werden die
beiden Stecksplinte
eingesteckt
1) Der Schieber wird soweit
wie möglich auf die Gabel
eingeschoben.

9
Charging the CMA 800 Elektro
Please only use the charger included!
The charger must be connected after each job. The overcharge protection in the
charger prevents the batteries from being overcharged.
Drive axle and parking brake
The drive axle, which is driven by 0.8 kW, is secured by a parking brake against
rolling away on an incline. As soon as the machine runs, this brake is unlocked
electrically.
To move it manually, release the yellow brake handle on the axle (see picture),
otherwise the lever should not be operated.
1) Insert the charging plug into the socket on
the right side of the bar (see arrow)
2) Set the switch on the charger to 24V.
3) Set the toggle switch on the left and right
side of the bar in neutral.
4) Insert the mains plug into the 220V socket.

10
Trouble Shooting
The following table contains the most common faults and their remedies
In the event of a motor defect or any other defect, please contact your dealer.
Problem
Cause
Remedy
Engine is not running
•Discharged battery
•• Fuse defective
•• Pole clamp no
•Contact
•• Oxidation on
•battery terminals
•Charging the battery
•Replace fuse
•Tighten pole terminal
screws
•If necessary, brush with
pole grease
Battery will not
loaded
•Oxidation on
•Power plug, charger or
charging socket
•Charger overload
protection triggered
•10 amp fuse in the
handle is defective
•The charger switch
does not switch to 24V
•Clean contacts
•Switching on the overload
protection on the charger
•Exchange fuse
•Flip the switch
Abnormal Sounds,
Rattling or similar
•Loose screws on the
device
•Check the screws and
tighten if necessary
Slider does not clear
correctly
•Wrong sliding height
•Rubber lips closed
•Adjust the sliding height to
the conditions
•Renew rubber lips

11
Parts Drawing
Sprengzeichnung
Wiring diagram control unit Pin diagram speed connector
Seite 6

12
EC declaration of conformity according to the EC directive 89/392 / EEC
The company
Westermann GmbH & Co. KG
Foppenkamp 14
D 49838 Lengerich (Emsl.)
declares under their sole responsibility that their product
CLEANMELEON 800 electric,
to which this declaration relates corresponds to the relevant basic safety and health
requirements of the EC Directive 89/392 / EEC and the EMC Directive 89/336 / EEC.
Lengerich, July 3rd, 2006
Alfons Westermann, Geschäftsführer der
Westermann GmbH & Co. KG
TEL.: +49(0)5904 / 91910-0 FAX: +49(0)5904 / 9191-17

13
WARRANTY
The following guidelines apply to Westermann warranty processing from 01.01.2002.
1) When using Westermann products in the consumer goods sector (private use),
which were sold through Westermann retailers, the warranty period is 2 years from
the date of sale to the end customer.
When using Westermann products in the capital goods sector (commercial /
professional) that were sold through Westermann specialist retailers, the warranty
period is 1 year from the date of sale to the end customer.
2) It should be consulted with us immediately if there is a defect in the device,
otherwise the warranty will expire if you repair yourself! The warranty includes
defects that can be traced back to material and / or manufacturer errors. All errors
that occur as a result of a Westermann product or production defect during the
warranty period are acknowledged and repaired or a replacement delivered by a
Westermann dealer.
3) Excepted from this are wear parts such as batteries, fuses, Bowden cables, V-
belts, clutch plates, tires, air filters, spark plugs, fuel filters, oil filters, sweeping
brushes, etc., provided that these cannot be clearly identified as material defects.
4) Warranty claims are generally excluded in the event of inadequate maintenance
and care. Regular maintenance and cleaning of the product according to the
information in the Westermann operating instructions is essential. Damage due to
improperly performed maintenance and cleaning work cannot be recognized as a
guarantee.
5) The operating instructions for the respective product and safety instructions must
be observed. Damage caused by operating errors, improper use or use of accessories
that are not approved by Westermann GmbH & Co. KG cannot be recognized as a
guarantee.
6) It must be ensured that only original Westermann spare parts and accessories are
used that can be obtained from Westermann dealers. If other than original
Westermann spare parts or accessories are used, consequential damage and
increased risk of accidents cannot be excluded. This consequential damage is not
subject to the warranty claim.
7) From 01.01.2002 only Westermann warranty claims are to be used. The warranty
claims information is imperative. Exceptions cannot be accepted. Warranty claims
without the required information cannot be processed and will be returned
unprocessed to complete the missing information.
8) The Westermann machine and warranty pass (warranty service document) is
complete within 4 weeks of the sale of the product with the end customer's data, the
end customer's signature and the use (private / commercial / professional) send in
Westermann customer service.

14
9) The warranty period for original Westermann spare parts is 2 years if proven
installation by a Westermann dealer. (The restriction under point 3 applies to wearing
parts). In the case of warranty claims relating to the supply of spare parts or warranty
repairs, we ask that you keep the relevant parts on call for 2 months after receipt of
the warranty claim. We may request the part in question for testing.
10) For logistical reasons, the ordering of required spare parts for warranty purposes
can only be carried out from 01/01/2002 via the Westermann customer service. Here
is the time from Monday to Friday between 8:00 a.m. and 4:30 p.m. the order is
accepted by telephone, stating the item no. and the serial no. of the device concerned
and details of the customer no. Warranty spare parts guaranteed under Tel .: +49 (0)
5904 / 91910-0. There is also the option under fax .: +49 (0) 5904 / 91910-17 to forward
your order for warranty spare parts to us.
11) If your warranty claim is rejected, you will be charged for the ordered spare parts
at their usual purchasing conditions. Invoices are also issued if no warranty claim has
been received by Westermann customer service after 4 weeks. If a Westermann spare
part for warranty repairs is not available at short notice (2 working days) and you use
an original Westermann spare part from your inventory to repair the damage, we will
provide a free replacement delivery based on availability or availability by Westermann
customer service , If a spare part is no longer available (NML), the purchase price paid
by you will be reimbursed.
12) The claimed parts or machines are to be sent free to the Westermann plant in
Lengerich. After acceptance of the guarantee, the freight costs will be reimbursed.
13) The warranty claim must be submitted to Westermann customer service no later
than 5 working days after the repair has been carried out in order to ensure that it can
be processed quickly. Warranty claims received 3 months after the repair has been
carried out can no longer be processed.
14) All previous warranty lines as well as the terms and conditions in point 7 hereby
lose their validity.
Westermann GmbH & Co. KG
Sicherheitshinweise
Vor der Benutzung:
Table of contents
Other Westermann Farm Equipment manuals