manuals.online logo
Brands
  1. Home
  2. •
  3. Brands
  4. •
  5. Westinghouse
  6. •
  7. Inverter
  8. •
  9. Westinghouse WH7500v User manual

Westinghouse WH7500v User manual

Operating Tripped
2
3. Add Engine Oil | Agregar aceite al motor
a. Remove oil fill plug/dipstick.
Quite el tapón de llenado/varilla de medición.
b. Using the supplied 4-cycle engine oil and funnel,
slowly add engine oil to the engine until full.
Con el aceite para motor de 4 tiempos que se suministra y el embudo,
agregue lentamente aceite al motor hasta llenarlo.
c. Replace oil fill plug/dipstick.
Vuelva a poner el tapón de llenado/varilla de medición.
4. Add Unleaded Gasoline to Gas Tank
Agregar gasolina sin plomo al depósito de gasolina
a. Unscrew gas cap on top of tank and insert a clean funnel into the tank.
Desenrosque el tapón del depósito de gasolina e introduzca el embudo en el orificio.
b. Slowly add gasoline into the fuel tank. The gasoline level should NOT
be higher than the filler neck.
Lentamente, agregue gasolina al depósito de gasolina. El nivel de gasolina NO debe superar el cuello del depósito.
c. Secure gas cap. Asegure el tapón de la gasolina.
1. Install Feet to Frame | Instalar las patas en el bastidor
a. Tip the generator onto its side. The engine should
be on the bottom.
Ponga el generador sobre su costado. El motor debe estar en la parte inferior..
b. Install the mounting feet to the frame using M8
flange bolts and nuts.
Instale las patas en el bastidor con tuercas y pernos M8.
2. Install Wheels
Instalar las ruedas
a. Install the axle pin, wheel and washer through the
axle bracket on the frame.
Instale la rueda introduciendo el pasador del eje y una arandela a través
del soporte del eje en el bastidor.
b. Install the hairpin cotter through the axle pin to
lock it in place.
Instale la chaveta en el pasador del eje para asegurarlo en su lugar.
Quick Start Guide
1. Make sure nothing is plugged into power outlets.
Asegúrese de que no haya nada enchufado en los tomacorrientes eléctricos.
2. Make sure the circuit breakers are properly
set to operating.
Asegúrese de que los disyuntores estén en la posición correcta.
3. Move the fuel shut off valve to the ON position.
Mueva la válvula de desconexión del combustible a la posición de ENCENDIDO.
4. Move the choke lever to the ON position.
Mueva la palanca del estrangulador a la posición ON (Encendido).
5. Push the engine control switch into the RUN position.
Seleccione la posición de ARRANQUE en el botón de control del motor.
6. Firmly grasp and pull the recoil handle slowly until
you feel increased resistance. At this point, apply
a rapid pull while pulling up and slightly away
from the generator.
Sujete firmemente la cuerda de arranque y tire de ella lentamente hasta
que sienta resistencia. En este punto, tire rápidamente hacia arriba y
alejándose algo del generador.
7. As the engine starts and stabilizes, gradually
move the choke lever back to the OFF position.
A medida que el motor se ponga en funcionamiento y se estabilice, mueva
gradualmente la palanca del estrangulador hasta la posición OFF (Apagado).
8. Plug in electronic devices.
Enchufe los dispositivos electrónicos.
Utility Knife
(not included)
Cúter (no incluido)
Fresh clean unleaded
gasoline (not included)
Gasolina sin plomo fresca y
limpia (no incluida)
Funnel (included)
Embudo (incluido)
10mm Wrench (not included)
Llave de 10mm (no incluida)
4-stroke engine oil
(included)
Aceite para motores de 4
tiempos (incluido)
Wheel and feet bolts
Pernos para las patas y la rueda
BEFORE STARTING | ANTES EMPEZAR
MANUAL STARTING
ARRANQUE MANUAL
4
5
6
ON
OFF
3
7
7
6
TOOLS YOU WILL NEED
HERRAMIENTAS QUE NECESITARÁ
Questions? Call 855.944.3571 or email service@wpowereq.com
Guía de inicio rápido del generador
ON
OFF
1. Make sure nothing is plugged into power outlets.
Asegúrese de que no haya nada enchufado en los tomacorrientes eléctricos.
2. Verify the battery is installed and both battery
cables are attached to their corresponding polarity.
Compruebe que la batería esté instalada y que ambos cables de la
batería estén conectados a los terminales de la polaridad correcta.
a. Positive (+) Battery Cable (Red)
Cable de batería (rojo) positivo (+)
b. Negative (-) Battery Cable (Black)
Cable de batería (negro) negativo (-)
3. Make sure the circuit breakers are properly set
to operating.
Asegúrese de que los disyuntores estén en la posición correcta.
4. Move the fuel shutoff valve to the ON position.
Mueva la válvula de desconexión del combustible a la posición ENCENDIDO.
5. Move the choke lever to the ON position.
Mueva la palanca del estrangulador a la posición ON (Encendido).
6. Push and hold the engine control switch in the
START position. Once engine starts, release.
Presione y mantenga el interruptor de control del motor en la posición
START. Una vez que el motor se libera.
7. As the engine starts and stabilizes, gradually
move the choke lever back to the OFF position.
A medida que el motor se ponga en funcionamiento y se estabilice,
mueva gradualmente la palanca del estrangulador hasta la posición OFF
(Apagado).
8. Plug in electronic devices.
Enchufe los dispositivos electrónicos.
ELECTRIC STARTING
ARRANQUE ELÉCTRICO
Positive
(Red)
Negative
(Black)
Operating Tripped
2
3
4
5
¿Tiene preguntas? Llame al 855.944.3571 o escriba a service@wpowereq.com
START
RUN
STOP
START
RUN
STOP
Generator Maintenance Guide
Model Number
Número de modelo
Running
Watts
Vatios de
potencia
nominal
Peak
Watts
Vatios de
potencia
pico
Fuel Tank Size
(L/G)
Capacidad del depósito
de combustible (L/G)
Rated Speed
(RPM)
Velocidad nominal
(RPM)
Ignition
Type
Tipo de
encendido
Spark
plug
Bujía
Engine Disp
(cc)
Tamaño del motor (cc)
Stroke
X Bore
Diámetro y
carrera
Oil Capacity
(L)
Capacidad de aceite (L)
Oil
Type
Tipo de
aceite
WH7500v 6000 7500 25/6.6 3600 TCI F7TC 420 66X90 1.10 10W30
MECHANICAL SPECIFICATIONS
ESPECIFICACIONES MECÁNICAS
MAINTENANCE SCHEDULE
CALENDARIO DE MANTENIMIENTO
Following the maintenance schedule is important to keep the generator in good operating condition. The following is a summary of maintenance items by periodic maintenance intervals.
Refer to the Maintenance section in the Owners Manual to find out how to properly perform maintenance.
Seguir el calendario de mantenimiento es importante para mantener el generador en buen estado de funcionamiento. A continuación se enumeran las tareas de mantenimiento necesarias según los intervalos de mantenimiento. Consulte la sección
Mantenimiento del Manual del propietario para averiguar cómo realizar el mantenimiento correctamente.
TABLE 1: MAINTENANCE SCHEDULE - OWNER PERFORMED
TABLA 1: CALENDARIO DE MANTENIMIENTO: REALIZADO POR EL PROPIETARIO
Maintenance Item
Tarea de mantenimiento Before Every Use
Antes de cada uso After First 20 Hours or First Month of Use
Después de las primeras 20 horas de uso o el primer mes de uso After 50 Hours of Use or Every 6 Months
Después de 50 horas de uso o cada 6 meses
After 100 Hour of Use or Every
6 Months
Después de 100 horas de uso o cada 6 meses
After 300 Hours of Use or
Every Year
Después de 300 horas de uso o cada año
Engine Oil
Aceite del motor
Check Level
Comprobar el nivel
Change
Cambiar
Change
Cambiar - -
Cooling Features
Sistema de refrigeración
Check/Clean
Comprobar/Limpiar - - - -
Air Filter
Filtro del aire
Check
Comprobar -Clean*
Limpiar* -Replace
Reemplazar
Spark Plug
Bujía - - - Check/Clean
Comprobar/Limpiar
Replace
Reemplazar
Spark Arrestor
Pantalla antichispas - - - Check/Clean
Comprobar/Limpiar -
*Service more frequently if operating in dry and dusty conditions. *Aumentar la frecuencia de mantenimiento si se utiliza en condiciones secas y con polvo.
TABLE 2: MAINTENANCE SCHEDULE - AUTHORIZED WESTINGHOUSE SERVICE DEALER PERFORMED
TABLA 2: CALENDARIO DE MANTENIMIENTO: REALIZADO POR EL CONCESIONARIO DE SERVICIO AUTORIZADO DE WESTINGHOUSE
Maintenance Item
Tarea de mantenimiento Before Every Use
Antes de cada uso After First 20 Hours or First Month of Use
Después de las primeras 20 horas de uso o el primer mes de uso
After 50 Hours of Use or Every
6 Months
Después de 50 horas de uso o cada 6 meses
After 100 Hour of Use or Every
6 Months
Después de 100 horas de uso o cada 6 meses
After 300 Hours of Use or
Every Year
Después de 300 horas de uso o cada año
Valve Clearance
Holgura de válvulas
Jeu des soupapes
- - - - Check/Clean
Comprobar/Limpiar
Vérifier/nettoyer
Fuel Filter
Filtro de combustible
Filtre à carburant
- - - Check/Clean
Comprobar/Limpiar
Vérifier/nettoyer
-
SPARK PLUG REPLACEMENT | SUSTITUCIÓN DE LA BUJÍA
Brand
Marca
Spark Plug
Bujía
AC Delco 4EXLS
Champion N9YC
Bosch W7DC
Torch F7TC
BATTERY REPLACEMENT | SUSTITUCIÓN DE LA BATERÍA
REMPLACEMENT DE LA BATTERIE
Westinghouse Part No.
Núm. de pieza de Westinghouse
100557
After Market Battery Model
Modelo de batería de repuesto
YT9A
Volts | Voltios 12
Amp Hr | Amperios/hora 9
Dimensions | Dimensiones 5 5/16in by
3in by 5 3/8in
ENGINE OIL | ACEITE DEL MOTOR | HUILE POUR MOTEURS
Only use 4-stroke/cycle engine oil. NEVER USE 2-STROKE/CYCLE OIL.
Synthetic oil is an acceptable substitute for conventional oil.
Usar aceite para motor de 4 tiempos únicamente. NO USAR NUNCA ACEITE PARA MOTOR DE 2
TIEMPOS. El aceite sintético es un sustituto aceptable del aceite convencional.
Guía de mantenimiento del generador WGen
Questions? Call 855.944.3571 or email service@wpowereq.com ¿Tiene preguntas? Llame al 855.944.3571 o escriba a service@wpowereq.com

Other manuals for WH7500v

1

Other Westinghouse Inverter manuals

Westinghouse Teco E510 User manual

Westinghouse

Westinghouse Teco E510 User manual

Westinghouse iGen4500DF User manual

Westinghouse

Westinghouse iGen4500DF User manual

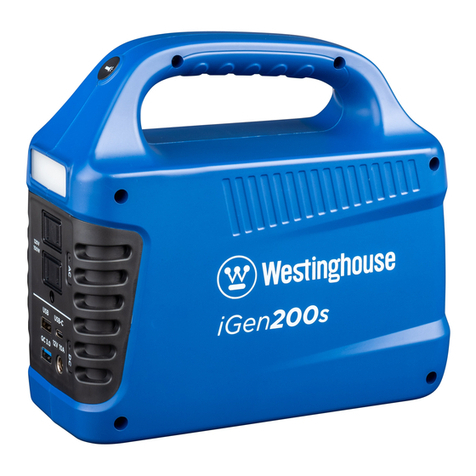
Westinghouse iGen200s User manual

Westinghouse

Westinghouse iGen200s User manual

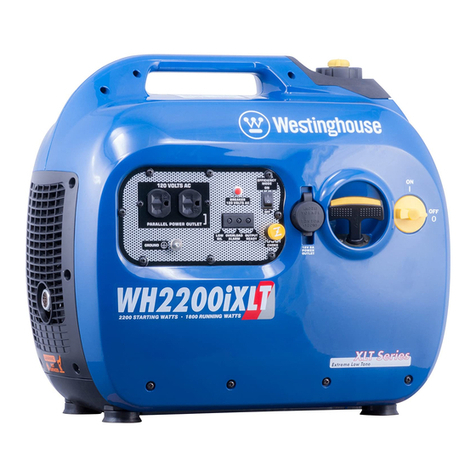
Westinghouse WH2200iXLT User manual

Westinghouse

Westinghouse WH2200iXLT User manual

Westinghouse WPro8500 User manual

Westinghouse

Westinghouse WPro8500 User manual

Westinghouse Teco MA7200 Plus Instruction manual

Westinghouse

Westinghouse Teco MA7200 Plus Instruction manual

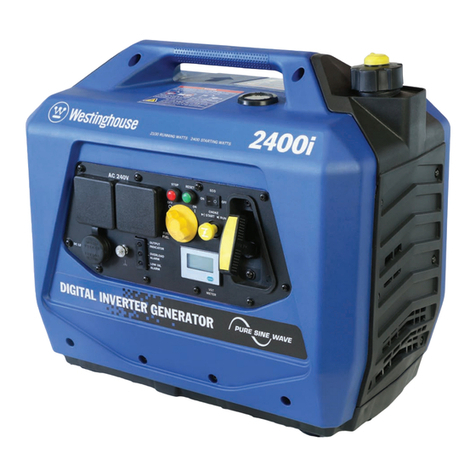
Westinghouse 2400i User manual

Westinghouse

Westinghouse 2400i User manual

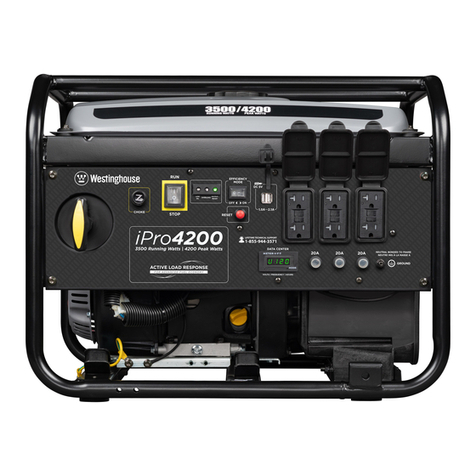
Westinghouse iPro4200 User manual

Westinghouse

Westinghouse iPro4200 User manual

Westinghouse 5300 Running Watts User manual

Westinghouse

Westinghouse 5300 Running Watts User manual

Westinghouse TECO PA7300 Series Instruction manual

Westinghouse

Westinghouse TECO PA7300 Series Instruction manual

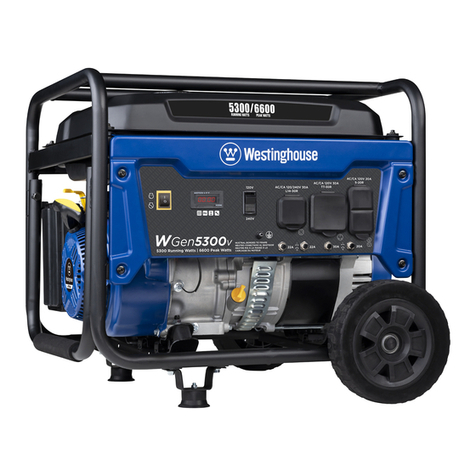
Westinghouse WGen5300v User manual

Westinghouse

Westinghouse WGen5300v User manual

Westinghouse iGen4500 User manual

Westinghouse

Westinghouse iGen4500 User manual

Westinghouse MA7200-2001/2-N1 Instruction manual

Westinghouse

Westinghouse MA7200-2001/2-N1 Instruction manual

Westinghouse WGen7500DF User manual

Westinghouse

Westinghouse WGen7500DF User manual

Westinghouse MA7200-2003-N1 Thru MA7200-2040-N1 Instruction manual

Westinghouse

Westinghouse MA7200-2003-N1 Thru MA7200-2040-N1 Instruction manual

Westinghouse iGen Series User manual

Westinghouse

Westinghouse iGen Series User manual

Popular Inverter manuals by other brands

Selectronic Australia LD350-12 operating manual

Selectronic Australia

Selectronic Australia LD350-12 operating manual

SMA Windy Boy 1700 operating instructions

SMA

SMA Windy Boy 1700 operating instructions

Homelite HGCA5000 Operator's manual

Homelite

Homelite HGCA5000 Operator's manual

Stanley SG 7500 Translation of the original instructions

Stanley

Stanley SG 7500 Translation of the original instructions

Donauer High Efficiency 3.0 Installation and operating instructions

Donauer

Donauer High Efficiency 3.0 Installation and operating instructions

CyberPower CPS1000AI user guide

CyberPower

CyberPower CPS1000AI user guide

Growatt MAX 80-150KTL3-X LV Series Installation & operation manual

Growatt

Growatt MAX 80-150KTL3-X LV Series Installation & operation manual

Baldor SERIES 5 Installation and operation manual

Baldor

Baldor SERIES 5 Installation and operation manual

SMA SUNNY BOY 3.0 Quick reference guide

SMA

SMA SUNNY BOY 3.0 Quick reference guide

SOLINTEG M Series user manual

SOLINTEG

SOLINTEG M Series user manual

Deye SUN-3K-SG04LP1-24-AU user manual

Deye

Deye SUN-3K-SG04LP1-24-AU user manual

Leroy-Somer Gearlec Installation and maintenance manual

Leroy-Somer

Leroy-Somer Gearlec Installation and maintenance manual

SolaX Power BOX user manual

SolaX Power

SolaX Power BOX user manual

CPS SCA3KTL-O/US Installation and operation manual

CPS

CPS SCA3KTL-O/US Installation and operation manual

Kaco blueplanet 92.0 TL3 US manual

Kaco

Kaco blueplanet 92.0 TL3 US manual

Innova 2.0 15HP Installer manual

Innova

Innova 2.0 15HP Installer manual

EZ Digital FG-7005C Operation manual

EZ Digital

EZ Digital FG-7005C Operation manual

Ginlong solis S6 Series user manual

Ginlong

Ginlong solis S6 Series user manual

manuals.online logo
manuals.online logoBrands
  • About & Mission
  • Contact us
  • Privacy Policy
  • Terms and Conditions

Copyright 2025 Manuals.Online. All Rights Reserved.